10 Things You Can Do Now for a Better Spring Garden
A good spring garden doesn’t start in March when the seed display shows up at the store. It starts months earlier, when you quietly prep beds, tools, and your plans. Doing a little now saves you from that overwhelmed “it’s finally warm and I’m already behind” feeling.
These are simple steps you can chip away at—even in cold weather—that your future self in muddy boots will absolutely appreciate.
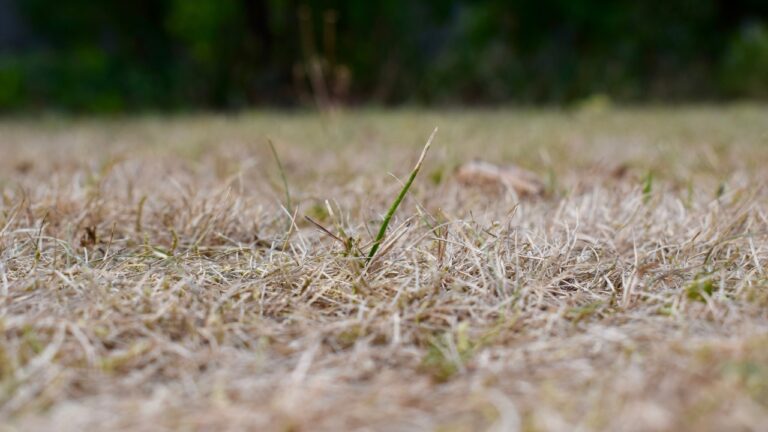
Clean up spent plants and diseased debris
Before winter really sets in, clear out dead annuals, rotting veggies, and obviously diseased leaves from your beds. Leaving healthy stems and seed heads for wildlife is fine, but anything with spots, mildew, or pests should go in the trash, not the compost.
This cleanup step breaks pest and disease cycles so you’re not starting spring with trouble already waiting in the soil. It also makes your beds easier to work in next season because you’re not fighting through last year’s tangle.
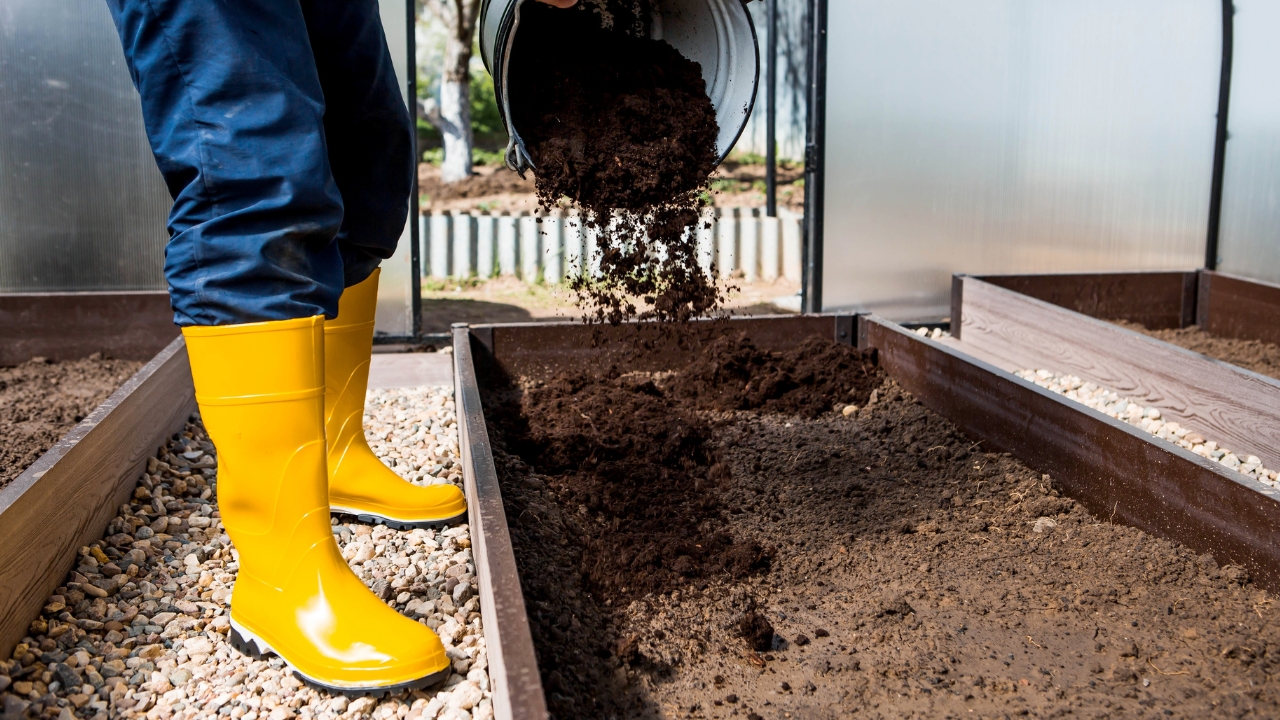
Top your beds with compost or leaf mulch

Bare soil takes a beating over winter. If you can, add a layer of finished compost or shredded leaves to your beds now. You don’t have to dig it in—just spread a couple inches over the top.
Rain and snow will help pull nutrients down into the soil profile, and earthworms will do the rest. In spring, you’ll be planting into soil that’s already more crumbly and alive instead of hard, compacted ground. It’s like giving your beds a slow-release vitamin while you’re inside staying warm.
Do a simple soil test so you’re not guessing later
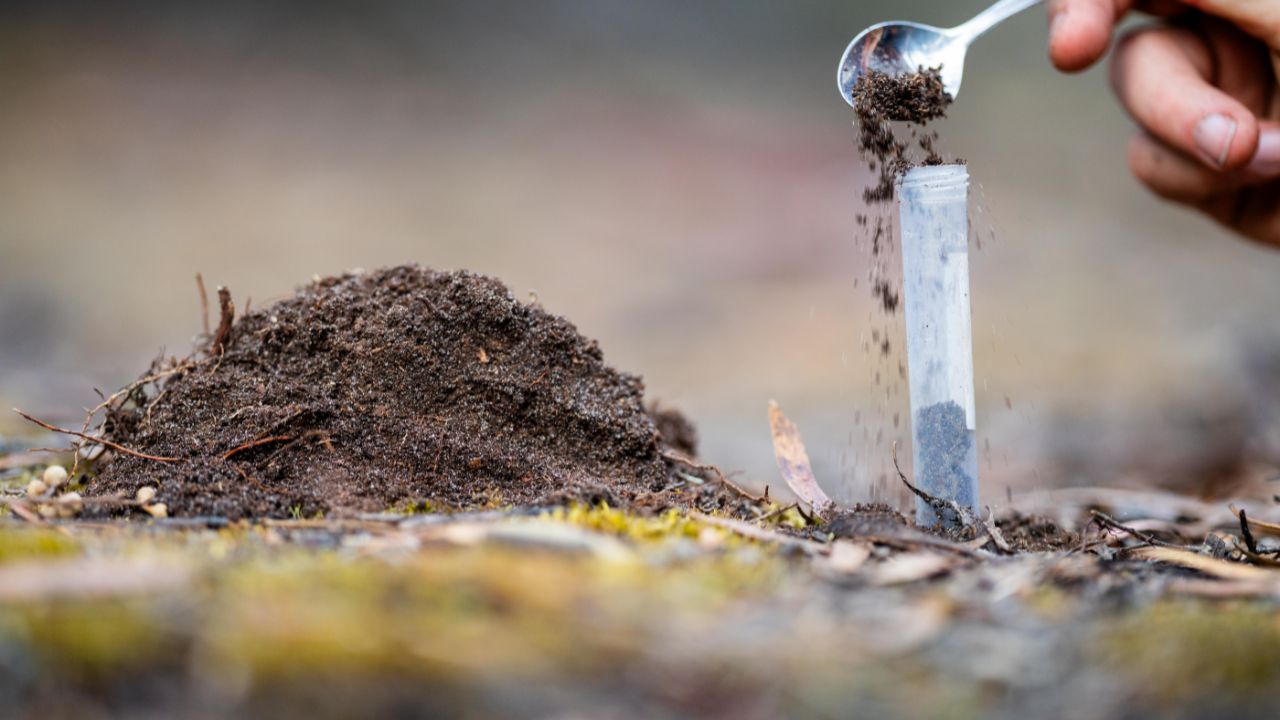
Instead of throwing random fertilizers at your garden in spring, do a basic soil test now. You can use a mail-in kit from your local extension office or a decent home test.
It’ll tell you if you’re low on major nutrients or if your pH is way off for what you’re trying to grow. With that information, you can pick the right amendments over winter and early spring—lime, sulfur, specific fertilizers—so you’re not guessing with every bag you buy.
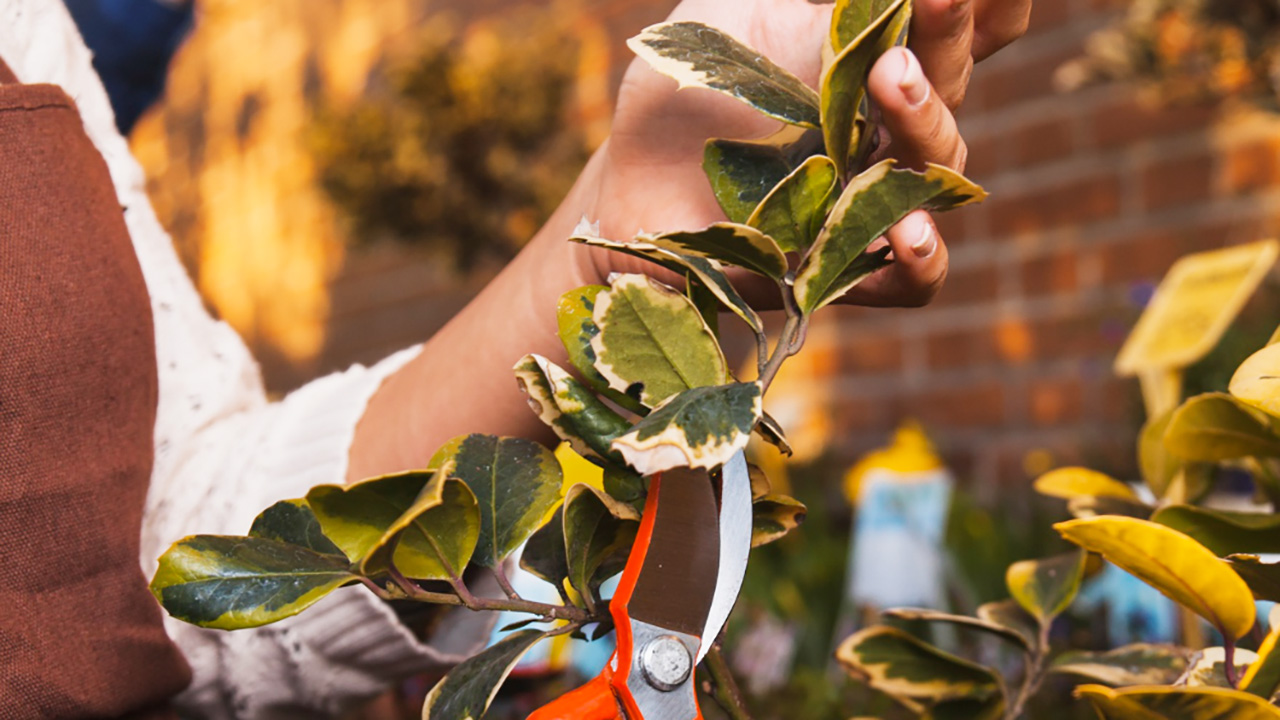
Clean and sharpen your garden tools
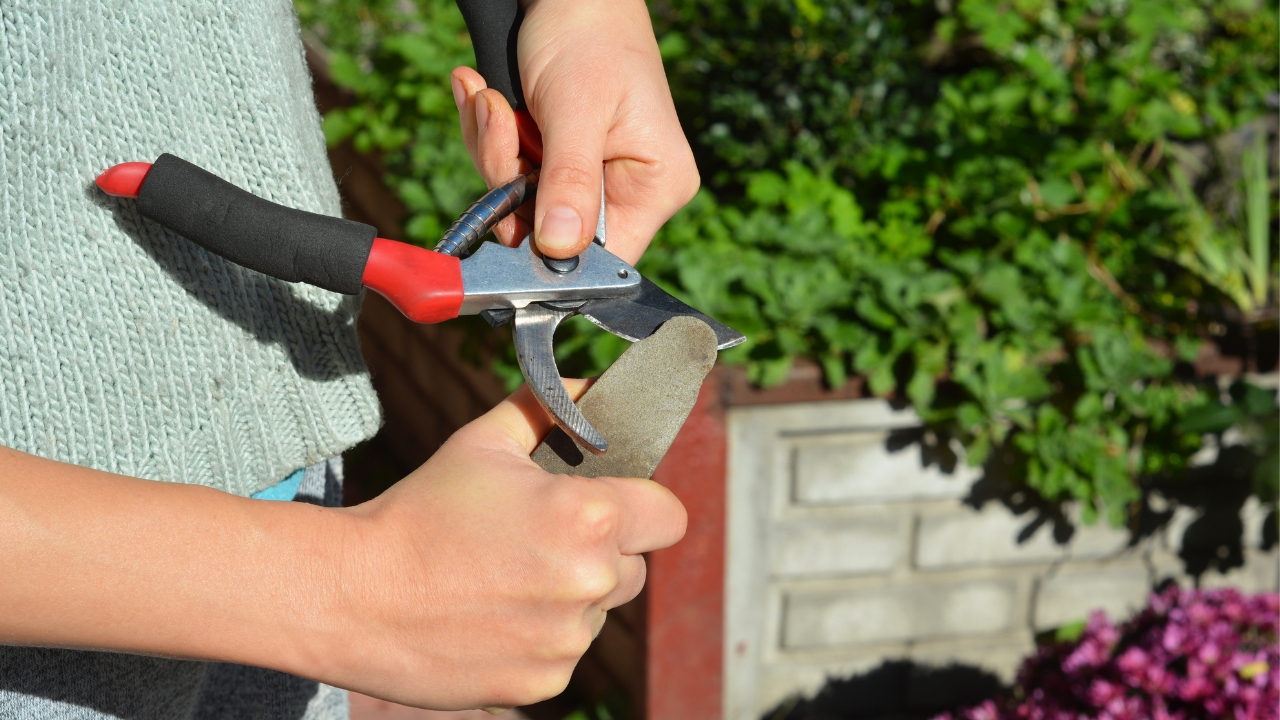
Dull, dirty tools make everything harder. On a slow afternoon, gather your pruners, loppers, trowels, and shovels. Wash off caked dirt, dry them well, and wipe metal parts with a little oil to prevent rust.
Use a simple sharpening tool or file to touch up edges on pruners and shovels. You don’t have to make them perfect—just sharper than they are now. When spring hits, you’ll be able to cut and dig without fighting your tools.
Plan your garden layout with what actually worked

Think back over this year: which spots dried out too fast, stayed soggy, or didn’t get enough sun? Grab a notebook or simple sketch and draw a rough map of your beds.
Mark where you want tall plants, vining crops, herbs, and flowers next year. Rotate crops like tomatoes and squash to different beds if you can, which helps with disease and soil health. Having a loose plan means you’re ready to buy seeds and seedlings with purpose instead of grabbing whatever looks pretty and then wondering where to put it.
Order seeds early for must-have varieties
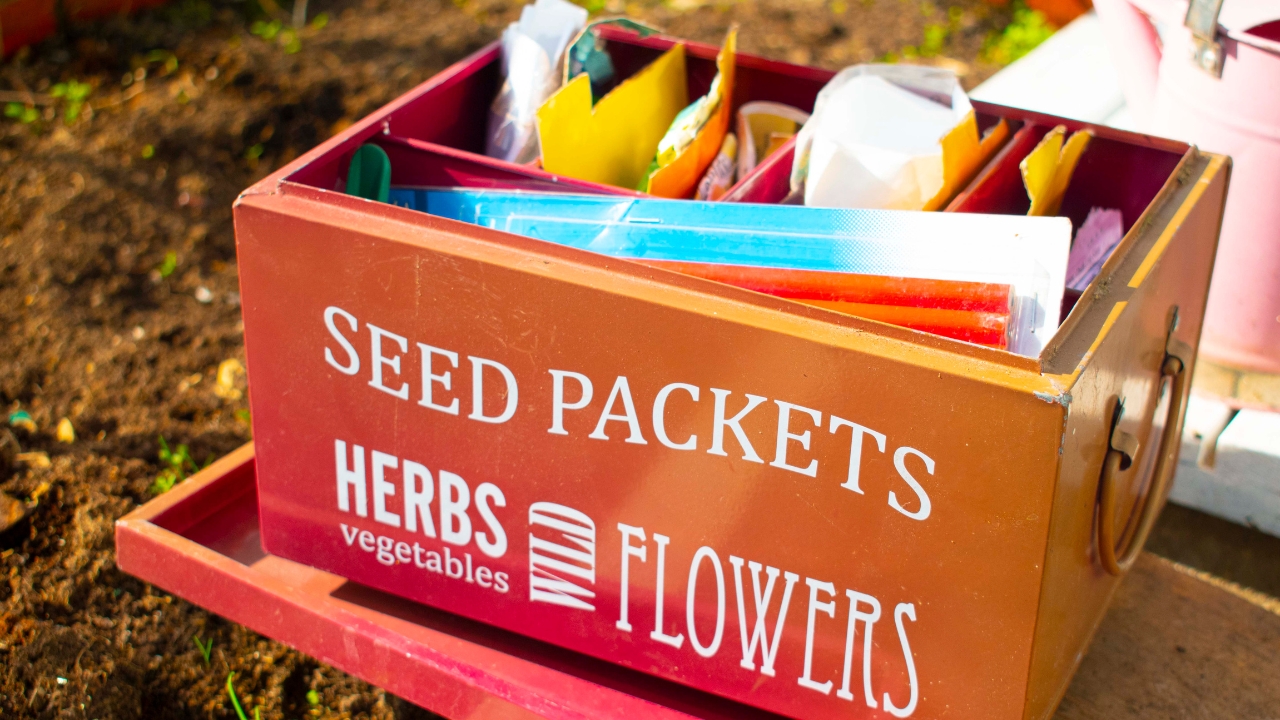
If there are specific varieties you love—certain tomatoes, unique flowers, or a favorite bean—order seeds earlier rather than later. Popular ones do sell out.
Make a short list based on your garden plan and place one order instead of five impulse buys. Store seeds in a cool, dry place in a labeled container. When everyone else is just starting to think about gardening, you’ll already have exactly what you need on hand.
Set up or turn your compost pile so it’s ready to feed beds
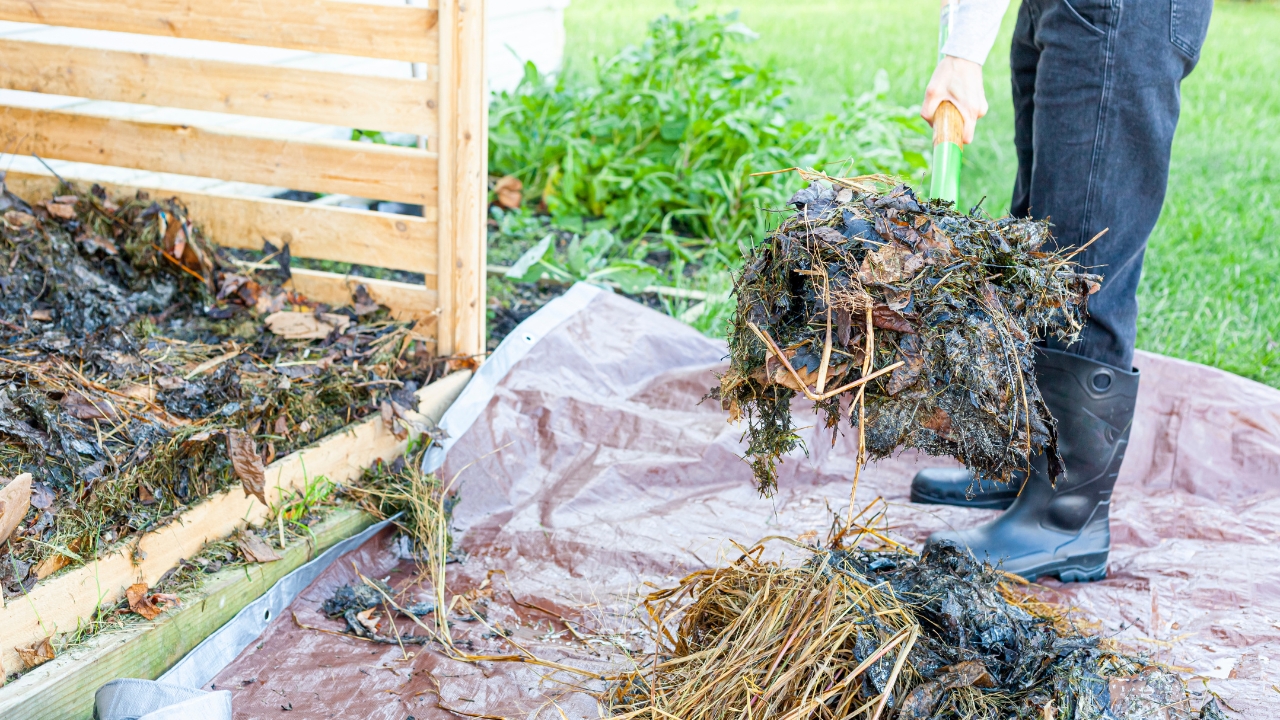
If you don’t compost yet, start a simple compost pile or bin now with fall leaves, kitchen scraps, and yard waste. If you already have one, give it a good turn with a pitchfork or shovel to aerate it.
Over winter, the pile will slowly break down, especially if you keep adding a mix of “greens” (food scraps) and “browns” (leaves, cardboard). By late spring, you may have a batch of finished compost ready to spread on beds or mix into potting soil.
Check hoses, nozzles, and watering setup
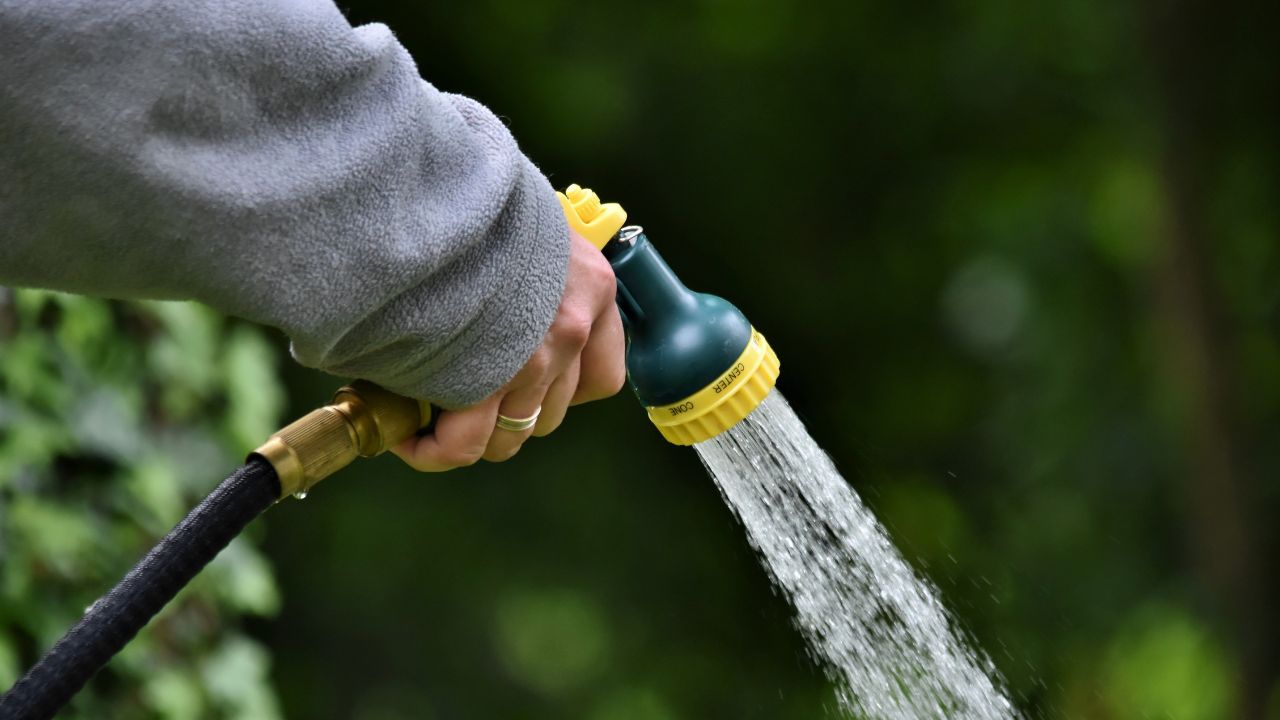
Dig out your hoses, sprinklers, and watering cans and check them before they disappear into a frozen knot for months. Look for leaks, cracked washers, and broken nozzles.
If you need replacements, you can watch for off-season sales or at least spread out the cost instead of replacing everything at once in April. Knowing your watering setup is ready makes starting seeds and planting out in spring feel less chaotic.
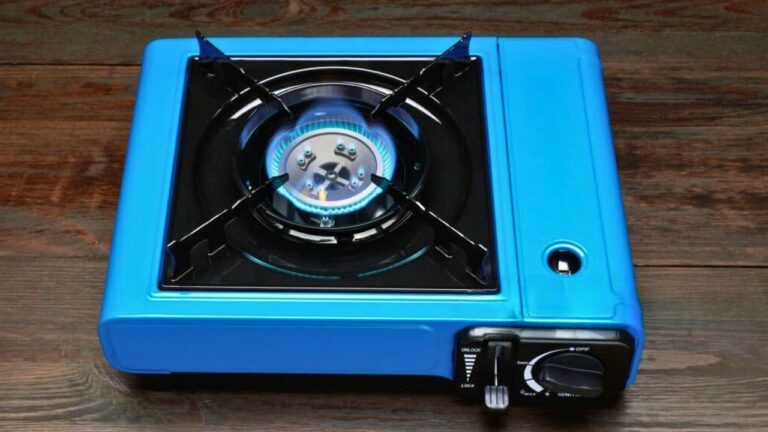
Prep a seed-starting area, even if it’s small
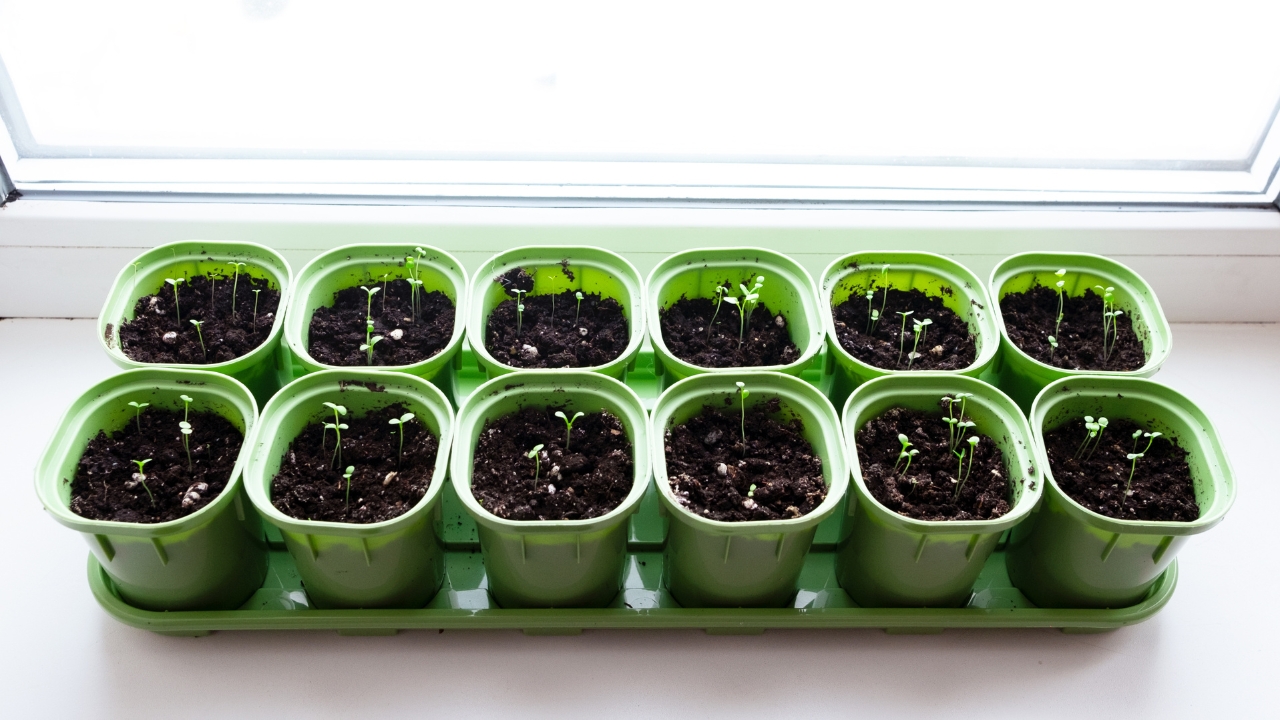
You don’t need fancy grow racks to start a few seeds. Look around your house for a bright windowsill, folding table, or shelf you could dedicate a little space to. Make sure there’s a way to keep trays off cold surfaces (a towel or tray helps) and a nearby outlet if you plan to use a grow light.
Gather basic supplies—seed trays or saved containers with drainage holes, a waterproof tray, and seed-starting mix. When it’s time to start seeds according to your frost date, you won’t be scrambling for containers or wondering where to put them.
Jot down what you want more (or less) of next year

While this year is still fresh in your mind, make a quick list: plants you loved, ones that were too much work, varieties that flopped, and anything you wish you’d planted more of.
This doesn’t have to be a full garden journal—just a simple note on your phone or a page in a notebook. When seed catalogs and spring displays hit, you can refer back to real experience instead of getting talked into twenty new things you don’t actually have room or patience for.
Like Fix It Homestead’s content? Be sure to follow us.
- I made Joanna Gaines’s Friendsgiving casserole and here is what I would keep
- Pump Shotguns That Jam the Moment You Actually Need Them
- The First 5 Things Guests Notice About Your Living Room at Christmas
- What Caliber Works Best for Groundhogs, Armadillos, and Other Digging Pests?
- Rifles worth keeping by the back door on any rural property
*This article was developed with AI-powered tools and has been carefully reviewed by our editors.