5 Chicken Coop Mistakes You’ll Regret If You Don’t Catch Them Early
When we built our first coop, we thought we had everything figured out—until the first big rain turned the run into a swamp and a raccoon found its way in a week later. It’s one of those things you learn real fast: what looks good on paper doesn’t always work when you’ve got actual chickens to care for.
So if you’re just getting started, take it from someone who’s had to make more than a few coop fixes on the fly—these are the mistakes you’ll want to catch early while it’s still easy to fix them.
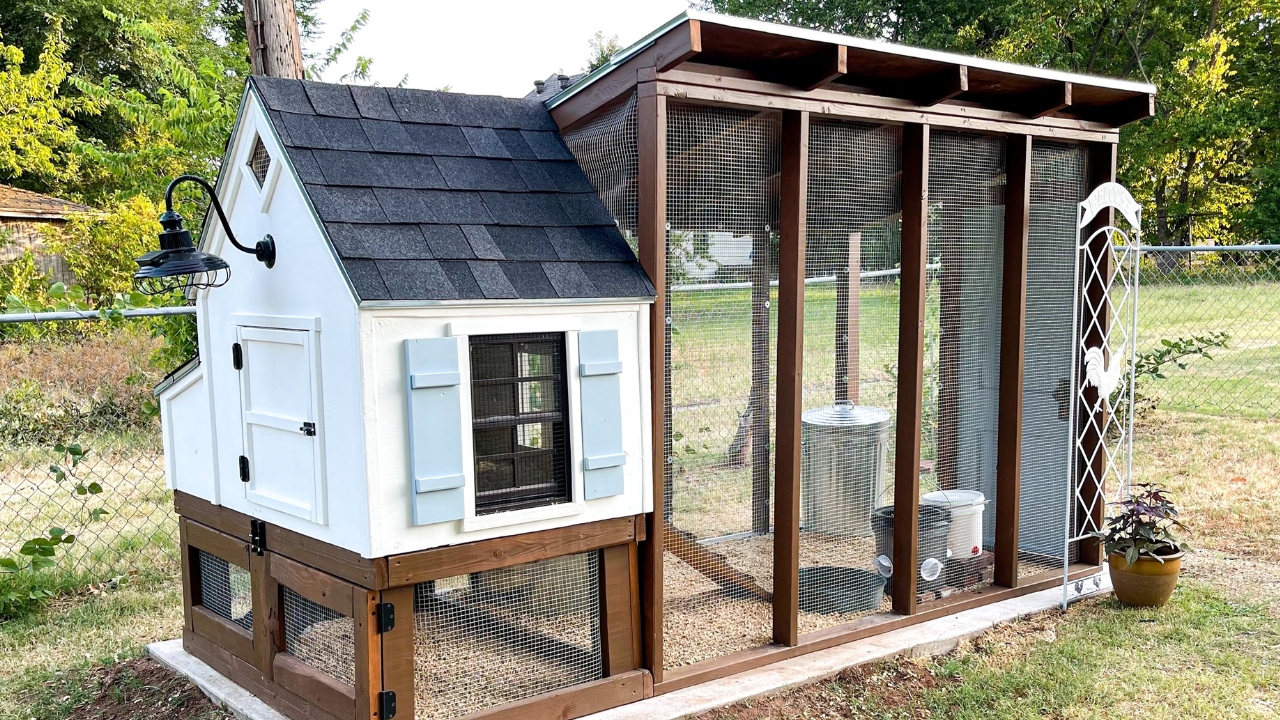
Not Enough Ventilation
Too many first-time coop builders think they’re doing their chickens a favor by sealing everything up tight. But chickens give off a ton of moisture, and without proper airflow, that moisture builds up fast. That’s how you end up with frostbite in winter and ammonia stink year-round.
A good coop needs vents up high where warm, damp air can escape—without creating direct drafts on the birds. It’s one of those things that’s easy to fix early, but a real pain to deal with once the flock’s already moved in.
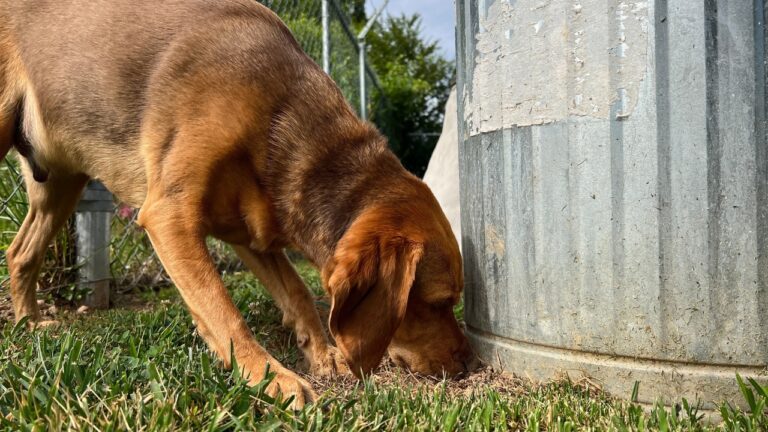
No Predator Protection

Raccoons, foxes, weasels—if you’ve got chickens, something’s going to try to get them. And chicken wire isn’t enough. It keeps birds in, but it won’t stop a determined predator from tearing through or digging under.
Use hardware cloth for windows and low areas, and bury it at least a foot down if you’re not on a solid floor. Latches need to be raccoon-proof too. If your setup isn’t locked down tight, it’s only a matter of time before something finds its way in.
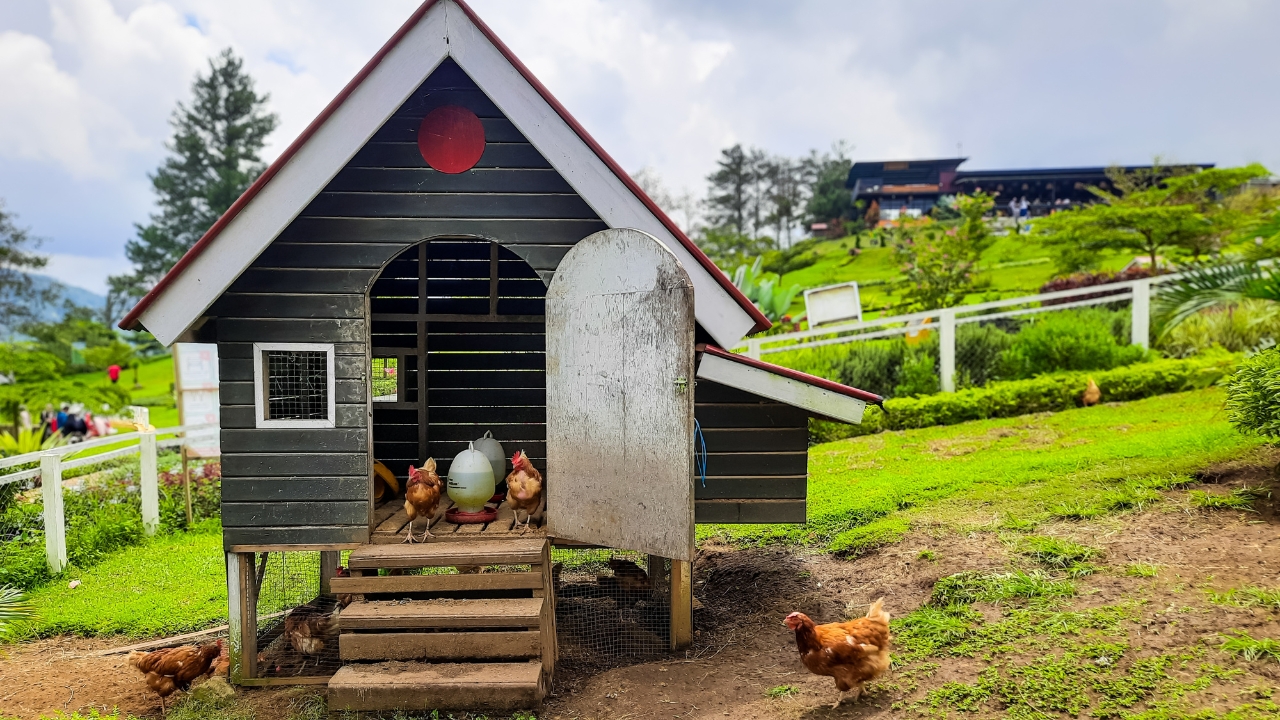
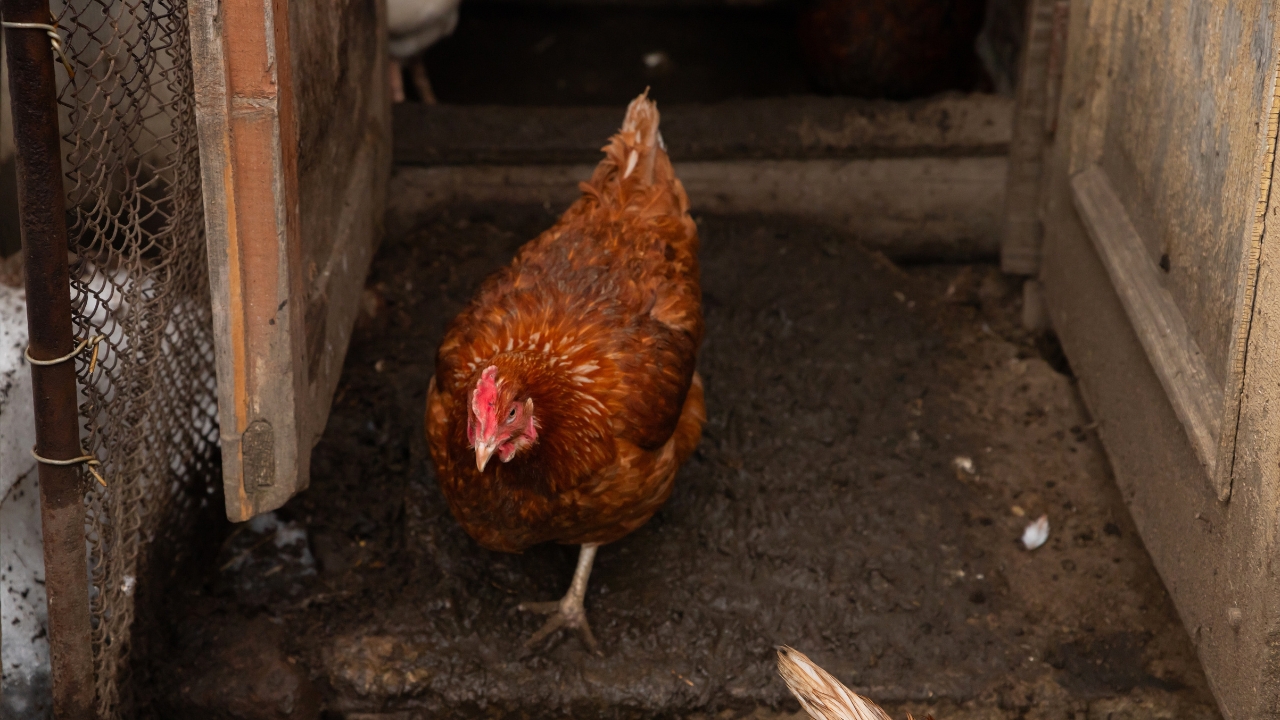
Hard-To-Clean Design
If you’ve got to duck, crawl, or climb just to get into your coop, it’s going to wear you out. And if it’s tough to clean, you’re not going to do it as often as you should—which means more flies, stink, and sick birds.
Build or buy a setup you can walk into, or at least one with big doors and pull-out trays. Smooth surfaces, fewer tight corners, and easy access go a long way toward keeping the space clean without it turning into an all-day job.
Not Enough Nesting Boxes

A common mistake is thinking you can get by with one or two boxes for a whole flock. That might work at first, but once laying ramps up, you’ll end up with busted eggs, stressed-out hens, and birds laying wherever they feel like it.
Plan for at least one nesting box per three to four hens. Make sure they’re easy to reach and lined with soft bedding. Give the hens a spot they want to use, or they’ll find their own—and you’ll be hunting for eggs in places you didn’t expect.
Poor Drainage Around the Coop
If water pools around your coop every time it rains, you’re asking for trouble. Wet, muddy runs lead to bacteria, parasites, and miserable chickens. And if the floor of the coop stays damp, you’ve got even bigger problems.
Before you build, look at how the ground drains. If needed, grade the area, add gravel, or build up a base. A little extra work upfront can save you from having to deal with foot rot, nasty smells, and a whole lot of cleanup later.
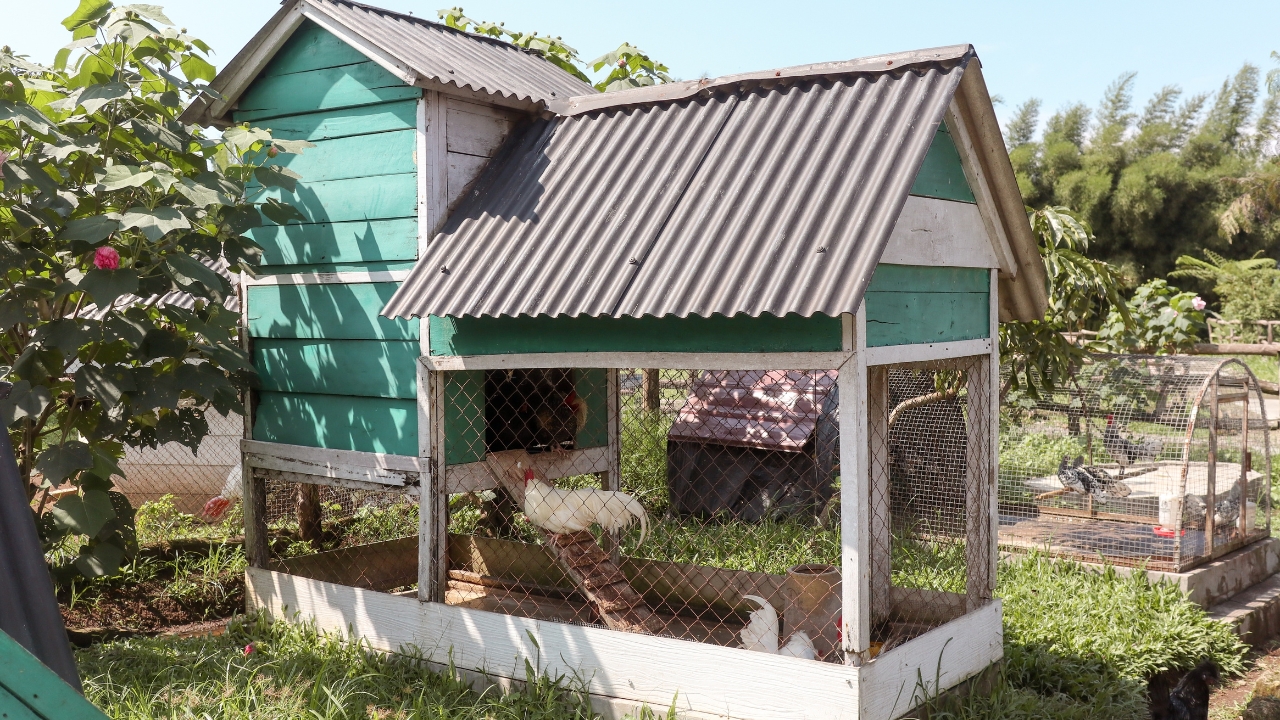
No Access to Shade
If your coop and run are sitting out in full sun all day, your birds are going to suffer. Chickens can handle cold way better than they can handle heat, and without shade, they’ll start overheating fast—especially in the summer.
If you can’t place the run under a tree or build a roof over part of it, use shade cloth, old tarps, or even scrap wood to block the sun during the hottest parts of the day. Chickens need a cool, shaded spot to stay healthy and keep laying.
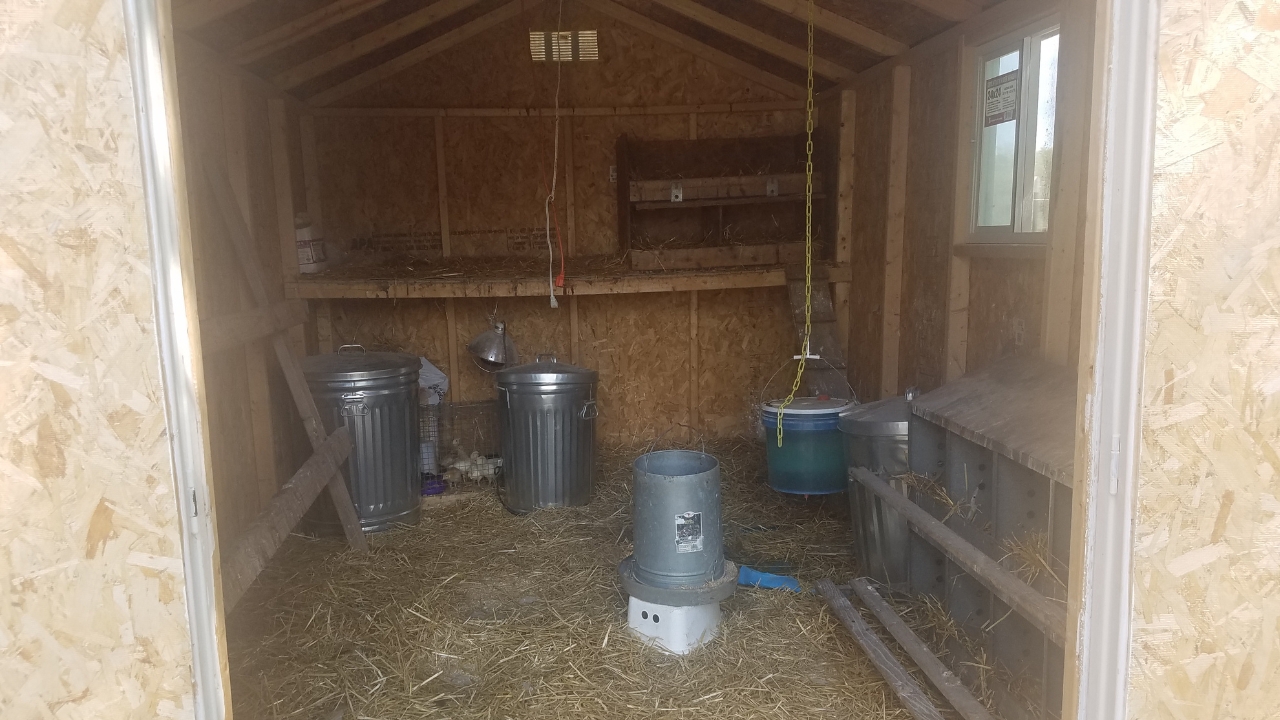
Using the Wrong Bedding

Not all bedding is created equal. Cedar shavings smell good to us, but they can irritate a chicken’s respiratory system. Straw looks cozy, but it mats down and holds moisture, which turns into a moldy mess quick.
Stick with pine shavings or chopped hemp if you can swing it. Both stay drier, are easy to clean, and help cut down on smell. Bad bedding choices might not seem like a big deal at first, but they add up fast in terms of stink and sickness.
Forgetting a Water Plan for Winter

If you live where it freezes, water is going to be a problem unless you plan ahead. A regular waterer will turn into a block of ice overnight, and hauling warm water out two or three times a day gets old quick.
Either invest in a heated waterer or figure out a setup with rubber bowls you can knock ice out of easily. Don’t wait until the first freeze hits—you’ll be kicking yourself while your flock’s standing around thirsty in the cold.
*This article was developed with AI-powered tools and has been carefully reviewed by our editors.