The safest way to hang outdoor lights without wrecking trim
Photo credit: Bauhaus1000/istock.com
Outdoor lights look great, but they can be rough on your house if you take the “grab a staple gun and hope for the best” approach. Staples, nails, and screws in the wrong spots can damage trim, invite water in, and give you a headache next year when you’re pulling everything back down.
The good news: there are easier, safer ways to get the lights up that don’t leave your trim full of holes.
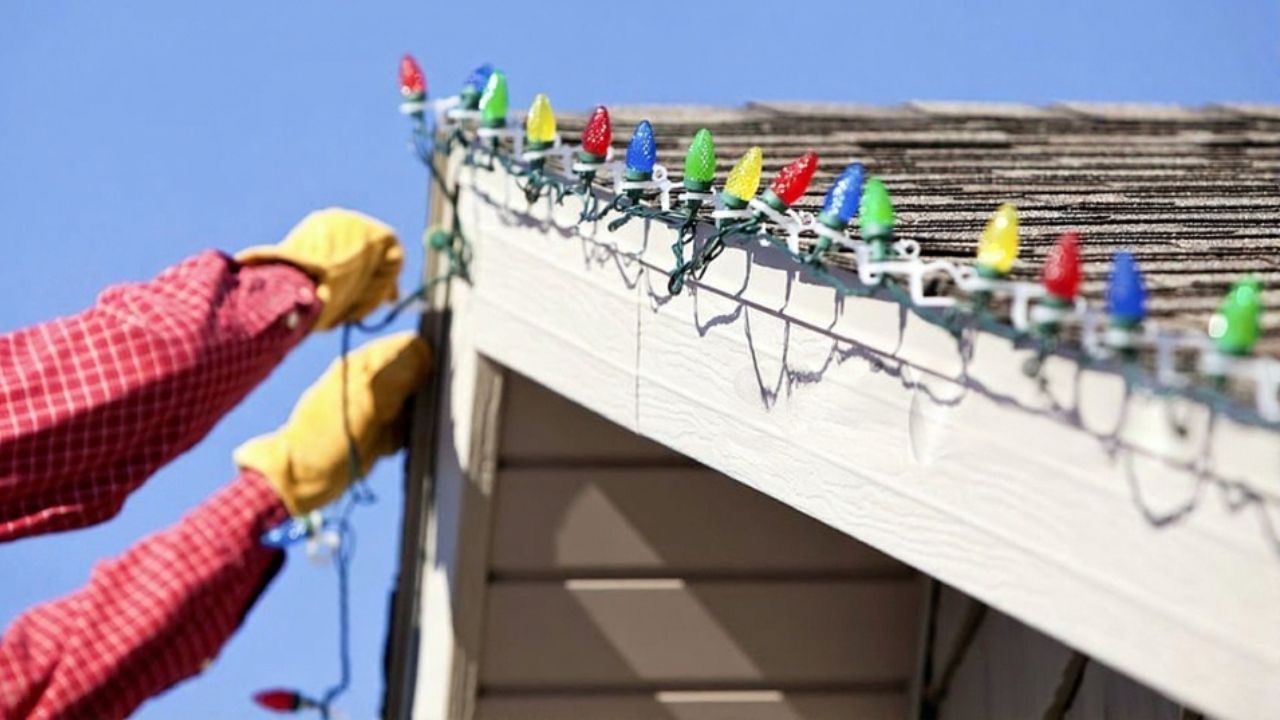
Ditch staples and nails for plastic clips
The biggest shift is what you use to attach the lights. Plastic clips are your friend here.
Look for clips made for:
- Gutters and shingles
- Eaves and fascia boards
- Brick or siding (if your house has those instead of trim)
These clips grab the light wire and hook onto the edge of the gutter or roof without piercing anything. They’re cheap, and they stay in place well if you space them out every few bulbs.
Once you buy them once, you can usually reuse them for several seasons if you store them in a bag with your lights.
Plan your route on the ground before you touch a ladder
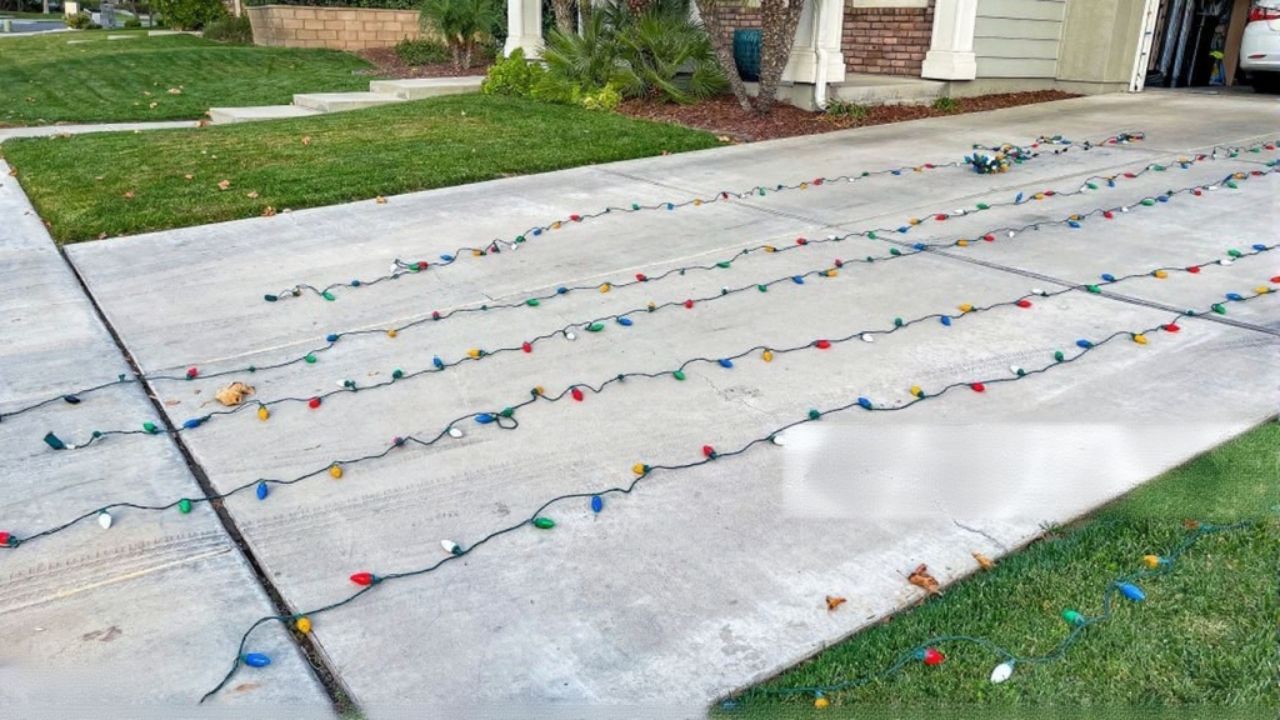
The safest light-hanging starts before you ever leave the ground. Untangle and lay out your light strands along the driveway or yard in the same pattern you plan to hang.
Check:
- Every bulb lights before you climb up
- Plugs reach where they need to reach without stretching
- You know exactly where the first and last clip should go
This lets you fix problems while you’re standing comfortably instead of halfway up a ladder wrestling a knotted strand or a burnt-out section.
Use the right ladder and respect the height
If you need a ladder, treat that piece of the job seriously. Don’t balance on patio furniture or try to stretch from a ladder that’s a little too short.
Basic ladder safety that actually matters:
- Set the ladder on flat, solid ground, not gravel or wet mulch.
- Have someone hold the base, especially if you’ll be leaning sideways at all.
- Move the ladder instead of overreaching. If you have to lean way out, the ladder needs to be repositioned.
It feels slower in the moment, but it’s much faster than dealing with a fall—or a busted section of trim because the ladder slipped.
Use adhesive hooks carefully on painted trim
If you want lights around windows or doorways where clips won’t help, temporary adhesive hooks can work as long as you’re picky about which ones you use.
Look for outdoor-rated hooks, and:
- Clean the trim with a little mild soap and water first, then dry it well.
- Press firmly and give the adhesive the full recommended “set” time before hanging anything.
- Avoid rough or flaking paint; adhesive can pull loose paint off with it.
When the season’s over, remove them gently according to the directions. Don’t rip them off sideways or you risk peeling paint.
Keep cords and connections off the ground and out of water
Even if your trim is safe, you still want to protect the rest of the setup.
A few simple steps:
- Use outdoor-rated extension cords and light sets only.
- Keep connections off bare ground—rest them on a brick, stake, or other raised surface.
- Plug into a GFCI outlet (the kind with the test/reset buttons) whenever possible.
You’re trying to keep moisture away from plugs and cords as much as you reasonably can. That protects both your lights and your trim from stray sparks, heat, or damage.
Take your time when you take them down
Most trim damage doesn’t happen when lights go up—it happens when you’re cold, tired, and yanking them down in January.
Give yourself a little time on a decent day to:
- Unclip lights one section at a time instead of pulling long runs
- Pull adhesive hooks off slowly and straight down if that’s what the brand recommends
- Check trim as you go for any spots that might need a quick touch-up or caulk later
If you store clips and hooks in the same bin as the lights, next year’s setup goes faster and you’re less likely to grab whatever is handy and rough on the house.
Hanging outdoor lights safely is mostly about choosing non-destructive hardware, planning while you’re still on the ground, and respecting the ladder. Do those things, and your trim and paint stay intact while the house still looks fully lit for the holidays.
Like Fix It Homestead’s content? Be sure to follow us.
- Man Says He Found Out the Fence He Paid For Wasn’t Actually on His Property
- Woman Says Her Neighbor Started Taking Mulch From Her Delivery Pile Before She Could Even Spread It
- I made Joanna Gaines’s Friendsgiving casserole and here is what I would keep
- What Caliber Works Best for Groundhogs, Armadillos, and Other Digging Pests?