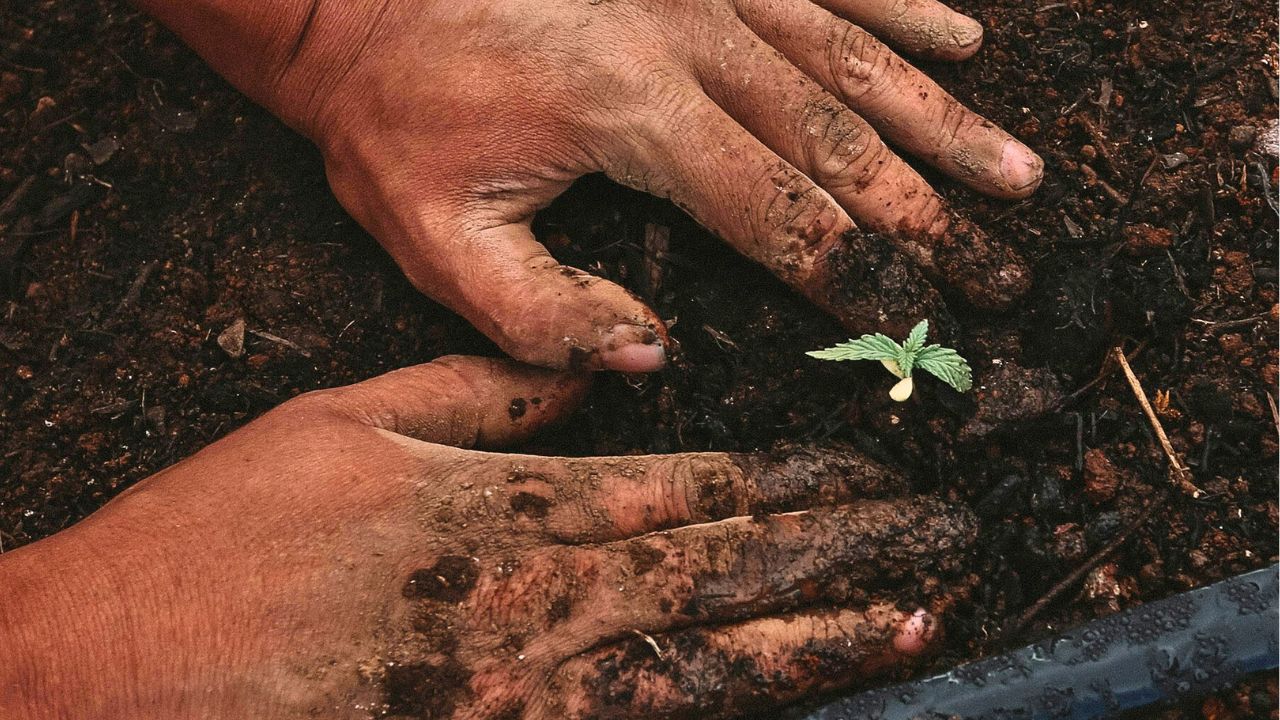
Seed starting supplies to gather now before shelves sell out
The first warm day tricks everyone into seed starting at once. If you set up now, you’ll get the gear you want and avoid the late-season scramble. Focus on a cleanable tray system, consistent light, and a soil mix that drains well.
Trays, inserts, and a leak-proof boot tray
Grab a few solid 1020 trays without holes plus cell inserts in sizes that match your crops—72-cell for most starts, 50-cell for tomatoes and peppers. The solid tray holds water and protects shelves.
Set the whole thing in a cheap boot tray to catch spills. You’ll keep floors dry and be more willing to water deeply when seedlings need it.
A quality seed starting mix, not potting soil
Seed mixes are fine-textured and sterile, which helps roots and reduces damping off. Potting soil holds too much water and can carry fungus gnats.
Buy an extra bag for potting-up week. Nothing derails momentum like running out the day roots are bursting through cells.
Bottom heat for finicky germinators
A basic heat mat brings stubborn seeds—tomatoes, peppers, eggplant—into the ideal range. You’ll see faster, more even sprouting.
Use a plug-in thermostat if your house swings in temperature. Consistency at the root zone makes sturdier starts.
Lights you can adjust easily
LED shop lights or dedicated grow lights hung on chains let you keep bulbs two to three inches above leaves. That closeness prevents leggy stems.
Put the lights on a simple timer for 14–16 hours a day. Routine beats fiddling, and seedlings respond to the steady rhythm.
A gentle fan for airflow and stronger stems
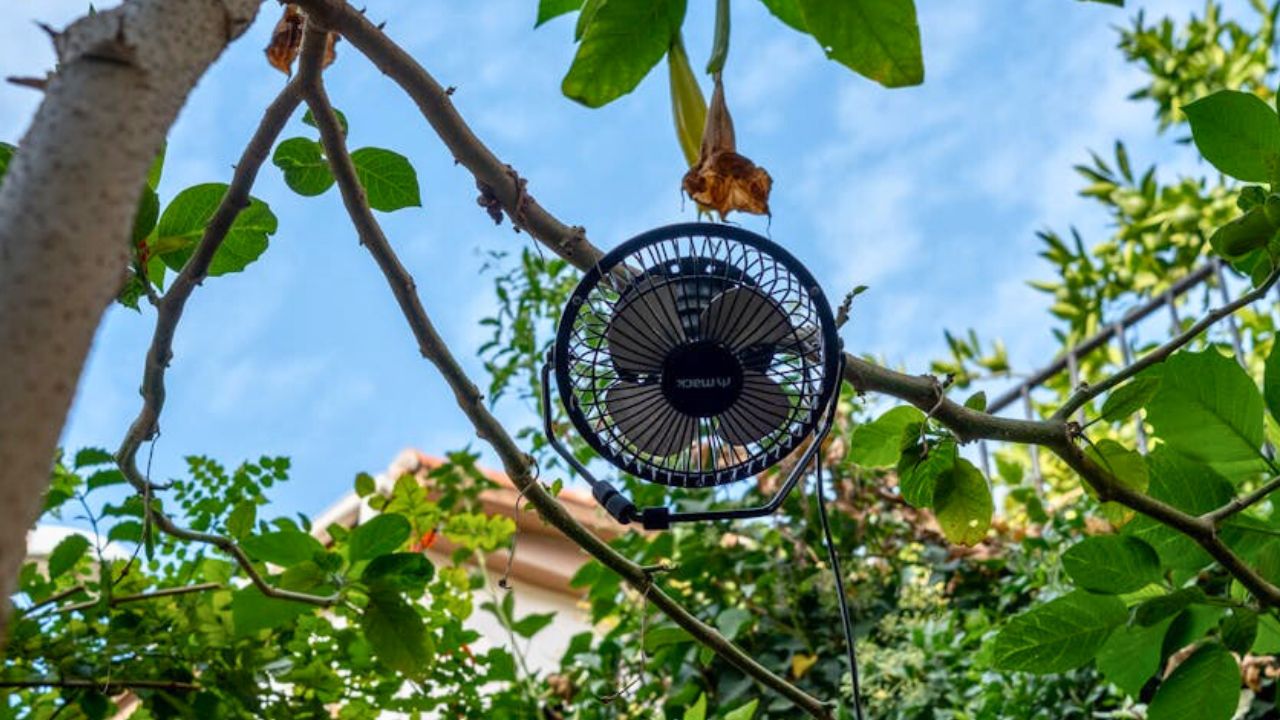
A clip-on fan on low toughens seedlings and dries excess moisture on leaves. Good airflow is cheap insurance against fungal issues.
Aim for a soft flutter, not a wind tunnel. If trays dry too fast, shorten the fan’s daily run instead of over-watering.
Labels you can actually read in April

Use plastic plant tags and a UV-safe marker or pencil. Masking tape on the tray edge fades and peels.
Write variety and sow date. When something thrives, you’ll know exactly what to replant next year.
A watering plan that respects roots
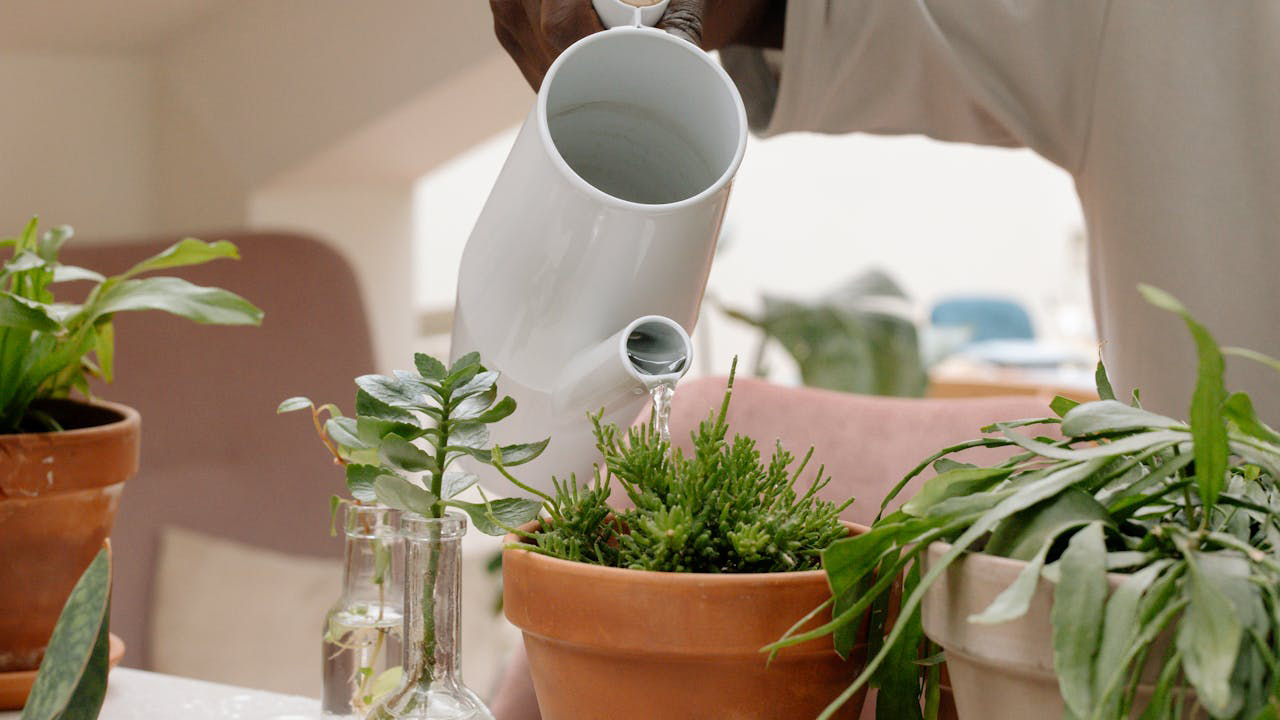
Bottom-water by pouring into the solid tray and letting cells wick up for 10–15 minutes. Dump excess so roots get air as well as moisture.
Top-water gently only to settle fresh seed or when the surface crusts. A cheap pump sprayer gives you control without washing seeds away.
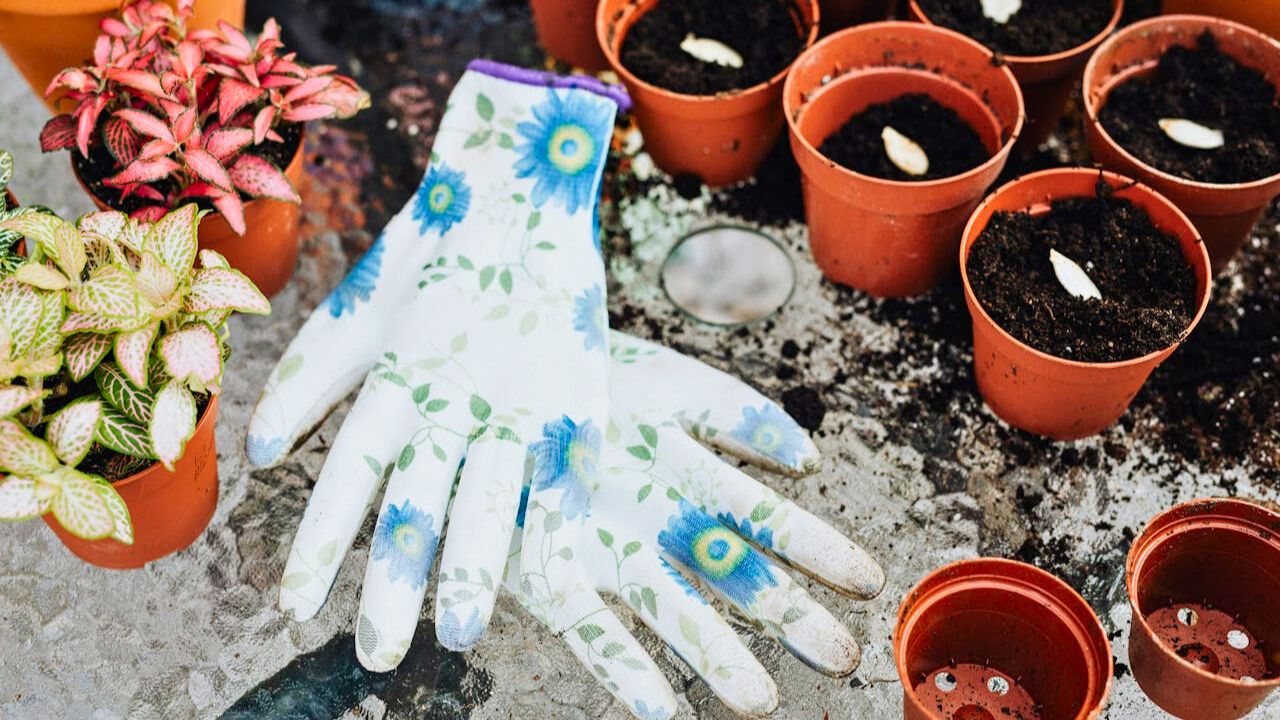
A simple pot-up kit for week three or four

Have 3–4″ pots and a bag of light potting mix ready for when first true leaves appear. Potting up on time prevents stalled growth.
Handle seedlings by the leaves, not stems, and firm soil gently around roots. A small drink after moving eases the shock.
A hardening-off routine on the calendar

Plan for 7–10 days of gradual outdoor exposure before planting out. Start in bright shade and no wind, then lengthen time and light daily.
Set a reminder for your average last frost. If a surprise cold snap hits, you’ll already have a plan to pause and protect.
Like Fix It Homestead’s content? Be sure to follow us.
- I made Joanna Gaines’s Friendsgiving casserole and here is what I would keep
- Pump Shotguns That Jam the Moment You Actually Need Them
- The First 5 Things Guests Notice About Your Living Room at Christmas
- What Caliber Works Best for Groundhogs, Armadillos, and Other Digging Pests?
- Rifles worth keeping by the back door on any rural property
*This article was developed with AI-powered tools and has been carefully reviewed by our editors.