The cheap remodel sign that shows up in the trim work first
The fastest way to tell whether a remodel was done on the cheap is not the countertop or the light fixtures, it is the trim work that frames every doorway, baseboard, and window. When the budget gets squeezed, finish carpentry and paint are often the first places corners are cut, and those shortcuts start telegraphing themselves in the woodwork long before anything else fails. If you know what to look for, you can read your trim like a report card on the entire project.
That scrutiny matters whether you are buying a house, hiring a contractor, or trying to decide which parts of your own renovation deserve a little more money and time. Trim is where structure, craftsmanship, and materials all meet in plain sight, so flaws here rarely stay cosmetic for long. They hint at how carefully the rest of the work behind the walls was handled, and they give you leverage to push for better results before you sign off on the job.
Why trim is the canary in the coal mine
Trim sits at the intersection of almost every trade, which is why it so often reveals a bargain remodel first. Your baseboards and casings have to bridge the work of framers, drywall crews, flooring installers, and painters, so any sloppiness in those earlier stages tends to show up as crooked lines, uneven gaps, or awkward transitions. Because trim is eye level and runs the full perimeter of a room, your brain is wired to notice when those lines are off, even if you cannot immediately say why.
Professionals use “Trim” as a broad term for all this decorative woodwork, from baseboards to crown, with more specific pieces like casing around doors and windows and moulding that adds detail and depth. As one detailed guide explains, Trim is the umbrella category that includes casing and moulding, and its job is to hide rough edges while enhancing the architectural character of a room. When that system of parts is installed with care, it quietly makes everything else look more expensive; when it is rushed or underfunded, it becomes a running highlight reel of compromises.
The telltale gaps, cracks, and bad joins
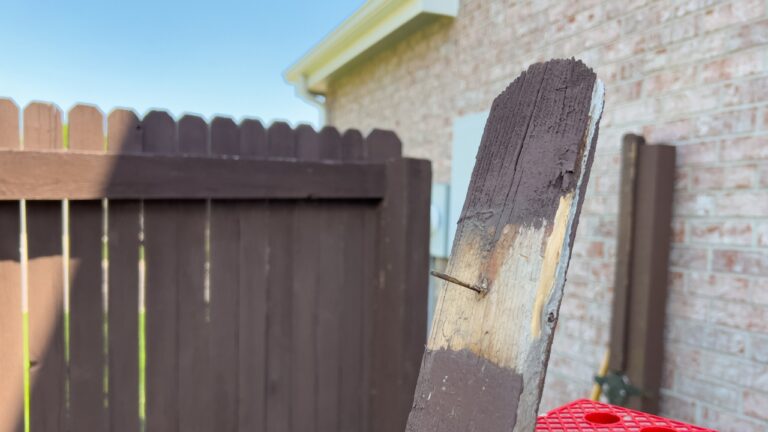
The most obvious sign that a remodel was done on the cheap is the way pieces of trim meet, or fail to meet, at corners and seams. Clean finish work depends on tight miters and consistent reveals, so when you see open joints, mismatched profiles, or baseboards that pull away from the wall, you are looking at either poor planning or someone racing the clock. Those flaws are not just aesthetic, they can signal that measurements were not checked, saws were not calibrated, or the installer simply lacked the skill to correct out-of-square walls.
Finish carpentry specialists describe Gaps, Cracks, Poor clearest indicators of subpar work, often caused by a lack of precision in cutting and installation. When corners do not close up, it usually means the carpenter did not cope or miter correctly, or tried to force stock to fit irregular walls instead of scribing it. Over time, those small openings collect dust, telegraph seasonal movement, and make even new construction feel tired long before its time.
When cracks are normal and when they are not
Not every crack around your trim is a smoking gun for a bad remodel, and understanding the difference can save you from unnecessary panic or from missing a serious problem. New houses and major additions often go through a settling period as framing dries and the structure adjusts, which can create hairline separations where trim meets drywall or at inside corners. Many builders even plan for a “one year” visit to touch up caulk and paint once the worst of that movement has played out.
Contractors who manage a lot of new work describe this as a predictable cycle, noting that they “refer to this process as needing one year touch ups” and tell clients it is normal to see some Dec hairline cracks as the house settles. What is not normal is seeing wide, jagged gaps that keep reopening after repeated caulking, or trim that separates in multiple directions at once. Those patterns can point to poor drywall taping, sloppy framing, or even structural movement that needs more than a painter’s fix.
Foundation movement hiding in your baseboards
Sometimes the cheap-looking trim is not just about cosmetic shortcuts, it is your first clue that the house itself is shifting. Baseboards that suddenly pull away from the floor, casings that go out of square, or crown that starts to gap in one corner can all be early signs that the structure behind them is moving. Because trim is rigid and runs across long spans, it tends to telegraph subtle changes in the framing and foundation before you notice them in other finishes.
Specialists in structural repair point to a cluster of warning signs that suggest your home may be shifting, including Cracks in brick or drywall and Doors that stick or will not latch. When you see those issues alongside trim that no longer lines up, it is a cue to look beyond paint and caulk and consider whether drainage, soil pressure, or lateral loads on the foundation are being handled correctly. In that context, a wavy baseboard is not just a finish problem, it is a prompt to bring in a qualified designer or licensed contractor before the damage becomes far more expensive.
Paint quality: the quiet giveaway
Even when the carpentry is decent, the paint on your trim can quietly reveal how aggressively a remodel was value engineered. High quality trim paint levels out, resists yellowing, and stands up to the abuse of daily life, while bargain products tend to show brush marks, chip easily, and stain around door handles and baseboards. Because trim is usually painted in a semi gloss or gloss sheen, any shortcut in prep or product choice is magnified by the light.
Experienced painters often have go to products for this reason, and some will tell you that When choosing your trim paint, you should look at proven formulas like Sherwin Sherwin Williams Pro Classic oil based paint rather than the cheapest option on the shelf. If your “new” trim already looks dingy, feels rough to the touch, or shows flashing where touch ups were done, it is a sign that the painter either skimped on sanding and priming or used a product that was not designed for the job.
Scheduling shortcuts that show up in the woodwork
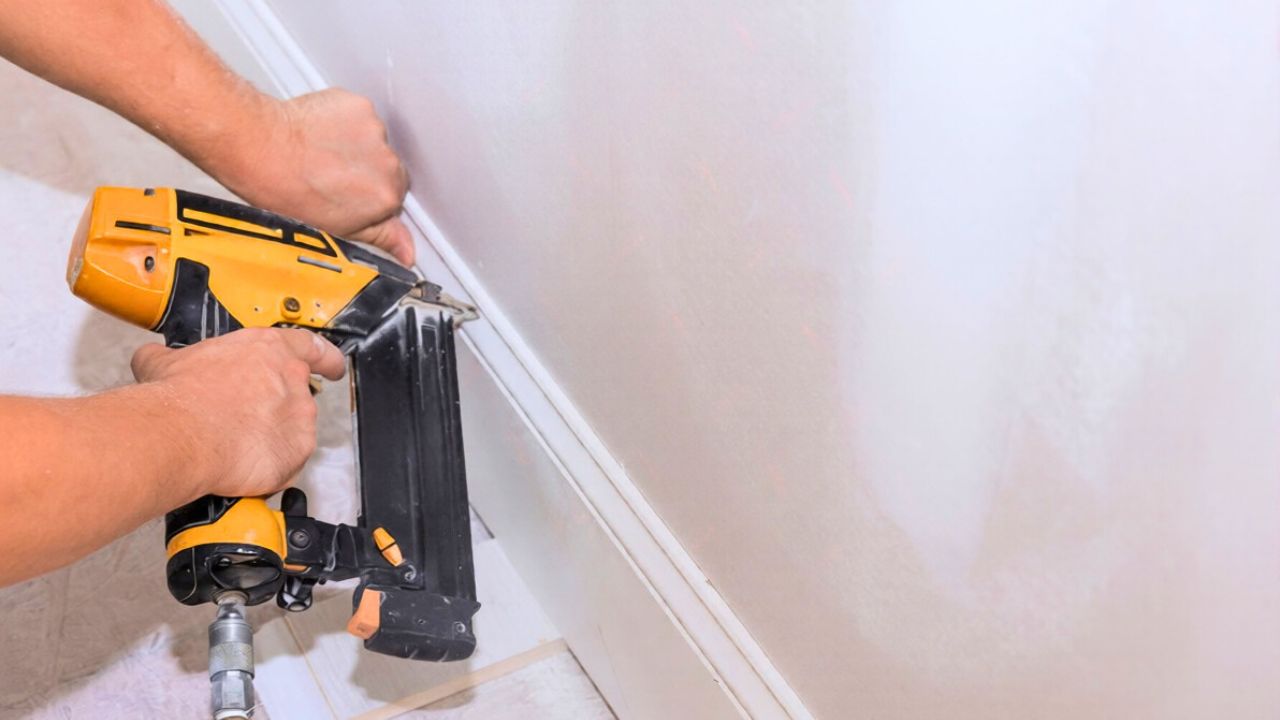
How your contractor sequences the work has a direct impact on how your trim looks and lasts, and rushed schedules are another hallmark of a budget remodel. If trim goes in before the house is properly dried in, or if painters are forced to coat it while other trades are still banging around, you end up with dings, nail pops, and patched spots that never quite blend. Good builders leave enough time between rough work, drywall, and finish stages so that the trim is not constantly being repaired before you even move in.
Professionals talk about a standard Question for interior painting and finishing schedule, often framed as a clear What and SOP for when to install trim and finish walls. When that sequence is respected, trim is installed after the messy work is done and then painted in controlled conditions. When it is ignored in the name of speed, you see swollen profiles from trapped moisture, caulk that shrinks as materials dry, and paint that has to be touched up so often it never achieves a uniform finish.
Real world red flags from homeowners
One of the clearest ways to understand cheap trim work is to look at how it frustrates homeowners who thought they were paying for something better. Complaints often start with doors that do not close cleanly, casing that looks like it was cut with a butter knife, or baseboards that stop short of the wall and are “fixed” with a thick smear of caulk. Those details may sound small, but when you live with them every day, they become a constant reminder that the job was not done with care.
In one widely discussed remodel, a homeowner described how Jun they hired a construction company to hang several doors, including three closets and one main entry, only to be told that visibly flawed trim “looks great.” They were left with uneven reveals and sloppy joints that would have been obvious to any experienced carpenter. Stories like that underline why you should inspect trim closely before making final payments, and why written standards for finish quality are worth insisting on in your contract.
How to inspect trim like a pro
You do not need a carpenter’s toolkit to spot the cheap remodel tells hiding in your trim, just a methodical eye and a willingness to look beyond the first impression. Start by walking the room and following each run of baseboard, casing, and crown with your gaze, checking that the lines are straight and that joints are tight. Pay special attention to inside and outside corners, transitions at staircases, and places where trim meets flooring or countertops, since those are the hardest areas to fake.
Then get closer and run your hand along the surfaces, feeling for rough patches, nail holes that were not filled properly, or caulk that has already cracked. Look at the paint from different angles to see if brush strokes, drips, or sheen changes give away rushed work. If you notice repeating patterns of flaws, such as every miter in a room being slightly open or every door casing having a different reveal, you are likely seeing the fingerprints of a crew that was undertrained, underpaid, or both.
When to push back, and when to walk away
Once you know how much your trim is telling you, the next step is deciding what to do about it. Some issues, like minor caulk shrinkage or a few rough nail holes, are reasonable to include in a punch list and expect your contractor to fix. Others, such as widespread misaligned casings, chronic cracking that suggests structural movement, or paint that is already failing, may justify holding back payment until a more substantial plan is in place.
If you are still in the planning phase, use what you have learned to budget more realistically for finish work instead of treating it as an afterthought. Ask prospective contractors how they handle one year touch ups, what trim products and paints they prefer, and how they sequence their work to protect finished surfaces. When someone shrugs off obvious flaws in the woodwork or tells you that gaps and cracks are “just how it is,” take that as the cheap remodel sign it is, and be ready to keep looking for a team that treats your trim as the first, not the last, place to invest.
Like Fix It Homestead’s content? Be sure to follow us.
Here’s more from us:
- I made Joanna Gaines’s Friendsgiving casserole and here is what I would keep
- Pump Shotguns That Jam the Moment You Actually Need Them
- The First 5 Things Guests Notice About Your Living Room at Christmas
- What Caliber Works Best for Groundhogs, Armadillos, and Other Digging Pests?
- Rifles worth keeping by the back door on any rural property
*This article was developed with AI-powered tools and has been carefully reviewed by our editors.