The easiest way to label outdoor bins so spring setup is faster
Outdoor bins are great until you’re standing in the driveway in March digging through three of them for one specific thing. If every tote out there just says “YARD” or “GARAGE,” you’re basically signing yourself up for a scavenger hunt twice a year.
You don’t need a full organizing system. You just need labels that actually mean something six months from now and won’t wash off in the first rainstorm. A little planning now makes spring setup feel like grab-and-go instead of “dump everything out and start guessing.”
Decide what moments you want to make easier
Before you start slapping labels on everything, think about the jobs that always annoy you in spring and fall. That’s where your labeling system should aim.
Ask yourself:
- What do I always need first when seasons change?
- What do I always forget which bin it’s in?
- What do I dread digging for every single year?
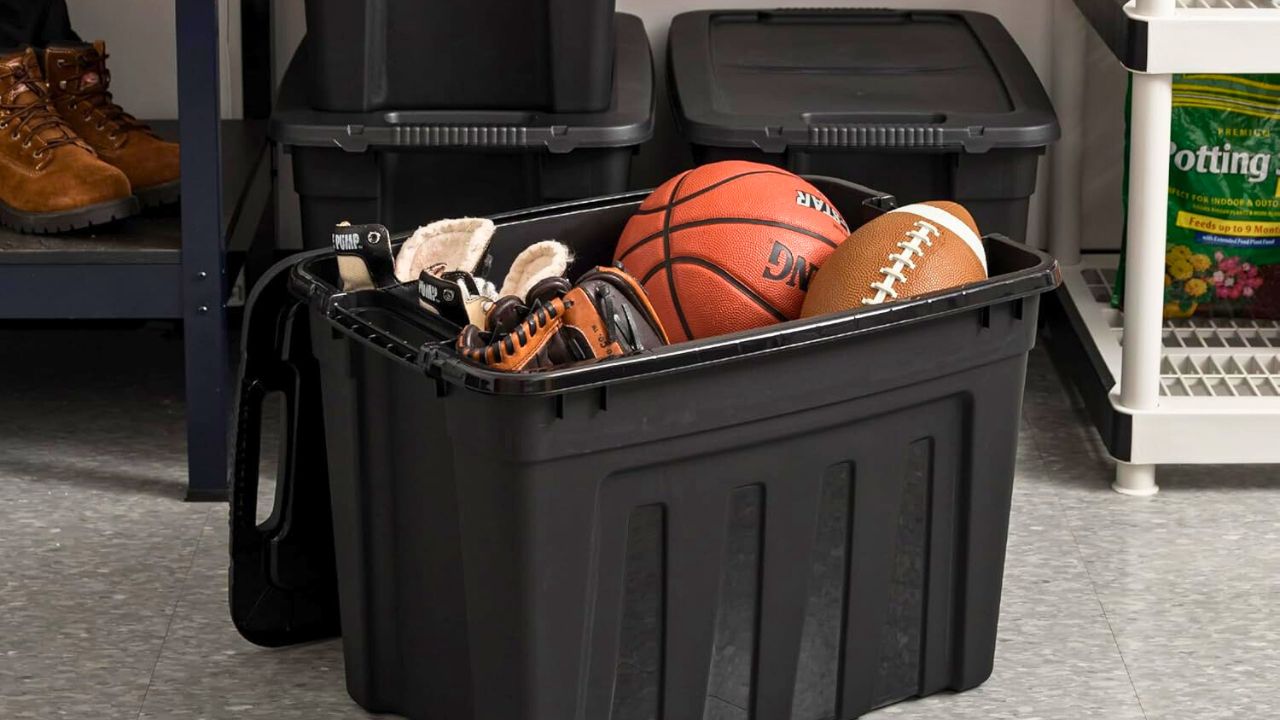
For most people, that’s things like hoses, sprinklers, garden tools, cushions, outdoor toys, holiday lights, or specific decor. Those categories deserve their own bins and clear labels. If a label doesn’t help you find something faster in a real moment, it’s not specific enough.
Give each bin one main job, not a catch-all
The fastest way to make bins useless is to let each one become “miscellaneous.” Instead, give each bin one clear job and stash only things that match it.
Think in everyday categories like:
- “Patio cushions and covers – front porch”
- “Kids’ outdoor toys – driveway side”
- “Spring garden tools – hand tools and gloves”
- “Holiday lights – front of house only”
If something doesn’t fit the bin label, move it or make a new category. It feels picky in the moment, but later on it means you can walk out, grab the exact bin, and be done in one trip.
Use labels that survive sun, rain, and dirty hands
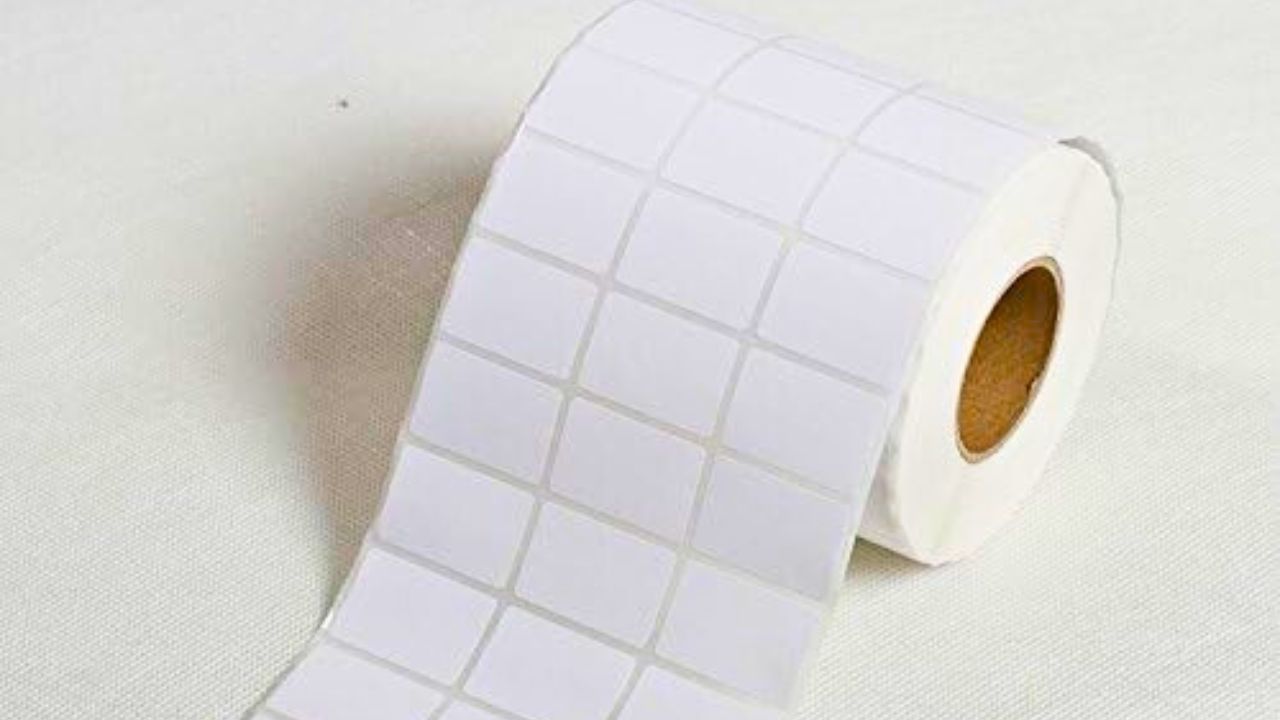
Paper masking tape and a ballpoint pen are going to fade, curl, and fall off. For outdoor bins, you need something that hangs on.
Easy options that work:
- Outdoor-rated label maker tape
- Paint pens or oil-based markers directly on the bin
- Weatherproof sticker labels covered with clear packing tape
Write big enough that you can read it standing a few feet away. If you have more than one of the same bin, label at least two sides and the lid so you’re not spinning them like a wheel every time you’re looking for something.
Add a simple “inside the bin” list for the worst offenders
Some categories are naturally vague—like “Garden stuff.” For those, a tiny cheat sheet on the side saves a lot of digging.
Under the main label, add a smaller line like:
- “Gloves, hand tools, kneeling pad, plant ties”
- “Extension cords, light clips, timers”
You don’t have to list every single thing, just the items you always forget where you put. It’s enough to remind future-you, “Yep, this is the right bin. You don’t have to open four more.”
Color-code if you’re a visual person
If words blur together for you when you’re in a hurry, color helps. You can:
- Use different color bins for different zones (green for garden, blue for pool, gray for tools)
- Use colored duct tape behind the label as a quick visual cue
- Add a colored dot or stripe near the handle for easy spotting
The key is to keep the system simple. You don’t need eight colors. Even something as basic as “green = garden, red = holidays, blue = kids” makes scanning a stack of bins much faster.
Pack with the next season in mind, not the one you’re leaving
When you’re tired and putting things away, it’s easy to toss everything in “wherever it fits.” Try to think about how you’ll want to find it in six months instead.
For example:
- Put all front-porch items together even if they’re from different holidays.
- Store spring yard tools together instead of mixed with heavy fall tools.
- Keep everyday outdoor toys separate from once-a-year things like water balloons.
You’re not aiming for Pinterest-perfect. You’re simply packing in a way that matches how you actually use your yard and porch through the year.
Make “label as you go” a habit, not a giant project
You don’t have to redo every bin in one day. Start with the ones you use the most or the ones you always dread digging through.
Any time you touch a bin:
- Check if the label truly matches what’s inside.
- Add a clearer label if it doesn’t.
- Toss a quick “inside list” on the front if you’re always forgetting what’s in there.
Ten seconds with a marker now saves ten minutes of digging later. By the time spring rolls around, you’ll have a small group of clearly labeled, actually useful bins waiting on you instead of a guessing game stacked along the wall.
Like Fix It Homestead’s content? Be sure to follow us.
- I made Joanna Gaines’s Friendsgiving casserole and here is what I would keep
- Pump Shotguns That Jam the Moment You Actually Need Them
- The First 5 Things Guests Notice About Your Living Room at Christmas
- What Caliber Works Best for Groundhogs, Armadillos, and Other Digging Pests?
- Rifles worth keeping by the back door on any rural property
*This article was developed with AI-powered tools and has been carefully reviewed by our editors.