The gift wrap station ideas that do not need a craft room
You don’t need a whole craft room with a dedicated island to wrap gifts without losing your mind. Most of the frustration comes from hunting for tape, untangling ribbon, and working on a floor that kills your back—not from the wrapping itself.
A good “station” is really just a small setup where everything you need is in one place and easy to put away. That can live in a closet, under a bed, or on a rolling cart.
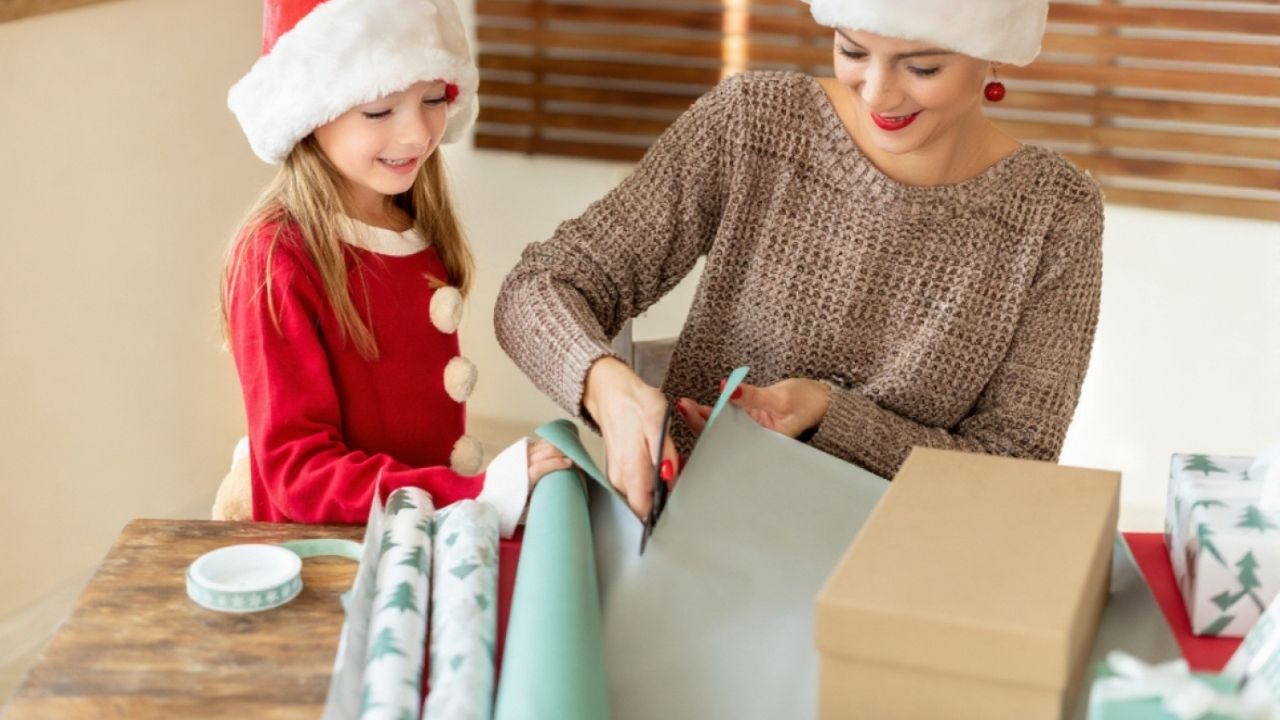
Start with one flat surface you can claim temporarily
The wrapping itself is easier if you’re not on the floor. Pick one surface that can be your go-to when it’s time to wrap, like:
- The dining table
- A folding table you can pop up and down
- The top of a sturdy storage bin
Keep a simple rule in mind: when it’s “wrapping time,” that surface belongs to wrapping. Clear it, lay out what you need, and then put things away when you’re done so the table can go back to normal life.
Knowing exactly where you’ll wrap is half the battle.
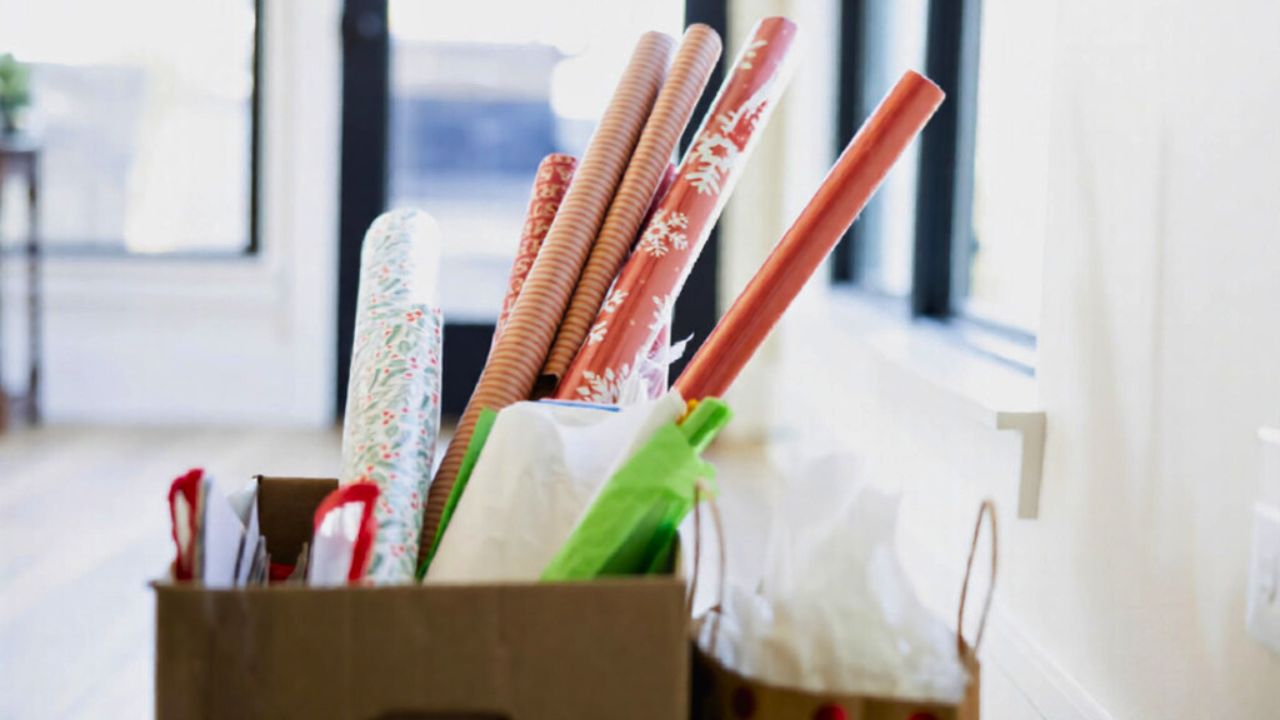
Use a bin or basket as your portable wrap kit
Instead of storing paper in one spot, tape in a drawer, and tags somewhere else, pull everything into one portable bin or basket.
In that bin, keep:
- Rolls of wrapping paper
- Flat folded gift bags
- Tissue paper in a large envelope or folder
- Tape, scissors, pens, and tags in a smaller container inside the bin
When it’s time to wrap, you grab the bin and head to your chosen surface. When you’re done, everything goes back in the bin and slides into a closet or under a bed.
Store rolls upright so they stop unrolling and tearing
Loose rolls are a pain—corners tear, paper unrolls, and they knock over like dominoes.
You can tame them a few ways:
- Stand rolls upright in a tall basket, hamper, or narrow bin.
- Use a simple tension rod or crate to keep them from falling over.
- Wrap a small strip of masking tape or a reusable paper band around each roll to keep it from unrolling.
Upright storage takes up less floor space and makes it easier to see what you have without digging.
Use vertical space with an over-the-door organizer
If closet space is tight, an over-the-door shoe organizer is a sneaky good wrapping station.
You can use the pockets for:
- Tape, scissors, pens, and tags
- Small ribbons and bows
- Gift cards and labels
- Folded tissue and flat bags
Hang it on the inside of a closet, pantry, or guest room door. Combine that with a tall basket for rolls on the floor, and you’ve basically built a wrap station into a sliver of door space.
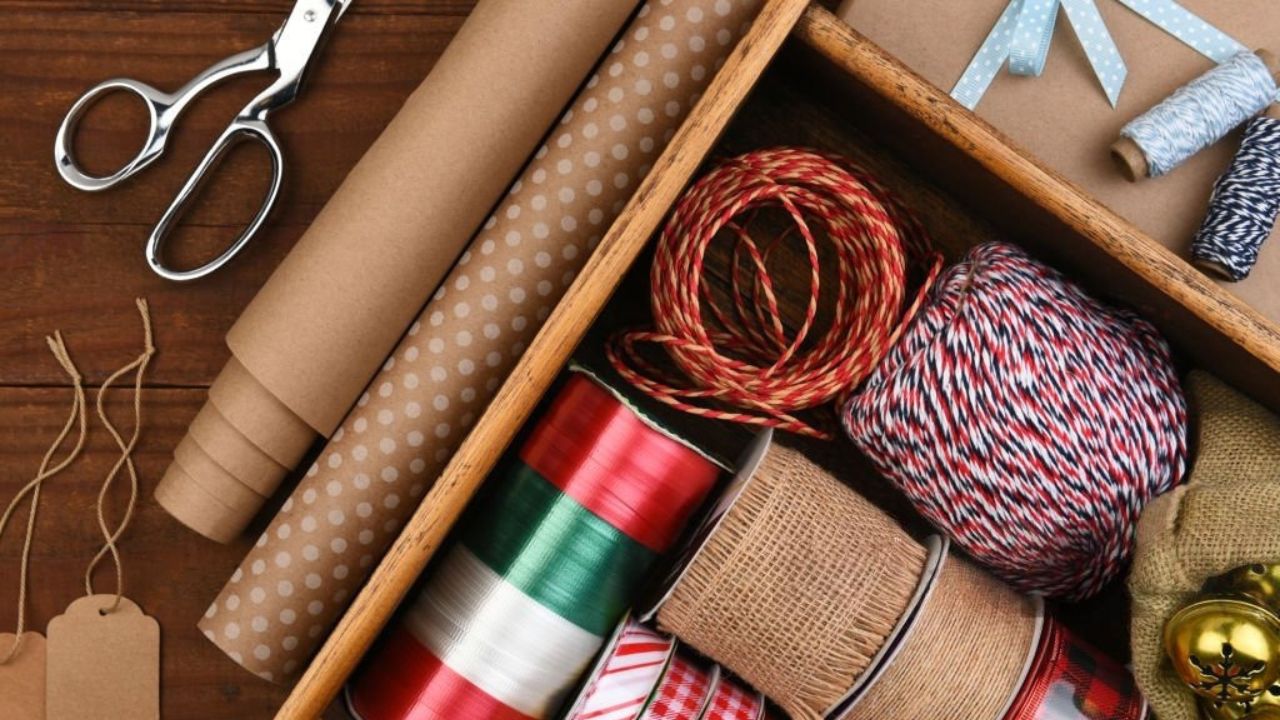
Keep a “wrapping essentials” caddy ready to grab
The thing that slows wrapping down the most is hunting for tape and scissors. A small caddy fixes that instantly.
Use a small plastic tote, cleaning caddy, or divided organizer to hold:
- Two rolls of tape (so one doesn’t walk off)
- A good pair of scissors
- A couple of pens or markers
- Pre-cut tags or a small stack of sticky labels
This caddy lives inside your main bin or near your wrapping basket. When you’re ready to wrap, you set it on the table first and you’re not stopping every five minutes to dig for something.
Keep scrap paper and extra pieces in one spot
You don’t need to save every tiny inch of wrapping paper, but a small stash of decent-sized scraps is handy for small gifts.
Designate one large envelope, folder, or a clear zip bag for:
- Leftover pieces of paper big enough to cover small boxes
- Extra tags you cut and didn’t use
- Short pieces of ribbon that can still tie around something small
Toss anything too shredded to be useful. Keeping the scraps under control means your bin doesn’t turn into a crumpled mess by mid-December.
Reset your station at the end of each wrapping session
When you’re done wrapping for the night, take two minutes to reset:
- Put scissors, tape, and pens back in the caddy.
- Stand rolls back upright and secure them.
- Tuck tissue back into its folder or pocket instead of leaving it scattered.
Future-you will thank you when you can pull out the bin or open the closet and everything’s ready to go again instead of starting from chaos.
You really don’t need a dedicated room to have a “gift wrap station.” You just need one work surface you can claim when you need it, a bin or organizer that keeps everything together, and a quick reset habit so it’s ready the next time you sit down to wrap.
Like Fix It Homestead’s content? Be sure to follow us.
- I made Joanna Gaines’s Friendsgiving casserole and here is what I would keep
- Pump Shotguns That Jam the Moment You Actually Need Them
- The First 5 Things Guests Notice About Your Living Room at Christmas
- What Caliber Works Best for Groundhogs, Armadillos, and Other Digging Pests?
- Rifles worth keeping by the back door on any rural property
*This article was developed with AI-powered tools and has been carefully reviewed by our editors.