The home photo checklist that makes insurance claims less miserable later
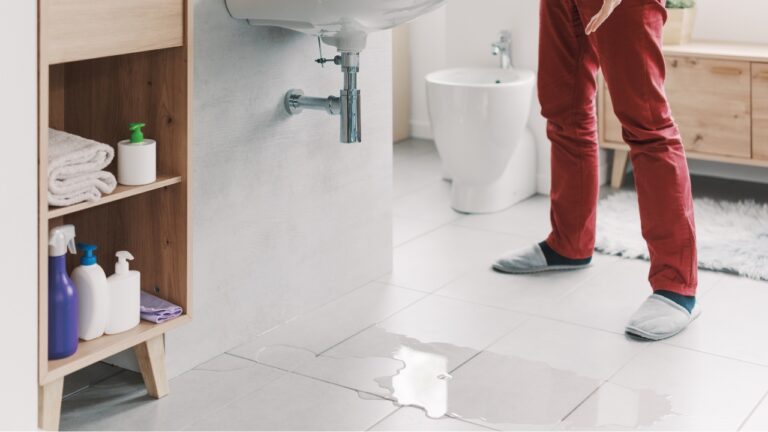
When a storm, fire, or burst pipe rips through your home, the last thing you want is an argument over what you owned and what it was worth. A simple, methodical set of photos taken in calmer times can turn that fight into a straightforward paperwork exercise. By treating your phone like a quiet witness and following a clear checklist, you give yourself proof that makes insurance claims less miserable later.
The goal is not to become a professional photographer, but to build a visual record that shows what you had, where it was, and what condition it was in before anything went wrong. With a little structure, you can capture that evidence in an afternoon, keep it updated once a year, and walk into any claim with confidence instead of guesswork.
Why a home photo checklist matters before anything goes wrong
Insurance is built on proof, and in a claim you are expected to show what you owned and the condition it was in before the loss. If you are trying to reconstruct that list from memory after a fire or flood, you will miss items, underestimate values, and struggle to convince an adjuster who has to follow strict documentation rules. A deliberate set of photos and videos gives you a baseline that is hard to dispute, especially when it clearly shows rooms, walls, and belongings as they looked in normal life.
You do not need special gear to build that baseline. Guidance for policyholders stresses that you can simply Start with Photos or Video on your phone and still create a strong record of what you owned. The same logic underpins rental move in inspections, where property managers are told that Establishing a clear, documented baseline is essential for assigning responsibility for future damage. Your home inventory works the same way, except you are protecting your own balance sheet instead of a landlord’s.
Start with the structure: exterior and room wide shots
The most efficient way to begin is by documenting the structure itself, outside and in. Walk around your property and capture the Exterior from every side so you have clear images of the Front of and Back of the house, plus Each visible side. Include a Close view of the roof and Any outbuildings, decks, or sheds that might be covered. These images help an adjuster see the overall condition of siding, windows, and roofing before any storm or fire, which can be critical when you are arguing about whether damage is new or pre existing.
Inside, you want the same kind of context. Stand back and take wide shots that show entire rooms, not just individual items, so it is obvious where things were and how they were arranged. One practical approach is to Take Photos from each corner, following advice for Interior Photos that captures walls, floors, and ceilings in a few frames. Safety tips for documenting damage later also recommend you Start with wide shots and Step back to show entire rooms or exterior walls before you Capture close ups, because that context makes it easier for an insurer to understand the scope of any loss.
Then walk the house: cabinets, closets, and “junk” zones
Once you have the big picture, you can move into the details that usually cause the most frustration. The items people forget to list are rarely the television or the sofa, they are the contents of kitchen drawers, bathroom cabinets, and overstuffed closets. To avoid that gap, treat your inventory like a slow walk through the house, opening every door and drawer as you go. Some experienced policyholders urge you to Open each cabinet, drawer, closet, and room and take pictures of everything, precisely because you will not remember everything you have after a disaster.
That advice is echoed by homeowners who have been through major losses and now tell Friends to Take pictures of everything in the home, including junk drawers and cabinets, especially after a major purchase. As you move, pause to capture shelves of books, bins in the garage, and storage under beds. You can supplement the visuals with a written list, since one guide suggests you Write down model numbers, purchase dates, and estimated values for big ticket items. The combination of photos and notes gives you both quick visual proof and the detail your insurer will want when it is time to cut a check.
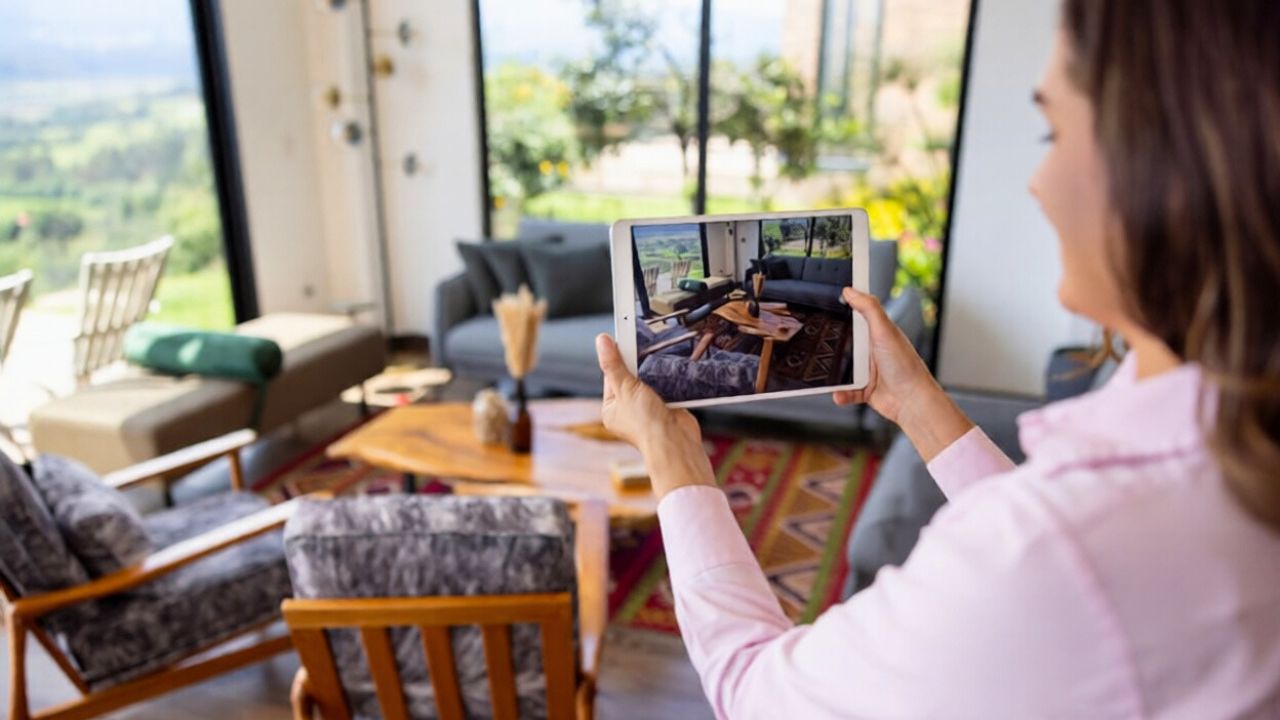
Use your phone like a pro: lighting, angles, and narration
Your smartphone is more than good enough for this job if you use it thoughtfully. Start by turning on lights, opening curtains, and avoiding heavy backlighting so your images are clear. Practical guidance on documenting belongings emphasizes that Photos and videos provide clear proof of ownership and condition when they are taken in good lighting, and it specifically urges you to Use Good Lighting and Take photos or videos in well lit rooms. That clarity matters when an adjuster is zooming in on a serial number or trying to distinguish between minor wear and fresh damage.
Video can make the process faster and more complete. One streamlined method suggests you Use Your Smartphone Camera to walk through each room, Then slowly pan across walls, shelves, and surfaces, narrating what you are seeing. Saying the brand, model, or purchase year out loud while you film creates an audio record that supplements what the lens captures. Later, if you need still images, you can pull screenshots from that video instead of reshooting the room.
What to photograph when disaster actually hits
If you do suffer a loss, your pre disaster inventory becomes the “before” half of the story. The “after” half is just as important, and it needs to be just as methodical. Claims specialists urge you to tell the full sequence of what happened, not just snap a single broken object. One detailed guide literally urges you to TELL THE STORY with your camera, starting with wide shots of the affected area, then moving in for multiple closeups that show the damage from different angles. That narrative approach helps an adjuster understand how water traveled through a ceiling or how smoke spread from one room to another.
Technical guidance on claims photography lines up with that advice. You are encouraged to Capture overall shots and close views of damaged areas, including the condition of building materials like drywall, flooring, and framing. Another set of Tips for Documenting Property Damage After a Loss stresses that knowing what to take pictures of, and how to show the damage to your property, can make the difference between a smooth claim and a drawn out dispute. As you work, remember that some advocates advise you to act Immediately after a loss by calling your insurer, but also to take several pictures of each item because you will not remember everything you have, a point echoed in a community warning that urges you to do this Immediately after a disaster.
Label, list, and back up so your evidence survives
Photos alone are powerful, but they are even more effective when they are organized and backed up. After you finish a room, take a moment to label a folder with the room name and the year, and consider adding simple file names like “living room wide 1” or “kitchen drawers 3.” Claims guidance suggests you Take photos from different angles and label your photos accordingly so you can quickly match each image to a space or item when an adjuster asks for clarification. That small bit of housekeeping now can save hours of frustration later when you are trying to remember which blurry thumbnail shows the dining room rug.
It also pays to keep a parallel written or digital list that complements your images. One practical guide to inventories notes that When it comes to home insurance, properly documenting your belongings is one of the most important steps you can take to maintain a clear and accurate record of your property. Another resource recommends you Update your home inventory every year, and notes that Many people choose Jan 1 as a natural reset point. Whether you prefer a spreadsheet, a dedicated app, or a simple notebook, the key is to store it, along with your photos and videos, in at least one cloud account so a fire or flood in your home does not wipe out the very evidence you need.
Make it a habit, not a one time project
The most common mistake with home photo inventories is treating them like a one off chore you can forget about. Your belongings change constantly as you buy new furniture, upgrade electronics, or pass items along to family. To keep your record useful, you need to fold quick photo updates into your normal life. That can be as simple as snapping a few pictures every time you bring home a major purchase and dropping them into your existing room folder, a habit that aligns with advice to Walk through your home periodically so you always have a current record of what you owned.
To keep the system from slipping, set a recurring reminder to do a full sweep once a year, ideally at a time when you are already thinking about finances and paperwork. Some insurance checklists explicitly recommend that There be an annual inventory and suggest that you Property review alongside other coverage decisions. You can treat that date as your chance to verify that every room still looks roughly like your photos, that your written list matches reality, and that your backups are working. Over time, the routine becomes just another quiet form of household maintenance, one that will matter far more than a freshly painted wall if you ever have to file a claim.
Like Fix It Homestead’s content? Be sure to follow us.
Here’s more from us:
- I made Joanna Gaines’s Friendsgiving casserole and here is what I would keep
- Pump Shotguns That Jam the Moment You Actually Need Them
- The First 5 Things Guests Notice About Your Living Room at Christmas
- What Caliber Works Best for Groundhogs, Armadillos, and Other Digging Pests?
- Rifles worth keeping by the back door on any rural property
*This article was developed with AI-powered tools and has been carefully reviewed by our editors.