The home repair step that’s required before drywall goes back up
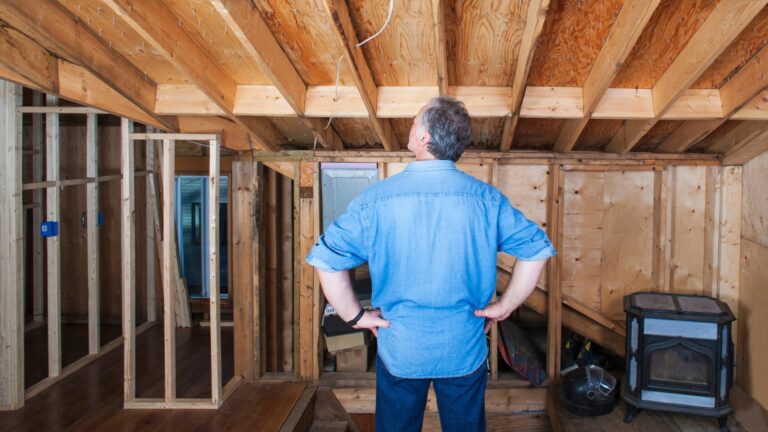
Before a wall ever looks finished again, the most important step is the one you do while the studs are still exposed. Long before paint and trim, you need a systematic pre-drywall check that treats the open framing as your last clear look at the home’s structure, wiring, plumbing, and insulation. Skip it, and you are gambling that everything hidden behind the new panels was done correctly.
Handled well, this stage turns a messy jobsite into a documented, inspected, and future-proofed shell that is ready to close up. Handled poorly, it locks in leaks, code violations, and expensive surprises that will not surface until a pipe bursts or a breaker trips under load.
Why the “before drywall” moment matters more than patching
When you are repairing or remodeling, it is tempting to treat drywall as the finish line and rush to get the room closed up again. In reality, the critical milestone is the point just before new sheets go on, when you can still see every stud bay, pipe, and cable. Inspectors describe this as your last clear chance to catch deficiencies before the walls are sealed, which is why a formal pre-drywall inspection is framed as a detailed examination of the home while everything is still exposed in the framing stage. A professional Pre check is designed around that reality.
That mindset applies just as much to a single repaired wall as it does to a full new build. Guidance aimed at builders stresses that before the drywall comes in, you should think of this stage as the foundation for the wall’s long term performance, not just its appearance. One contractor’s guide urges you to Think of this as the base that determines how well the wall will age, resist cracks, and protect the systems inside it.
The step you cannot skip: a true pre-drywall inspection
The nonnegotiable step before any drywall goes back up is a structured pre-drywall inspection, even if you are only opening a few bays for a repair. In the new construction world, a Pre Drywall Inspection Checklist is described as crucial precisely because it catches issues that would be hidden once the panels are installed. That same logic applies when you have opened a wall for a leak, rewiring, or insulation upgrade: you have one chance to verify that everything inside the cavity is safe, complete, and documented.
Professionals define a Drywall Inspection as a detailed, methodical review of framing, mechanical systems, and penetrations before the walls are sealed. Another set of Drywall Inspection Checklist guidelines emphasizes that this is the moment to confirm that the foundation and framing are sound and that structural members are properly attached. Even if your project is smaller, treating this step with the same rigor is what separates a cosmetic patch from a durable repair.
Framing and structure: confirming the bones are right
Before you worry about finishes, you need to know the wall itself is structurally correct. That means checking that studs are straight, properly spaced, and not compromised by overdrilled holes or notches. A pre-drywall Inspection Checklist aimed at builders highlights foundation and framing as the first items to verify, including secure attachment to the foundation and correct load paths, because any mistake here will telegraph through the finished surfaces as cracks or movement.
Consumer focused guidance on Structural Inspection reinforces that structural elements are literally the foundation of the home and must be in good order before you close anything up. That includes verifying that headers, beams, and any added blocking are correctly sized and installed, and that roof or floor loads are carried down through the framing. When you are repairing a wall, you should be looking for the same red flags a new build inspector would, from split studs to missing fire blocking, because you will not get a second look once the drywall is back.
Electrical rough-in: safety, layout, and future capacity
Once the framing checks out, your next focus is the electrical rough-in. You want to confirm that every cable, box, and device location matches your plan and meets code, because correcting mistakes after the wall is closed usually means cutting fresh holes. A detailed Electrical Rough In Checklist advises you to Verify that all rough-in work complies with code and aligns with the electrical drawings, including proper box placement, cable protection, and grounding.
Video walk throughs of how to pass a Feb drywall inspection underline how easy it is to miss small errors at this stage, from misaligned boxes to unsupported cables, that will later fail inspection or cause nuisance tripping. Another pre-drywall Inspection Checklist aimed at homebuyers notes that the electrical system should be fully roughed in before drywall, with all wiring runs, boxes, and panel connections completed. For your own project, that means checking outlet heights, confirming dedicated circuits where needed, and making sure there is room in the panel for any future loads you are planning.
Plumbing, HVAC, and nail plates: protecting what you cannot see
Water and air systems are unforgiving once buried in a wall, so your pre-drywall step has to include a close look at plumbing and HVAC runs. The same Pre Drywall Inspection Checklist that covers electrical also stresses that the plumbing system should be completed before drywall, with supply and drain lines properly routed and supported. You should be checking for clean, properly glued joints, adequate slope on drains, and shutoff valves where you will want them later.
On the HVAC side, a Building Checklist Before reminds you to confirm that all room vents and air returns are in place before the panels go up, since moving them later means cutting into finished surfaces. Inspectors in a Aug pre-drywall video also point out the importance of nail plates over pipes and wires that pass through studs, so that future nails or screws do not penetrate critical lines. When you are repairing a wall, adding those protective plates wherever a fastener could hit a pipe or cable is a small step that can prevent a catastrophic leak or short years from now.
Insulation, air sealing, and moisture control
With the mechanicals in place, you have a narrow window to get insulation and air sealing right. Guidance built around an Insulation and Vapor Barrier Checklist emphasizes that you should confirm full, even coverage in every cavity, with no gaps or compression, and that vapor barriers are properly installed and sealed around electrical boxes and fixtures. In a repair, that means matching the existing insulation type and R value, filling any voids created by the work, and taping or foaming around penetrations so air does not leak through.
Some pre-drywall Drywall Inspection guidance also ties this step directly to long term durability, noting that poor insulation and moisture control can lead to condensation inside walls, mold, and premature material failure once the drywall traps that environment. If you are closing up after a leak, you should not only replace damaged insulation but also verify that the framing has dried and that any vapor barrier is repaired or upgraded. This is also the moment to add simple air sealing upgrades, like caulking the seams of exterior sheathing from the inside, that you will never be able to reach again.
Planning ahead: blocking, backing, and smart upgrades
Once the basics are correct, you can use the open wall to make the space more functional for decades. Homeowners on a Apr discussion about pre-drywall steps suggest adding 3/4 inch plywood to bathroom walls so future grab bars can be installed anywhere without hunting for studs. The same thread recommends sealing all HVAC supply and return ducts during construction to keep dust out, and adding extra support for ceiling fans while the framing is accessible. Those ideas translate neatly to a repair: if you have a wall open, consider where you might want a TV mount, shelving, or handrail later and add blocking now.
Contractor oriented advice on Prepping for drywall also encourages you to think ahead about technology and storage, from running conduit for future low voltage wiring to framing in niches or recessed cabinets before the wall closes. A separate Building Checklist Before adds practical reminders like confirming backing for towel bars and closet rods. In a repair scenario, that might mean slipping in a short horizontal 2×6 between studs at the right height so you are not relying on hollow wall anchors later.
Documenting everything: photos, labels, and checklists
Even a perfect pre-drywall inspection loses value if you cannot remember what you saw once the wall is closed. That is why experienced builders and service companies urge you to document the open framing thoroughly. One set of tips on BEFORE the drywall goes up recommends taking pictures of the final runs of plumbing, ductwork, and electrical systems so you have a record of exactly where the lines run. That advice is just as useful when you have opened a single wall: a few labeled photos can save you from blind drilling or cutting years later.
Homeowners on another When thread about new builds describe how valuable it is to Take photos during the pre-drywall inspection and save them in an album for future repairs, updates, and modifications. Professional inspectors echo that mindset, with one Frequently Asked Questions guide stressing that a pre drywall inspection should be a thorough visual and documented inspection, not just a quick walk through. For your own project, that can be as simple as marking stud locations on the floor with painter’s tape, labeling key shutoffs, and keeping a written checklist of what you verified before the drywall went back up.
From inspection to hanging: closing up the wall the right way
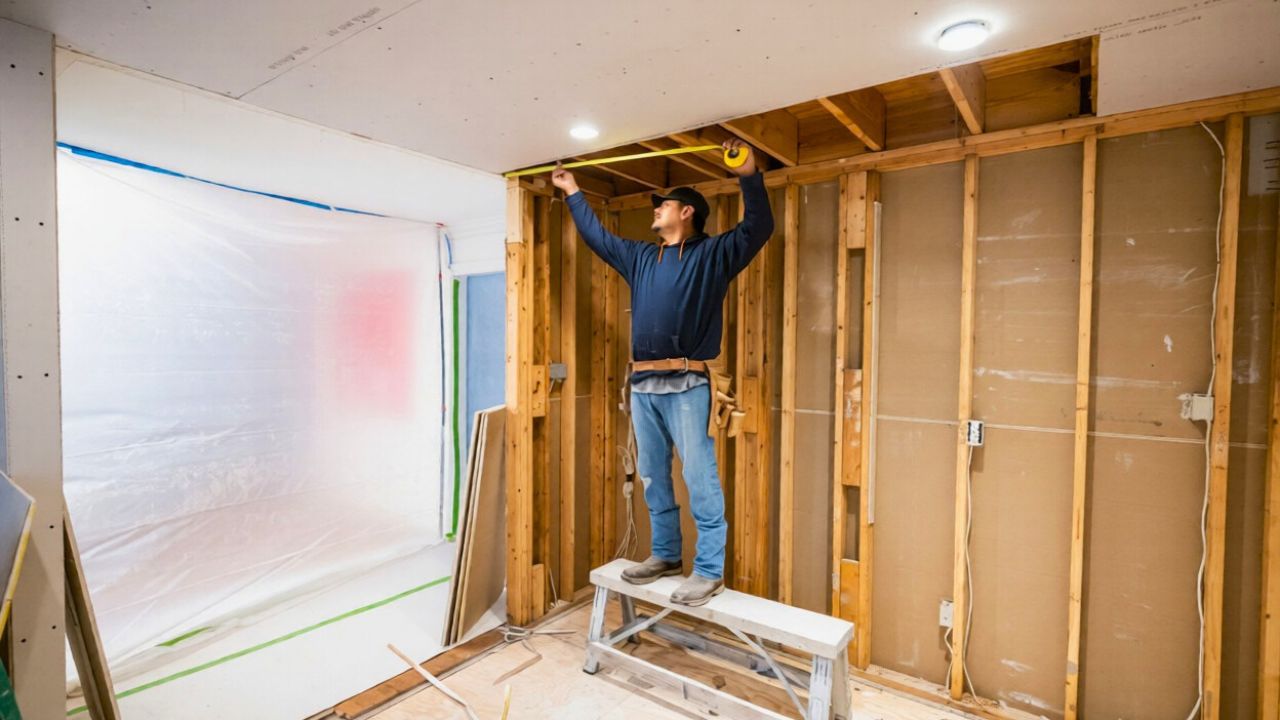
Once you have inspected, upgraded, and documented everything inside the wall, you still need to close it up correctly. A contractor focused guide on what needs to be done Before drywall emphasizes clearing the deck, which means removing debris, stray fasteners, and tools so the panels can sit flat against the studs. A separate Building Checklist Before adds that you should make sure everything that is supposed to be in the wall is actually there, from wiring and plumbing to room vents and air returns, before you lift the first sheet.
When you are ready to hang, technique still matters. In a detailed tutorial on how to install drywall from A to Z, Jeff walks through advanced tips and tricks for doing drywall work that minimize seams and reduce future cracking. Those best practices, like staggering joints and using the right screws in the right pattern, are the final layer of protection for the work you just inspected behind the wall. If you have followed a structured Pre Drywall Inspection Checklist, confirmed the structure and systems, and documented everything, then hanging the new panels is not just cosmetic. It is the last step in a repair that is built to last.
Why treating your repair like a new build pays off
It can feel excessive to apply new construction discipline to a single room or a localized repair, but the logic is straightforward. Inspectors who specialize in Pre-Drywall Inspections for homebuyers describe these checks as critical for ensuring the home is built to last, because they reveal problems that would otherwise be buried. The same is true when you open a wall for a leak or a wiring upgrade: if you treat that moment as a full pre-drywall inspection, you can correct old shortcuts, add missing protections, and upgrade insulation or blocking while access is easy.
Industry guidance on What a pre drywall inspection should include frames it as the last chance to catch deficiencies before they are locked behind finished surfaces. Another comprehensive Complete Guide to these inspections reinforces that they are a detailed examination of the home before the walls are sealed. If you bring that same seriousness to your own project, the step you take before the drywall goes back up will not just restore what was there. It will quietly improve the safety, comfort, and resilience of your home for years to come.
Like Fix It Homestead’s content? Be sure to follow us.
Here’s more from us:
- I made Joanna Gaines’s Friendsgiving casserole and here is what I would keep
- Pump Shotguns That Jam the Moment You Actually Need Them
- The First 5 Things Guests Notice About Your Living Room at Christmas
- What Caliber Works Best for Groundhogs, Armadillos, and Other Digging Pests?
- Rifles worth keeping by the back door on any rural property
*This article was developed with AI-powered tools and has been carefully reviewed by our editors.