The quick check that tells you if your roof is ready for ice
You don’t have to climb all over your roof to get a feel for whether it’s ready for winter. A simple ground-level check and a look inside the attic will tell you a lot about how it’s going to handle snow, ice, and freeze–thaw swings. Think of it as a quick “are we okay for this year?” instead of a full inspection.
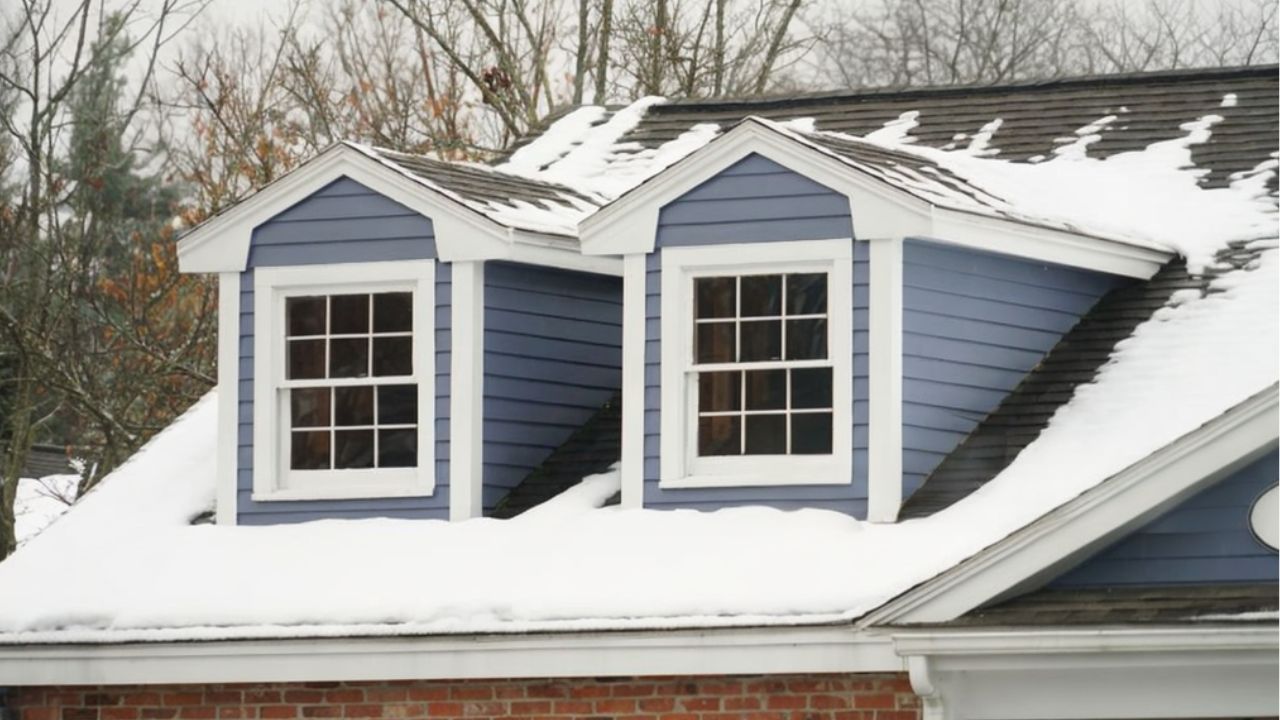
Step outside and look along the roofline
Start by walking around the house and really looking at the edges of the roof. Do you see shingles that are curled, cracked, missing, or sagging along the eaves? Are there dark streaks, exposed nail heads, or spots where the line dips?
Focus on areas above gutters and overhangs. That’s where ice dams like to form. If the edges look rough, with obvious damage or sagging, that’s your sign the roof is more vulnerable when snow and ice show up.
Check gutters and downspouts for clogs

Gutters don’t cause ice dams on their own, but if they’re packed with leaves and debris, melting snow has nowhere to go. That water backs up, refreezes, and sits right at the edge of your roof.
From a ladder or the ground (if you can see), check that gutters are clear enough for water to move freely. Look for plants growing in them, standing water, or heavy sagging sections. Downspouts should be connected and aimed away from the foundation. Clean and reattach anything that looks questionable before it gets truly cold.
Look for staining or ripples on soffits and fascia
The wood or metal under the eaves—soffits and fascia—can tell you if water’s been sneaking in. Look for staining, peeling paint, soft spots, or warped boards. Those signs mean moisture has already had some time to work.
If you see any of that, it doesn’t automatically mean the roof is failing, but it does mean you should pay attention and maybe call a roofer when you can. For now, you’ll want your gutters spotless so you’re not making the problem worse.
Take a quick peek in the attic on a cold day
The attic tells the truth. On a cold day, go up there with a flashlight and look at the underside of the roof deck and around vents, chimneys, and valleys. You’re looking for water stains, damp wood, or daylight showing through where it shouldn’t.
While you’re there, notice the insulation and airflow. If you see frost on nails or rafters, that’s a sign warm, moist air from the house is leaking into the attic and freezing. That combination—warm attic, cold roof—is exactly what encourages ice dams.
Watch how snow melts after the first storm
When you get your first light snow, treat it like a test. Does the snow melt evenly across the roof, or do you see bare patches high up with thick build-up along the edge? Do long icicles form regularly in certain spots?
A little melting and a few icicles aren’t a crisis. But if you see big, stubborn ice ridges along the eaves while the rest of the roof is clear, that’s a classic ice dam pattern. At that point, adding more insulation and air sealing in the attic should go on your to-do list for the next decent-weather window.
Like Fix It Homestead’s content? Be sure to follow us.
- I made Joanna Gaines’s Friendsgiving casserole and here is what I would keep
- Pump Shotguns That Jam the Moment You Actually Need Them
- The First 5 Things Guests Notice About Your Living Room at Christmas
- What Caliber Works Best for Groundhogs, Armadillos, and Other Digging Pests?
- Rifles worth keeping by the back door on any rural property
*This article was developed with AI-powered tools and has been carefully reviewed by our editors.