What to document before repairs so insurance can’t deny the claim
Insurers do not pay for what you lost, they pay for what you can prove. Before you swing a hammer, rip out drywall, or tow a damaged car, you need a clear record of what happened and what it cost you. The right photos, lists, and receipts can turn a borderline claim into one that is very hard to deny.
That means treating your home, car, or business like a scene that must be preserved, at least on camera, before repairs begin. With a plan that mirrors what adjusters actually look for and what claim denials often hinge on, you can document damage in a way that leaves your insurer little room to argue.
Secure the scene and notify your insurer before touching anything
Your first job after a fire, storm, burst pipe, or crash is safety, not documentation. Guidance on Step Two of claim handling stresses that you should check for structural hazards and, if a building looks unstable, not go inside at all. Similar advice for a damaged property urges you to wait until emergency crews say it is safe before entering. Only once you are out of immediate danger should you turn to your policy and your phone.
Before you start cleaning up, you should also alert your carrier that a loss has occurred. One detailed checklist frames this as Step 1, to Contact Your Insurance Company Immediately, so the claim is opened and you can get instructions before repairs begin. For homeowners, that early call also helps when you later deal with Your Insurance Adjuster, who may send a proof of loss form and expect your documentation to match what you reported at the outset.
Photograph everything, from wide overviews to close-up details
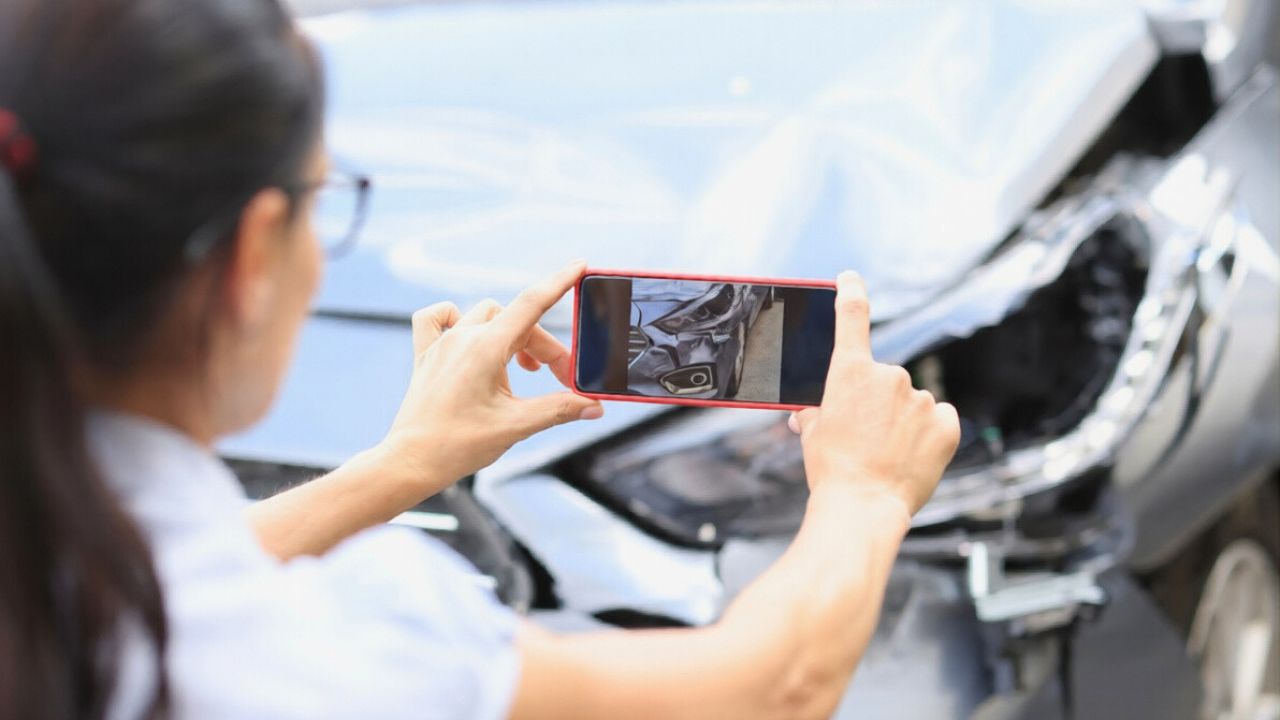
Once it is safe, your camera becomes your strongest protection against a denied claim. Multiple legal and restoration guides stress that you should Take Photos from Every Angle as soon as conditions allow, capturing both the overall scene and the specific items that were damaged. Disaster specialists recommend starting with Take Wide, Angle Overview Photos First, then moving in closer. That sequence helps adjusters understand where the damage sits in the structure and how far it spreads.
Adjusters are not grading your artistry, they are trying to answer specific questions about cause, scope, and cost. Practical guidance on What Insurance Adjusters Actually Look For emphasizes that they need clear wide shots, mid-range context, and close-ups that show materials, finishes, and serial numbers. For wildfire losses, one legal guide on First Steps After a Wildfire urges you to Photograph all structural and contents damage, including make, model, color, and size where possible, so there is no doubt about what was lost.
Avoid bad photo evidence and “cleaned up” scenes
Even if you take hundreds of images, poor quality can still give your insurer room to push back. A detailed breakdown of Common Photo Mistakes That Hurt Property Damage Claims highlights that Taking Blurry or Unclear Photos leads to Bad evidence that makes it hard for an adjuster to see cracks, water lines, or burn patterns. If they cannot make out the details, they may underestimate the severity or argue that the damage looks preexisting.
Equally risky is touching or repairing items before you have a visual record. A blunt reminder from a vehicle damage discussion urges drivers to treat documentation as CYA, to Always take photos of any and all damage before you touch it, and to remember that you Don’t get a second chance once the scene is altered. Property damage experts echo that warning, noting that when damage is not properly documented, it often leads to denied or underpaid claims, a pattern highlighted in guidance on how to document damage after emergencies.
Build a paper trail: inventories, receipts, and policy records
Photos show what happened, but paperwork proves what it is worth. Consumer claim guides advise you to start by reviewing your Policy Information, including the policy number, effective dates, and coverage details, and to Gather all Required documents your insurer lists. That same checklist stresses keeping receipts for temporary repairs and saving All communications with the adjuster, which can be critical if there is a dispute later.
On the contents side, state regulators recommend making lists of all damaged or destroyed property, including descriptions, ages, and estimated values, rather than waiting for the adjuster to do it. Several legal resources on How to Document Property Damage for a Successful Insurance Claim and on How to Document Property Damage for Your Insurance Claim stress that insurers often want proof that you owned each item, which can include purchase receipts, credit card statements, or even photos from before the loss. A video explainer from County Office reinforces that detailed information about each damaged item, such as brand and model, helps document property damage in a way that aligns with what local agencies and insurers expect.
Handle temporary repairs and future disputes with documentation in mind
Insurers expect you to prevent further damage, but they also expect you to prove what you did and why. A homeowners guidance on Temporary and Minor Repairs advises you to contact your insurer before proceeding, then photograph the damage and the repair work so there is a clear before and after. That same guidance notes that whether you do the work yourself or hire a contractor, you should keep detailed invoices and receipts, since reimbursement for covered repairs depends on what you can show.
If your insurer later pushes back, the strength of your documentation can determine whether you can overturn a denial. Legal analysis of Common Reasons for Insurance Claim Denials notes that exclusions often hinge on circumstances or types of damage, which you can counter only if you Gather Additional Evidence that shows what really happened. Another guide on making a claim that is difficult to reject starts with a simple rule, that you should Gather documentation right after the loss and show that you have mitigated further harm, which can include photos of tarps, fans, or boarded windows and the receipts that go with them.
The same principle applies to specialized claims, such as equipment breakdowns. A step by step guide on Step 1, to Gather Necessary Documentation, stresses compiling maintenance records, repair logs, and policy clauses that apply to the breakdown. That same mindset, applied to a roof leak or kitchen fire, means you should think like an investigator from day one, preserving every photo, receipt, and email so your insurer has little choice but to accept your claim.
Like Fix It Homestead’s content? Be sure to follow us.
Here’s more from us:
- I made Joanna Gaines’s Friendsgiving casserole and here is what I would keep
- Pump Shotguns That Jam the Moment You Actually Need Them
- The First 5 Things Guests Notice About Your Living Room at Christmas
- What Caliber Works Best for Groundhogs, Armadillos, and Other Digging Pests?
- Rifles worth keeping by the back door on any rural property
*This article was developed with AI-powered tools and has been carefully reviewed by our editors.