What to double-check before closing up a wall after repairs
Once you close up a wall, every mistake, shortcut, and missed defect becomes far more expensive to fix. Before you hang new drywall or patch an opening, you need a methodical check of everything that will be buried: structure, wiring, plumbing, insulation, and documentation. Treat it like a final walk‑through of a house before closing, but focused on a single cavity in your home.
By slowing down for a structured inspection now, you protect yourself from leaks inside the wall, tripped breakers, mystery drafts, and even safety hazards later. The goal is simple: when the last screw goes in, you should be confident that what is hidden is safe, code‑compliant, and ready to serve you for decades.
1. Start with a “mini final walk‑through” mindset
Before you look at any single wire or stud, step back and think like a buyer doing a final inspection of a finished home. You are about to lose direct access to this part of the building, so your job is to verify that every promised repair is complete, that nothing new has been damaged, and that there are no obvious red flags. Real estate checklists urge buyers to confirm that agreed repairs are finished and that they are not inheriting a costly surprise, and the same logic applies when you are about to seal a wall.
Borrowing from whole‑house walk‑throughs, you should move systematically from top to bottom and left to right, scanning for moisture staining, gaps in framing, missing fasteners, and anything that looks different from the surrounding areas. Home closing guides recommend that you walk through each room and check that surfaces are intact and visible mold is not apparent, and you can adapt that approach by checking the exposed cavity for discoloration, musty smells, or soft wood before you cover it again.
2. Confirm framing is straight, secure, and ready for drywall
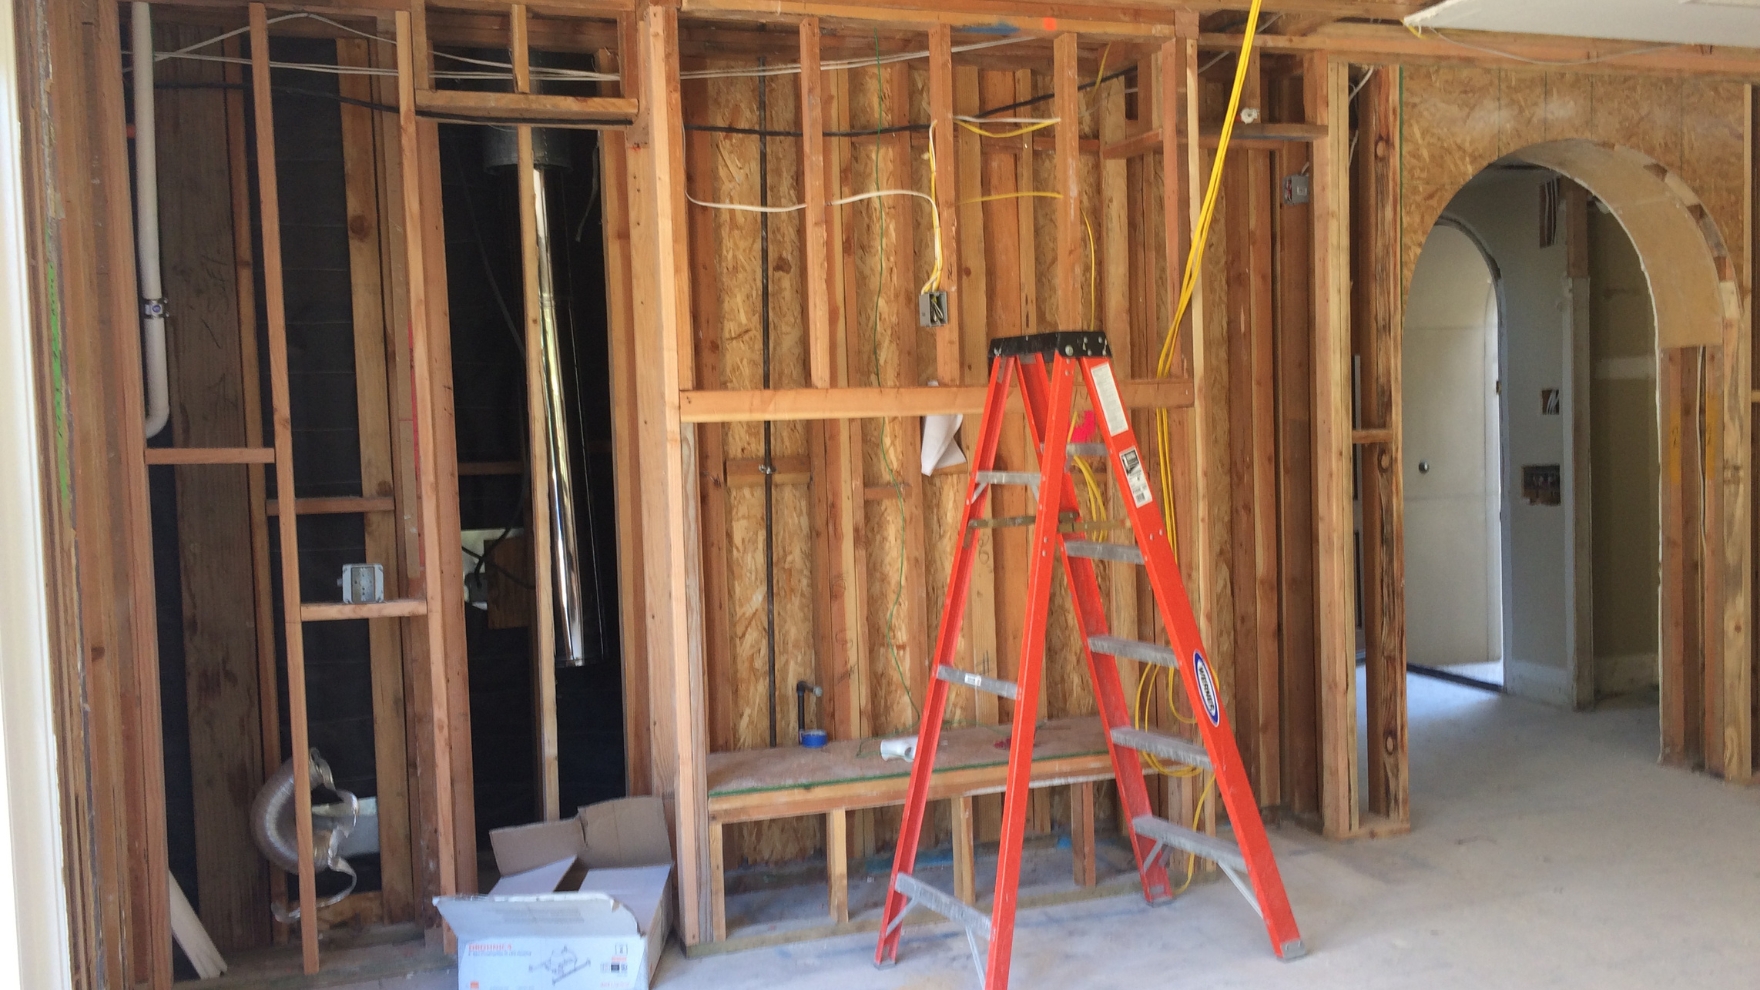
Once you adopt that inspection mindset, the first technical check is the framing itself. Studs that are bowed, twisted, or out of plumb will telegraph through your finished wall as cracks, nail pops, and wavy seams. Professional pre‑drywall lists ask directly, “Have all walls been checked for plumb and square?” because correcting a crooked stud is simple when the wall is open and painful once it is buried behind paint and trim.
Run a long level or straightedge across the faces of the studs and along the top and bottom plates, and look for any that sit proud or fall back from the plane. Guidance for a Pre Drywall Checklist also emphasizes blocking and backing, so confirm that you have solid wood where you will later mount cabinets, grab bars, stair rail brackets, or heavy shelving. If you see split studs, loose nails, or missing screws, fix them now so the structure is tight and ready to accept new panels without movement.
3. Inspect electrical rough‑in and low‑voltage runs
Electrical work is one of the most critical things to double‑check before you lose sight of it. You want to be sure that every cable is properly stapled, that boxes are at the right depth, and that circuits match your plan. Detailed electrical rough‑in guidance urges you to verify that wiring meets code and aligns with the layout, because correcting a misrouted cable after drywall is up often means cutting open finished surfaces.
Think ahead about how you will actually use the room. Experienced builders talk about “Outlets everywhere” and running “2 Cat 5s and 2 Coax to every location we can think of plus an extra pair of coax” in their Outlets, Electrical Rough, In Checklist, Cat, and Coax planning, which is a reminder to confirm not just safety but convenience. Label each cable, photograph the runs, and confirm that any smart‑home, speaker, or data lines are in place before you close the wall and forget where they are.
4. Check plumbing, HVAC, and protection plates
Water and air systems are the next priority, because a small oversight here can lead to hidden leaks or poor comfort that you will only notice months later. For plumbing, look for secure pipe supports, proper slope on drains, and accessible cleanouts. Detailed plumbing rough‑in lists stress that supply and waste lines should be correctly sized and that shutoff valves are installed where required and accessible, so confirm you are not about to bury a valve or junction that you may need in an emergency.
Equally important are the metal shields that protect those lines. Phase inspection guides explain that Nail Plates are needed wherever plumbing or electrical lines pass through studs, so that future drywall screws or trim nails do not puncture them. Check that every vulnerable crossing has a plate, that ducts are sealed and insulated where required, and that any vents or returns that will be hidden are properly connected and supported. If you see a pipe or duct rubbing against framing, add a cushion or strap now to prevent noise and wear later.
5. Verify insulation, air sealing, and moisture control
Once the mechanicals are set, turn to the materials that keep your home comfortable and dry. Insulation should be continuous, with no gaps, compression, or voids around wires and pipes. Practical guides on energy upgrades advise you to Inspect Your Work once new insulation is in place, looking for spaces where air could still be leaking, and the same standard applies before you reinstall drywall after a repair.
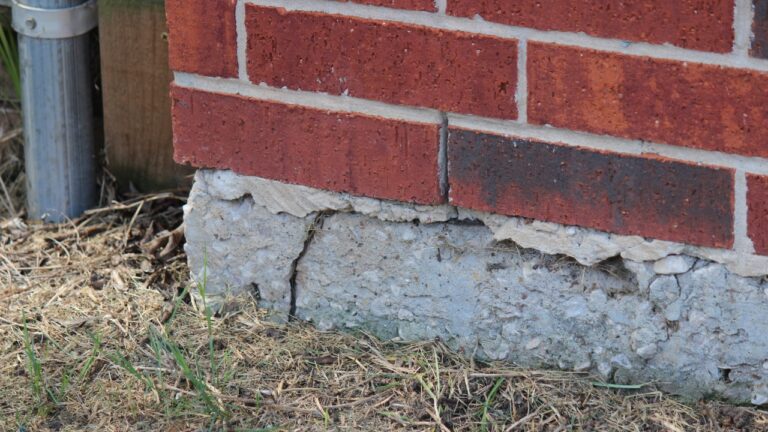
Moisture management is just as important as R‑value. Check for intact vapor retarders where your climate and building design require them, and make sure any exterior wall repairs have proper flashing and weather barriers tied into the existing layers. Construction prep documents for Drywall Preparation emphasize that surfaces should be dry, clean, and free of debris before panels go up, which includes removing any wet or moldy insulation and addressing the source of moisture. If you recently fixed a leak, use this open‑wall moment to confirm that framing is dry and that there is no lingering mold growth before you close it in.
6. Align everything with plans, codes, and inspection expectations
Even in a small repair area, you should treat the open wall as part of the larger building system and confirm that what you see matches the drawings and local rules. Professional inspectors describe a Pre Drywall Inspection as a way to ensure a house is built in accordance with the plans and to catch issues that would be challenging and expensive later, and you can apply the same discipline by comparing what is in the wall to your permit set or repair scope. If a stud, outlet, or pipe has moved from the original layout, decide now whether that change is acceptable or needs correction.
Preparation checklists recommend that you How to Prepare for a Pre Drywall Inspection Review Plans and Understand where outlets, plumbing lines, and vents are supposed to be, then keep a copy of that information in case you need to reference it later. Even if you are not in a formal inspection phase, documenting that your repair area now matches the intended design will save you from guesswork when you or a future professional need to locate something behind the wall.
7. Prepare surfaces and layout for smooth drywall installation
With the hidden systems checked, you can focus on the surfaces that will actually receive the drywall. Any protruding nails, screws, or splinters can cause bulges or punctures in the new panels, so run your hand along the framing and remove or reset anything that sticks out. Professional prep advice for hanging panels stresses that you should Inspect and Prepare, ensuring that all electrical wires and other fixtures on the framing are tucked safely out of the way so they are not pinched or damaged when the board goes up.
Good preparation also includes planning your sheet layout and edge conditions. Construction guidelines for Drywall Preparation call for clean, swept areas, clear access, and properly marked stud locations so installers can quickly find fastening points. Mark the centerlines of studs on the floor or ceiling, note where backing has been added, and confirm that any specialty areas, such as future tile backsplashes or grab bars, have the extra support they need. This is also the moment to double‑check that any recessed lights, speaker cans, or niche framing is square and at the correct depth relative to the future drywall surface.
8. Document everything before it disappears
Once you are satisfied with the physical work, invest a few minutes in documentation. Take wide shots of the entire wall, then closer photos of key details like junction boxes, pipe junctions, and blocking. Preservation specialists even recommend that you Take detailed photographs of work areas before covering them so you can compare performance over time, and the same principle helps you later trace a leak, add a new outlet, or avoid a pipe when drilling.
Alongside photos, keep notes about circuit numbers, pipe materials, and any deviations from the original plan. Inspection guides for Why a Pre Drywall Inspection describe this phase as the last chance to catch deficiencies before they are sealed in, and your documentation becomes proof of what you checked and how you resolved any issues. Store these records with your home maintenance files so that future repairs or renovations can build on accurate information instead of guesswork.
9. Do a final pass as if you could never open the wall again
Right before the first sheet goes up, do one more slow, deliberate pass. Imagine that you will never have another opportunity to see inside this wall, and ask yourself whether anything still bothers you. Home inspection pros note that Pre‑drywall inspections are critical because they help ensure a home is built to last, and that same long‑term mindset should guide your final check for loose cables, missing fire blocking, or unsealed penetrations.
Borrow one last lesson from real estate: do not “close” until you are satisfied. Buyer advocates warn that you should They and that Once the house closes you have no bargaining power, which is a blunt reminder that leverage disappears after the fact. Apply that same discipline by refusing to cover anything you are not comfortable signing your name to. If you are working with a contractor, walk the open wall together, use a structured list similar to a Table Of Contents of Essential Steps for that helps you Schedule Timing Strategically and Verify All Agreed Upon work, and only then give the go‑ahead to close the wall so you are not inheriting a hidden problem.
Like Fix It Homestead’s content? Be sure to follow us.
Here’s more from us:
- I made Joanna Gaines’s Friendsgiving casserole and here is what I would keep
- Pump Shotguns That Jam the Moment You Actually Need Them
- The First 5 Things Guests Notice About Your Living Room at Christmas
- What Caliber Works Best for Groundhogs, Armadillos, and Other Digging Pests?
- Rifles worth keeping by the back door on any rural property
*This article was developed with AI-powered tools and has been carefully reviewed by our editors.