What to photograph before starting repairs inside a wall
Once you open up a wall, you are exposing some of the most expensive and least accessible parts of your home. Before you start repairs, the smartest move you can make is to photograph everything you can see, from framing to pipes to wires, so you have a permanent record once the wall is closed again. Those images will guide future work, protect you in disputes, and help you avoid drilling blindly into hidden systems years down the line.
Thinking like a documentarian for a few minutes can save you hours of detective work later. With a basic plan, a phone camera, and a methodical approach, you can capture the information contractors, inspectors, and even future buyers will want, without slowing your project or cluttering your camera roll with useless shots.
Why interior wall photos matter before repairs
When you cut into a wall, you are looking at information that will soon disappear behind drywall, tile, or paneling again. Photographing that moment gives you a visual map of where structural members, plumbing lines, and electrical runs actually sit, instead of relying on memory or rough guesses. Those images become a reference file you can pull up any time you need to hang a cabinet, chase a leak, or explain a problem to a tradesperson who was not there when the wall was open.
Good documentation also protects you financially and legally. If a contractor misroutes a pipe or leaves a junction box inaccessible, your photos can show what was there before and after the repair, which is far more persuasive than a verbal recollection. Professional remodelers treat before images as non‑negotiable, and guidance like the Photo Do and Don list makes it clear that you should ALWAYS take a “before” picture, no matter how messy or unflattering the space looks, because you do deserve credit for the transformation and you may need proof of the original conditions.
Framing and structure: mapping the skeleton
Your first priority is to capture the framing, because studs, headers, and blocking dictate where you can safely fasten or cut in the future. Stand back and take wide shots that show the entire stud bay from floor to ceiling, then move closer to record details like doubled studs around openings, horizontal blocking, and any metal brackets or straps. These images will later tell you exactly where solid wood is available for mounting heavy items and where structural elements might limit new openings.
It is valuable to photographically document the frame and components of the entire structure before these things become hidden, not just the area you are actively repairing. As one guide to interior documentation notes, capturing the full framing layout lets you later line up photos with a stud finder, especially if you mark key studs with tape or temporary labels that match what you see in your images. When you combine that visual record with the LEDs on a stud finder and careful measurement, you can “measure twice, cut once” even years after the wall has been closed.
Electrical runs, boxes, and low‑voltage lines
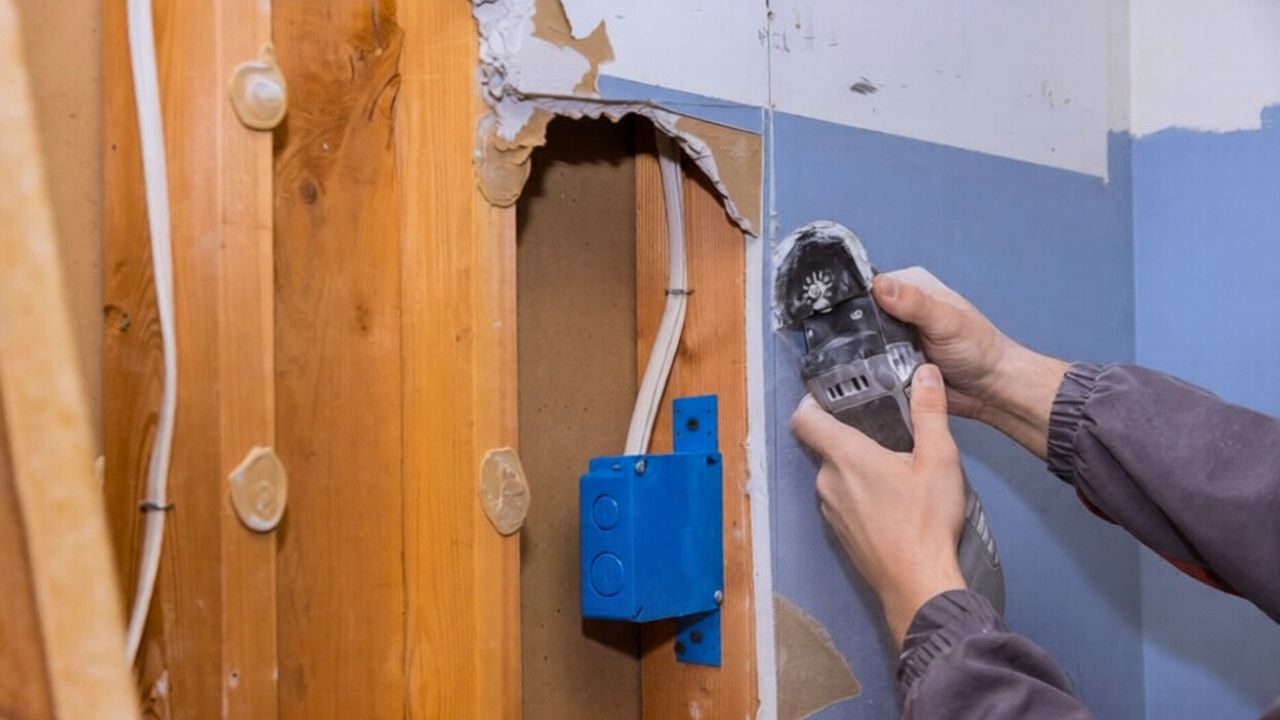
Once you have the framing, turn your attention to electrical. Photograph every cable run, junction box, and device location, starting with wide shots that show how wires travel through the studs and then zooming in on each box. Make sure you can see which cables enter and exit, any labels on the sheathing, and how many conductors are tied together, since that will matter if you ever add a circuit or troubleshoot a tripped breaker.
As the project evolves, eventually much of the hard work going into these systems will be buried behind wallboard, so you want to document rough‑in details of outlets, switches, and even low‑voltage lines for data or speakers before sheetrock goes up. One practical approach is to photograph each wall section straight on, then again at a slight angle so you can see depth and cable routing, which makes it easier to relate the image to real‑world positions later. A detailed set of rough‑in photos will help you avoid driving a screw into a hidden bundle or cutting into a box you forgot was there.
Plumbing, vents, and hidden mechanicals
Plumbing and mechanical lines are some of the most expensive systems to repair, so you want clear images of every pipe, vent, and drain you expose. Photograph vertical and horizontal runs, paying attention to where they pass through studs or plates, and capture any fittings, cleanouts, or shutoff valves that might later be concealed. If you can see both hot and cold water lines, make sure your photos distinguish them, either by angle or by including any color coding that is present.
For pipes you cannot see directly, such as buried drains or lines inside chases, you may need more than a phone camera. Trained technicians use special camera lines that go inside drains to take video and pictures of your pipes, and they use these images to identify cracks, blockages, and how much life is left in the pipes. If your wall repair is tied to a recurring clog or suspected leak, scheduling a camera inspection before you close everything up can give you a full picture of the system, not just the short section that happens to be exposed.
Measurements, reference points, and scale
Photos are only as useful as your ability to translate them back into real‑world distances, so you should build measurement references into your shots. Start by measuring from fixed points like corners, doors, or windows to key features such as studs, pipes, and boxes, and either write those numbers directly on painter’s tape stuck to the framing or record them in a notebook that you photograph alongside the wall. Including a tape measure or a known object like a standard outlet box in the frame gives you scale when you revisit the image later.
Before you close the wall, walk through with a methodical mindset and double check your measurements. Guidance on building partition walls stresses that you should Double check your layout, because As the saying goes, measure twice, cut once, and Use a quality tape measure to precisely mark lines on the floor, ceiling, and adjoining walls. Applying that same discipline to your documentation means your photos will not just show where things are, they will tell you exactly how far they sit from finished surfaces, which is crucial when you later install shelving, towel racks, or built‑ins that need to hit solid backing instead of empty drywall.
Angles, lighting, and camera settings that reveal detail
Even if you are only using a smartphone, a little attention to technique will make your wall photos far more readable. Avoid shooting everything from one standing height; instead, vary your angles so you capture overhead runs, low plumbing, and mid‑wall details without distortion. Take a straight‑on shot of each bay, then step to the side for a second image that shows depth and how wires or pipes cross behind studs, which can be critical when you later try to trace a line that disappears behind blocking.
Lighting is just as important. Use the brightest work lights you have, and if necessary, supplement with your phone’s flashlight or a small LED to eliminate harsh shadows that can hide thin cables or hairline cracks. Professional advice on documenting interiors emphasizes that you should not worry if the space is dark, cluttered, or embarrassing, because the priority is clarity, not aesthetics, and ALWAYS capturing a “before” shot gives you a baseline for every “after” image you take. That mindset, echoed in the ALWAYS reminder, applies just as much to the hidden side of a wall as it does to finished paint.
Video walkthroughs and voice notes as a supplement
Still photos are excellent for detail, but a short video walkthrough can capture context and commentary that would be tedious to write down. Move slowly along the open wall, narrating what you see and what you plan to do, such as “this stud bay has a vent stack on the left and a cable running diagonally to the top right.” That running commentary will help you later reconstruct your reasoning if you ever wonder why you chose a particular route or left a certain space clear.
Homeowners who have gone through pre‑drywall inspections often rely on video for exactly this reason. In one discussion of what to look for before walls are closed, Angelica Bufete explained that she took a video and found it helpful because she could refer back to the recording to remember what was said and where plumbing and electrical is running. Another homeowner in the same thread noted that capturing a continuous sweep of the framing and systems made it easier to spot inconsistencies later. Following that example, you can pair a set of labeled stills with a narrated video so you have both precision and big‑picture context.
Labeling, organizing, and backing up your images
Once you have dozens or even hundreds of images, organization becomes as important as the photos themselves. Rename files or add captions that describe the location and orientation, such as “kitchen north wall, sink to left, studs 16 in. on center,” and group them into folders by room and project. Many phone gallery apps let you add text notes or tags directly to images, which is worth the extra minute while the details are still fresh in your mind.
Think about how you will find these images years from now when you are standing in the same room with a drill in your hand. A simple system might be a master folder for your address, subfolders for “pre‑repair walls,” and then albums for each space, with a quick sketch or floor plan saved alongside. Because these photos document critical systems, back them up to at least one cloud service and one physical drive so a lost phone does not erase your record. Treat them the way a professional would treat jobsite documentation, with the same care you would give to contracts or permits.
Using your wall photos for future projects and protection
The payoff from this documentation comes later, when you are planning new work or resolving problems. If you decide to add shelving, towel racks, or a wall‑mounted TV, your images will show you exactly where studs and blocking sit, so you can anchor into solid structure instead of relying on guesswork or overbuilt anchors. When you need to run a new cable or pipe, you can choose routes that avoid existing lines, reducing the risk of punctures and minimizing the number of exploratory holes you have to cut.
Your photos also serve as a quiet form of insurance. If a leak appears under a window you recently had reframed, you can compare your images of the original framing and flashing to the current condition to see what changed. If a contractor claims a pipe or wire was already damaged, your pre‑repair shots can confirm or refute that story. As one detailed guide to hidden systems notes, it is valuable to photographically document the frame and components of the entire structure before they become hidden, because those images can later be paired with tools like LEDs on a stud finder to pinpoint what lies behind the surface. By treating your wall photos as a permanent record rather than a throwaway step, you give yourself a powerful tool for every project that follows.
Like Fix It Homestead’s content? Be sure to follow us.
Here’s more from us:
- I made Joanna Gaines’s Friendsgiving casserole and here is what I would keep
- Pump Shotguns That Jam the Moment You Actually Need Them
- The First 5 Things Guests Notice About Your Living Room at Christmas
- What Caliber Works Best for Groundhogs, Armadillos, and Other Digging Pests?
- Rifles worth keeping by the back door on any rural property
*This article was developed with AI-powered tools and has been carefully reviewed by our editors.