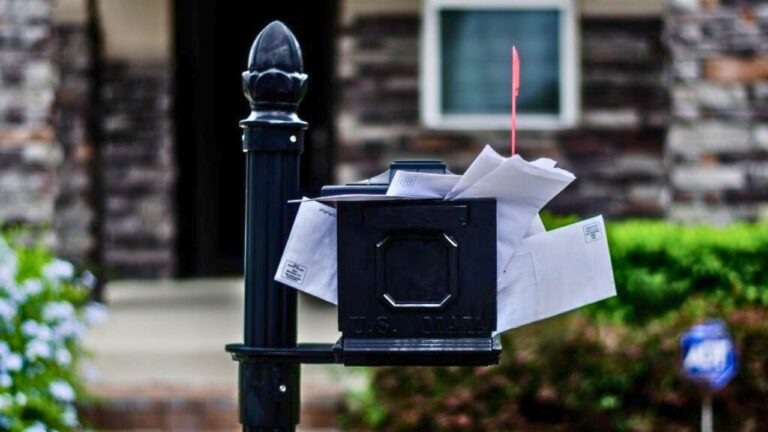
What to secure before allowing contractors final payment
Final payment is the moment your renovation or build stops being a construction project and becomes part of your life. It is also the last real leverage you have if something is unfinished, unsafe, or not what you agreed to. Before you sign that last check, you need specific documents, inspections, and protections in place so you are not paying for problems that will surface after the crew drives away.
Handled well, the closeout process protects your money, your property, and your sanity. Handled casually, it can leave you chasing a contractor, fighting surprise liens, or paying twice for the same work. Here is what you should lock down before you allow any contractor to collect the final dollar.
1. Confirm the contractor is legitimate and properly insured
Your final payment should never be the first time you ask whether a contractor is qualified to be on your property. Before you get anywhere near the end of a job, you should verify the contractor is licensed where required, carries general liability coverage, and has workers’ compensation for any employees. A valid License shows they meet state or local standards, while a Bond can give you recourse if they take your money and fail to perform. Ask for certificates of insurance made out to you as the certificate holder so you can confirm coverage directly with the insurer.
As you approach the last payment, recheck that the business name on invoices, permits, and contracts matches the name on the Credentials you were shown. If a roofer started the job as “ABC Roofing LLC” but is suddenly invoicing as “ABC Construction Services,” you should pause until you understand why. Consistent paperwork makes it easier to enforce warranties and to pursue claims if something goes wrong after you pay in full.
2. Tie final payment to inspections, not promises
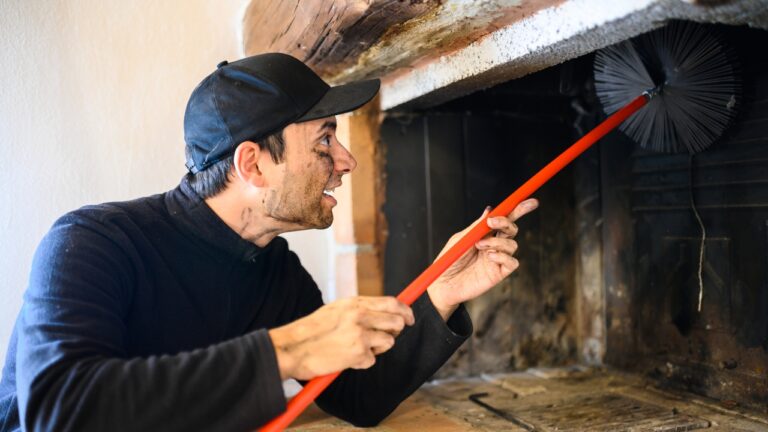
The safest rule is simple: do not release the last check until the work has passed every inspection that applies. For projects that require a building permit, experienced owners insist that payment comes only After the local inspector signs off. That outside review helps catch issues that might not be obvious to you but could cause a failed sale or safety problem later. If your project is a new roof, for example, you should schedule a city inspection and also do your own detailed walkaround.
Even when permits are not required, you should still Inspect Before Final. Take time to Conduct a methodical Walkthrough with the contractor, Inspect the finishes, test doors and windows, run plumbing fixtures, and check that equipment like HVAC units actually operates. The final payment should be framed in your contract as “due only after completion and acceptance,” not simply due on a calendar date.
3. Use punch lists and retainage to keep leverage
Most projects end with a flurry of small fixes, from paint touch ups to misaligned cabinet doors. A written punch list keeps those details from becoming a permanent annoyance in your home. Best practice is to walk the space with the contractor and create a shared list of outstanding items, then use that list to justify holding back a portion of the contract price. Guidance on Construction Punch Lists notes that this process ensures all scope items are completed to the satisfaction of both parties and gives you a clear standard for sign off.
In many jurisdictions, owners are allowed to withhold part of the final payment until punch list items are done, and some contracts formalize this as retainage. Industry materials on Mastering Final Payment describe how owners often hold retainage and other sums until final completion or final acceptance of the project. You should be transparent about this structure from the start, since holding too much for too long can create cash flow problems for smaller contractors, but a modest retainage tied to a clear punch list is a fair way to keep everyone focused on finishing well.
4. Demand detailed invoices and a clean accounting trail
Before you release the last check, you should be able to see exactly what you are paying for and how it lines up with the contract. Each invoice should break out labor, materials, and any change orders, and it should show prior payments and the remaining balance. Practical advice on Detailing the Invoice stresses that the document should list the work completed, the date of service, the total amount charged, and the contractor’s tax information and business details. That level of clarity makes it harder for surprise extras to slip in at the end.
For larger jobs, you should also expect an application for payment that reconciles the original contract sum, approved changes, and any allowances. A structured Application for Final helps both sides confirm that all line items are complete and that you are not being billed twice for the same work. Resources aimed at contractors on Collecting Final Payment emphasize that a clear paper trail is in everyone’s interest, because it reduces disputes and speeds up that last check.
5. Secure lien waivers from everyone who worked on the job
Even if you pay your contractor in full, unpaid subcontractors or suppliers can still file mechanics liens that cloud your title and force you into disputes. The way to prevent that is to collect signed lien waivers with each payment, and especially before the last one. Guidance on Lien waiver 101 explains that these documents are receipts where contractors give up the right to file a lien in exchange for payment. By the time you are ready for final payment, you should have unconditional waivers from the general contractor and every major trade.
General contractors themselves are encouraged to use these forms to protect their own projects, which underscores how important they are for owners. Industry guidance on Construction Lien Waivers notes that How General Contractors their Projects often involves Using standardized waiver forms. As the owner, you should insist that the contractor gather waivers from subcontractors and suppliers and deliver them to you as a condition of that final check.
6. Require a contractor’s affidavit of payment
Alongside lien waivers, you should ask for a sworn statement that everyone on the job has been paid in full. A Contractor Affidavit of Payment is a document where the contractor certifies that all subcontractors, laborers, and suppliers have been paid and that there are no outstanding claims. Guidance on Examples of when to use it explains that this affidavit provides reassurance to the project owner and can help prevent a lien or a lawsuit for nonpayment from surfacing after the job is supposedly complete.
Consumer advocates who focus on home improvement stress how important this step is when you are spending serious money on a remodel. One explainer on how to protect your money with a contractor’s affidavit notes that home improvements are expensive and that you should not rely on verbal assurances that “everyone has been paid.” By making the affidavit a condition of final payment in your contract, you turn that promise into a legally useful document that can support you if a dispute arises later.
7. Lock in warranties, manuals, and closeout documents
Before you hand over the last check, you should have every warranty and manual you will need for the life of the project. That includes manufacturer warranties for roofing shingles, windows, appliances, and mechanical equipment, as well as the contractor’s own workmanship warranty. Guidance on how to protect myself when paying a contractor stresses that you should not pay in full upfront and that you should treat the final payment as the moment to collect critical documents like warranties and etc.. If the contractor registered any products online, ask for confirmation emails or registration numbers.
You should also receive as built drawings where relevant, maintenance schedules, and any test reports or commissioning documents for systems like HVAC or solar. Industry checklists for The Contractor Checklist for Final highlight that closeout documents are a standard part of finishing a job, not an optional courtesy. If you are installing something complex, like a variable speed heat pump or a smart irrigation controller, insist on an in person tutorial before you sign the last check so you are not left guessing how to operate what you just paid for.
8. Structure payments to avoid upfront risk and end game pressure
The way you structure payments from day one will determine how much leverage you have at the end. Consumer guidance on Risks of Paying Full Upfront explains that one of the biggest dangers is Contractor Disappearance. If the contractor is dishonest or disorganized, they may take your money and never return, or they may juggle your funds to cover other jobs. A reasonable schedule usually includes a modest deposit, progress payments tied to milestones, and a final payment that is large enough to matter but not so large that it starves the contractor of cash.
Owners who have been through difficult projects often advise leaving a smaller but meaningful amount for the end, enough to motivate the contractor to finish punch list items and respond quickly to any issues that surface in the first days of occupancy. Discussions among practitioners on final payment stress that you should never give final payment until the job is complete and the final inspection is done, and that the contract and payment plan should spell this out from the start.
9. Treat final payment as a formal closeout, not a handshake
When you are satisfied that the work is complete, inspections are passed, and paperwork is in hand, you should still treat the last payment as part of a formal closeout process. That means confirming that retainage is being released only after final completion and acceptance, and that any conditions in your contract tied to final payment have been met. You should also double check that you have all When to Use It documents, including the affidavit, lien waivers, warranties, and final invoices, stored in one place.
Finally, remember that protecting yourself at final payment starts long before the last day on site. It begins when you Verify the Contractor, structure Standard Payment Practices, and build inspections, punch lists, lien waivers, and affidavits into your written agreement. If you treat the last check as the final step in a disciplined process rather than a casual gesture of trust, you dramatically reduce the odds that your dream project turns into a lingering financial or legal headache.
Like Fix It Homestead’s content? Be sure to follow us.
Here’s more from us:
- I made Joanna Gaines’s Friendsgiving casserole and here is what I would keep
- Pump Shotguns That Jam the Moment You Actually Need Them
- The First 5 Things Guests Notice About Your Living Room at Christmas
- What Caliber Works Best for Groundhogs, Armadillos, and Other Digging Pests?
- Rifles worth keeping by the back door on any rural property
*This article was developed with AI-powered tools and has been carefully reviewed by our editors.