10 Handmade Ornaments You’ll Actually Want to Keep
Handmade ornaments have a bad reputation because a lot of them end up at the bottom of the bin or “accidentally” disappear. The good ones are simple, sturdy, and actually match the rest of your tree. You don’t need fancy supplies—just a few basics and ideas that age well instead of falling apart in a year.
These are the kinds of ornaments you’ll be happy to pull out year after year, not just because your kid made them, but because they genuinely look nice on the tree.
Salt dough with simple shapes and neutral colors

Skip the heavily painted salt dough animals and go for basic shapes—stars, hearts, circles, trees. After baking, brush them with a little diluted white or neutral paint instead of bright colors. Add twine or thin ribbon to hang.
They end up looking more like something you’d buy than a kids’ craft. You can write names and years in a fine-tip marker on the back so they’re still personal without the front being cluttered.
Clear ornaments filled with real bits of nature

Clear plastic or glass ornaments look high-end with very little work. Fill them with small pieces of pine, tiny pinecones, dried orange peel, or a bit of ribbon. Keep it simple—one or two elements per ornament.
They catch the light, tie in with natural decor, and don’t scream “craft project.” If you get tired of the filler one year, you can empty and redo them.
Photo ornaments with a clean frame

Instead of gluing photos to foam shapes, cut cardstock or thin cardboard into simple frames, cover with wrapping paper or neutral scrapbooking paper, and tuck a small photo inside. Laminate if you want them to last longer.
Punch a hole, add ribbon, and you’ve got an ornament that actually looks like a tiny frame. Over time, these become a sweet record of your family changing.
Wood slice ornaments with stamps or simple lettering

Grab pre-cut wood slices or make your own. Sand lightly, then stamp them with simple words (“joy,” “peace,” family name) or small images. You can also use a paint pen or marker if your handwriting cooperates.
Seal with a clear coat so they last. They have a straightforward, timeless look that works with almost any style of tree.
Fabric-wrapped balls
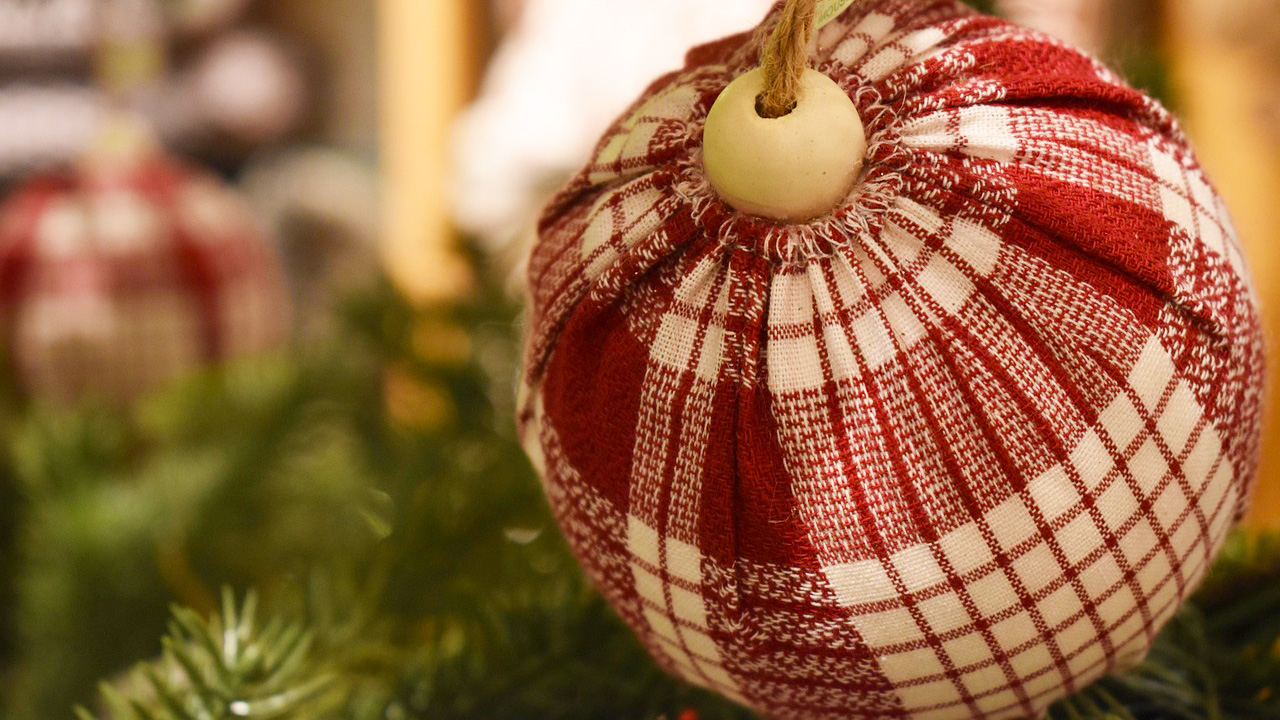
If you have leftover fabric, wrap foam balls or old ornaments in it and tie off with twine or ribbon at the top. Keep patterns simple—plaids, solids, or small prints.
They add warmth and texture to the tree without looking messy. Because they’re soft, they’re also great for lower branches where kids like to rearrange things.
Cinnamon stick bundles

Tie three cinnamon sticks together in a triangle or bundle with twine. Add a small piece of greenery or a tiny bell if you want more detail.
They smell good, look clean and simple, and don’t take much storage space. You can tuck them in between other ornaments to fill gaps on the tree.
Simple embroidery hoop “frames”
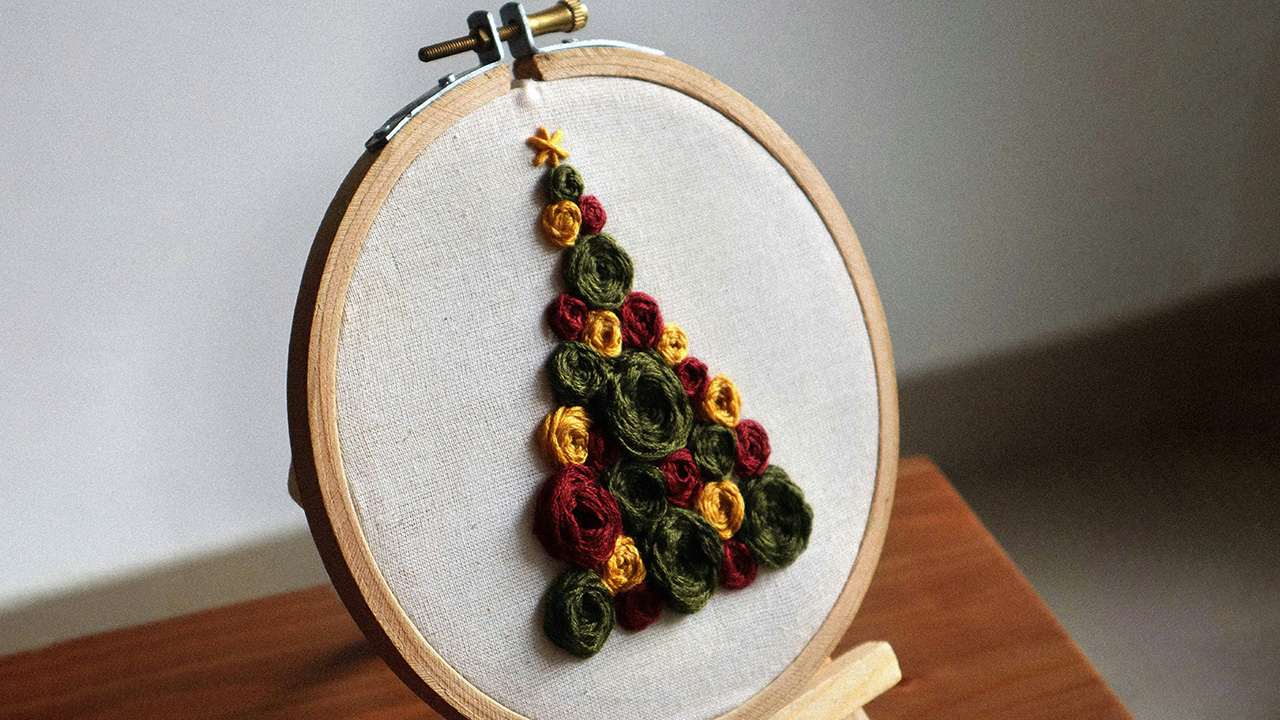
Use small embroidery hoops and stretch fabric inside—old shirts, linen, or scrap fabric. Trim the excess and tie a ribbon at the top. You can leave them plain or stencil on a word or date.
They look like little pieces of wall art for your tree, and you can change the fabric later if your style shifts.
Beaded wire stars
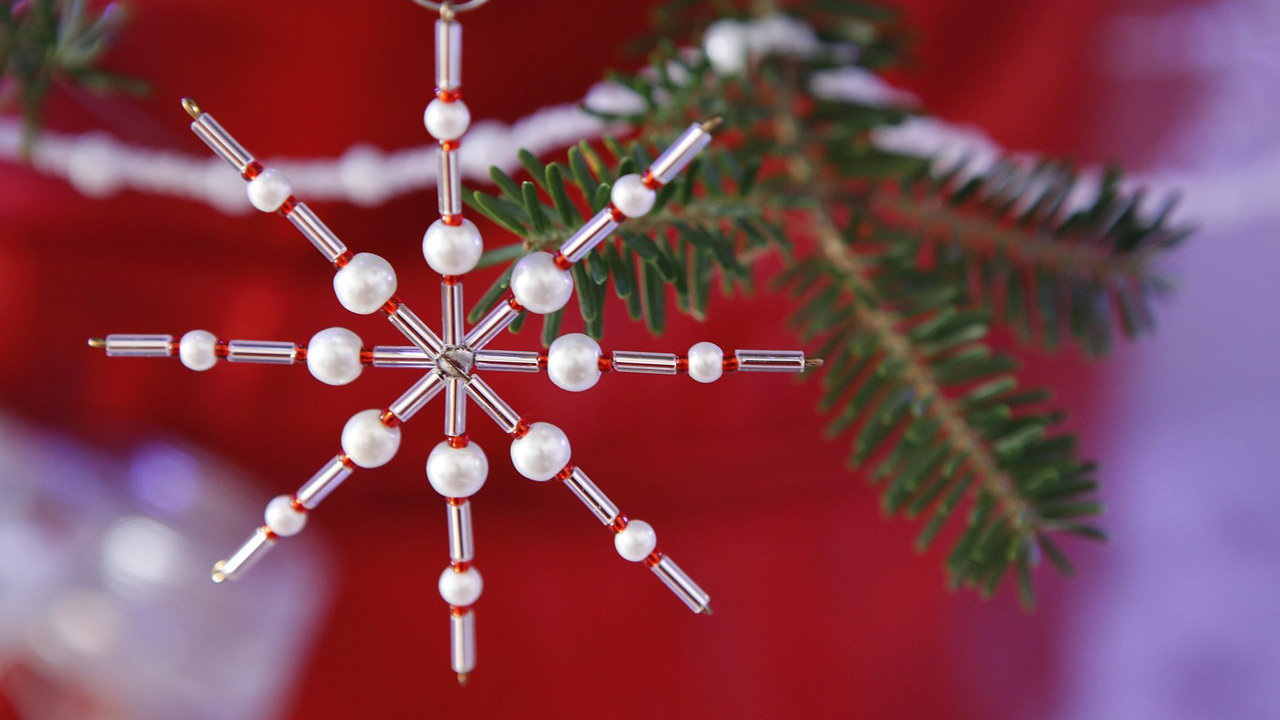
Use thin craft wire and wooden or neutral beads. Thread the beads on, then bend the wire into a star shape and twist ends to secure.
These catch the light, fill visual gaps, and hang nicely without tangling everything around them. They feel more like store-bought decor than a kid project, but kids can still help thread beads.
Mini wreaths from leftover greenery
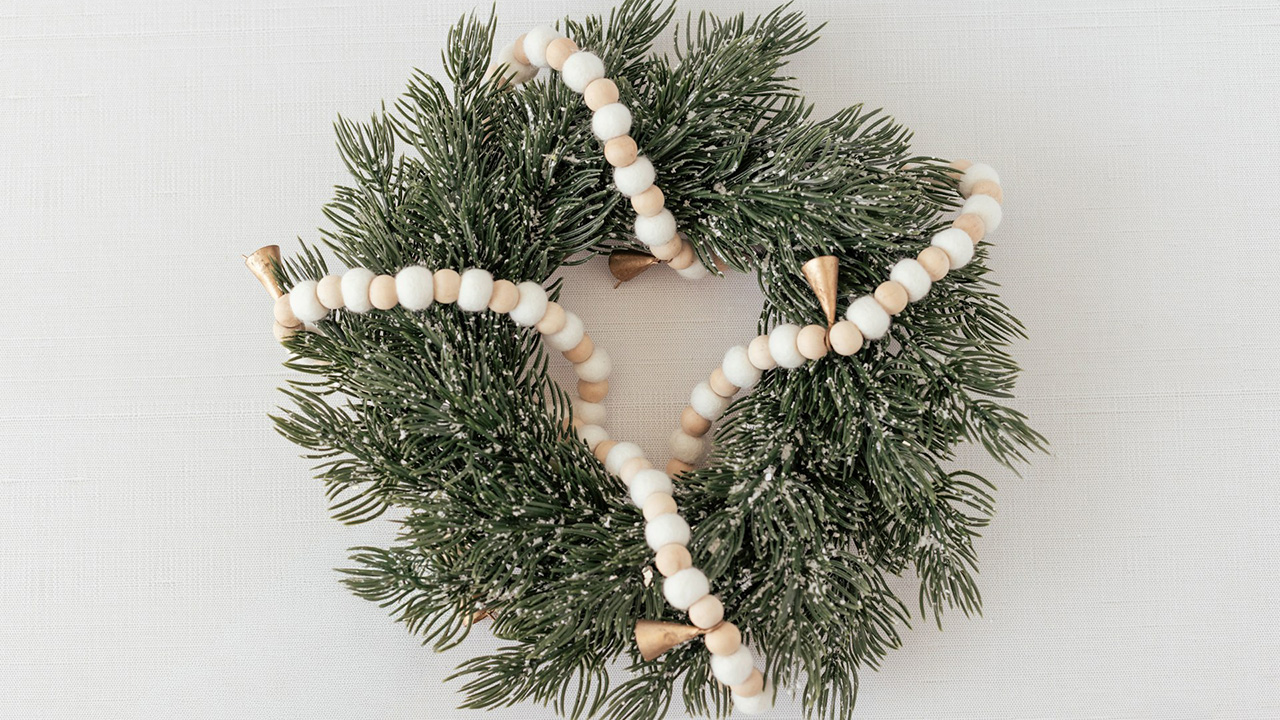
Wrap small circles of wire or jar rings with leftover faux greenery, then add a small ribbon. The key is keeping them small so they tuck into branches instead of taking over the whole tree.
They look polished and tie in with any wreaths or garlands you already have around the house.
Clay ornaments with pressed textures
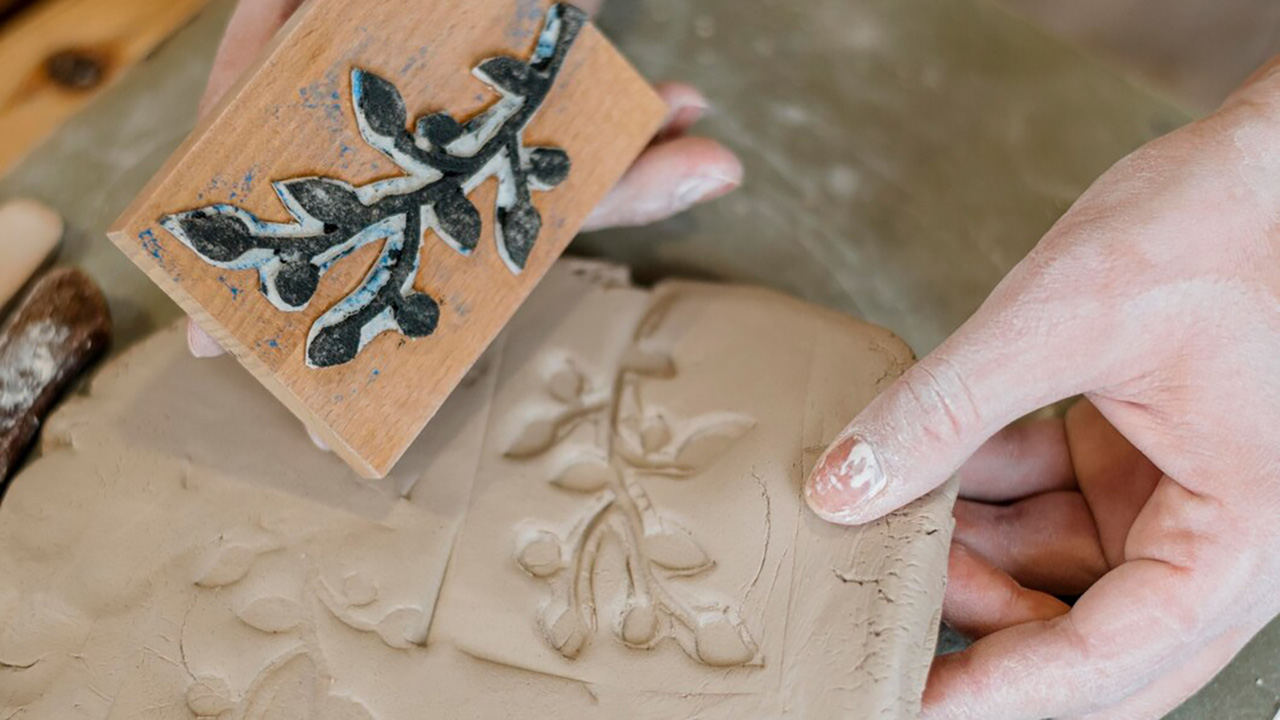
Use air-dry clay or bakeable clay, roll it out, and press textured items into it—lace, greenery, or a knit sweater. Cut shapes with cookie cutters and add a hole for hanging.
Once dry, leave them white or brush lightly with thinned paint to bring out the texture. They’re simple, elegant, and sturdy enough to last beyond one season.
Like Fix It Homestead’s content? Be sure to follow us.
- Man Says He Found Out the Fence He Paid For Wasn’t Actually on His Property
- Woman Says Her Neighbor Started Taking Mulch From Her Delivery Pile Before She Could Even Spread It
- I made Joanna Gaines’s Friendsgiving casserole and here is what I would keep
- What Caliber Works Best for Groundhogs, Armadillos, and Other Digging Pests?
*This article was developed with AI-powered tools and has been carefully reviewed by our editors.