12 seed-starting supplies to gather before shelves sell out
Seed-starting stuff disappears fast once everyone remembers spring exists. If you grab the basics now, you’re not standing in front of an empty rack in February. These are the things that actually make seed-starting easier, not just clutter.
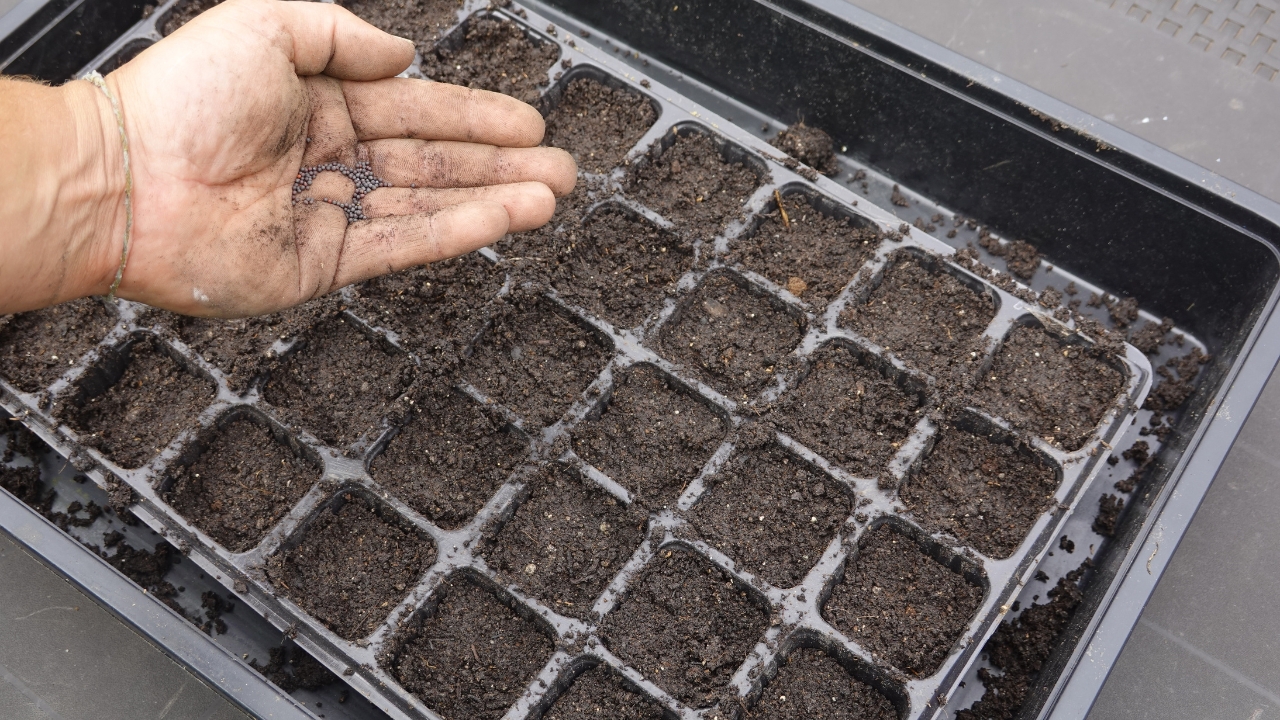
1. A good seed-starting mix
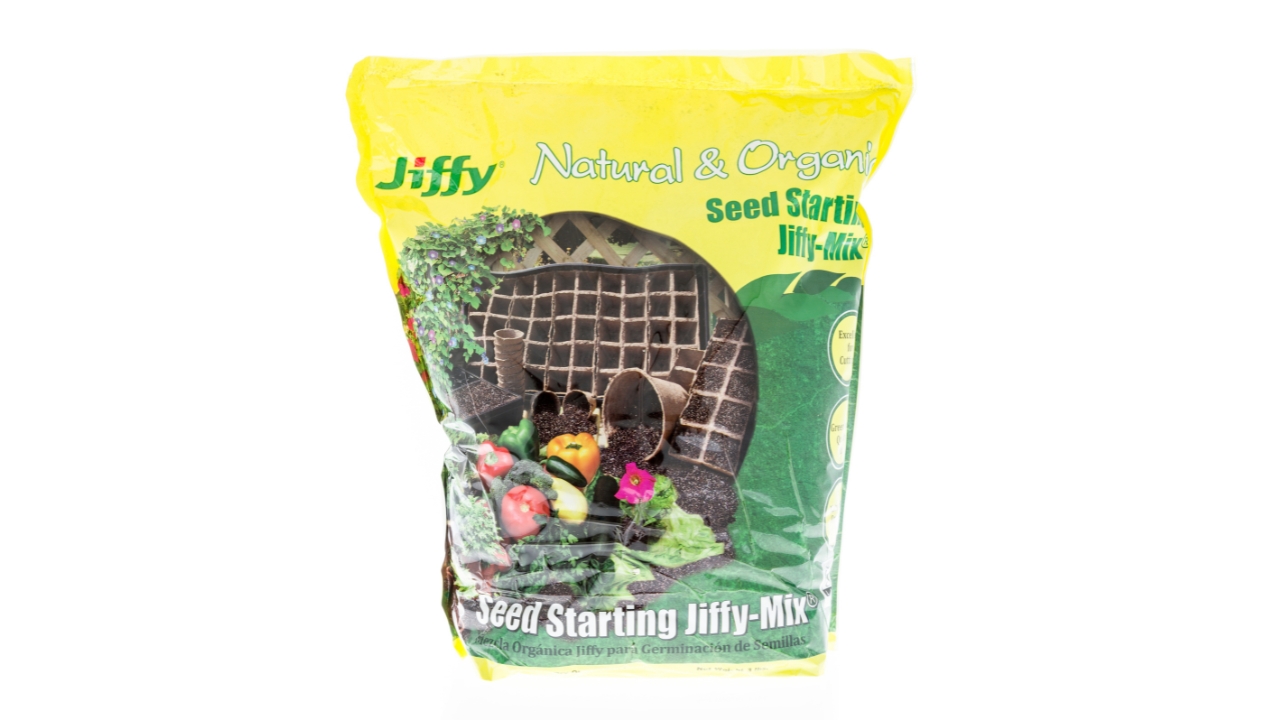
Skip heavy potting soil. You want a fine, lightweight, sterile mix made for seeds so tiny roots aren’t fighting chunks of bark. Look for “seed starting mix” or a soilless blend with peat or coco coir plus perlite/vermiculite.
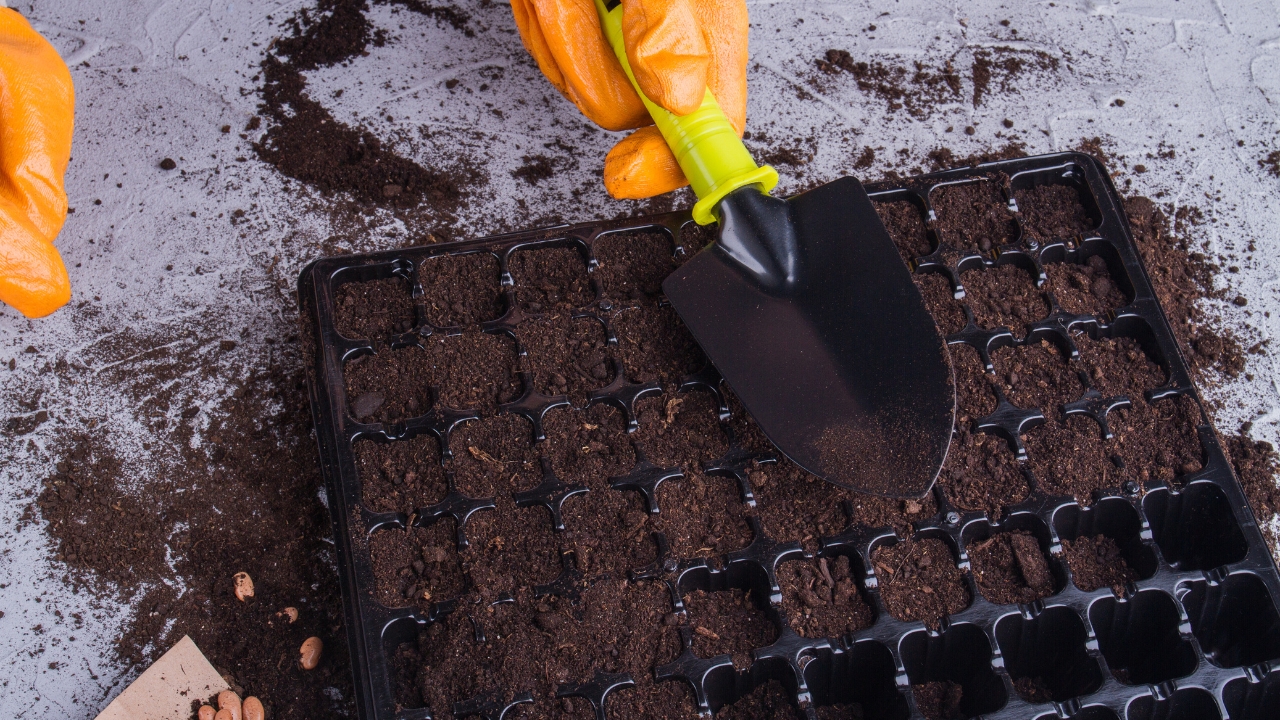
2. Cell trays
Reusable or disposable cell trays keep seedlings organized and make watering easier. Standard 72- or 50-cell flats fit most heat mats and domes. They let you grow a lot of plants in a small footprint so your whole kitchen isn’t covered in random cups.
3. Drain trays
Those flimsy plastic trays under your cells catch extra water and keep things from leaking all over the shelf. They also make bottom watering easier: pour water into the tray, let cells drink, then dump what’s left after a bit.
4. Humidity domes
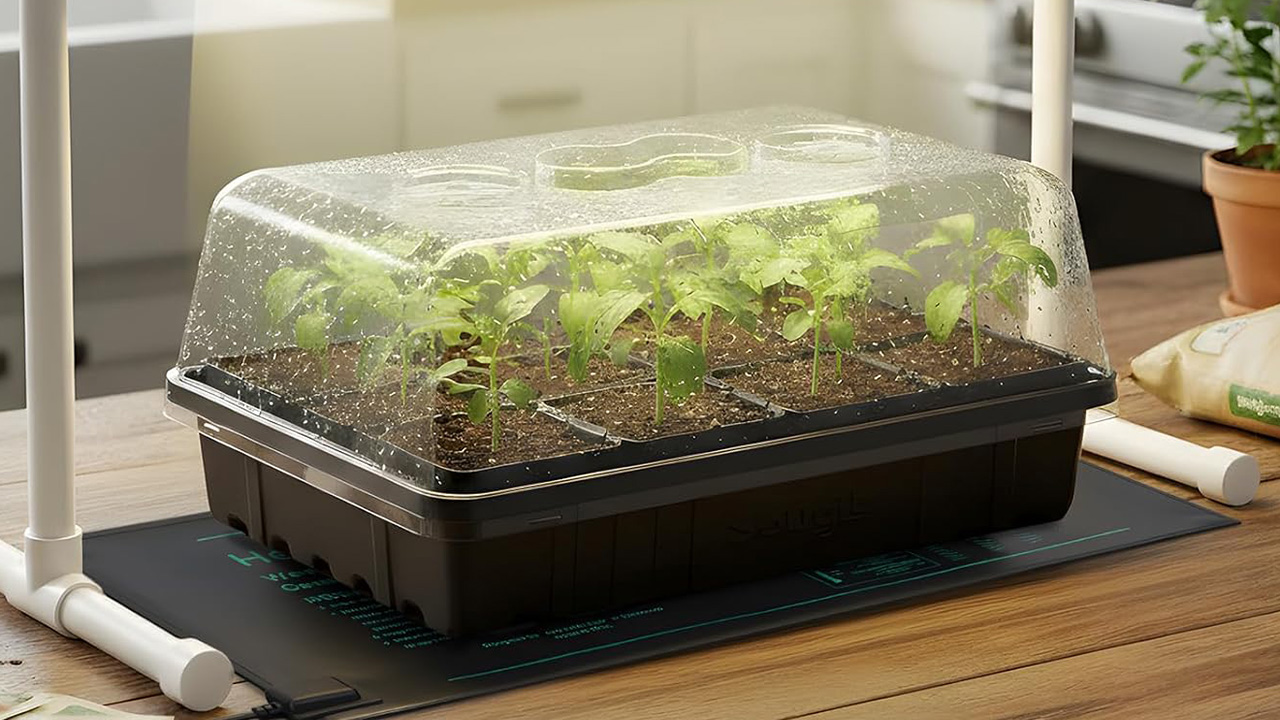
Clear domes over your trays hold in moisture and warmth while seeds sprout. Once seedlings are up, you can crack or remove them to improve airflow. They’re not strictly required, but they help a lot in dry houses.
5. Heat mat
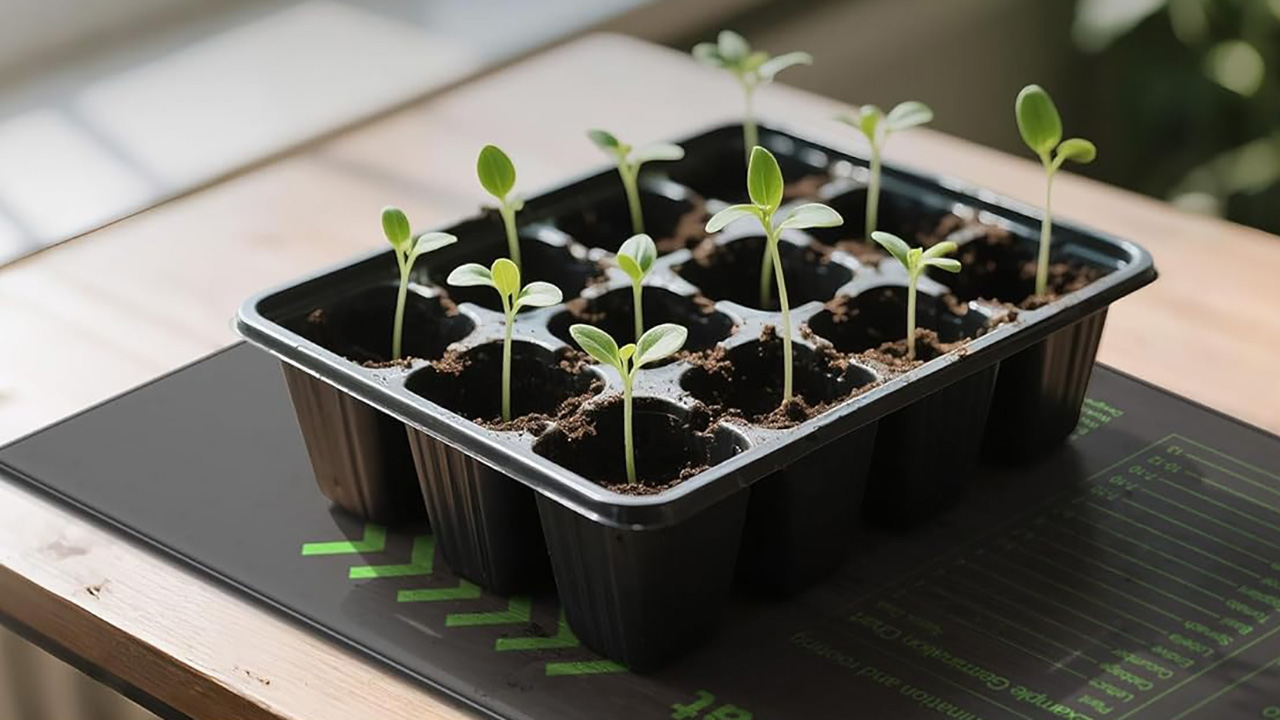
A simple seed-starting heat mat bumps up soil temps, which speeds germination for heat-loving crops like tomatoes, peppers, and many flowers. Once seedlings are up, you can often turn it off or move it to the next tray.
6. Grow lights
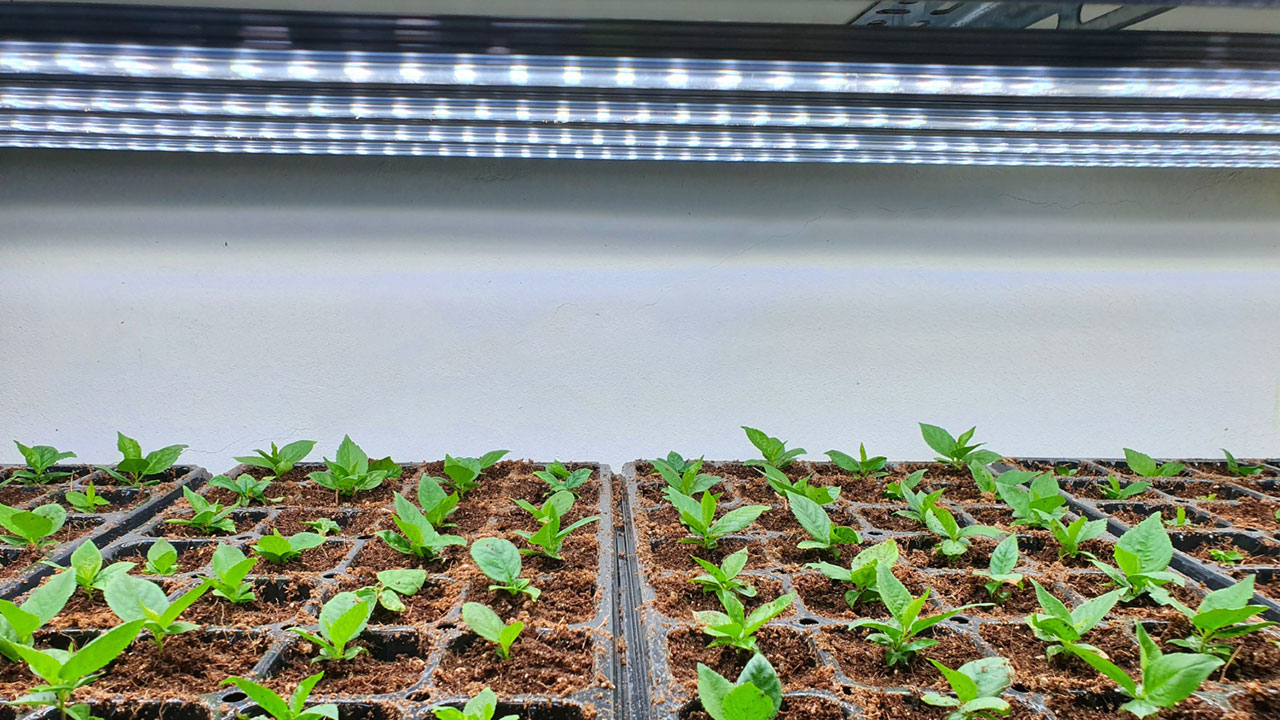
Sunny windows aren’t as strong as we wish in late winter. A basic LED grow light hung a few inches above the seedlings keeps them stocky instead of tall and spindly.
7. A simple shelf or rack
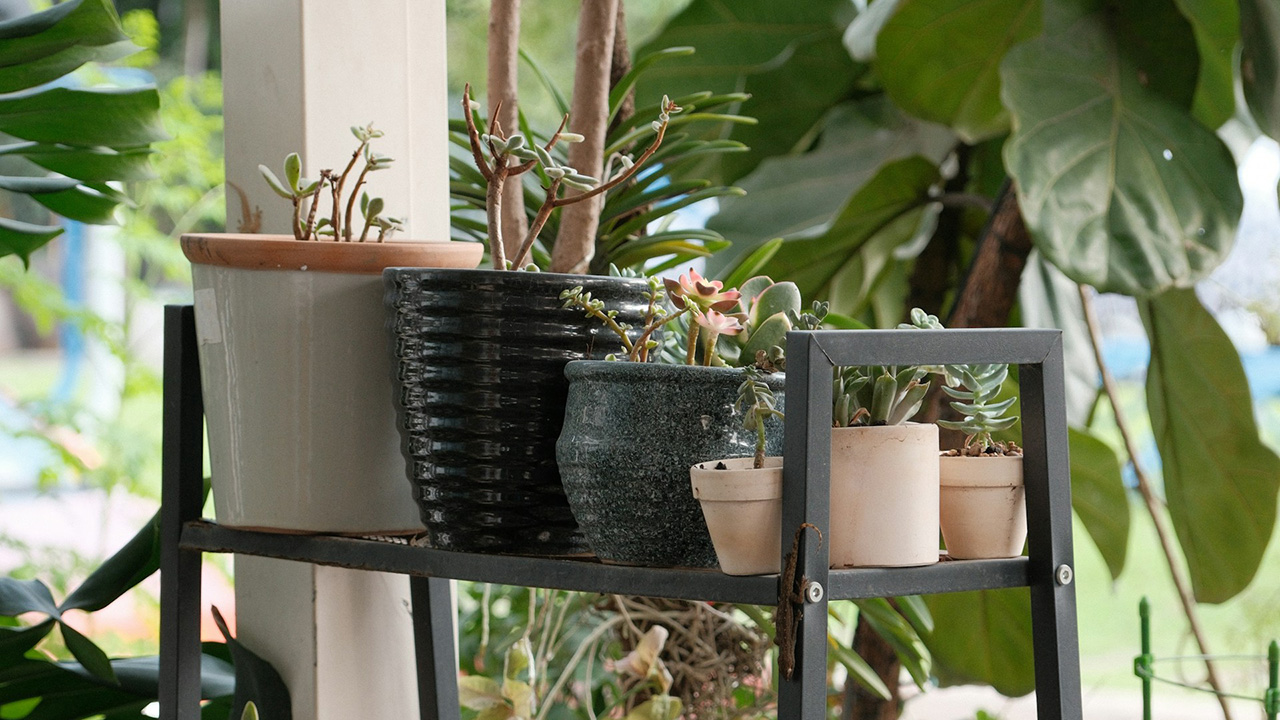
You don’t need a full grow room. A basic metal shelf gives you vertical space to stack trays and lights. It also keeps everything in one place instead of scattered across every flat surface in the house.
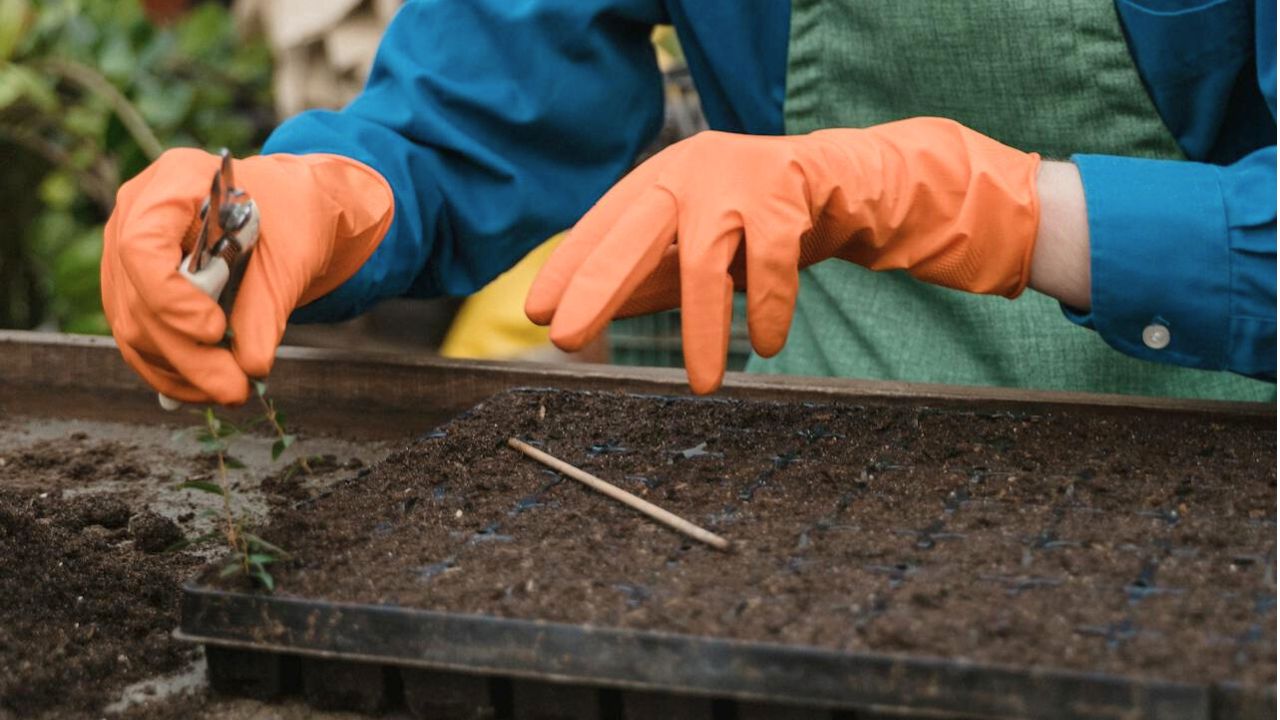
8. Plant labels and a marker that doesn’t fade
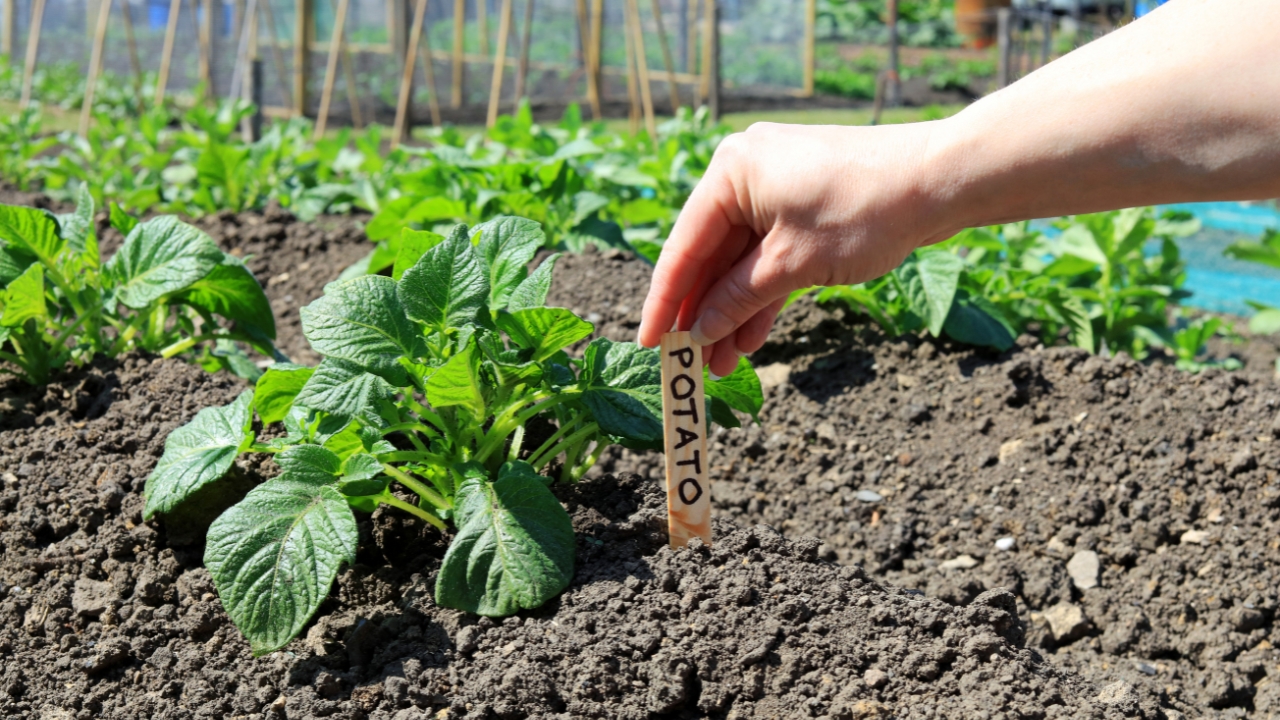
You think you’ll remember what’s what. You won’t. Grab plastic or wooden labels and a UV-resistant marker so you’re not guessing which tray is tomatoes and which is zinnias six weeks in.
9. A gentle watering method

A small watering can with a narrow spout, a squeeze bottle, or even a clean spray bottle helps you water without blasting seeds out of the soil. Bottom watering from the tray is even better once roots develop.
10. A basic fan

A small fan on low near your seedlings helps strengthen stems and improves airflow so fungus doesn’t take over. It doesn’t have to blow directly on them—just enough movement to mimic a light breeze.
11. A simple timer
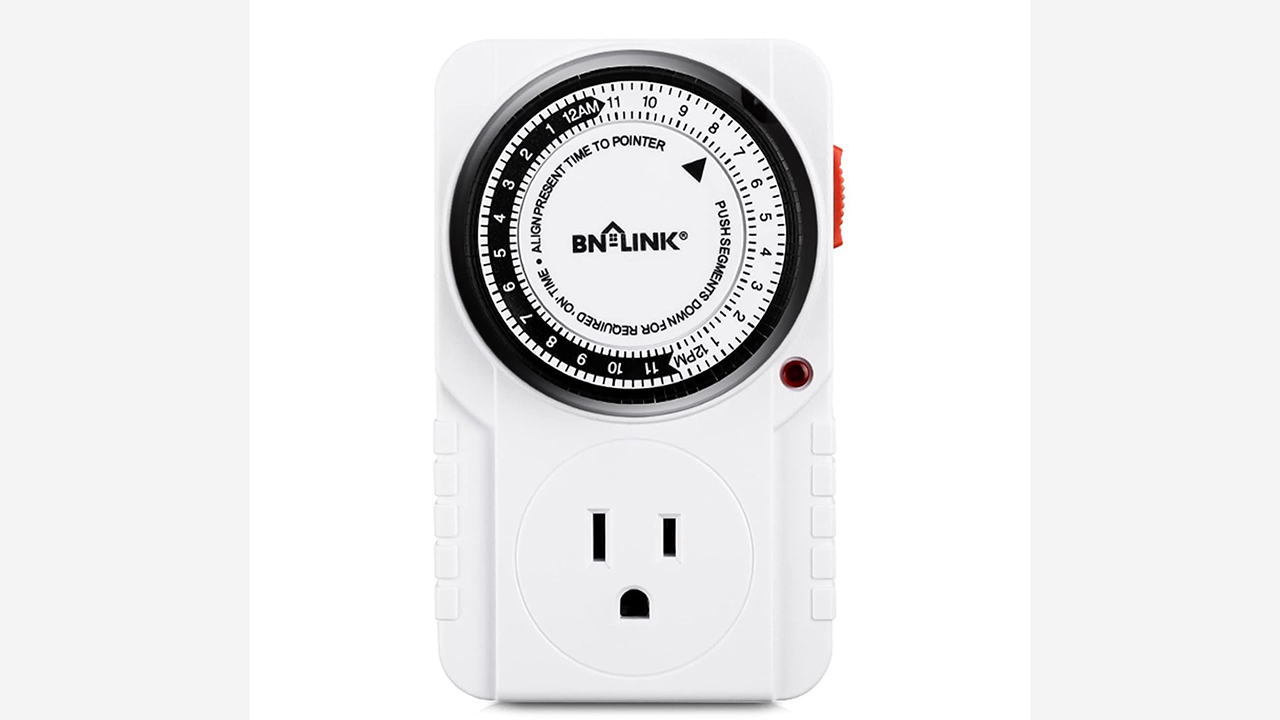
If your grow lights don’t have a built-in timer, a cheap plug-in timer keeps them on a 14–16 hour schedule without you babysitting the switch.
12. A notebook or simple seed-starting plan

Write down what you started, when, and how it did. Even a few notes in a notebook or phone make the next year easier. You’ll know which varieties were worth it and when to start them for your zone.