9 setup details that saved us over $1,000 in tool replacements
If you’ve replaced more than a few tools, you know how fast the costs can add up. Whether it’s a fried battery, water damage, or a tool that somehow disappears mid-project, small setup details can make a big difference in how long your gear actually lasts. We’ve saved over $1,000 by putting some of these systems in place early—and it’s made our tools easier to find, store, and protect without overthinking it.
Setting Up a Dry, Sheltered Tool Zone
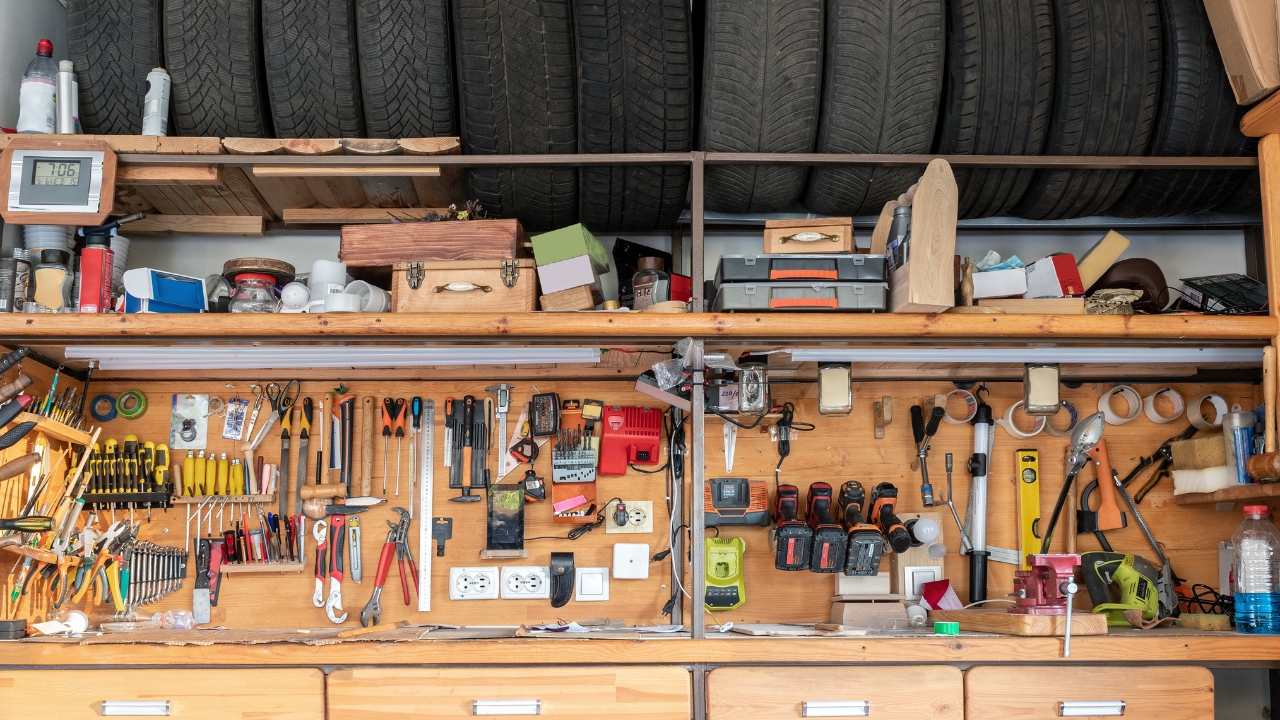
Keeping tools in a covered, dry spot is the easiest way to stretch their lifespan. Humidity, sawdust, and temperature swings destroy power tools way faster than you’d think—especially if you’re working out of a shed or garage.
Even just moving your gear to a raised shelf or installing a cabinet keeps moisture from creeping into cords and battery ports. Before we fixed this, we lost two drills and a jigsaw to corrosion. Now everything’s stored in a clean, dry zone and still going strong.
Labeling Every Charger and Battery
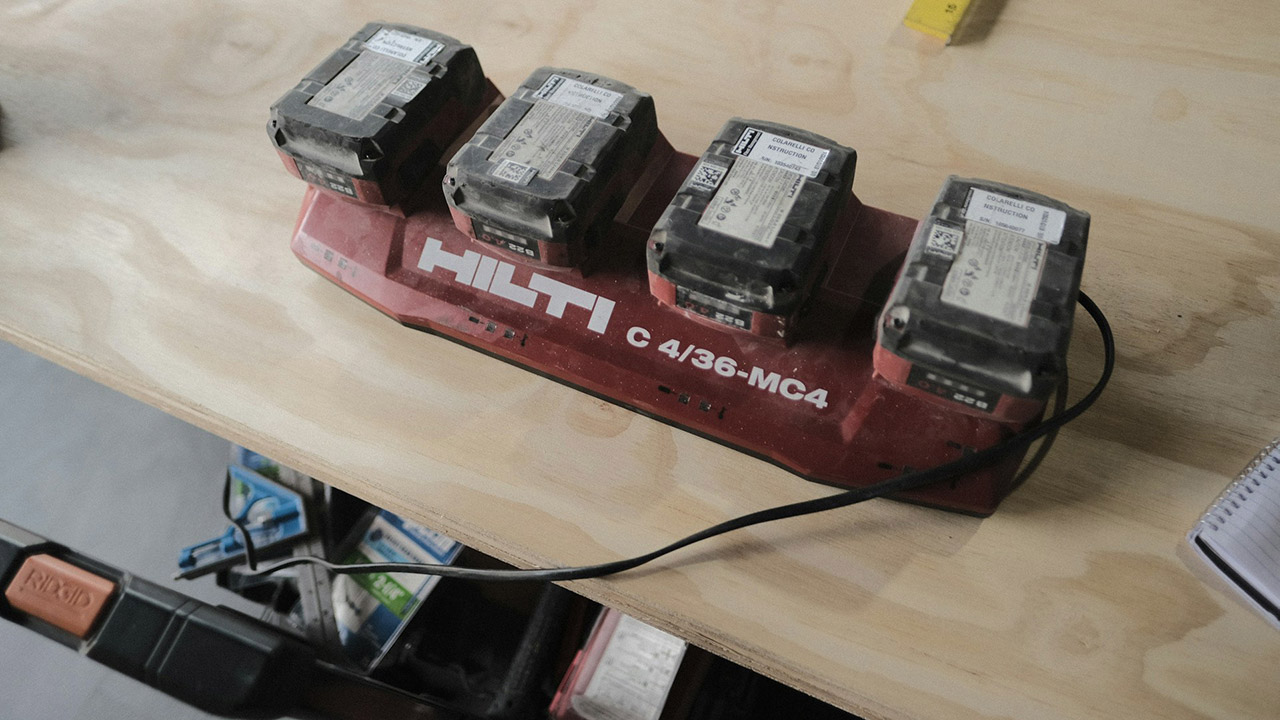
We used to mix up chargers across brands, and that ended with a fried battery and one that overheated so badly it cracked. Now every charger is labeled with the tool brand and voltage, and batteries go in bins by size.
It’s a quick fix that makes it way easier to find the right combo and avoid cooking a perfectly good battery. That one habit alone saved us from tossing out at least three lithium packs that we would’ve messed up otherwise.
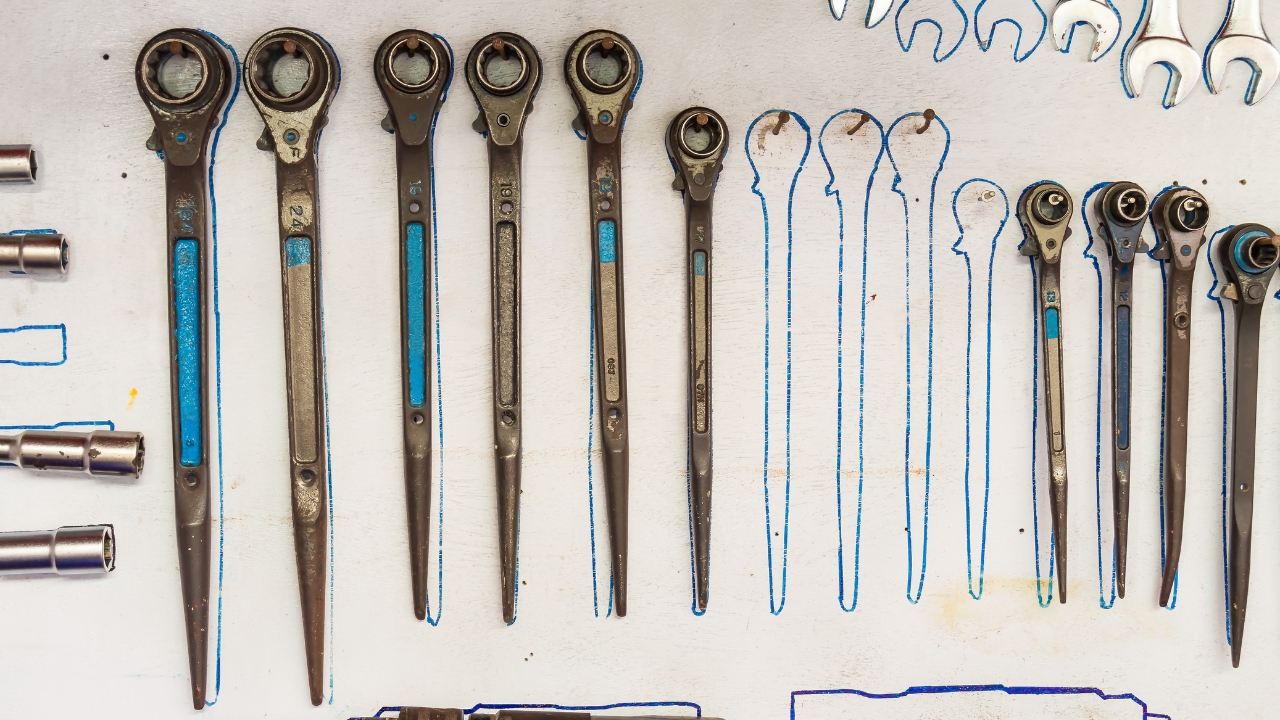
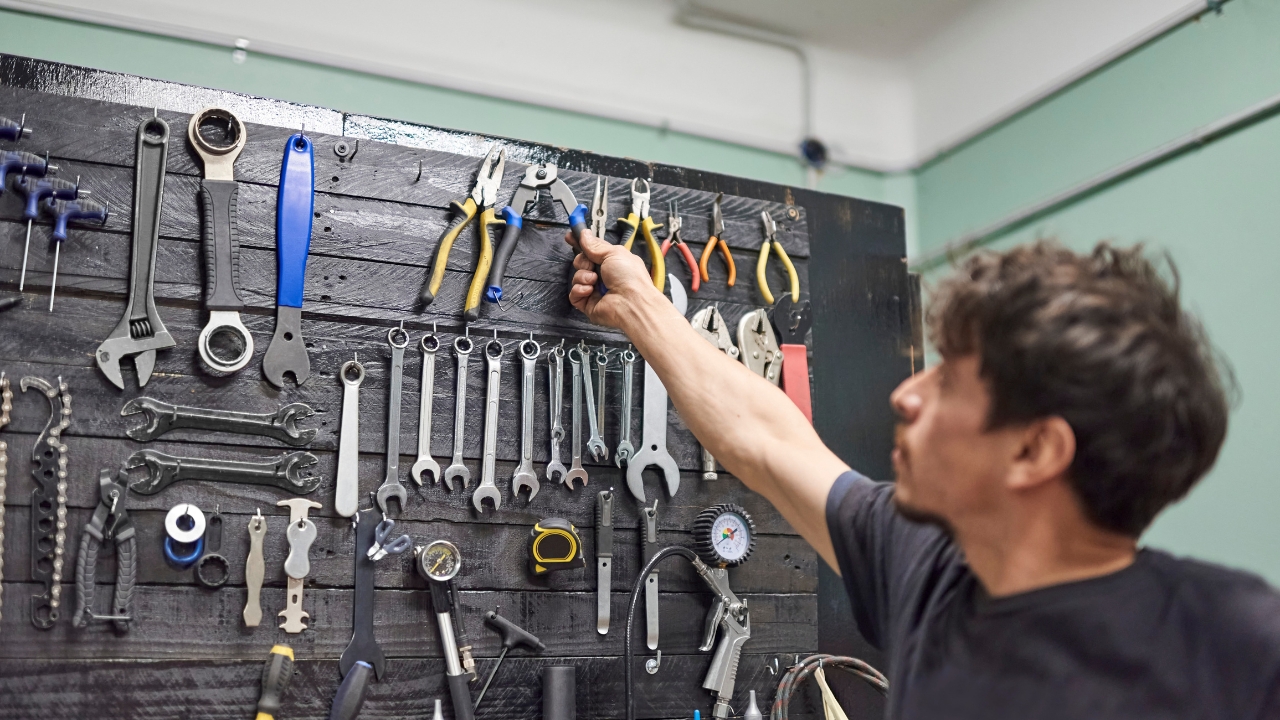
Using Shadow Boards for Frequently Used Tools
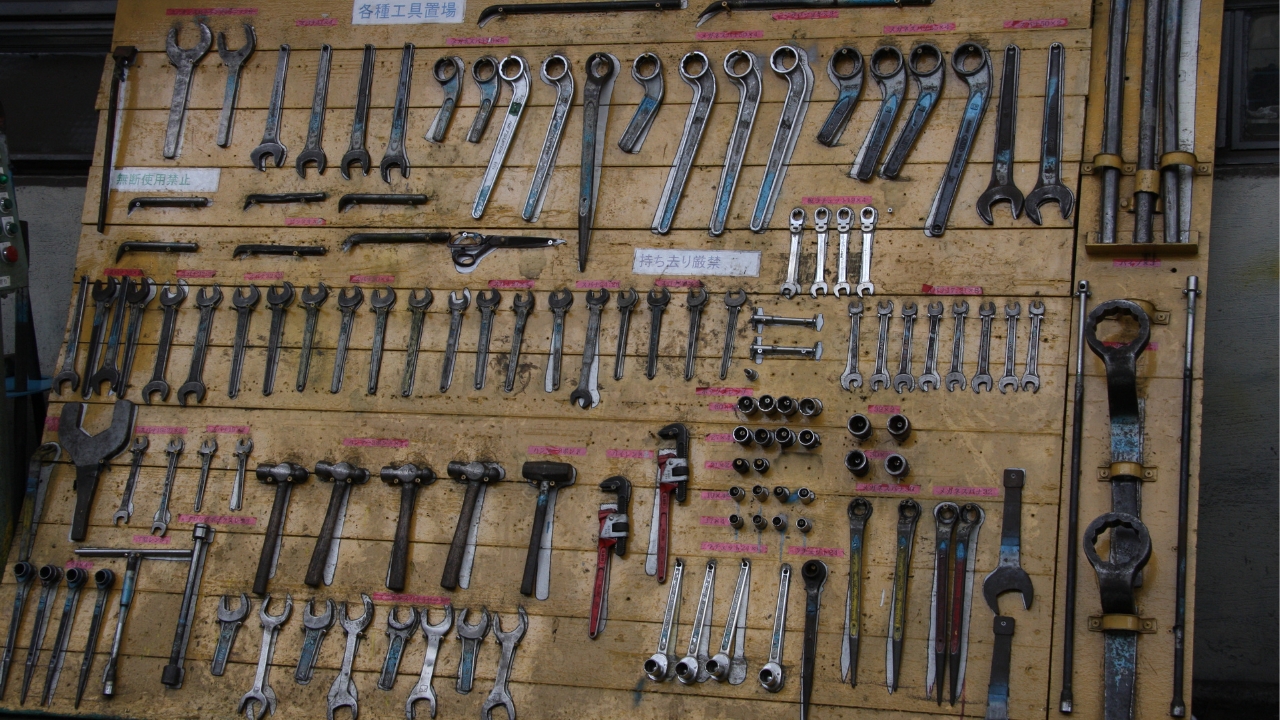
We built a basic plywood shadow board and outlined each hand tool with a marker so everything has a spot. No more guessing where the needle-nose pliers or utility knife wandered off to.
When tools live in random buckets or drawers, they go missing, get buried, or worse—get left outside. Putting them back in the same spot every time has helped us stop buying replacements for tools we already had.
Keeping Desiccant Packs in Every Storage Bin
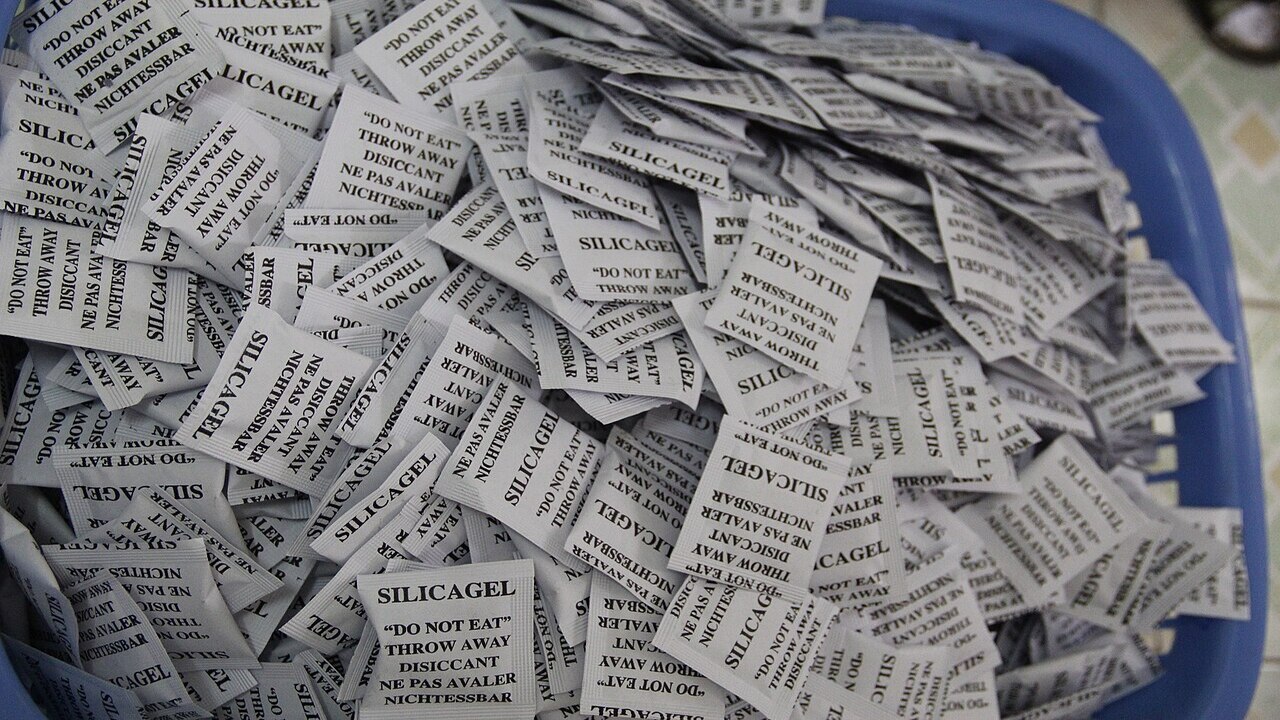
It might sound like overkill, but we started tossing silica gel packs into every storage bin with metal tools or battery gear. We’ve had fewer rust issues and haven’t had to deal with moisture-damaged contacts since.
You can reuse the ones from shoe boxes or buy them cheap in bulk. For less than $10, you can protect hundreds of dollars’ worth of gear—and you’ll notice the difference when things actually power on months later.
Installing an Inexpensive Workbench With Drawers
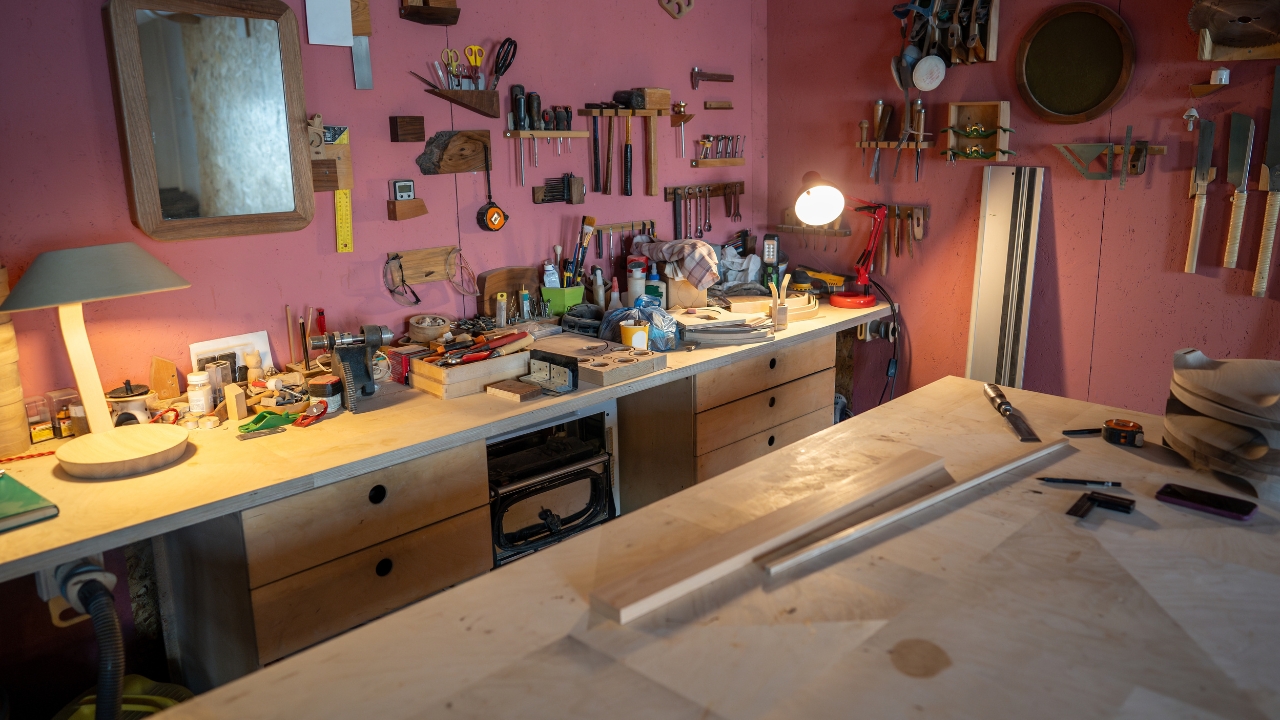
Once we added a basic workbench with drawers, our small tools and attachments stopped disappearing. Wrenches, drill bits, hex keys—all the stuff that used to go missing or get stepped on is now easy to access.
Having a dedicated work surface also keeps us from doing projects on the ground or a folding table that collapses mid-cut. It’s not fancy, but it’s kept tools out of the dirt and extended their lives more than we expected.
Charging Stations Off the Ground

Before we mounted our chargers to the wall and added a shelf for batteries, they lived on the floor or hung off the edge of the workbench. One splash of water or a dropped extension cord was all it took to short things out.
Now everything charges on a wall-mounted board with cord wraps and enough outlets to keep it organized. No more bent prongs, missing chargers, or tools that fail because the battery never actually got juice.
Dedicated Totes for Each Power Tool Type
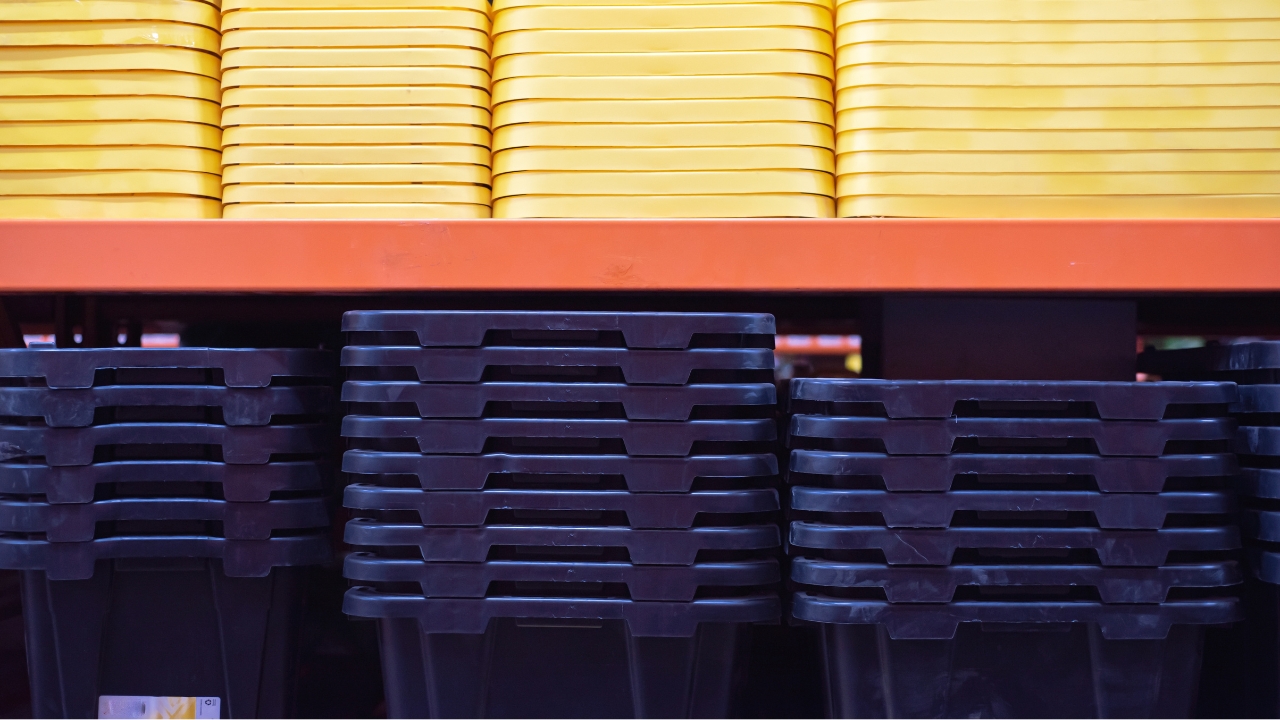
We started organizing by category—sanders in one tote, grinders in another, saws in a third. That way, all attachments, cords, and accessories stay together, and nothing gets damaged by being thrown in with a bunch of random gear.
It’s not a perfect system, but it’s helped us stop replacing parts we thought were lost and saved multiple tools that would’ve been ruined by shifting around unprotected in bigger bins.
Labeling Power Cords and Adapters
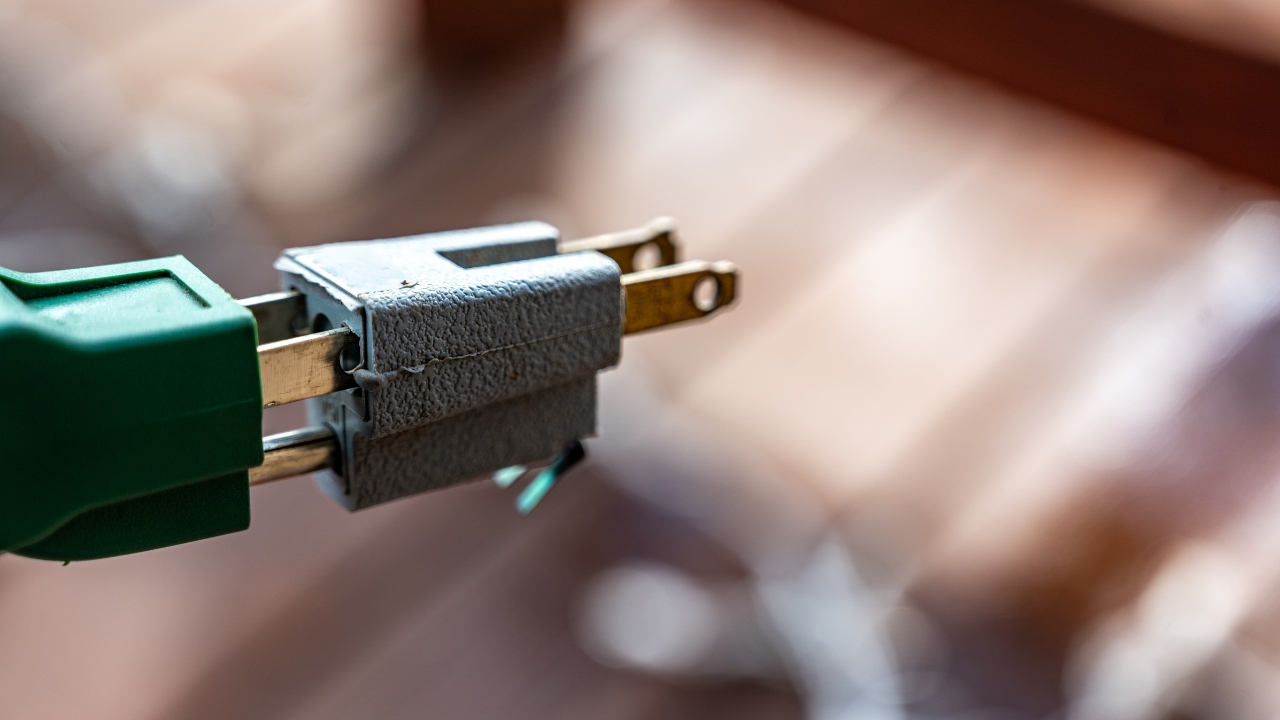
We’ve had gear go bad from using the wrong adapters, especially for rechargeable work lights and battery-powered inflators. Now, every power cord and plug gets a label showing which tool it goes with.
It takes five seconds with a piece of masking tape, and it’s saved us from overvolting or losing hours trying to figure out what goes where. We haven’t blown out a charging port since we started doing it.
Putting Tools Away at the End of the Day
It’s tempting to leave everything out when you’re mid-project, but we’ve learned the hard way that weather, kids, and even pets can do real damage fast. One night of unexpected rain or a toddler with access to the garage was all it took to ruin a few things.
Now, even if we’re not totally done, tools go back on the shelf or in the tote. That one habit has probably saved us more money than anything else.
Backing Off When a Tool Starts to Smell Hot
This one’s less about setup and more about paying attention. We’ve burned through motors before because we kept pushing when a tool was bogging down or starting to smell off. Now, we stop and figure out what’s wrong.
Sometimes it’s a dull blade or the wrong setting. Other times, the tool’s working too hard for the power supply. Catching it early and letting it cool has kept several tools from burning out entirely—and saved a few hundred bucks in replacements.
*This article was developed with AI-powered tools and has been carefully reviewed by our editors.