The flip giveaway that screams shortcuts behind fresh paint
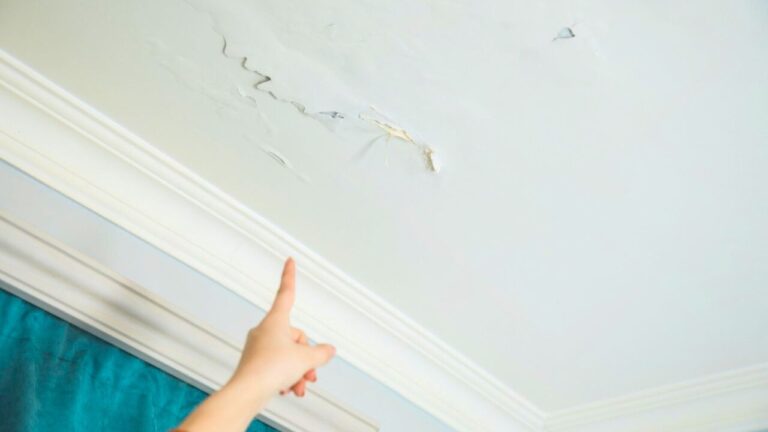
Photo credit: knelson20/Shutterstock.com
Fresh paint can make a tired house look brand new, but it can also hide a rushed flip faster than any staging trick. When you know what to look for, the finish on walls, trim, and cabinets becomes a roadmap that reveals whether a seller invested in real repairs or just skimmed over problems. The loudest giveaway is not the color itself, but the way that paint behaves on the surfaces beneath it.
If you are walking through a recently renovated listing, the sheen, texture, and consistency of the paint job will tell you more than the listing photos ever could. By reading those clues, you can separate a thoughtful renovation from a shortcut special before you commit to an offer or a costly inspection.
Why fresh paint is a red flag, not a guarantee
When you step into a flip and every room is coated in the same flawless-looking color, it can feel reassuring, but uniform paint is often used to erase history rather than document it. A seller who is racing to market can cover water stains, patched drywall, and mismatched repairs in a single weekend, leaving you with no visual record of what was fixed and what was simply hidden. That is why experienced buyers treat a full-house repaint as a prompt to look closer, not as proof that the home is move-in ready.
Professionals know that paint is only as good as the prep underneath it, and that is where shortcuts usually show. When the wrong product is used on a surface that was not properly sanded or primed, the finish can dry with uneven sheen, flashing, or visible patches that betray the rushed work. In one Video Transcript, a furniture painter described how spots sanded down to raw wood dried with a completely different sheen than areas that still had the old finish, even though the color matched, a small-scale example of the same problem you see on badly prepped walls.
The sheen mismatch that gives everything away
The most obvious sign of a shortcut flip is inconsistent sheen, especially on large, flat surfaces that should read as a single plane. When you stand at an angle and light rakes across a wall, you may see dull patches, shiny rectangles, or halos where repairs were made and then hit with a different product or a second coat that did not fully blend. Those changes in gloss are not just cosmetic; they usually mean the painter skipped a bonding primer, mixed finishes, or tried to touch up with a different batch instead of repainting the entire section.
That same issue shows up on smaller projects when the wrong paint is paired with uneven prep. In the furniture example, the painter expected a quick one day makeover but ended up with spotty sheen where raw wood met old finish, a problem that did not disappear with more coats of the same product. On a house, that same physics plays out on patched drywall, new trim spliced into old, or fresh joint compound that was never sealed, and it tells you the person holding the roller was focused on speed, not durability.
Brush marks, roller lines, and the myth of “self leveling”
Another giveaway that a flip was painted in a hurry is the texture left behind by brushes and rollers. On a well executed job, you should not see heavy lap marks, ridges where one section dried before the next, or thick drips frozen along door edges. Those flaws usually mean the painter was using cheap tools, overworking the surface, or applying a product that did not suit the conditions. When you see those marks on every door and baseboard, it suggests the same rushed approach was probably applied to less visible work as well.
Some paints are marketed as self leveling, promising that brush strokes and roller marks will melt away as the coating dries, but even those products have limits. A professional review of Regal Select and Ben semi gloss described one latex formula as the most difficult paint the reviewer could recall working with, noting that as paints dry, the brush strokes or roller marks self, leveling as they cure only if they are applied correctly and in the right thickness. When a flipper leans on that promise without the technique to back it up, you end up with visible brush and roller texture that telegraphs every shortcut.
Cabinet paint that tells on the whole kitchen
Kitchen cabinets are one of the most expensive elements to replace, so flippers often try to squeeze maximum impact out of a fast paint job. To your eye, a wall of newly white doors can look luxurious, but the details reveal whether the work will last. Look closely at the edges of shaker rails, the backs of doors, and the cabinet interiors; if you see thin coverage, rough sanding scratches, or paint bridging between the door and frame, the painter likely skipped the patient prep that cabinet-grade finishes require.
Experienced finishers treat cabinet painting as a multi day process, not a quick spray and go. They remove doors, sand thoroughly, apply a bonding primer, and then build up multiple thin coats, often working on drawers while priming and painting the interior cabinet boxes in between. One step by step guide notes that this method simply takes longer, but it is the only way to get a smooth, durable finish on high touch surfaces like kitchen doors and drawer fronts. When a flip’s cabinets look freshly coated but the interiors are raw or streaky, you can safely assume the seller skipped those pro level steps and that chipping and peeling are not far behind.
Trim, doors, and the tape line test
Trim and doors are where a painter’s discipline, or lack of it, is easiest to spot. In a carefully executed renovation, the line where wall color meets baseboard or casing is crisp, with no bleed, smudges, or roller bumps onto the woodwork. In a rushed flip, you will often see wall color smeared onto the top of baseboards, paint on hinges and latches, or caulk smeared over gaps without being tooled smooth. Those details matter because they show whether the crew took the time to mask, cut in, and clean up, or simply blasted everything with a sprayer.
You can test this in seconds by scanning the tops of door frames and the undersides of window sills, places that are rarely photographed. If you see overspray, drips, or rough edges where tape was ripped away too soon, you are looking at a job that prioritized speed over craft. The same mindset that leaves paint on hardware is unlikely to have produced careful work behind walls or under floors, so sloppy trim is not just an aesthetic issue; it is a proxy for the overall standard of the flip.
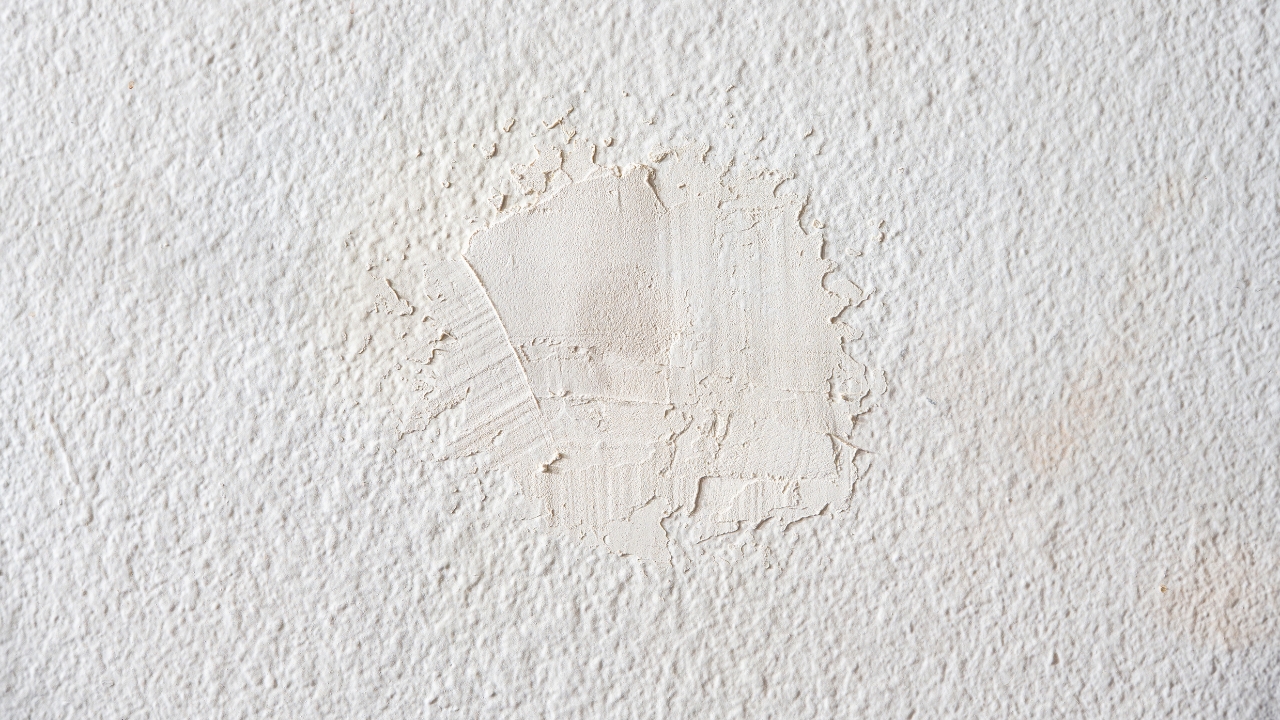
Patchwork walls and what they are hiding
Fresh paint can hide a lot of history, but it cannot fully erase poor patching. When you walk a room, look for shallow humps, depressions, or visible seams where drywall joints were repaired. Under angled light, you may see broad, uneven swaths where joint compound was feathered poorly and then painted without proper sanding. Those areas often show up as slightly different texture or sheen, especially if the painter did not prime the patches before rolling on color.
On furniture, the same principle shows up when raw wood and old finish absorb paint differently, creating spotty, uneven areas that stand out even after multiple coats. In the end table project, the painter realized that the problem was not going to disappear with more of the same paint and had to change products to correct the blotchy finish. On a house, patchy walls tell you that the person doing the work either did not understand that step or chose not to fix it, which raises questions about how they handled more complex repairs like plumbing or electrical updates.
High gloss in the wrong places
Sheen choice is another subtle clue that something is off. High gloss and semi gloss paints are durable and easy to clean, which is why they are common on trim and doors, but they also highlight every flaw in the surface beneath them. When you see a flipper use a shiny finish on wavy walls, patched ceilings, or rough cabinet faces, it often means they were more focused on a showroom shine than on correcting the underlying defects. The result is a finish that looks harsh and unforgiving, with every roller mark and nail pop amplified by the light.
Professionals are careful about pairing sheen with substrate because they know how unforgiving reflective finishes can be. A reviewer who struggled with a difficult latex semi gloss noted that as paints dry, the brush strokes or roller marks self, leveling as long as the product is applied correctly and the surface is properly prepared. When that level of care is missing, high gloss becomes a spotlight on every shortcut, from skipped sanding to unfilled nail holes, and it tells you the renovation was designed to impress at first glance rather than hold up under scrutiny.
Where paint meets other materials
Transitions are where rushed work is hardest to hide. Look closely at the line where painted walls meet tile backsplashes, stone fireplaces, or stair treads. Clean, straight edges suggest careful masking and cutting in, while jagged lines, paint on grout, or smeared caulk indicate a crew that was moving too fast. Around tubs and showers, paint on silicone or cracked caulk can also hint at moisture issues that were cosmetically covered instead of properly addressed.
Cabinet interiors and undersides are another transition zone that reveals priorities. In a methodical kitchen repaint, painters often work on priming and painting the interior cabinet boxes while drawers and doors dry between coats, accepting that the process will simply take longer. When you open a cabinet in a flip and see raw wood inside, overspray on hinges, or a hard line where the sprayer missed the back corners, you are seeing the opposite mindset. Those unfinished edges are not just visual noise; they are evidence that the seller was racing the clock, which should make you cautious about everything you cannot see.
How to use these clues before you make an offer
Once you know how to read a paint job, you can use it as an early filter before you invest in inspections or appraisals. During a showing, slow down and study the details: run your hand along cabinet doors to feel for roughness, crouch to eye level with baseboards, and stand at an angle to the walls to catch sheen changes. If you consistently see sloppy lines, mismatched gloss, and visible patches, treat that as a signal that the renovation may be more cosmetic than structural, and adjust your expectations and offer accordingly.
On the other hand, if the paint work holds up under scrutiny, with smooth cabinet finishes, clean trim, and well blended repairs, it suggests the seller was willing to invest time and care in the visible layers of the home. That does not guarantee perfection behind the walls, but it does tilt the odds in your favor. By combining what you see in the finish with what you learn from a qualified inspector, you can decide whether that freshly painted flip is a solid opportunity or a shortcut project that will start peeling the moment you move in.
Like Fix It Homestead’s content? Be sure to follow us.
Here’s more from us:
- I made Joanna Gaines’s Friendsgiving casserole and here is what I would keep
- Pump Shotguns That Jam the Moment You Actually Need Them
- The First 5 Things Guests Notice About Your Living Room at Christmas
- What Caliber Works Best for Groundhogs, Armadillos, and Other Digging Pests?
- Rifles worth keeping by the back door on any rural property
*This article was developed with AI-powered tools and has been carefully reviewed by our editors.