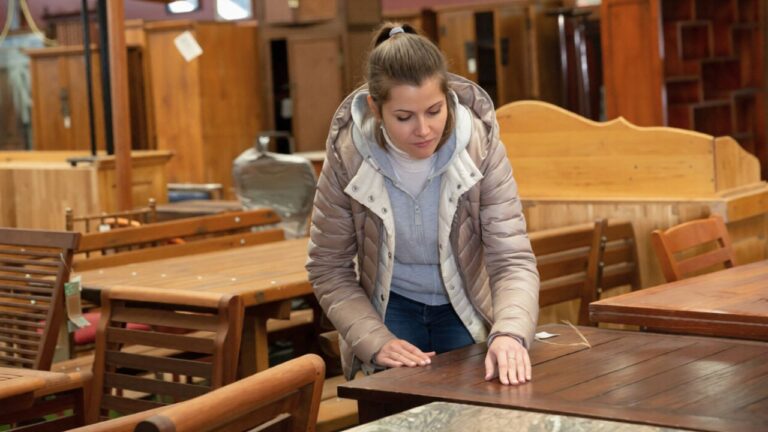
The flooring change that can hide water damage edges
Photo credit: Toa55/Shutterstock.com
Water stains at the edges of a floor rarely stay subtle for long. Once moisture has crept under planks or along a tile line, the discolored border can make an entire room look tired, even if the rest of the surface is sound. The right change in flooring style and trim can do more than refresh the space, it can strategically disguise those damaged edges while also making future water problems less likely to show.
Instead of chasing spot fixes that never quite blend, you can use edge profiles, transition pieces, and even new waterproof materials to visually reset the perimeter. By treating the border as a design feature, you turn a repair into an upgrade, hiding old scars behind deliberate lines, shadows, and trims that look intentional rather than improvised.
When water damage hides in plain sight
Edge damage often starts quietly, with a small leak near a wall, a pet accident under furniture, or a spill that seeps into a gap instead of evaporating on the surface. Owners on home forums describe discovering darkened boards only after moving a couch or rug, then realizing that the moisture had been wicking into the plank edges for months. In one discussion, a user shared a photo of a hard floor with a distinct water spot and asked if there was any way to cover it, a reminder that by the time you notice a halo at the perimeter, the finish has usually already failed at that edge water spot.
Laminate and engineered products are especially vulnerable where the core is exposed, since swelling tends to telegraph as raised lips or flaking along the sides. One owner summed it up in a TLDR about a roommate’s dog repeatedly peeing under a couch, then mopping it up just enough to leave a permanent stain in the laminate. The surface looked fine in the middle of the room, but the edges near the incident zone told a different story, with discoloration and softening that could not be sanded out like solid wood.
Why edges fail first when floors get wet
Edges are the weak link because they combine movement, gaps, and exposed material. Floating floors rely on an expansion space around the perimeter, which means there is a deliberate gap at the wall that can collect moisture if it is not properly sealed or trimmed. Guidance on waterproof laminate stresses that while the wear layer can shrug off splashes, water that seeps into joints or the expansion gap can still reach the core and cause swelling. Once that happens, the damage tends to show as a ragged edge rather than a neat, uniform stain.
Hardwood behaves differently but fails in the same places. When water sits on or under boards, it can cause cupping and separation that are most visible along the seams and at the room’s edge. One flooring professional described finding extensive hidden damage under an existing surface and noted that what looked like a small issue at the perimeter was actually part of a much larger problem that required insurance involvement under the floor. That pattern is common: the center of the room dries quickly, while edges trap moisture against walls, baseboards, and underlayment.
Before you hide it, decide if it should be replaced
Cosmetic coverups only make sense once you are confident the structure beneath is dry and stable. If boards are soft, crumbling, or actively cupping, you are better off replacing them than trying to disguise the outline. A detailed guide to water damage notes that Flooring Discolouration from leaks often appears near windows and doors, and that once the core of a product has swelled, sanding or surface treatments will not restore its original profile. In those cases, the choice is between targeted board replacement and a full tear out, not paint or stain.
Professionals who deal with hardwood separation are blunt about the limits of patching. One recommendation is to Replace Severely Damaged gaps are extensive or planks have warped beyond repair, since no amount of filler will correct structural movement. Another flooring specialist responding to cupping advised a homeowner to Definitely REPLACE THE DAMAGED BOARDS rather than chase a shortcut. If you skip that step and simply cover the perimeter, you risk trapping moisture and inviting mold or further buckling.
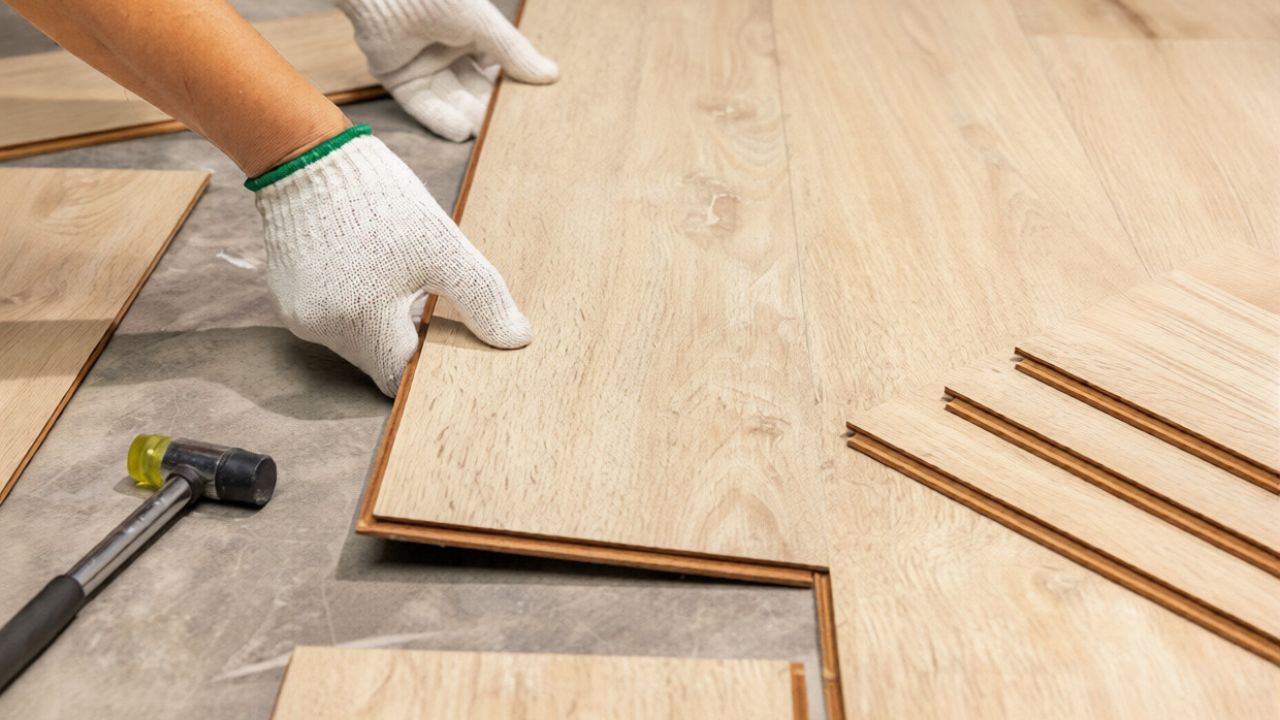
The trim trick: using molding to mask expansion gaps and stains
Once you have confirmed the subfloor and planks are sound, trim becomes your most powerful tool for hiding ugly edges. Laminate systems rely on dedicated trim pieces to conceal the expansion gap and protect the vulnerable core, and those same pieces can cover minor staining or chipping along the outermost board. One overview of laminate construction explains that Moulding and other trims hide the gap, give the floor a finished look, and shield edges from damage, which means you can often replace or upgrade the trim instead of the entire field.
Design advice for higher end laminate emphasizes that Expansion Gaps around the perimeter should be concealed with molding for a refined finish, which conveniently also hides any slight discoloration at the edge. For tricky transitions, homeowners in one community group were advised by Gina McGill Young to use a transition strip, while another member, Michelle Munsell, mentioned peel and stick molding as a quick solution. Both approaches rely on the same principle: a deliberate trim piece draws the eye to a clean line and away from whatever is happening just beyond it.
Transition strips: turning problem edges into clean thresholds
Where water damage is concentrated along a doorway or between rooms, a transition strip can be the cleanest way to erase the visual scar. Instead of trying to feather stain or paint into a damaged edge, you can cut back the affected boards to a straight line and install a threshold that bridges the gap. A technical guide notes that Floor transition strips connect different materials or heights and create a smooth, safe, visually appealing transition, which is exactly what you need when one side of the joint has been compromised.
In practice, that might mean trimming back a stained laminate edge and installing a metal, wood, or vinyl strip that overlaps both the old floor and a new surface. Some homeowners pair this with a change in material, for example moving from laminate in a hallway to tile in a bathroom, so the new threshold feels like a design choice rather than a patch. The key is to keep the cut line straight and to choose a profile that fully covers the damaged zone, rather than leaving a sliver of the old stain visible at the edge.
Beveled and micro‑beveled edges: using shadow lines to disguise wear
If you are replacing flooring outright, the edge profile you choose can determine how forgiving the surface will be when it encounters moisture in the future. Beveled edges introduce a small groove between planks, which creates a shadow line that can visually absorb minor swelling or finish wear at the edges. One analysis notes that Beveled edged floors are often chosen because they require less precision to install and reduce the chance of edge splinters, which also means they are more forgiving when boards move slightly from seasonal humidity or minor water exposure.
Luxury vinyl products take this further by using pronounced bevels to mimic the look of real wood or stone. Designers point out that the primary reason homeowners choose beveled edge luxury vinyl plank is the way it sharpens the floor’s definition and enhances the illusion of individual planks beveled edge. Micro bevels go subtler still. A specialist describes a micro bevel as a minimal, shallow groove along hardwood plank edges that creates a slight shadow without the more noticeable lines of a traditional bevel micro bevel. Another source highlights the Visual Depth and that Micro beveled edges add, which can subtly mask tiny irregularities along the joints that would stand out on a perfectly flat, square edged floor.
Waterproof and “water‑resistant” floors that forgive the perimeter
Material choice also affects how visible edge damage becomes over time. Guidance on Luxury Vinyl explains that LVP and LVT are typically water resistant and sometimes waterproof at the surface, but that problems can still arise if water seeps into seams or underneath. A separate overview of Waterproof flooring clarifies that the term usually refers to products that are unlikely to swell or warp when exposed to water, as long as the moisture is dried and mold is controlled. That resilience makes edge staining less likely, and when it does occur, it is often confined to the finish rather than the core.
Specific product lines lean into this promise. Lifeproof Navarra Maple waterproof luxury vinyl plank is marketed as an easy Lifeproof DIY or PRO Install with a pre attached underlayment that is quiet and comfortable underfoot, suitable for low and high traffic areas. Similar descriptions apply to Lifeproof Ivory Lane Quartzite click lock vinyl tile, which is also positioned as a straightforward DIY Pro Install, and Lifeproof Oak vinyl plank, which can be Installed throughout the home. The Overlook Slate 22 MIL click lock tile is similarly framed as a LifeProof option that is easy for DIY or Pro Install in low and high traffic spaces. Another family of products, marketed as SMARTCORE Ultra, invites you to Treat yourself with SMARTCORE by COREtec Floors, highlighting Ultra planks with Hyper realistic design. These waterproof and water resistant systems still need proper edge detailing, but they give you a wider margin for error when the next spill hits the perimeter.
Laminate, pets, and the myth of “waterproof everywhere”
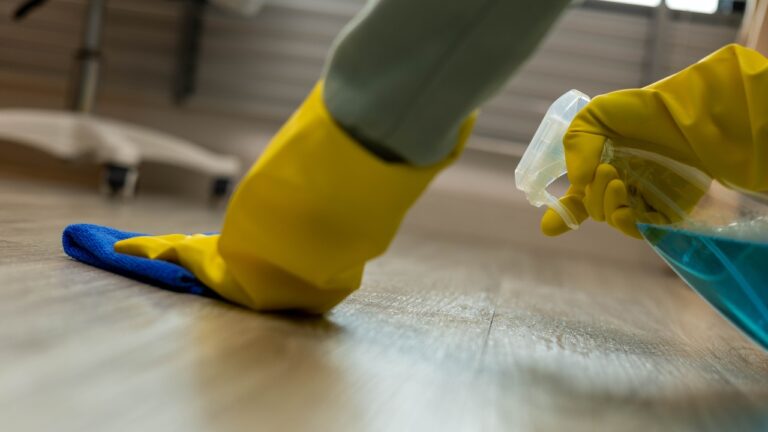
Even with upgraded materials, you still need to respect how water actually reaches the core. A detailed breakdown of Homes with pets notes that All of the typical stressors on laminate, from claws to spills, are top down rather than bottom up. Waterproof laminate is designed for active or coastal San Diego homes, but the analysis stresses that if water repeatedly sits on the surface and seeps into micro cracks at the edges, the core can still swell. That is why edge treatments and prompt cleanup matter just as much as the marketing label on the box.
Manufacturers and installers recommend additional steps if you want laminate to stand up to kitchens, entryways, or pet zones. One guide to how to waterproof laminate flooring suggests sealing joints, using appropriate underlayment, and paying close attention to perimeter gaps so water cannot easily reach the core. Finishing the edges correctly is part of that strategy. Another resource on Understanding laminate edging explains that beading, also known as quarter round, is used to cover small spaces left for expansion, which also happens to hide any slight staining or irregularity where the planks meet the wall.
Tile, stone, and textured finishes that blur damaged borders
If you are moving from wood or laminate to tile in a wet area, the way you finish the tile edges will determine how visible any future water staining becomes. Technical guidance on tile performance notes that Exposed tile edges and corners are weak spots where water can seep through, so they should be concealed with careful caulking or trims to improve both performance and appearance. If you leave a raw edge at a tub or doorway, any future discoloration will stand out sharply against the glazed surface.
Textured finishes can help soften that contrast. A natural cleft finish tile, created by splitting stone rather than mechanically cutting it, has an uneven surface that naturally disguises minor edge wear or staining. Guidance on slate explains that Clefting is unique to slate because of its layered structure, and that this texture lends itself well to flooring. Installers still aim to keep tile as flat as possible, with one professional emphasizing the importance of getting slate as level from tile to tile as you can to avoid grout cracking grout cracking. But when edge staining does occur, the natural variation in color and texture makes it less obvious than it would be on a glossy, uniform surface.
Planning your next move: from damaged edge to deliberate design
Like Fix It Homestead’s content? Be sure to follow us.
Here’s more from us:
- I made Joanna Gaines’s Friendsgiving casserole and here is what I would keep
- Pump Shotguns That Jam the Moment You Actually Need Them
- The First 5 Things Guests Notice About Your Living Room at Christmas
- What Caliber Works Best for Groundhogs, Armadillos, and Other Digging Pests?
- Rifles worth keeping by the back door on any rural property
*This article was developed with AI-powered tools and has been carefully reviewed by our editors.