

12 Choices That Separate a Nice House From an Expensive One
Photo credit: Bagasdewantara/Shutterstock.com
Some houses feel solid the second you step onto the porch. Others look fine in photos, but up close you hear the rattle, see the gaps, and notice the shortcuts. The difference usually comes down to a handful of choices you make over and over, during installs, repairs, and regular upkeep.
1. Skipping Gutters And Water Control
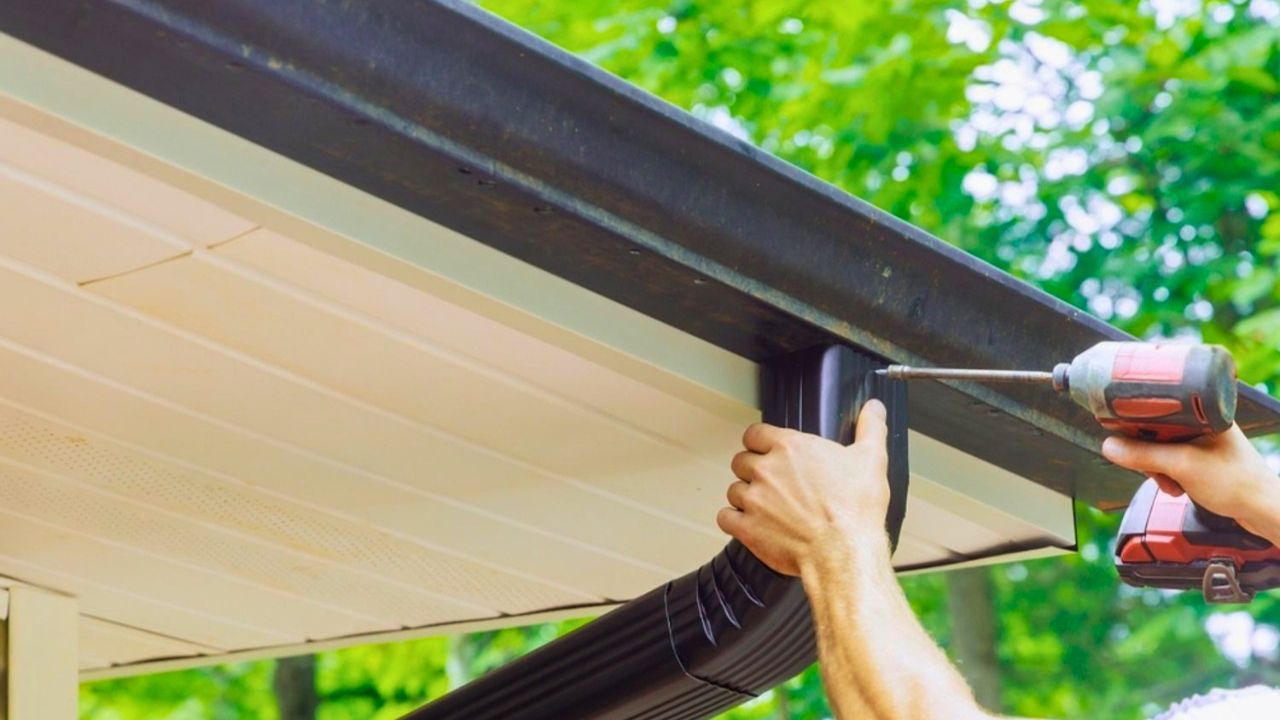
No gutters looks clean until the first hard rain. Water pounds the soil, splashes mud onto siding, and soaks the foundation edge. In winter, it turns walkways into an ice rink and feeds big icicles that rip at fascia boards.
Put gutters on, pitch them right, and run downspouts away from the house. Extensions are fine if they actually stay put, but buried drain lines and pop-up emitters look better and get water farther out. Keep the downspout ends away from septic tanks and wellheads, and don’t bury a line until you call for utility locates.
2. Caulking Over Gaps Without Backer Rod

Wide gaps around trim, windows, and siding joints don’t get fixed with a fat bead of caulk. That bead shrinks, splits, and peels, and then you’re scraping it off in strips next year. Water gets in behind it and stays there.
For gaps wider than about a quarter inch, pack in foam backer rod first so the caulk bridges, not fills. Use exterior-grade sealant and tool it so it sheds water. If you see cracked paint and soft wood under the joint, stop and deal with the rot before you seal anything.
3. Buying Builder-Grade Door Hardware

Cheap knobs and hollow strike plates feel fine for a month. Then the latch gets sloppy, the finish rubs off, and the door starts to rattle in the frame. It reads “rental” even if everything else is nice.
Spend a little more on solid hardware and a real strike plate that takes long screws into framing, not just the jamb. If the door sticks, don’t crank the latch harder. Adjust the hinges, fix the weatherstrip, and make the door close with a smooth push.
4. Painting Without Washing Or Scraping First
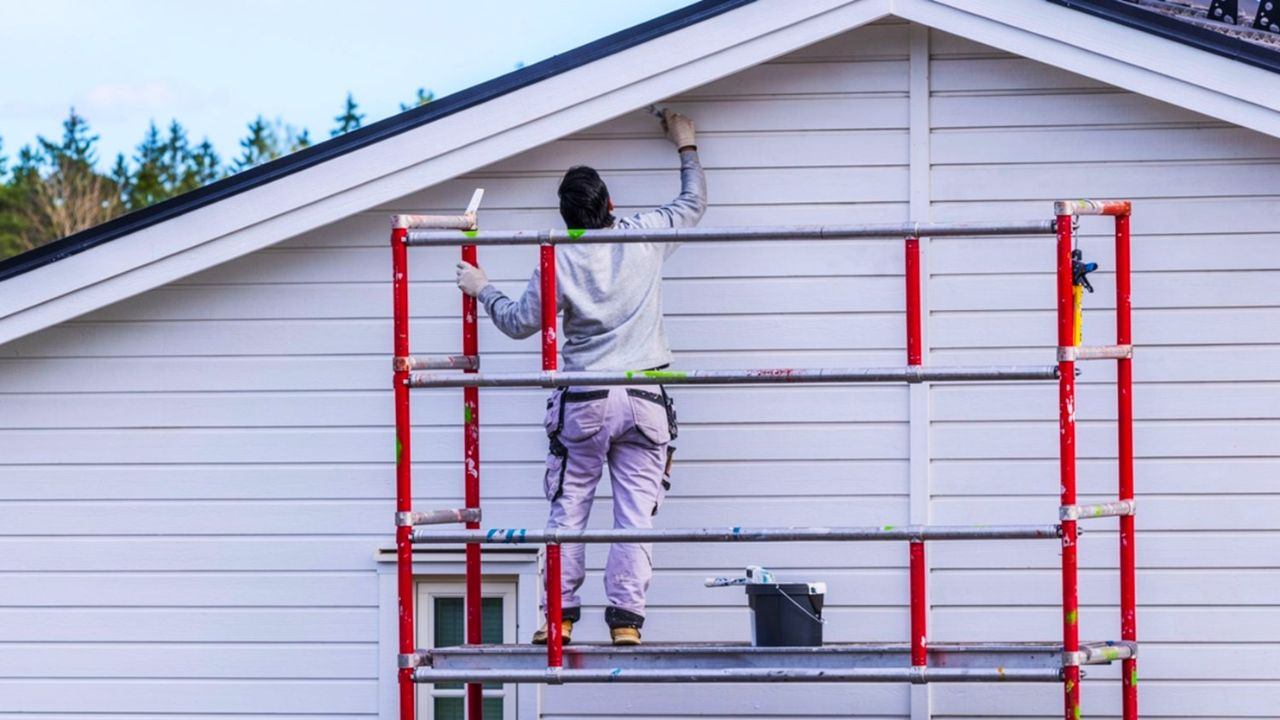
Fresh paint over chalky siding or dusty trim looks good for one season. Then it starts to bubble and peel in sheets, usually on the sunny side and around the bottom edges where water sits. You pay twice, once for paint and again for time.
Wash first, then scrape and sand what’s loose. Prime bare wood and any stained spots so they don’t bleed through. If you’re painting near the ground, pull mulch back and keep the bottom edge dry, because wet paint edges turn into rot edges.
5. Leaving Attic Air Sealing For “Later”
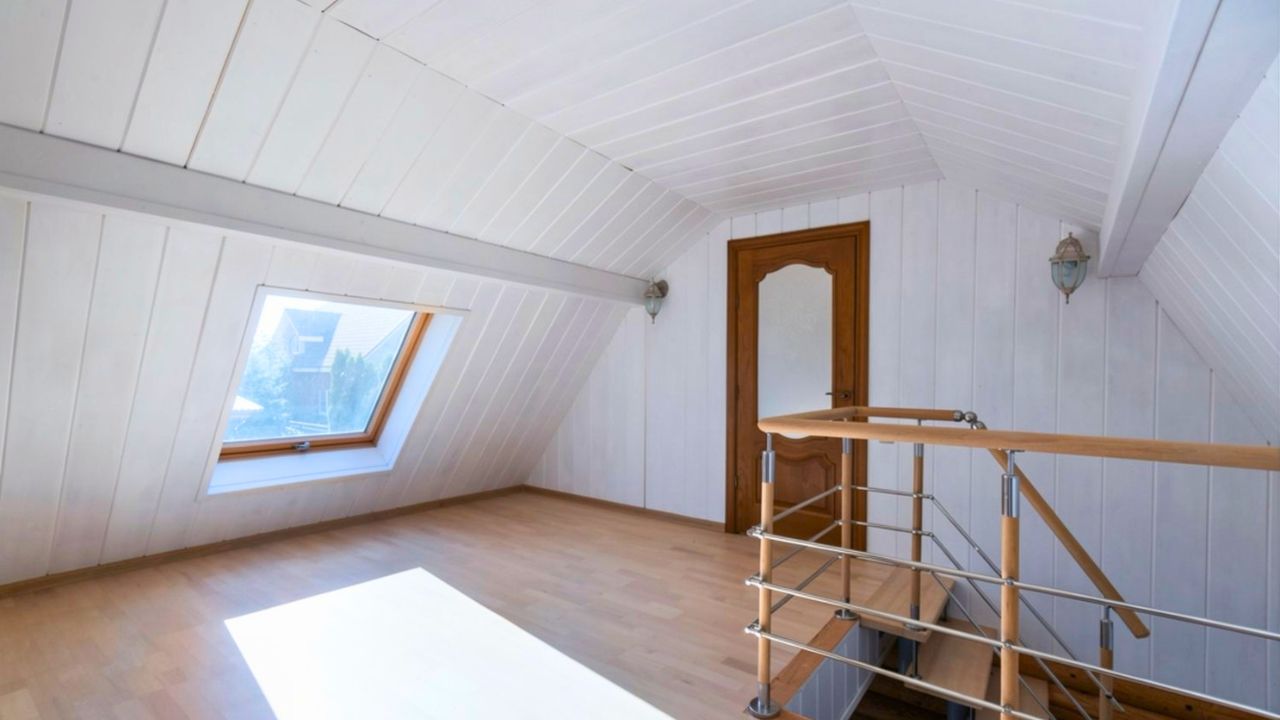
High heating bills and ice dams often start in the attic, not the roof shingles. Warm air leaks up through light fixtures, plumbing chases, and the attic hatch. That heat melts snow, water runs down, then refreezes at the cold eave and backs up under shingles.
Air seal first, then add insulation. Weatherstrip the attic hatch, foam the big gaps, and use fire-rated sealant where it belongs. If you have knob-and-tube wiring, a complex roofline, or you’re not sure what you’re looking at, get a qualified insulation contractor involved before you bury anything.
6. Overplanting Shrubs Against The Foundation
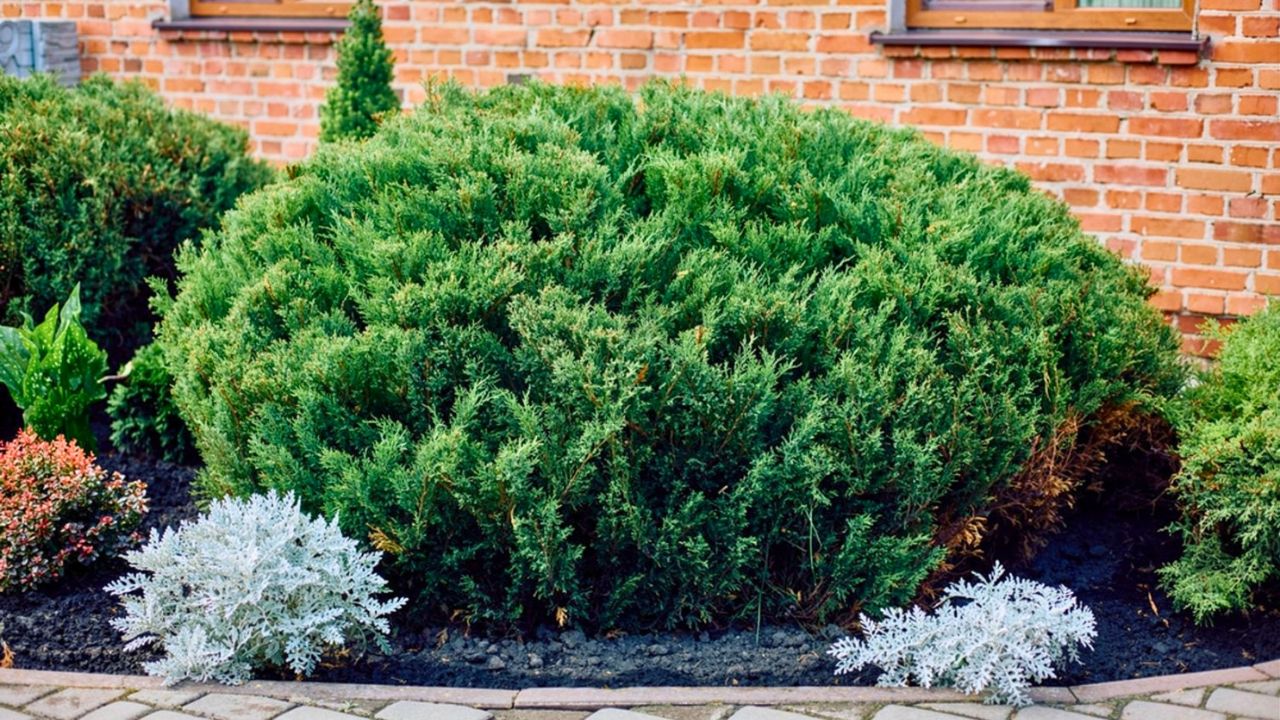
Foundation plantings look tidy when they’re small. A few years later they block airflow, hide termites and carpenter ants, and keep the siding damp after every rain. You also can’t see cracks, leaks, or a mouse entry point until it’s a real problem.
Keep plants trimmed back so there’s space to look and to dry out. Leave a clear gap under siding, and don’t let branches rub the house in the wind. If you want the “full” look, pick plants that stay small without constant hacking.
7. Ignoring Door And Window Flashing Details
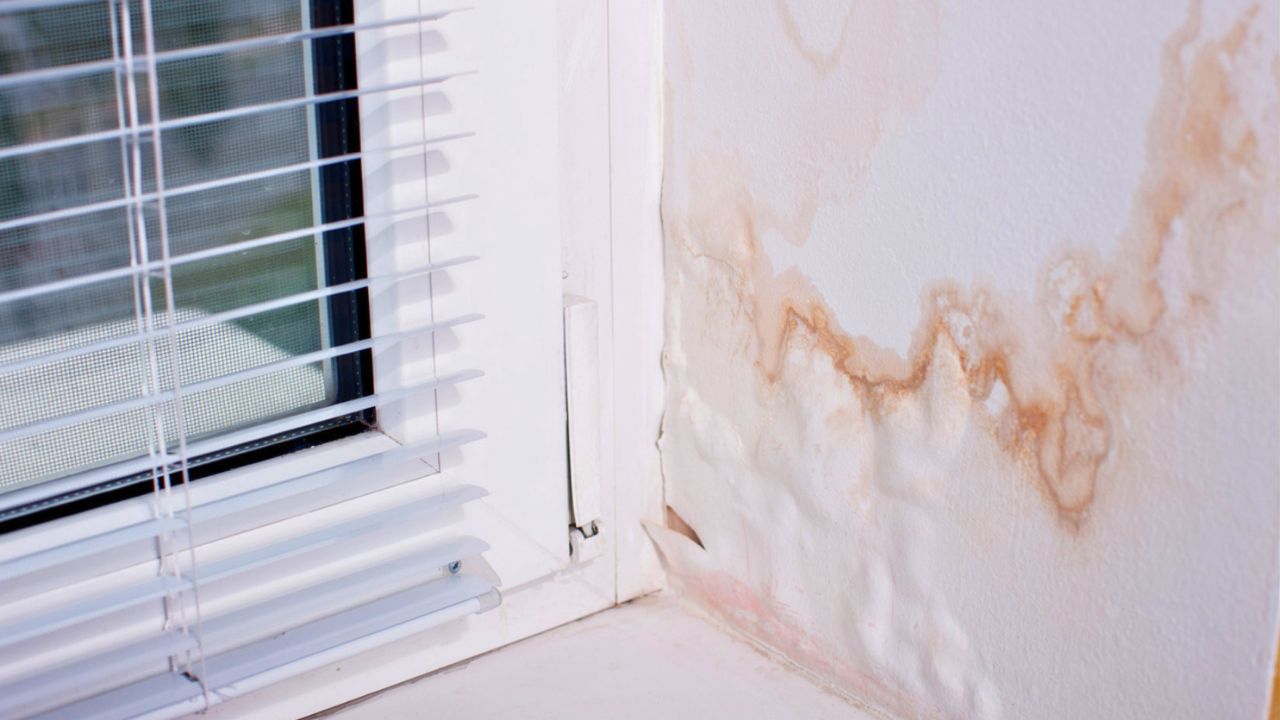
Water damage around a window usually starts as a faint stain on drywall or a little bubbling paint on the trim. By the time the wood feels soft, the leak has been feeding the wall for a long time. Caulk on the outside won’t fix bad flashing.
If you’re replacing windows or doors, treat flashing like the main job and the unit like the accessory. Use a sill pan or pan flashing, tape the jambs correctly, and shingle-lap layers so water always has a path out. For full replacements that touch structure, follow local code and pull permits where required.
8. Putting Cheap LVP On Uneven Subfloor
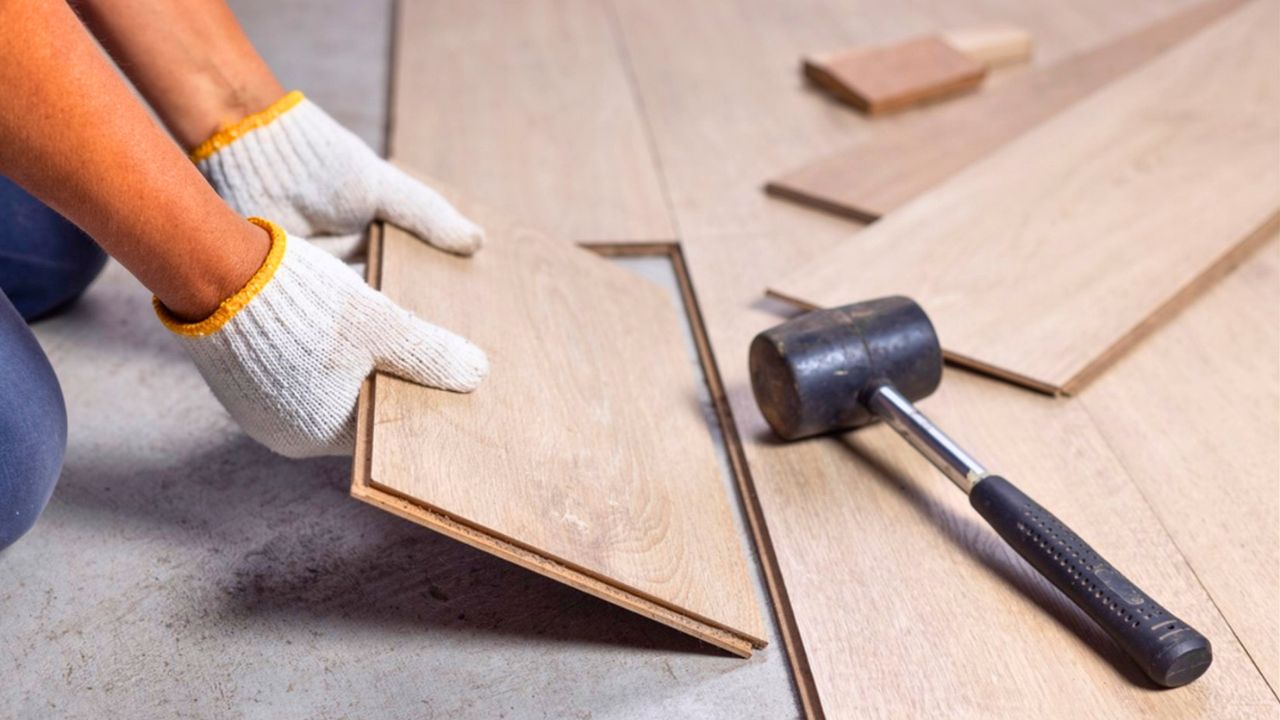
Luxury vinyl plank is tough, but it’s not magic. Lay it over dips and high spots and you’ll hear clicks, feel bounce, and watch joints separate. The floor looks “off” in the light, especially down a hallway.
Take the time to flatten the subfloor, not just sweep it. Use a long straightedge, mark low spots, and patch with the right floor leveler or underlayment for the product. If the floor is out of plane because of structural sag or rot, that’s a different job, and sometimes it’s time to call a pro.
9. Skimping On Under-Cabinet Lighting

Overhead lights alone make kitchens look flat and shadows land right where you prep food. It’s also how you end up with a “nice” remodel that still feels dim at night. Good lighting reads expensive even if the cabinets are basic.
Simple LED strip or puck lights under cabinets give clean, even light on the counters. Hardwired is the cleanest look, but plug-in kits can be fine if you hide the cord and mount them straight. If you’re adding new circuits or working in a packed electrical box, hire a licensed electrician.
10. Using Flat Paint In High-Touch Rooms

Flat paint hides wall waves, but it scuffs if you look at it wrong. In hallways, mudrooms, and kids’ rooms, you’ll get shiny swipe marks and worn spots fast. Then you’re touching up every season and it never matches.
Use eggshell or satin where hands and bags hit, and save dead-flat for low-traffic ceilings or adult bedrooms. Washability matters more than brand hype. Keep a labeled jar of leftover paint for small dings, and touch up with the same nap roller you used the first time.
11. Hiding Problems With Thick Mulch
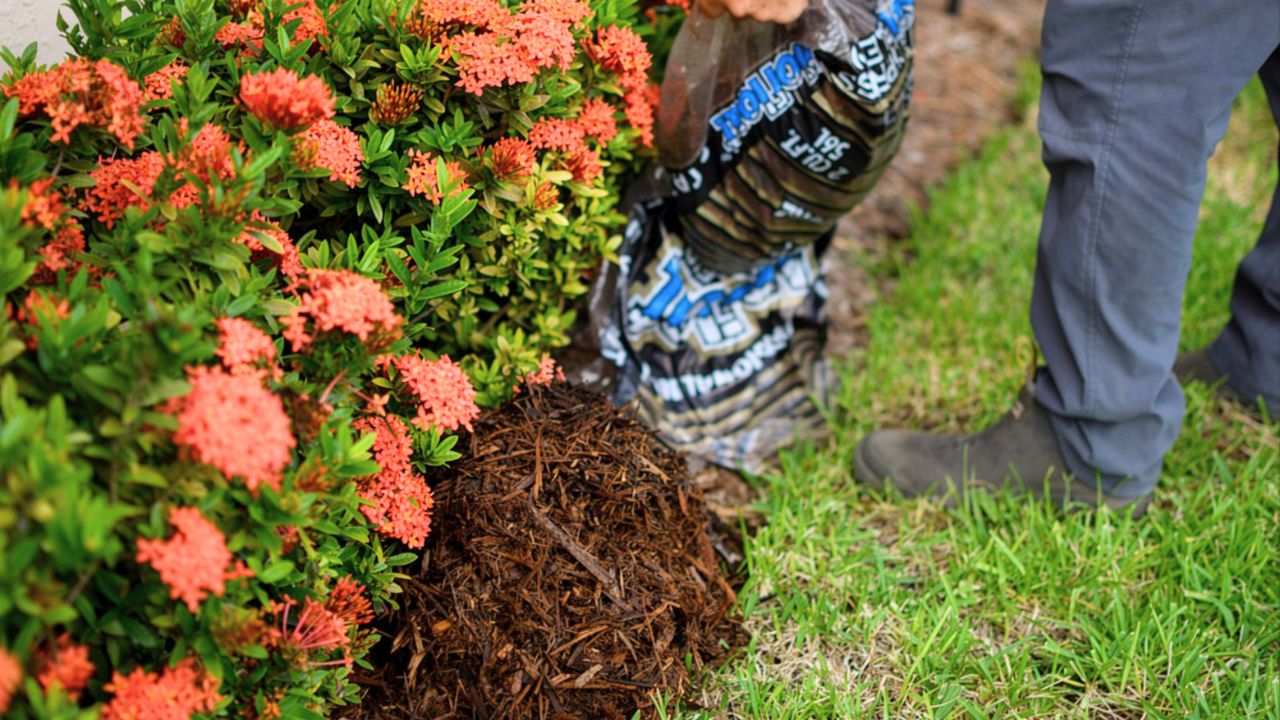
Mulch makes beds look finished, so it’s tempting to pile it high to cover slopes and bare spots. That “mulch volcano” holds moisture against bark and siding, invites insects, and can rot a fence post right at ground level. It also hides grading issues that are sending water toward the house.
Keep mulch a couple inches deep, not half a foot. Pull it back from trunks, posts, and siding, and fix drainage with soil and grading, not wood chips. If you need a cheap temporary cover for a season, straw can be an honest exception in a garden path or new seeding area, because it dries out and doesn’t trap moisture the same way.
12. Letting Small Leaks Run Too Long
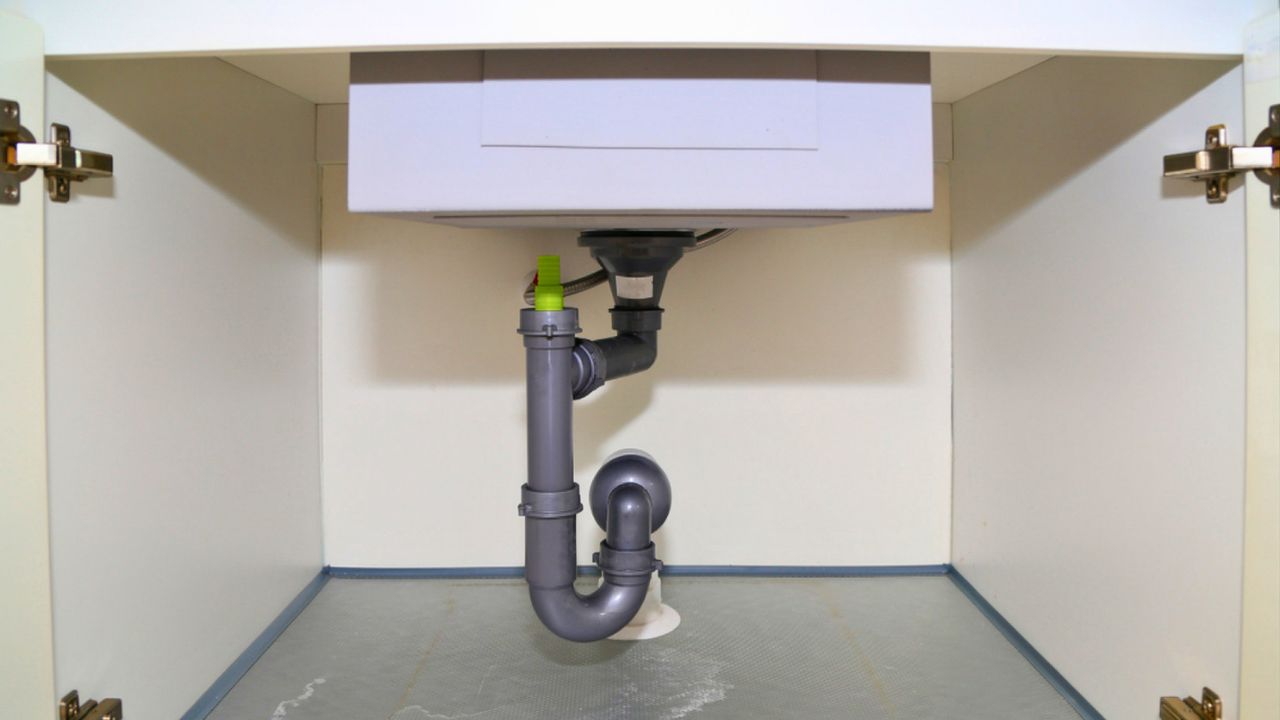
A slow drip under a sink doesn’t feel like an emergency until the cabinet floor turns black and soft. A toilet that rocks a little can ruin the subfloor around the flange. Water damage is patient, and it always gets more expensive.
Get in the habit of looking under sinks, around water heaters, and behind washing machines. Replace supply lines that are stiff or corroded, and don’t ignore a water heater pan with water in it. If you smell gas at any appliance, leave the area and call the utility or a licensed plumber, not a friend with tools.
Houses don’t become “high end” because every finish is fancy. They get there when water is managed, surfaces are prepped, and the boring parts are done clean. Pick a couple of these to tighten up this weekend, and your place will start feeling quieter, drier, and more solid without chasing trends.
Like Fix It Homestead’s content? Be sure to follow us.
- Man Says He Found Out the Fence He Paid For Wasn’t Actually on His Property
- Woman Says Her Neighbor Started Taking Mulch From Her Delivery Pile Before She Could Even Spread It
- I made Joanna Gaines’s Friendsgiving casserole and here is what I would keep
- What Caliber Works Best for Groundhogs, Armadillos, and Other Digging Pests?