
10 Ways People Stack Firewood That Never Ends Well
Photo credit: Pixel-Shot/Shutterstock.com
Firewood looks simple until it’s on the ground in a wet heap, or worse, leaning toward your truck, your kid, or your house. A stack that “seems fine” in October can turn into a mess by January. Most of the problems come from a few repeat habits that waste wood, time, and your back.
1. Building A Stack On Bare Soil
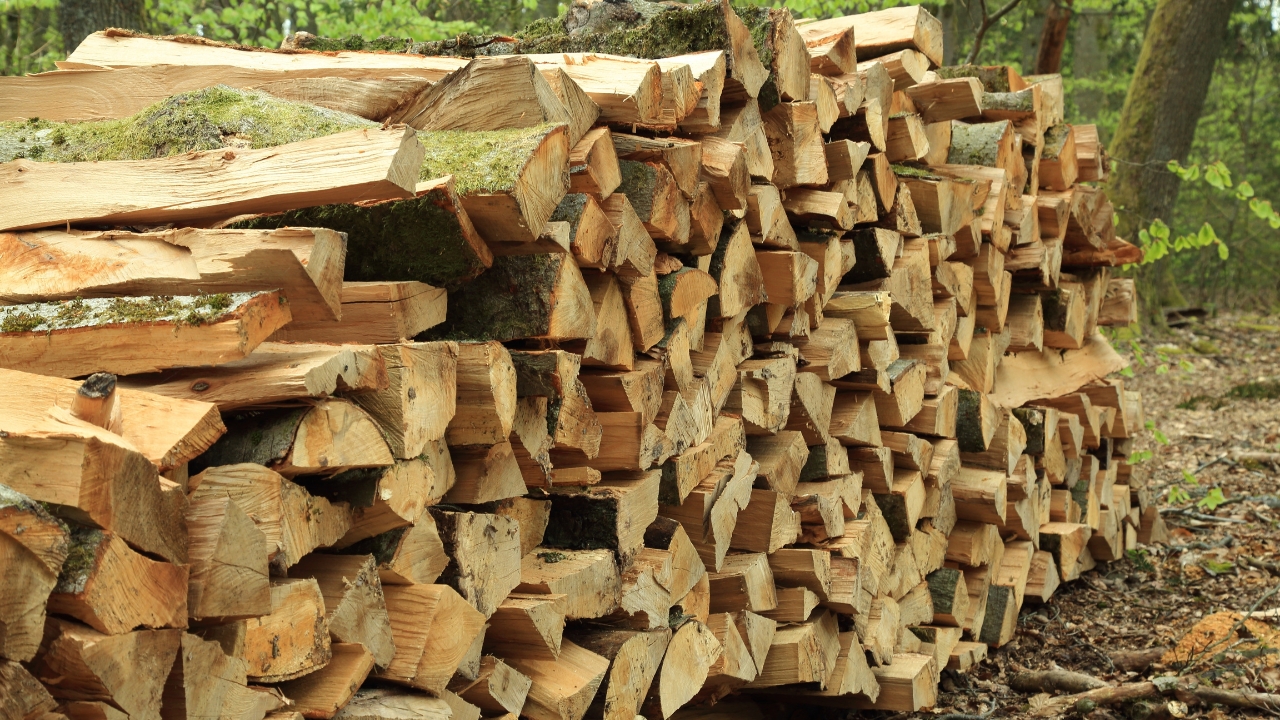
The first place it fails is the bottom row. Ground moisture wicks up, bark stays wet, and you get punky ends and moldy splits that never burn right. In spring, that whole base can sink and tilt, then you’re chasing logs downhill.
Get the wood up off the dirt. Use pallets, pressure treated runners, old landscape timbers, or a couple straight 4x4s on pavers so they don’t sink. If termites are a concern where you live, keep wood off the ground and away from the house, and don’t store old scrap lumber under the pile.
2. Leaning It Against The House
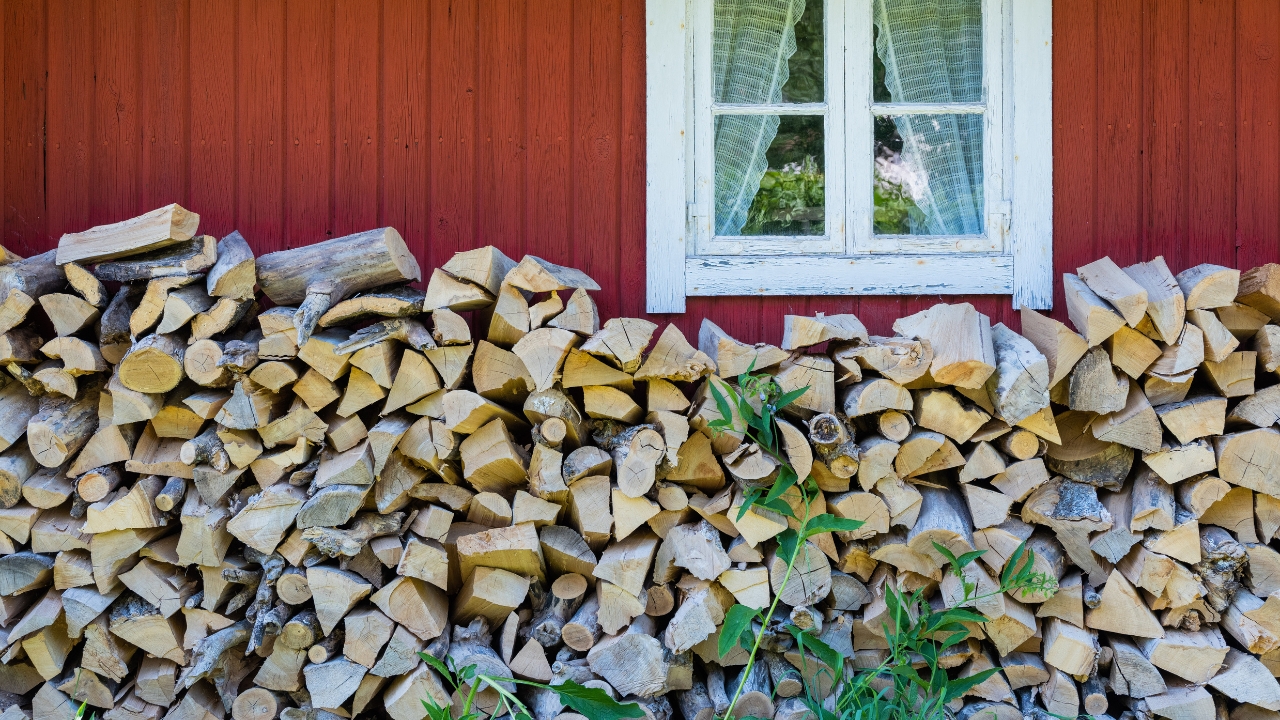
This one usually starts as a convenience move. You want it close to the door, so you stack it right against the siding or the foundation. Then the damp stays trapped, paint peels, and insects have a straight shot into your wall.
Leave an air gap, and keep the main pile away from the building. A small porch rack for a few days of wood is fine, but the big stack belongs out in the yard, with room to breathe. If you have a basement, storing a season’s worth against that wall is a fast way to invite moisture and bugs you’ll end up paying to deal with.
3. Making The Ends With Loose Rounds
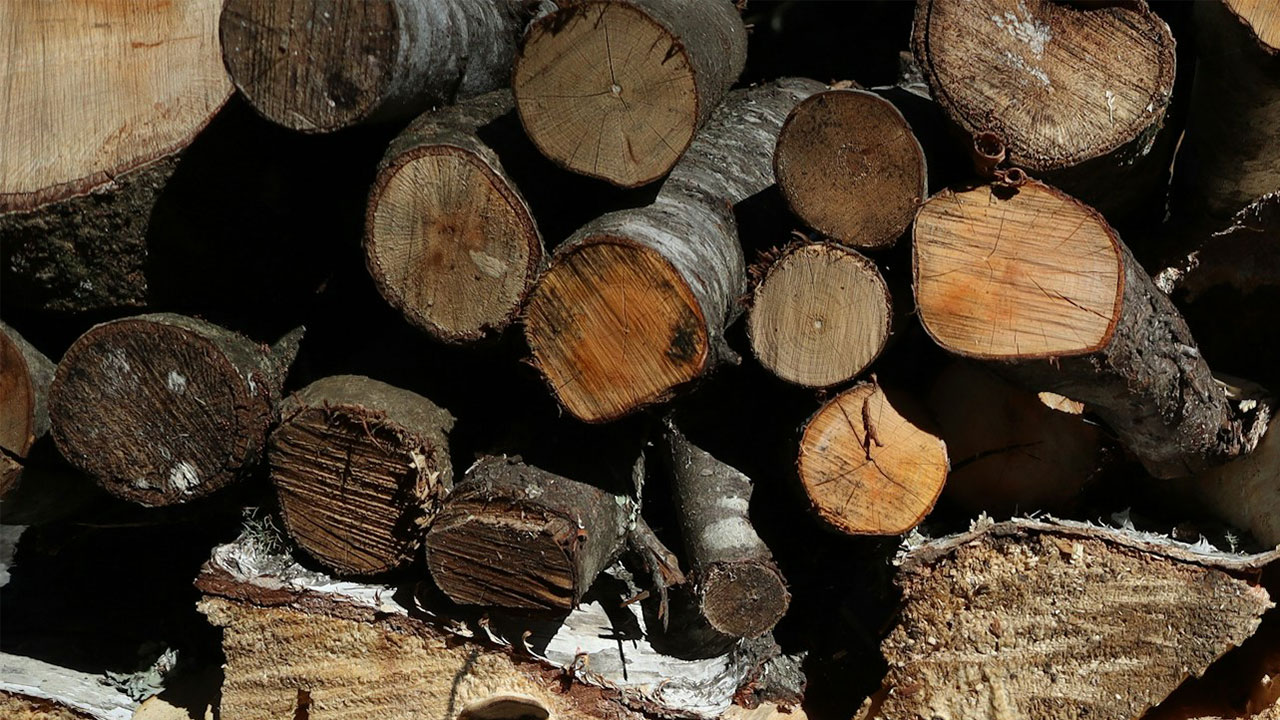
Those pretty “log cabin” ends look great until they don’t. People use unsplit rounds or odd chunks for the end pillars, and the whole thing slowly walks outward. You hear it first, a soft thump as a piece drops, then the face starts to bow.
Build your ends with the most uniform splits you have, and keep the growth rings alternating so pieces lock together. Better yet, pound two T posts or rebar stakes at each end and stack between them. The posts are cheap, and they stop the slow spread that turns into a full collapse.
4. Covering The Whole Pile With Plastic
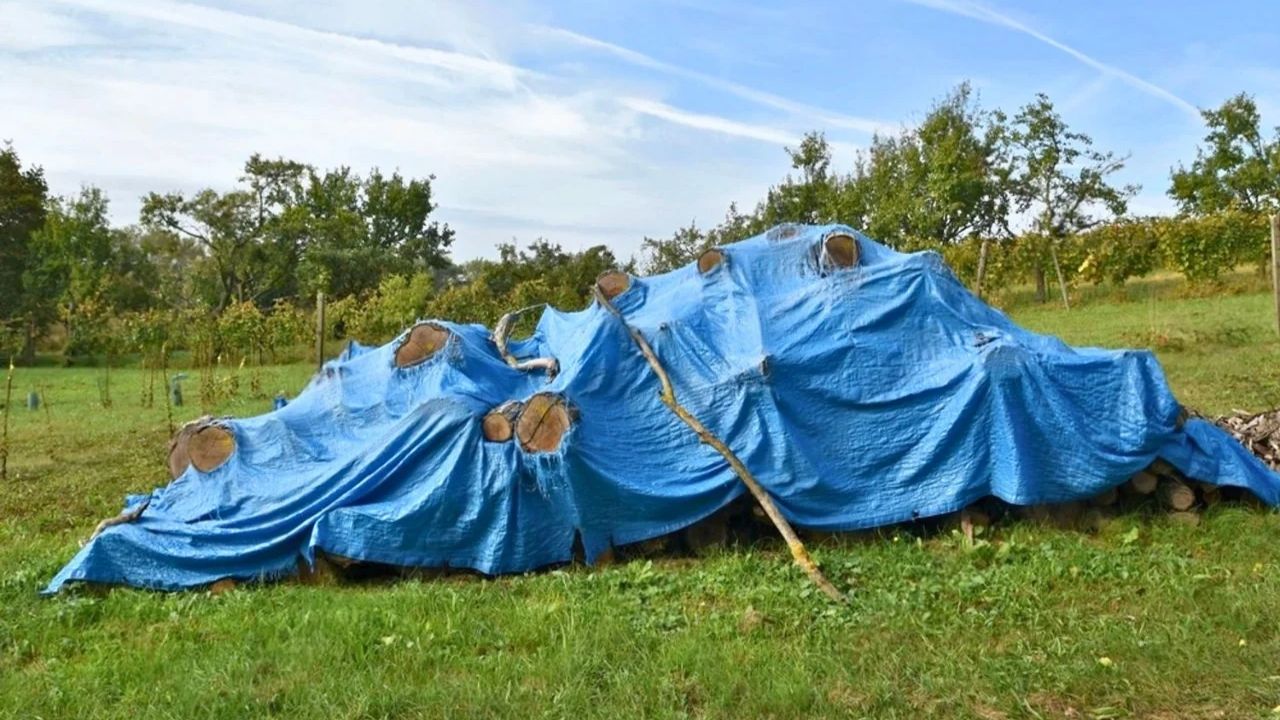
A blue tarp wrapped tight feels like you’re protecting the wood. What it really does is trap humidity, so the stack sweats and the top course stays damp for weeks after rain. By midwinter, you’re carrying slimy pieces inside.
Cover only the top, and leave the sides open. Metal roofing scraps work well, and so do purpose-made wood covers that shed water without sealing the stack. If you only have a tarp, fold it like a roof, weigh it down, and stop it short of the sides so air can move.
5. Stacking It Too Tight To Dry
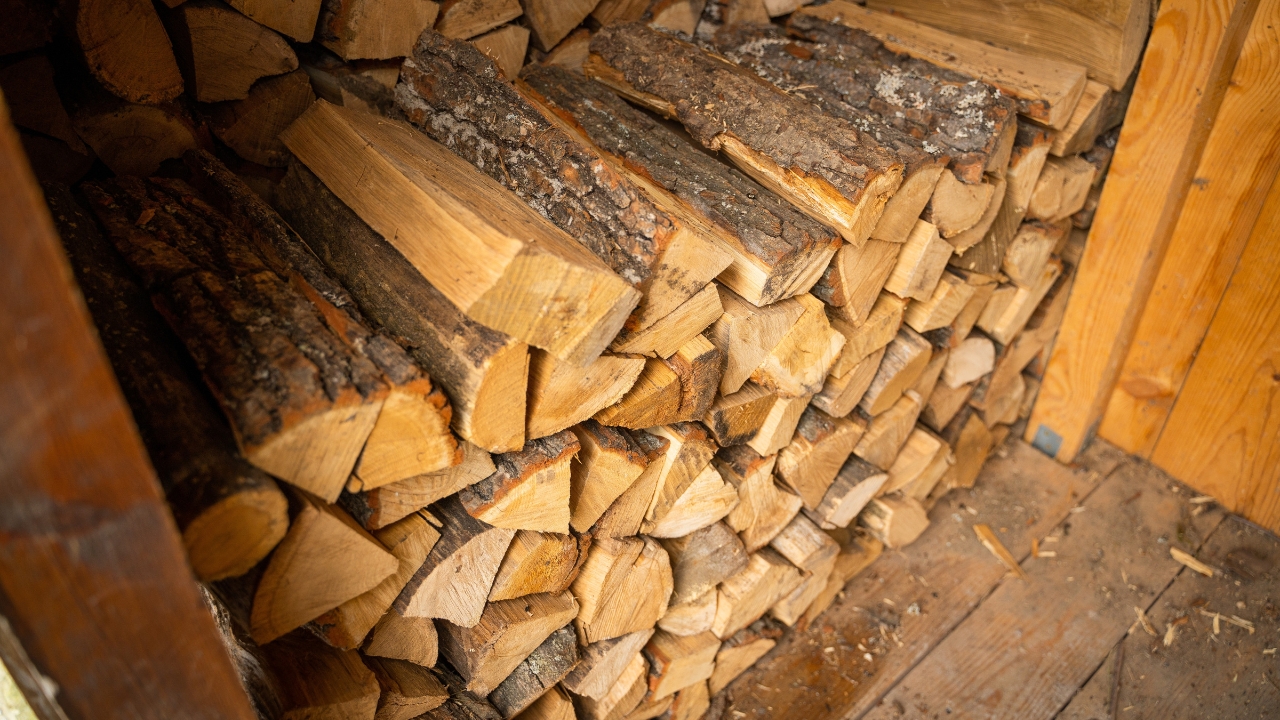
Some people stack like they’re building a brick wall, tight joints, no gaps, every split forced flat. It looks neat, but it dries slow, especially with stringy wood like elm. Then you’re fighting smoke, creosote, and a stove that won’t get up to temp.
Give it a little space. Stack splits bark-side up or down consistently, and don’t obsess over closing every crack. If you’re in a humid area, single-row stacks in the sun and wind beat a big deep pile every time, even if the deep pile looks more “organized.”
6. Trusting A Free-Standing Tower Stack
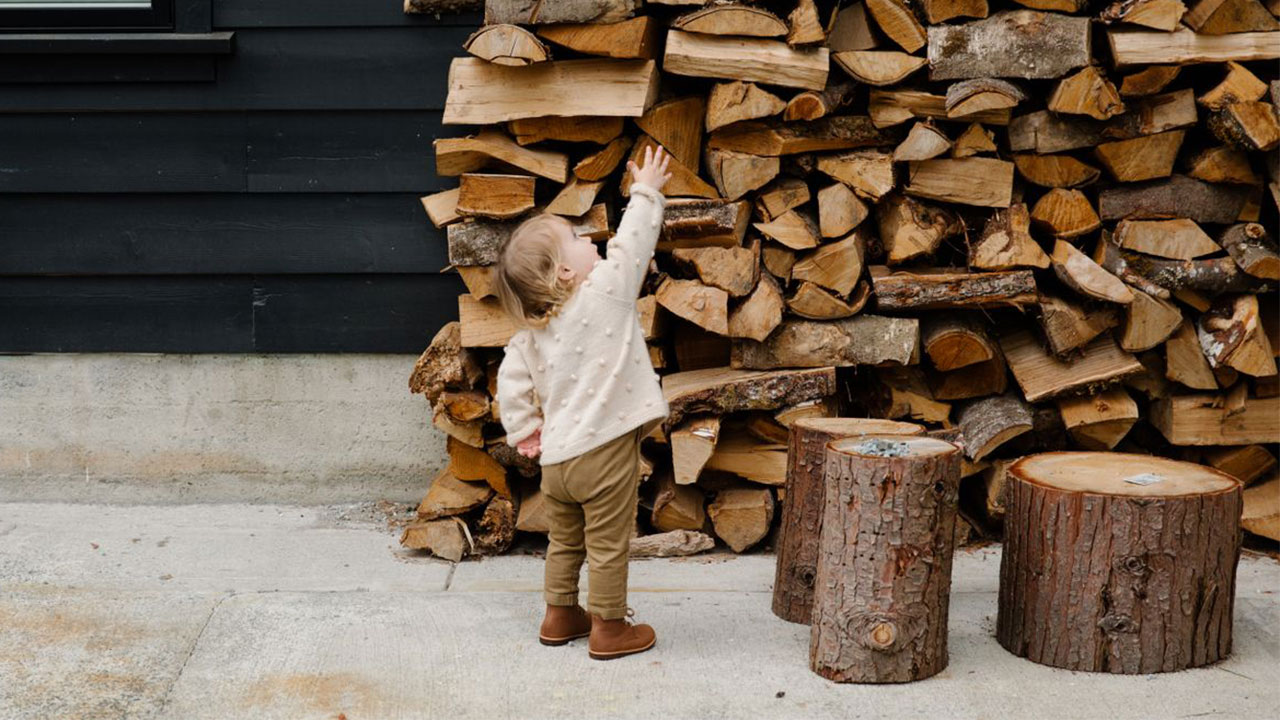
Those tall columns people build near the back door are an accident waiting to happen. One uneven piece near the base and the whole tower starts to twist. When it goes, it goes fast.
If you want vertical storage, use a real rack that can’t rack sideways, or keep stacks low. Waist to shoulder height is plenty for most folks, and it’s easier on your back. Save the tall stacking for places with a solid frame and a flat pad, not bare ground next to the steps.
7. Putting Green Wood Under Seasoned Wood
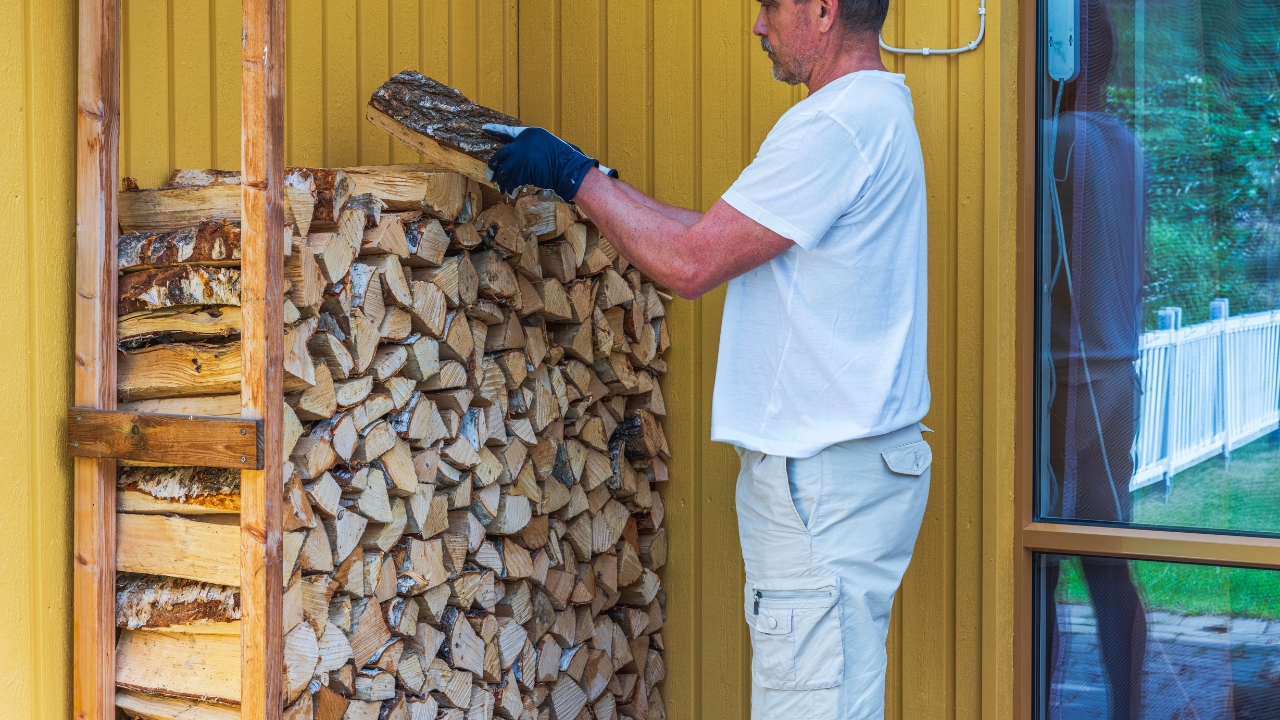
This is a timing mistake that ruins the good stuff. Fresh splits go on the bottom because it’s easier, and the dry wood goes on top “for later.” A year later, you’ve got a damp layer in the middle and a stack that never really finishes.
Keep your seasons separate. Label rows with a scrap of plywood and a marker, or stack this year’s wood on a different set of runners. If you have to mix, put the driest wood on the bottom where airflow is best and where you’ll grab first, and move the greener wood to a sunny single row to catch up.
8. Using Crooked Firewood As Shims
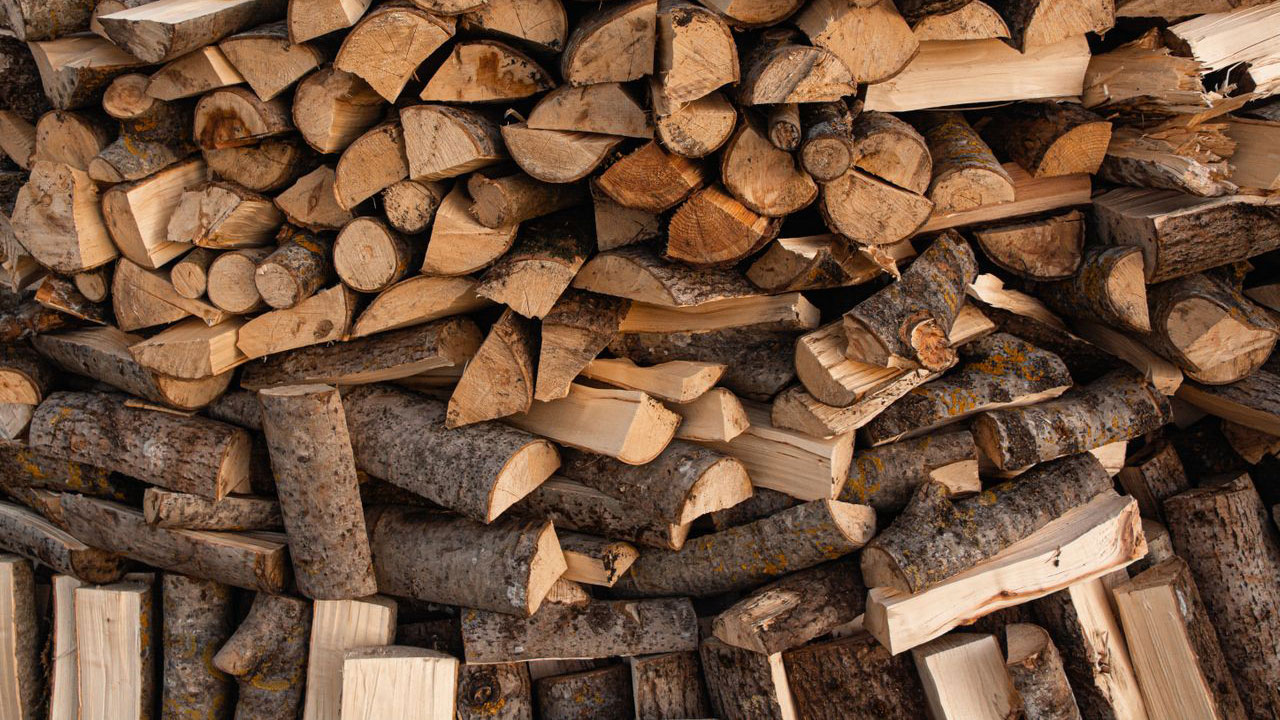
It starts with one banana-shaped split that “fills the gap.” Then another. Soon the whole row is riding on wedges, and the stack bows like a bad bookshelf.
Use the ugly pieces differently. Toss crooked splits into a short utility pile for shoulder-season fires, outdoor fire pit use, or kindling splits. Keep your main stack built from the straightest stuff, and your stack stays straight without constant fussing.
9. Storing A Huge Pile Without Access Lanes
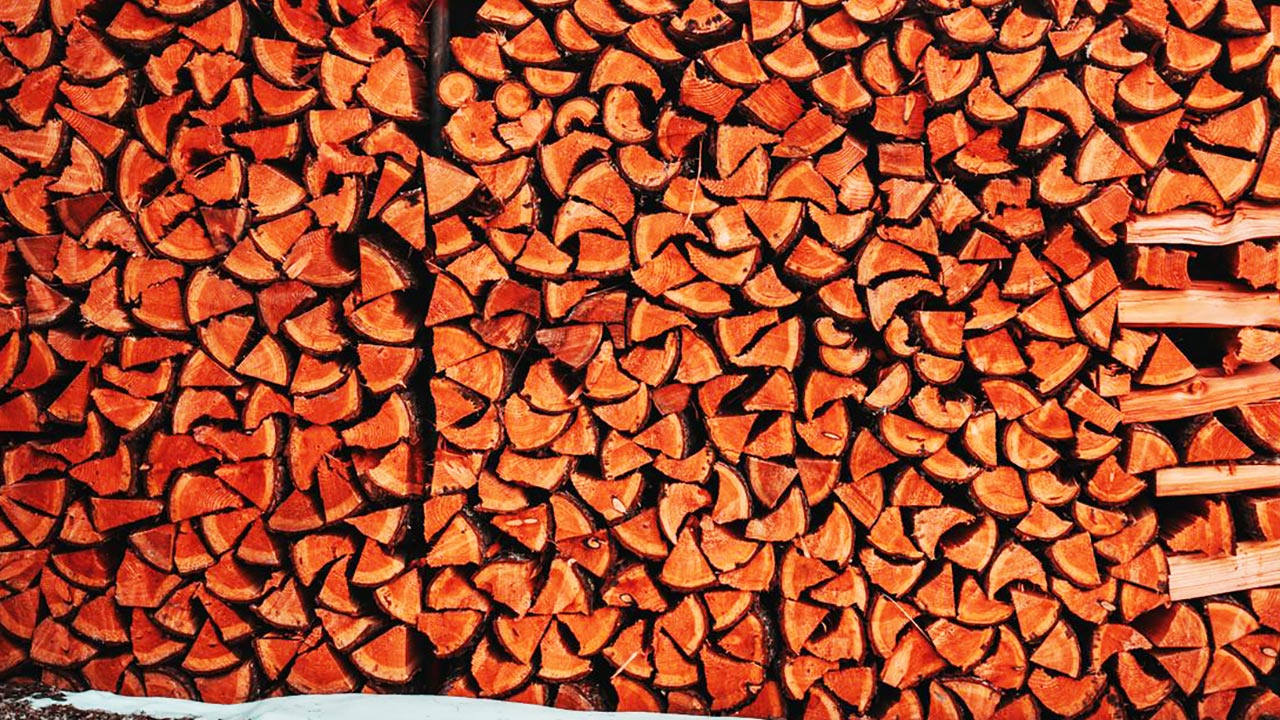
Big piles look efficient until the snow hits and you can’t reach the back half. You end up tunneling, pulling from the wrong side, and leaving older wood trapped. By spring, you’ve got a half-rotted “museum layer” that sits for years.
Plan how you’ll move through it. Leave a walking lane, stack in bays, or do multiple smaller stacks you can rotate through without climbing. If you move wood with a wheelbarrow or cart, make the lane wide enough for it before you stack the first piece.
10. Building A Perfect Stack In A Bad Spot
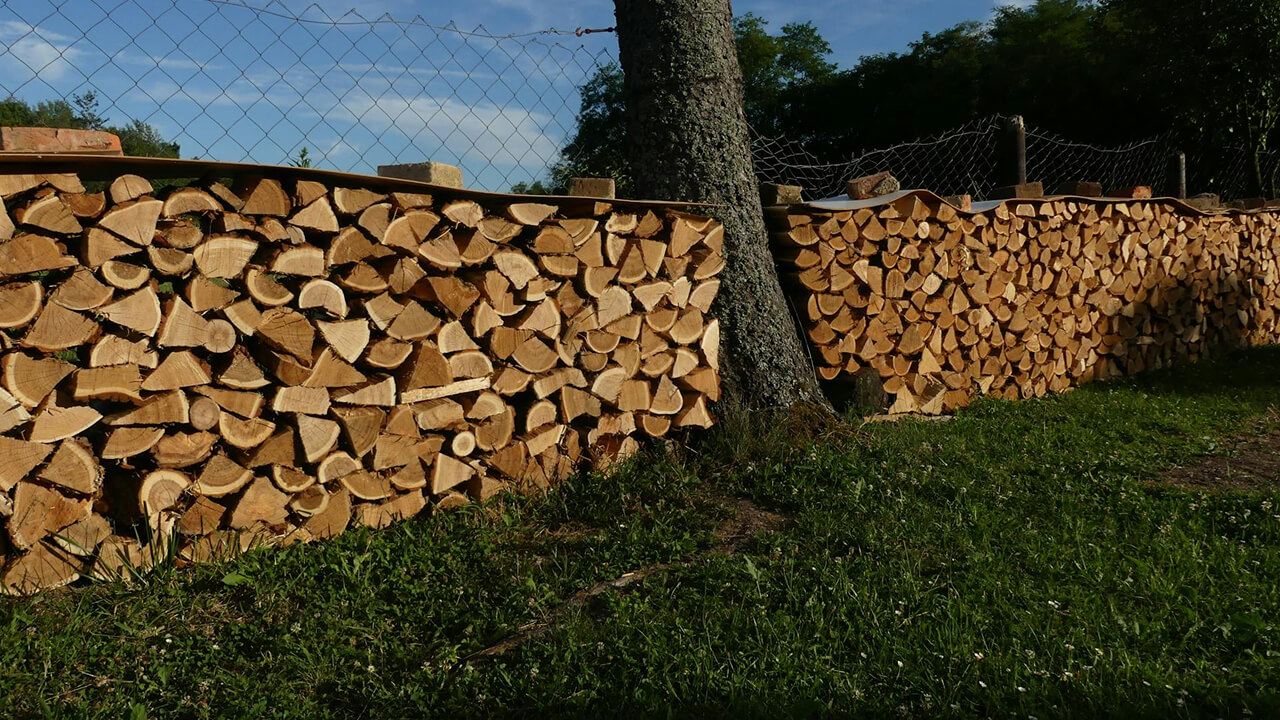
Is your stack in full shade, under a dripping tree, or at the bottom of a slope where fog sits? That wood will stay damp no matter how pretty the rows are. You’ll blame the species, the stove, the seasoning time, anything but the location.
Pick sun and wind first, looks second. South or west exposure helps, and so does a spot that dries out after rain instead of staying spongy. Honest exception, if you already have truly dry wood and you’re just storing it for a few weeks, shade is fine, but long-term seasoning needs airflow and sun.
A solid wood stack is boring in the best way, it sits there, dries, and never surprises you. Set the base right, give it air, and keep it where water and bugs don’t win. You’ll burn less wood for the same heat, and you’ll stop rebuilding piles in the mud when you’d rather be inside.
Like Fix It Homestead’s content? Be sure to follow us.
- Man Says He Found Out the Fence He Paid For Wasn’t Actually on His Property
- Woman Says Her Neighbor Started Taking Mulch From Her Delivery Pile Before She Could Even Spread It
- I made Joanna Gaines’s Friendsgiving casserole and here is what I would keep
- What Caliber Works Best for Groundhogs, Armadillos, and Other Digging Pests?