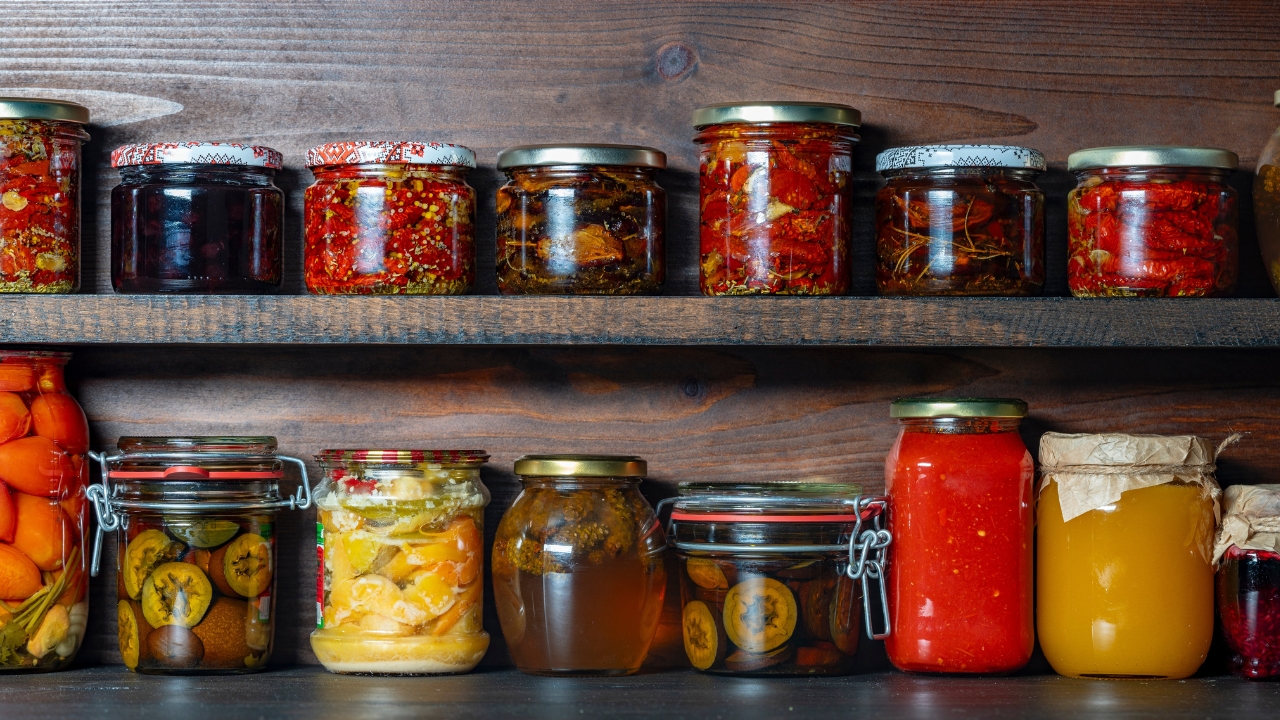
Canning for Beginners: What You Really Need to Know
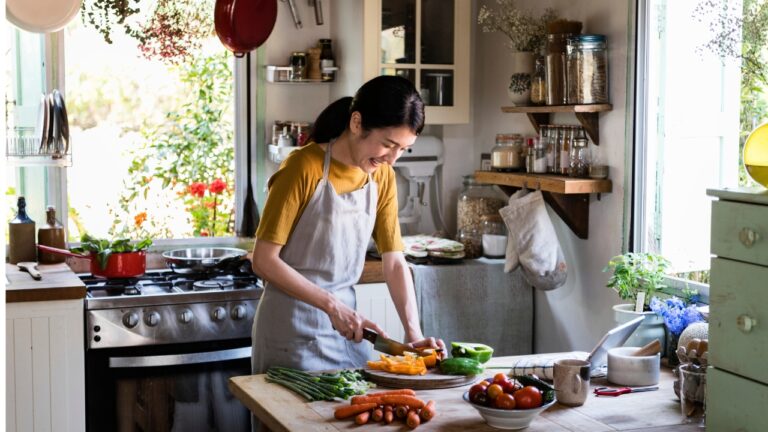
Canning sounds old-fashioned, but it’s one of the smartest ways to stock your shelves and stretch your harvest. That said, it’s not something you want to guess your way through. A few simple mistakes can ruin your food—or worse, make you sick.
If you’re just getting started, skip the overcomplicated advice and stick to what actually matters. Here’s what you really need to know before you fire up the canner.
Start With High-Acid Foods
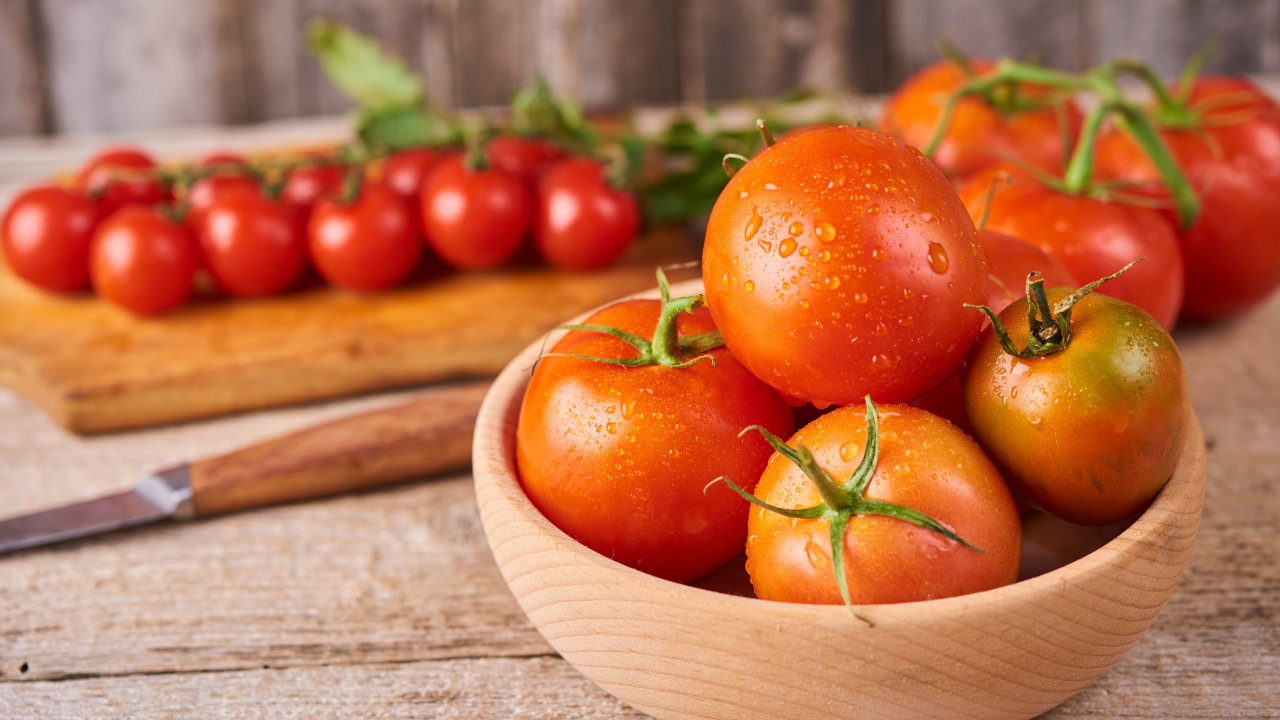
If you’re new to canning, stick with high-acid foods like pickles, tomatoes (with added lemon juice), jams, and jellies. They’re safer and easier to process using a simple water bath method. You don’t need fancy gear to get started—just jars, a pot, and some patience.
High-acid foods are less likely to grow dangerous bacteria, so they give you more wiggle room while you learn the ropes. It’s the best place to build confidence before moving on to pressure canning low-acid stuff like beans or meat.
You Don’t Need a Pressure Canner for Everything
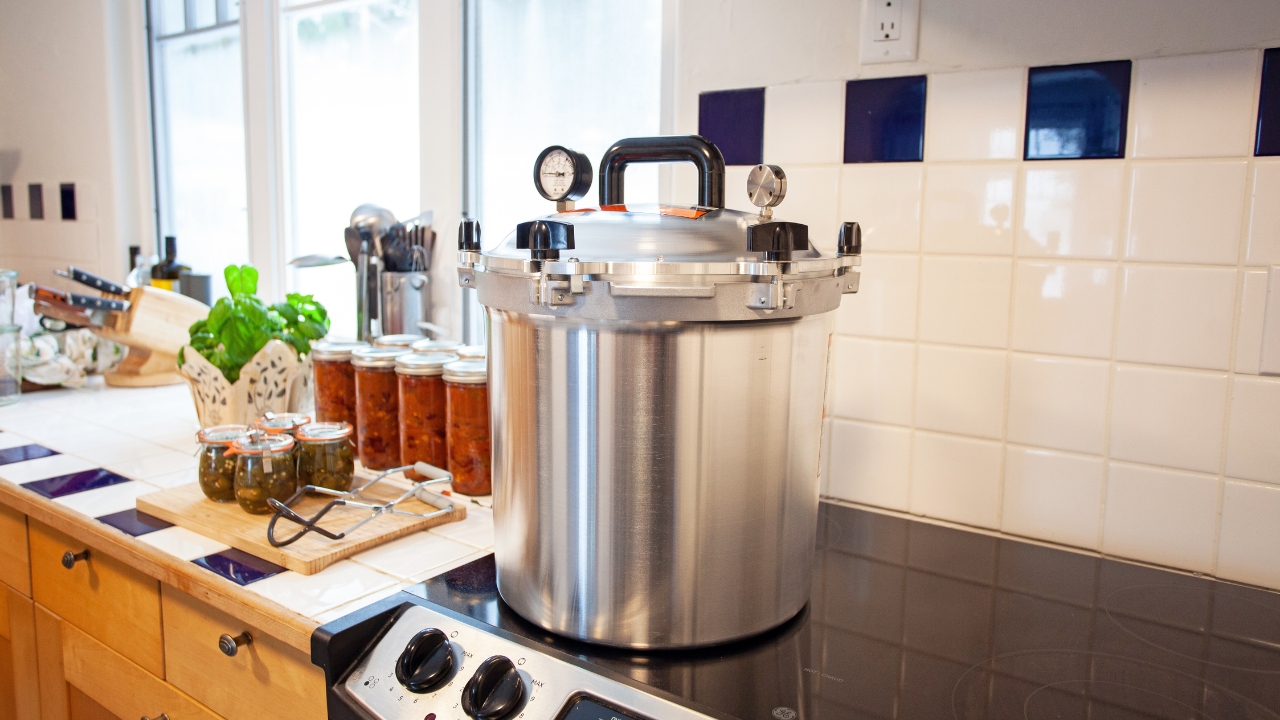
A lot of people get overwhelmed thinking they need a pressure canner right away. Truth is, you only need one for low-acid foods like meat, soup, or plain vegetables. High-acid foods can be safely canned with a regular water bath setup.
Start simple. A big stockpot with a rack or even a folded towel on the bottom works fine. Don’t let equipment keep you from learning—use what you’ve got, then upgrade when you’re ready to take on bigger projects.
Clean Jars Aren’t the Same as Sterile Jars

Washing jars in hot, soapy water gets them clean, but if your recipe calls for sterile jars, that’s a separate step. You’ll need to boil them for 10 minutes or run them through the dishwasher with the sanitize setting.
This matters most for shorter water bath times. If your processing time is over 10 minutes, sterilizing isn’t always required. Just follow what the recipe says. Don’t cut corners—getting sloppy here can ruin a whole batch.
Always Follow a Tested Recipe
Canning isn’t the time to guess or wing it. Use a tested recipe from a trusted source—like the USDA guide or Ball canning books. Changing ingredients or skipping steps can mess with the acidity, and that’s where you get into dangerous territory.
Stick to the recipe until you understand why each step matters. There’s a reason for every time, measurement, and headspace. Once you’ve got the hang of it, then you can get a little creative within safe limits.
Leave the Right Amount of Headspace

Headspace is the gap between your food and the top of the jar. Too much, and your jar might not seal. Too little, and it could spill out or fail during processing. Most recipes call for ¼-inch or ½-inch depending on what you’re canning.
Use a headspace tool or even a ruler if you need to. It’s a small detail that makes a big difference in whether your jars seal properly. Don’t eyeball it—get it right and save yourself a headache later.
Don’t Skip the Bubble-Popping Step

Once your jar is filled, you need to run a bubble remover or knife around the inside to release any trapped air. Air pockets can mess with your headspace and affect sealing. It’s a quick step, but a lot of beginners forget it.
Just slide the tool along the inside of the jar and watch the bubbles rise. Do it a couple of times and top off the jar if needed. It might seem small, but it helps your jars seal tight and last longer.
Use New Lids Every Time

Lids are a one-time-use deal when it comes to canning. Reusing them can lead to seal failures, and that’s not something you want to mess with. Bands and jars can be reused, but always start with fresh, unused lids.
Check the seal before you store your jars. If it pops up and down, it didn’t seal right. Toss it in the fridge and use it soon—but don’t trust it for shelf storage. Sealing is everything when it comes to safe canning.
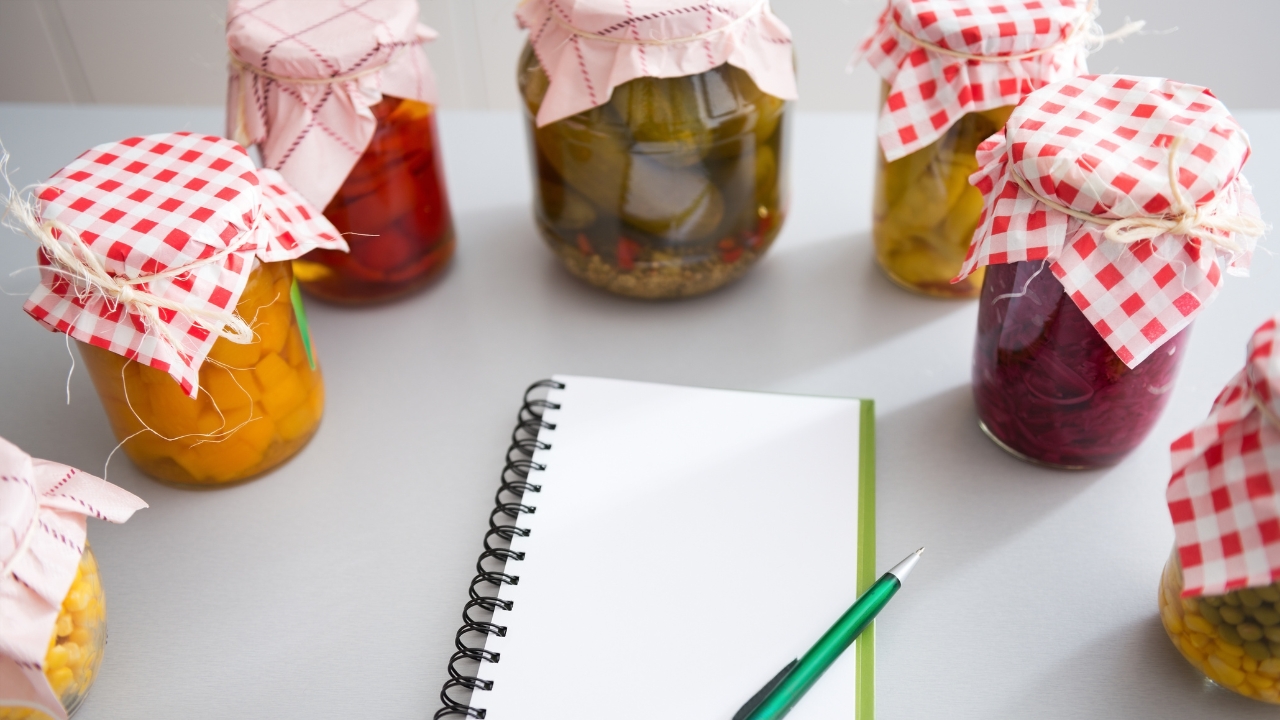
Label Everything—You’ll Forget

It might seem obvious, but once you’ve got a pantry full of jars, they start to look the same. Always label with the contents and the date. Sharpie on the lid works fine, or use masking tape if you want to reuse your jars for different things.
It helps with rotation and makes sure you’re eating the oldest stuff first. You don’t want to be playing guessing games six months down the line with a jar of mystery sauce.
Store Your Jars Somewhere Cool and Dark
After your jars seal, don’t just stick them anywhere. Heat and light will shorten the shelf life and mess with the color and quality. Pick a cool, dark spot like a pantry, cellar, or cabinet—not next to the stove or in direct sunlight.
If you’ve got a basement or closet, even better. Keep them dry and undisturbed, and they’ll last a year or more without trouble. Store them right, and your hard work pays off for the long haul.
If It Looks or Smells Off, Toss It
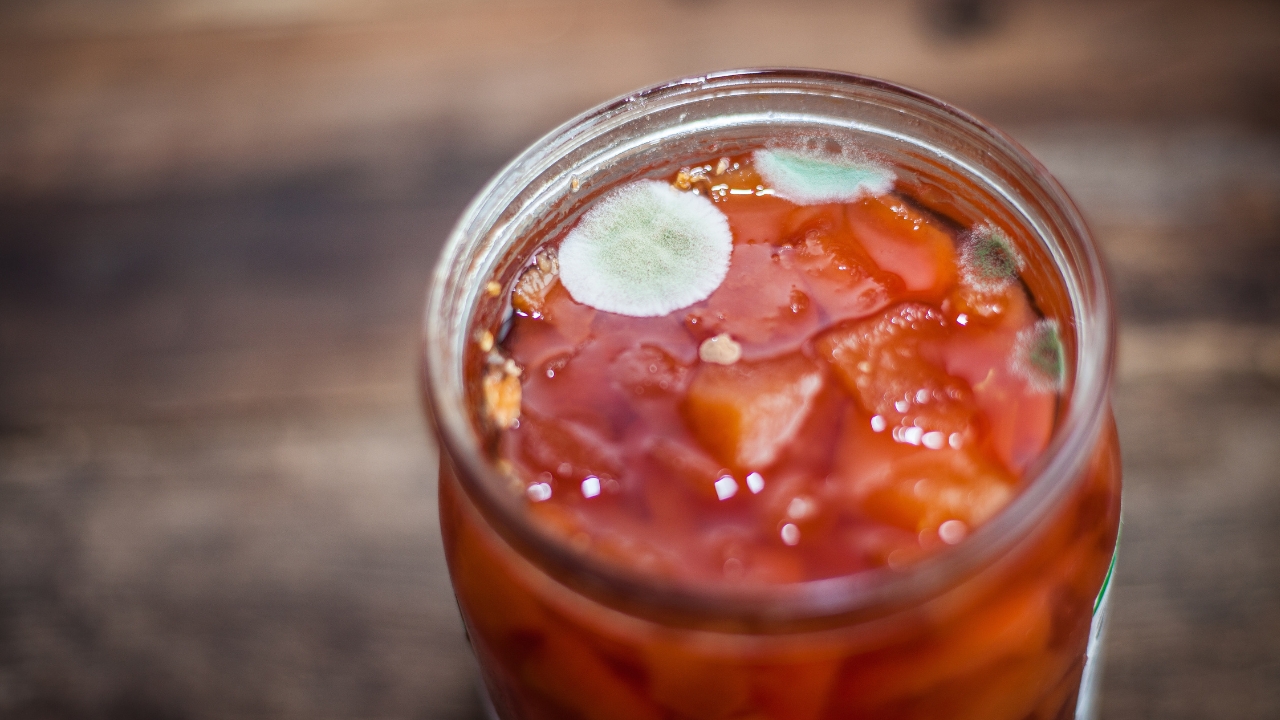
No matter how careful you are, something might go wrong. If a jar has a bulging lid, cloudy liquid, or smells weird, don’t eat it. Botulism isn’t something you can see or smell, so if you’re unsure—play it safe.
When in doubt, throw it out. It’s better to lose one jar than get sick or worse. Canning’s safe when done right, but it’s still food preservation, and that means staying sharp.
*This article was developed with AI-powered tools and has been carefully reviewed by our editors.