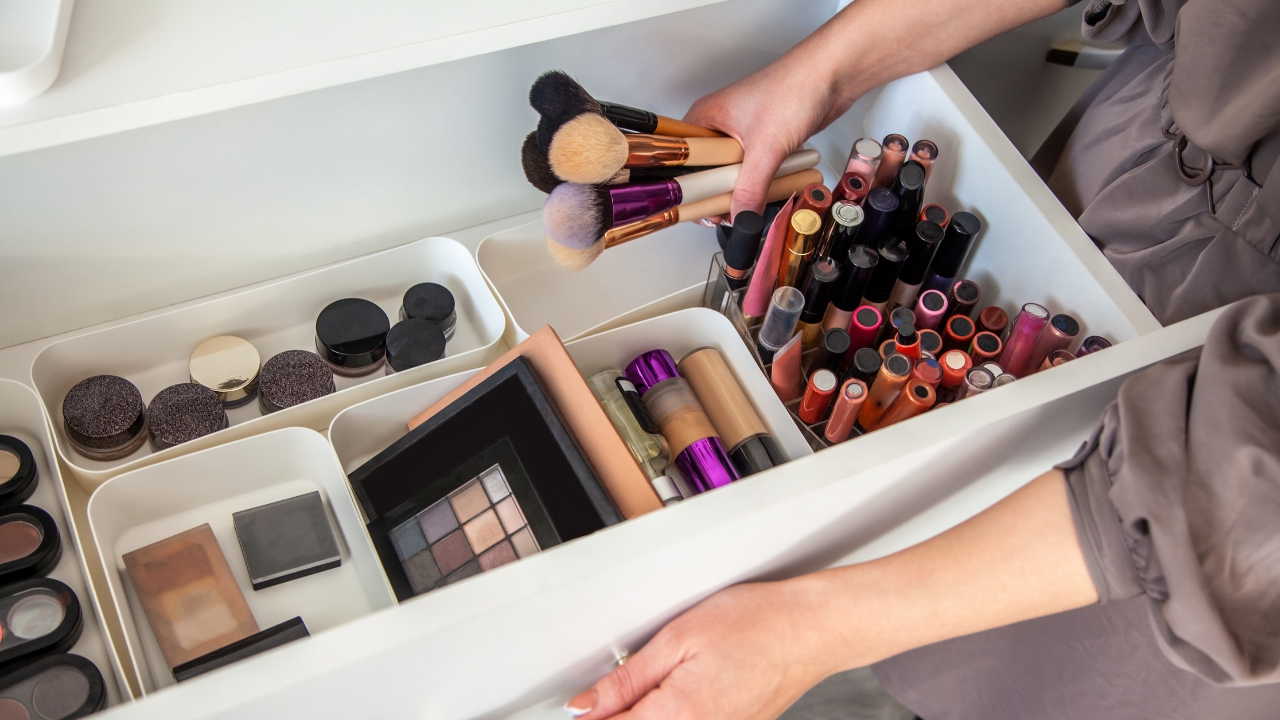
Drawer inserts that keep makeup and hair tools from tangling
A drawer can be a black hole or a well-organized station. Inserts make the difference, but the trick is matching compartments to what you actually own. When brushes, palettes, dryers, and clips each have a spot, you stop digging and your products last longer because caps stay on and cords don’t kink.
Measure first and work in modules
Open the drawer, measure width, depth, and height, then sketch a quick grid. Look for insert sets that come in multiple sizes so you can mix and match like Tetris.
Leave one narrow “runway” open along the front or side. That strip becomes your quick-drop zone for today’s mascara or lip balm so the rest of the drawer stays neat.
Split by category and frequency

Daily makeup gets the front: foundation, concealer, mascara, brows, one or two favorite lip colors. Night-out extras and bright palettes can live in the second row.
Hair tools and bulky items belong in the deepest section or a separate drawer altogether. If they must share, turn the dryer nozzle toward the back and give cords their own lane so they don’t snake into makeup bins.
Choose materials that clean well
Acrylic organizers are easy to wipe, while bamboo brings warmth and hides scuffs. Felt liners look cozy but trap powder; use them only under rigid trays, not as the tray itself.
If spills happen often, line the drawer with a removable, washable mat before you add inserts. You’ll pull the whole thing once a month and reset without scrubbing wood.
Tame cords with purpose-made holders
A silicone cord organizer or a few small cable clips stuck to the back inside wall give cords a parking spot. Wrap each tool’s cord loosely and clip it so it can’t unwind.
Avoid tight coils—they set memory in the cable and shorten the life of your tools. A soft loop held in place is kinder to cords and your patience.
Give brushes a protected home
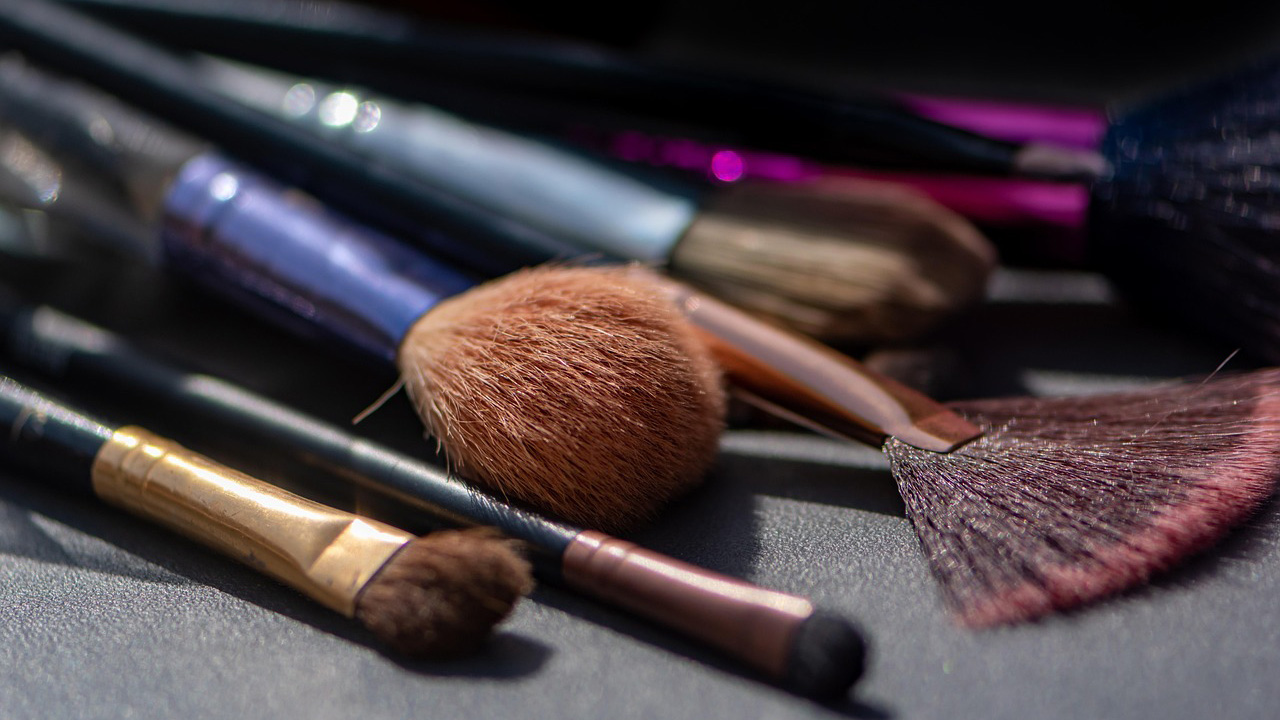
Use a long, shallow tray with a silicone or ribbed base so brushes don’t roll and smash bristles. Keep face brushes separate from eye brushes to make cleaning easier.
Lay brushes with heads alternating left and right so handles don’t stack. It’s a small spacing trick that keeps the row tidy and bristles safe.
Create a vertical slot for hot tools
If the drawer height allows, add a heat-safe vertical caddy for a curling iron or flat iron. It keeps hot barrels contained while they cool and protects plastic inserts nearby.
No space for vertical storage? A heat-safe sleeve laid in a long tray works just as well. Slide the barrel in and close the drawer once it’s fully cool.
Label discreetly so the system sticks
A label maker or clear tape with neat handwriting on tray edges reminds you where things go when you’re in a rush. It also helps anyone sharing the drawer put items back correctly.
Keep labels simple—“eyes,” “base,” “liners,” “dryers,” “brushes.” The less you think, the more you use the system.
Plan for refresh and overflow
Leave one empty compartment on purpose. It’s your rotation space for a new lip color or a seasonal product without shoving everything else around.
Once a quarter, dump expired items and wipe trays with a damp cloth. Fresh inserts and fewer products make the whole drawer feel brand new, which is exactly the energy you want on a busy morning.
Like Fix It Homestead’s content? Be sure to follow us.
- I made Joanna Gaines’s Friendsgiving casserole and here is what I would keep
- Pump Shotguns That Jam the Moment You Actually Need Them
- The First 5 Things Guests Notice About Your Living Room at Christmas
- What Caliber Works Best for Groundhogs, Armadillos, and Other Digging Pests?
- Rifles worth keeping by the back door on any rural property
*This article was developed with AI-powered tools and has been carefully reviewed by our editors.