How I got better use out of the shed after realizing the layout made no sense
Many homeowners discover only after a few seasons that their shed is harder to use than the attic or the garage. The structure is sound, but the layout quietly works against them, turning every search for a rake or drill bit into a small excavation project. The turning point usually comes when they realize the problem is not the amount of stuff, but the way every inch of the interior is arranged.
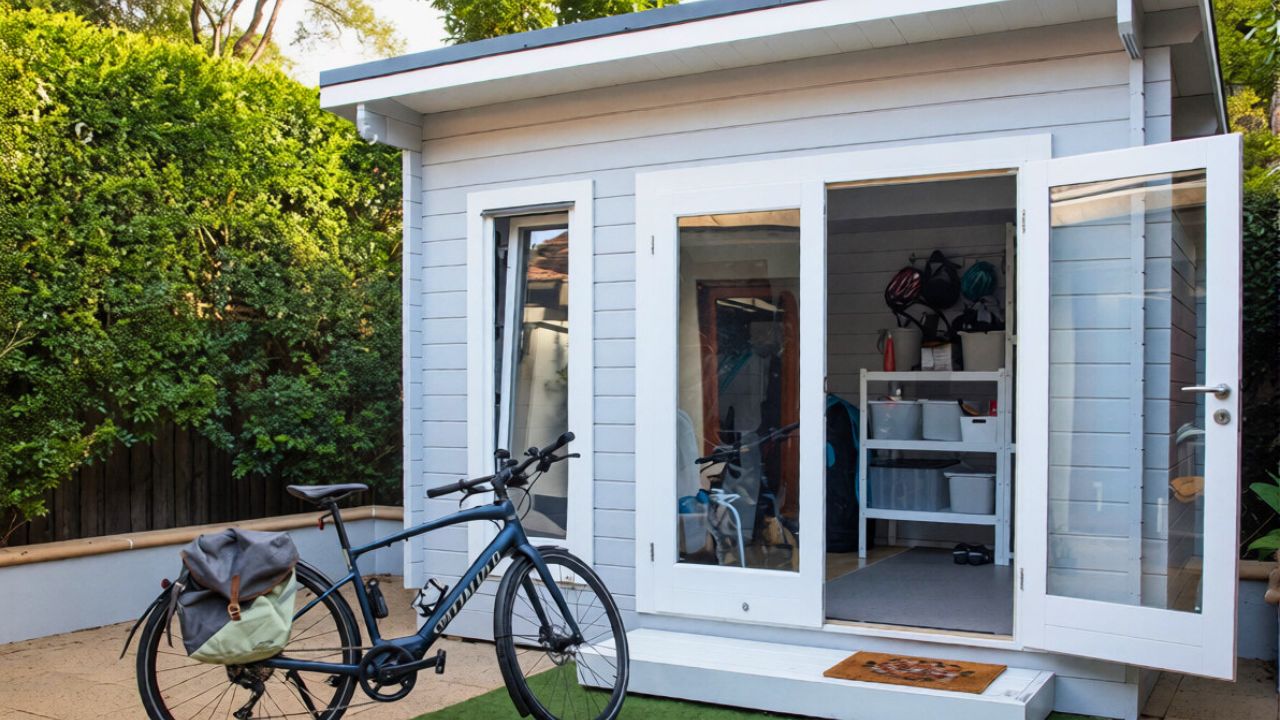
Once that insight lands, the shed stops being a dead-end storage box and starts to function more like a compact workshop. With the same square footage, it can suddenly support gardening, DIY projects, and seasonal storage, simply because the layout finally matches how the space is used.
Seeing that the original layout made no sense
The first step in getting better use out of a shed is often a blunt assessment of what is actually stored inside and how it is accessed. Guidance on assessing storage needs stresses that owners should list what they plan to keep before they sketch any layout at all. That means counting long-handled tools, power equipment, bins, paint, and hobby gear, then checking how often each category is used.
Many sheds start with the opposite approach. Heavy items are pushed against the back wall, random shelving is added where it fits, and everything else is stacked in front. Advice that focuses on starting with a argues that this backward sequence all but guarantees blocked pathways and buried essentials. Instead, the layout should begin with a clear walking route and door swing, then build storage around that movement.
Owners who revisit their sheds with that lens often find that high-use items sit in dark corners, while rarely used paint cans occupy prime real estate near the entrance. That mismatch is the clearest sign that the layout, not the square footage, is the real constraint.
Clearing the deck and sorting by how things are used
Once the flaws are obvious, experts recommend a reset rather than minor tweaks. Several checklists on how to start with a tell owners to empty the shed completely, sweep the floor, and only then decide what deserves to go back inside. This temporary disruption makes it easier to spot duplicates, broken tools, and items that belong elsewhere in the house.
After the purge, the most effective organizing systems sort items by how often they are needed. One widely cited method groups everything into Seasonal, Daily, Rarely categories. Daily items like a primary shovel, cordless drill, or kids’ bikes should land within a single step of the door. Seasonal gear such as holiday decorations and snow shovels can move higher on shelves or deeper into lofts. Rarely needed supplies, like spare pavers or leftover tiles, can live in the back or under benches.
This frequency-based sort is more than a labeling exercise. It becomes the backbone of the new floor plan because it dictates which walls, corners, and overhead zones are allowed to hold inconvenient or heavy items.
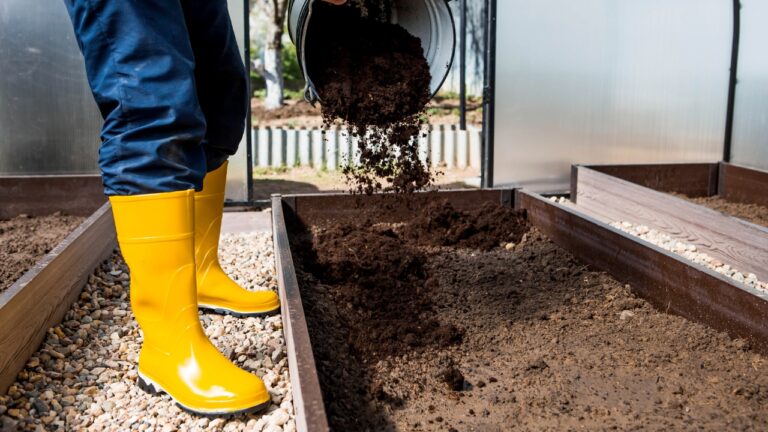
Many homeowners also use this stage to split the shed into activity zones. One corner becomes a gardening station with potting soil and hand tools, another becomes a small repair bench with a vise and drill, and a third is reserved for camping or sports equipment. That zoning makes it easier to see which areas deserve the best light and access.
Planning a smarter layout on paper first
Before a single bracket goes into a wall, layout specialists advise drawing a simple floor sketch. Articles focused on planning a shed suggest measuring the footprint, door width, and wall height, then mapping where tall shelves, work surfaces, and large equipment can sit without blocking circulation.
This planning phase also flags conflicts that are easy to miss when working item by item. A lawn mower needs a straight path to the door, not a tight turn around a shelving unit. A foldable workbench must clear the door swing and leave enough room to stand comfortably. Guidance on maximizing space notes that this is the moment to decide where large, wheeled items will park and how they will roll out.
Some homeowners find it useful to sketch vertical space as well as floor space. That includes noting where wall studs can support heavy shelving, where overhead joists can carry a loft, and where windows or vents limit storage height. A simple side elevation drawing helps avoid future surprises when a tall cabinet blocks natural light or a loft interferes with roof ventilation.
Turning walls, corners, and lofts into real storage
Once the plan is set, the structure of the shed can finally work harder. Multiple guides on using vertical space argue that walls should carry as much of the load as possible, leaving the floor mostly open. That often starts with simple wall-mounted racks for rakes, shovels, and brooms, positioned near the door so dirt and moisture track a shorter distance inside.
Storage specialists also recommend a mix of floating and adjustable shelving. Advice on shed storage ideas highlights how adjustable shelves and repurposed bookshelves can be stacked along a wall to hold bins, paint, and small tools. When combined with clear labels, that modular shelving turns one wall into a flexible library of supplies that can change with new projects.
Ceiling space and lofts often go unused, even in sheds built with overhead joists. Tutorials on DIY loft storage show how simple plywood platforms and 2×4 cleats can create overhead bays for camping gear, holiday decor, or spare lumber. The key is to reserve that overhead zone for light but bulky items, not bags of concrete or tile boxes.
Corners, which tend to collect random clutter, can be tamed with corner shelving or vertical tool towers. Some homeowners install a narrow corner cabinet for chemicals and paints, keeping them off the floor and away from direct sunlight. Others use corner brackets to store ladders and long lumber diagonally, which frees up wall space for more accessible storage.
Making the shed work like a small workshop
Once the bones of the layout are in place, small design choices determine whether the shed feels like a usable workspace or just a tidier closet. Guides that emphasize tips to keep stress the importance of a dedicated work surface, even if it folds down from the wall. A simple bench allows owners to pot plants, repair tools, or sort hardware without dragging everything into the house.
Container choices matter as well. Advice from homeowners who use clear storage bins shows how grouping supplies by project, such as tiling, plumbing, or irrigation, reduces the time spent hunting for small parts. Transparent bins also make it obvious when stock is running low, which cuts down on duplicate purchases.
Labeling completes the system. Experts who focus on clear labels recommend waterproof tags or printed labels for every bin, shelf, and hook, especially since moisture and dust are constant in outdoor sheds. Consistent labels help other family members return items to the same spot, which keeps the layout functional over time instead of drifting back into chaos.
Even small hardware storage upgrades can change daily use. A simple wall-mounted screwdriver rack, like the kind shown in DIY tool projects, keeps common drivers at eye level near the bench. Magnetic strips or pegboards can hold pliers, wrenches, and measuring tapes, turning a bare wall into a compact tool board.
Keeping the new layout from slipping back
The final piece in getting better use from a shed is maintenance. Checklists that frame Outdoor Storage Shed as a recurring task suggest quick seasonal resets. At the start of spring and fall, owners can scan for items that no longer fit the Seasonal, Daily, Rarely Needed categories, then move or remove them before clutter builds.
Like Fix It Homestead’s content? Be sure to follow us.
Here’s more from us:
- I made Joanna Gaines’s Friendsgiving casserole and here is what I would keep
- Pump Shotguns That Jam the Moment You Actually Need Them
- The First 5 Things Guests Notice About Your Living Room at Christmas
- What Caliber Works Best for Groundhogs, Armadillos, and Other Digging Pests?
- Rifles worth keeping by the back door on any rural property
*This article was developed with AI-powered tools and has been carefully reviewed by our editors.