The shelf risers that fake a custom pantry
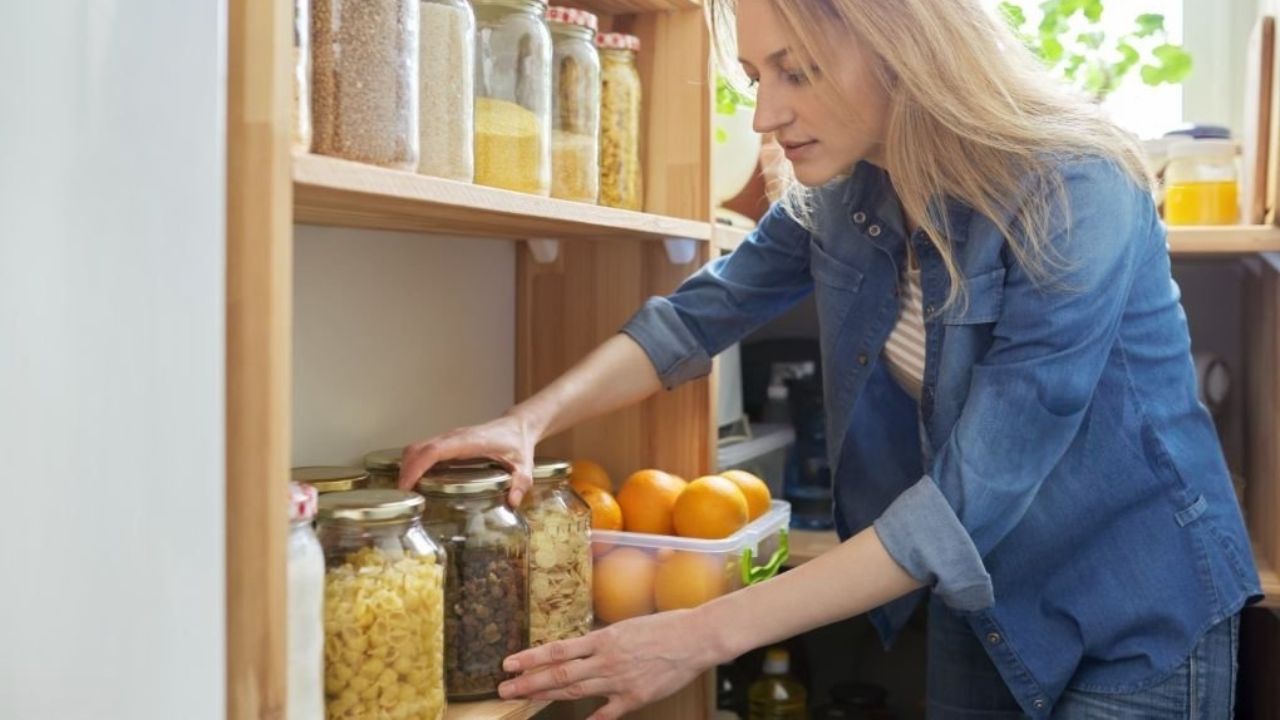
Most of us aren’t getting a custom built-in pantry anytime soon. You’ve got a few shelves, too many cans, and that one random jar that always gets lost in the back until it’s three years expired. The goal isn’t perfection—it’s being able to open the door and actually see what you have.
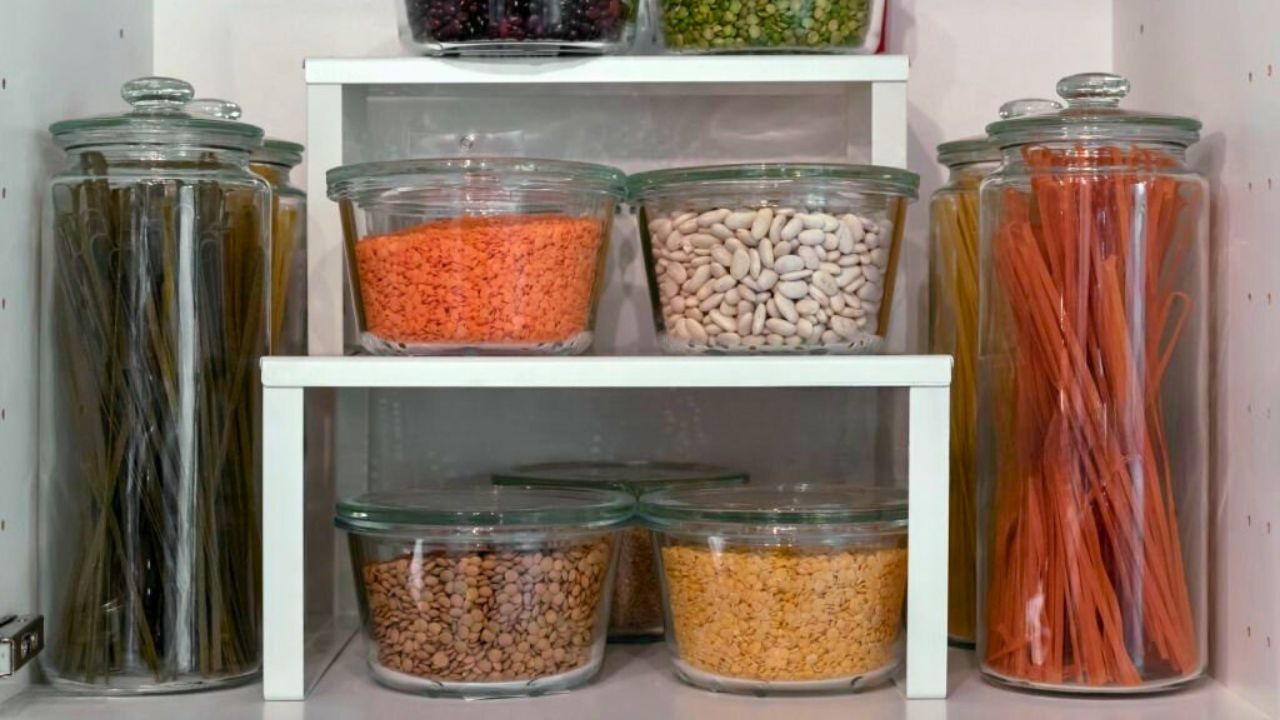
Shelf risers are one of the easiest ways to fake that “custom pantry” feel without ripping anything out. A few well-placed tiers can turn those deep, dark shelves into something that actually works with you instead of swallowing groceries whole.
Start by figuring out what keeps disappearing
Before you buy anything, look at what you lose the most.
Is it canned goods? Spices? Small jars? Baking ingredients?
Whatever you’re constantly rebuying because you didn’t realize you already had it—that’s what needs a riser. They’re most useful in spots where:
- Things are all the same size and blend together
- You can’t see past the front row
- You keep stacking items on top of each other
Pull one pantry shelf at a time apart and be honest about what’s actually living there versus what should be living there. That makes it easier to choose the right style of riser instead of just guessing.
Pick the right style for what you’re storing
Not all risers are the same. The good news is you don’t need fancy ones; you just need the right shape.
For cans and jars, tiered “stadium” risers work best. They give you layers, so you can see the back row without everything being the same height.
For small bottles and spices, narrower risers or stepped organizers make those labels visible instead of turning into a cluttered line.
For taller items like oils, vinegars, or baking jars, a single low riser in the back can lift them just enough to be seen without bumping the shelf above.
Measure your shelf depth before buying. Leaving a little space in front for overflow or things you grab constantly (like canned tomatoes or chicken broth) keeps the pantry from feeling packed edge to edge.
Use risers to create “sections,” not just levels
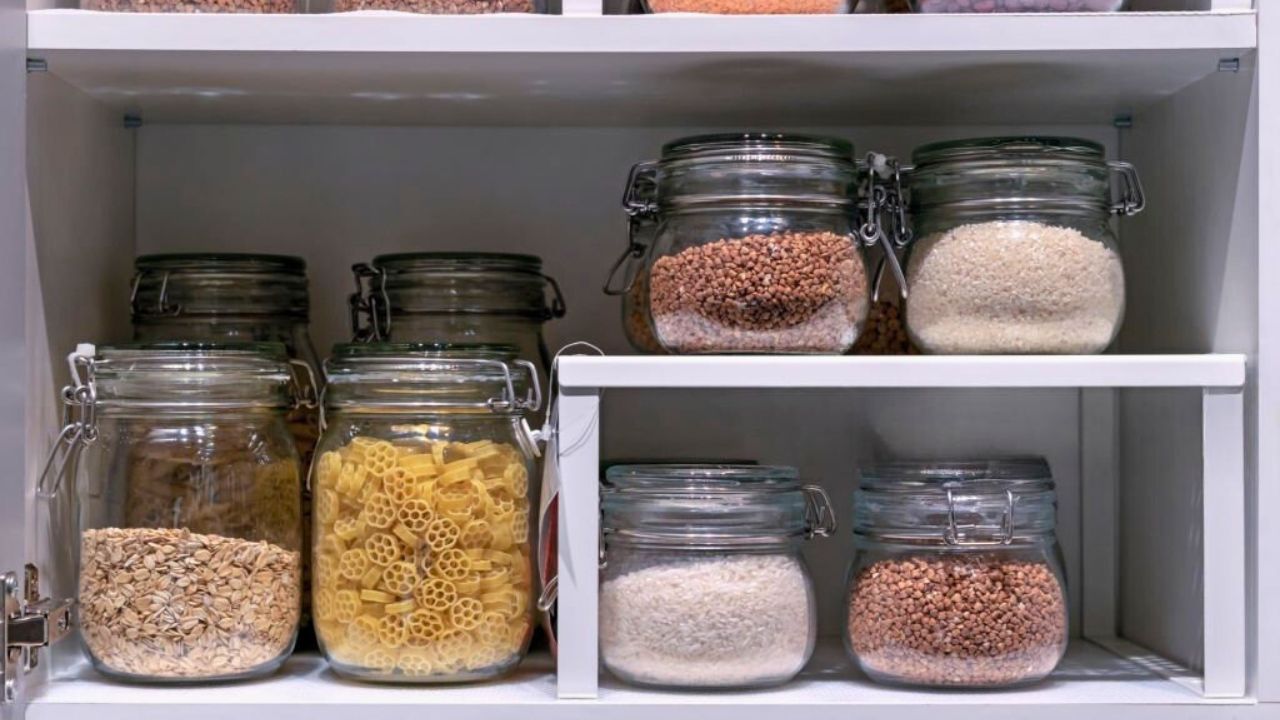
The magic isn’t just the height—it’s the separation. When you add a riser, you’re basically creating two zones in one spot: front and back. Use that on purpose.
A simple way to set it up:
- Put everyday staples on the front level
- Put backups or less-used items on the raised level
- Keep each tier limited to one general category
So you might have one riser for “canned tomatoes, sauces, and paste,” another for “beans and soups,” and another for “baking add-ins.” When you open the pantry, you’re not staring at a random rainbow of cans. You know which riser holds what.
Don’t be afraid of cheap or DIY risers
If you’re not ready to spend much, you can fake a riser with what you already own. It doesn’t have to be pretty—it just has to be safe and stable.
Ideas that work in a pinch:
- Sturdy, same-size canned goods under a small cutting board
- Old loaf pans or casserole dishes turned upside down
- A low, strong box cut down to size and covered with contact paper
Just make sure whatever you use doesn’t bow in the middle and can handle the weight. The goal is to lift things, not create a wobbly shelf that collapses when you grab a can.
Label the zone, not every single item
You don’t need to label every jar in your pantry. Instead, label the area.
Add simple labels along the front edge of the shelf like:
- “Tomatoes & Sauces”
- “Beans & Broth”
- “Quick Meals & Soups”
- “Baking – Add-ins”
This way, the riser becomes a little “department” instead of a random step. Future-you knows where to put things back, and anyone helping unload groceries has an easy guide instead of asking where everything goes.
Leave breathing room so it doesn’t feel crammed
It’s tempting to use every inch of that new vertical space, but if you pack the riser to the edge, you’re right back to fighting your pantry.
Try to:
- Leave a small gap between rows so you can see labels
- Avoid stacking more than one item on top of another on the same riser
- Keep the front edge of the shelf clear for things you reach for daily
If the riser looks like a solid wall of cans, it’s going to feel cluttered no matter how organized it technically is.
Make “reset the riser” part of your normal rhythm
Your pantry doesn’t have to be perfect all the time; it just needs regular small resets.
Every couple of weeks (or before grocery day), take 3–5 minutes to:
- Pull expired or almost-empty items
- Move newer cans to the back and older ones forward
- Fix anything that got tossed in the wrong zone
Because the riser already gives structure, a quick reset goes fast. You’re not reorganizing from scratch—you’re just putting things back where your system already told you they belong.
Shelf risers won’t magically turn your pantry into something from a catalog, but they’ll give you the one thing a busy kitchen really needs: being able to see what you have so you’ll actually use it.
Like Fix It Homestead’s content? Be sure to follow us.
- I made Joanna Gaines’s Friendsgiving casserole and here is what I would keep
- Pump Shotguns That Jam the Moment You Actually Need Them
- The First 5 Things Guests Notice About Your Living Room at Christmas
- What Caliber Works Best for Groundhogs, Armadillos, and Other Digging Pests?
- Rifles worth keeping by the back door on any rural property
*This article was developed with AI-powered tools and has been carefully reviewed by our editors.