
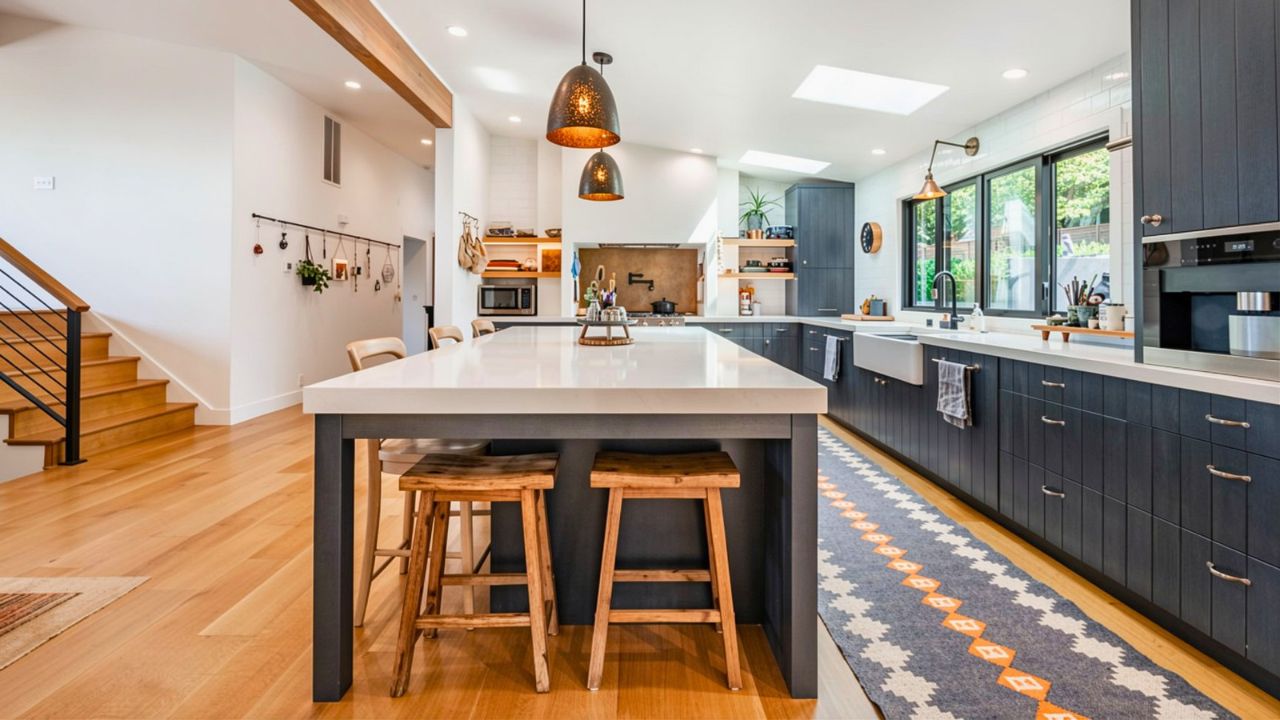
10 Kitchen Upgrades That Look Custom for Under $200
Photo credit: Sheilasay/istock.com
Most kitchens work fine but still look like they came out of a box. The good news is you don’t need a full remodel to get that built-in, cared-for feel. A handful of small upgrades can clean up the “rental” signals fast, without burning a whole paycheck.
1. Swap to Solid Cabinet Pulls
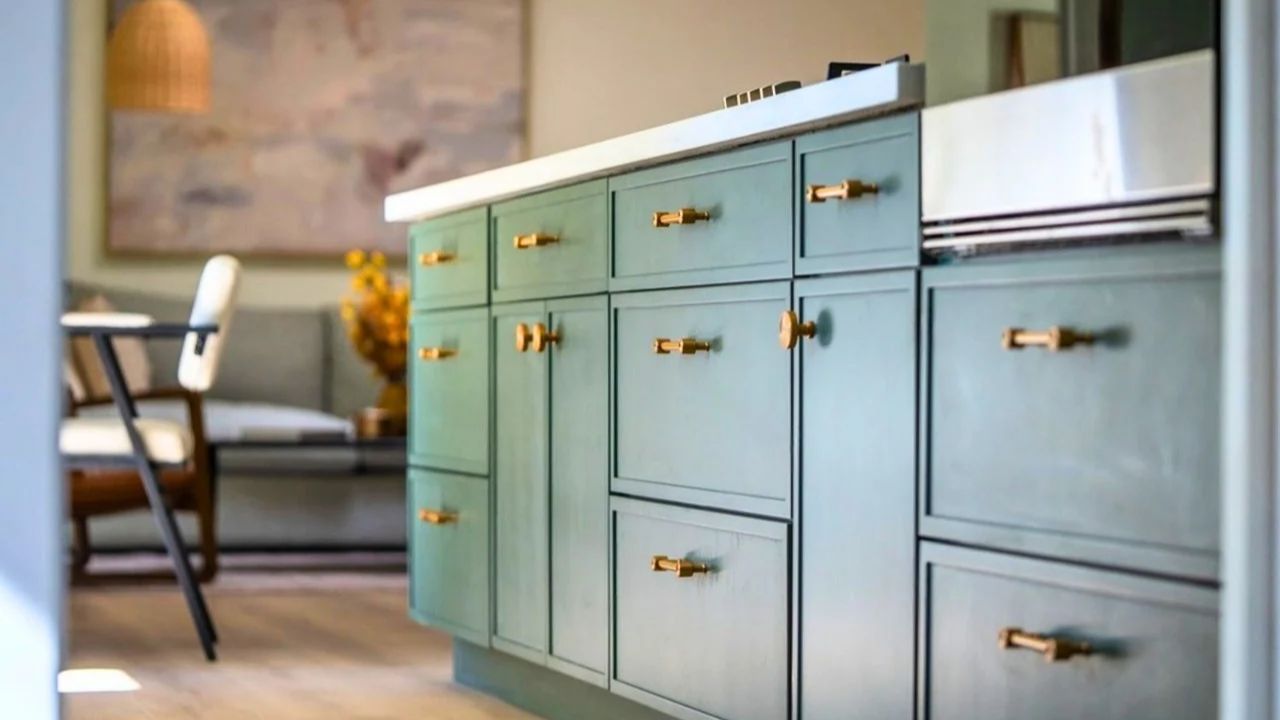
Nothing screams builder-grade like hollow knobs that rattle when you shut a drawer. A set of heavier pulls makes cabinets feel quieter and more expensive, even if the boxes are basic. You’ll notice it every day because it’s literally in your hand.
Count your doors and drawers first, then buy a matching set with the same hole spacing as what you’ve got. If you’re changing spacing, use a simple cabinet hardware jig and fill old holes with wood filler before drilling new ones. Stick to one finish, brushed nickel, matte black, or warm brass, and your kitchen suddenly looks “planned.”
2. Add Soft Close Hinges Or Dampers
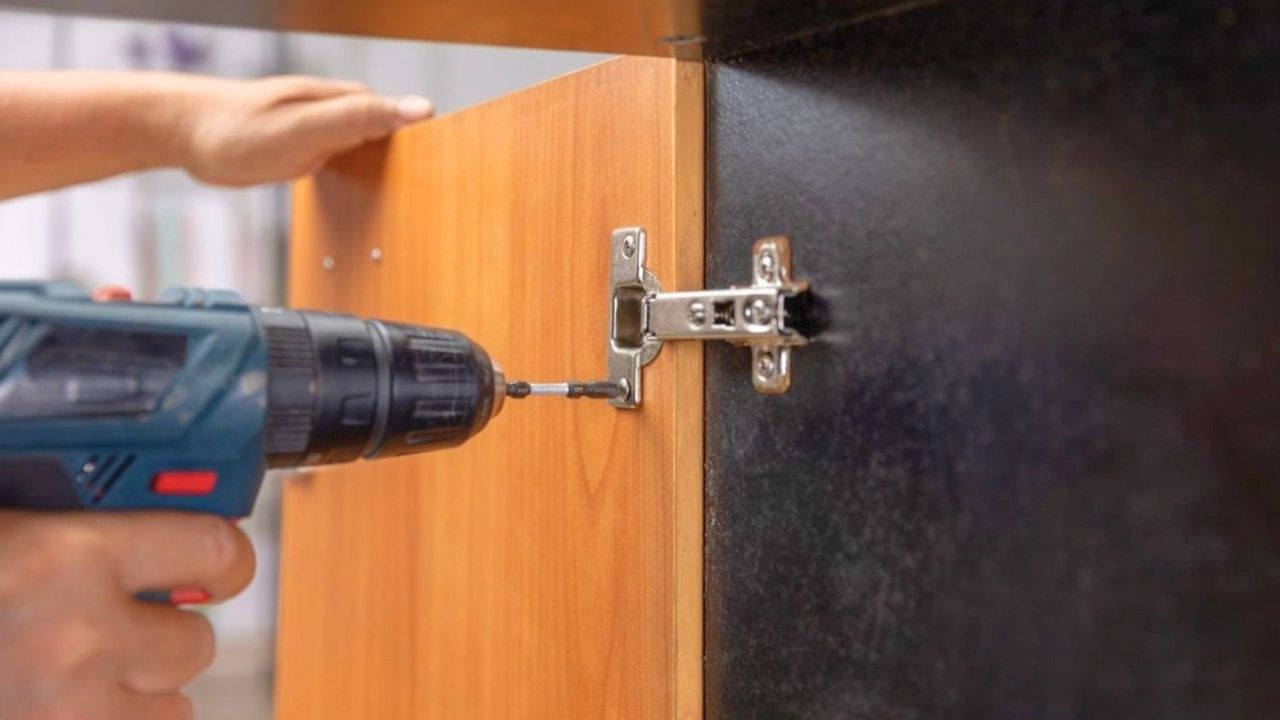
Slamming doors make a kitchen feel cheap, and they beat up frames over time. Soft close hardware is a small mechanical upgrade that feels like a custom cabinet shop touch. You also stop hearing that clap every time someone rushes through making lunch.
If your cabinets use standard concealed hinges, you can often replace just the hinges with soft close versions. If not, clip-on dampers inside the cabinet work fine and cost less. The only trick is alignment, have a screwdriver, a drill, and ten minutes per door, and don’t overtighten into particleboard.
3. Install Under Cabinet LED Lighting
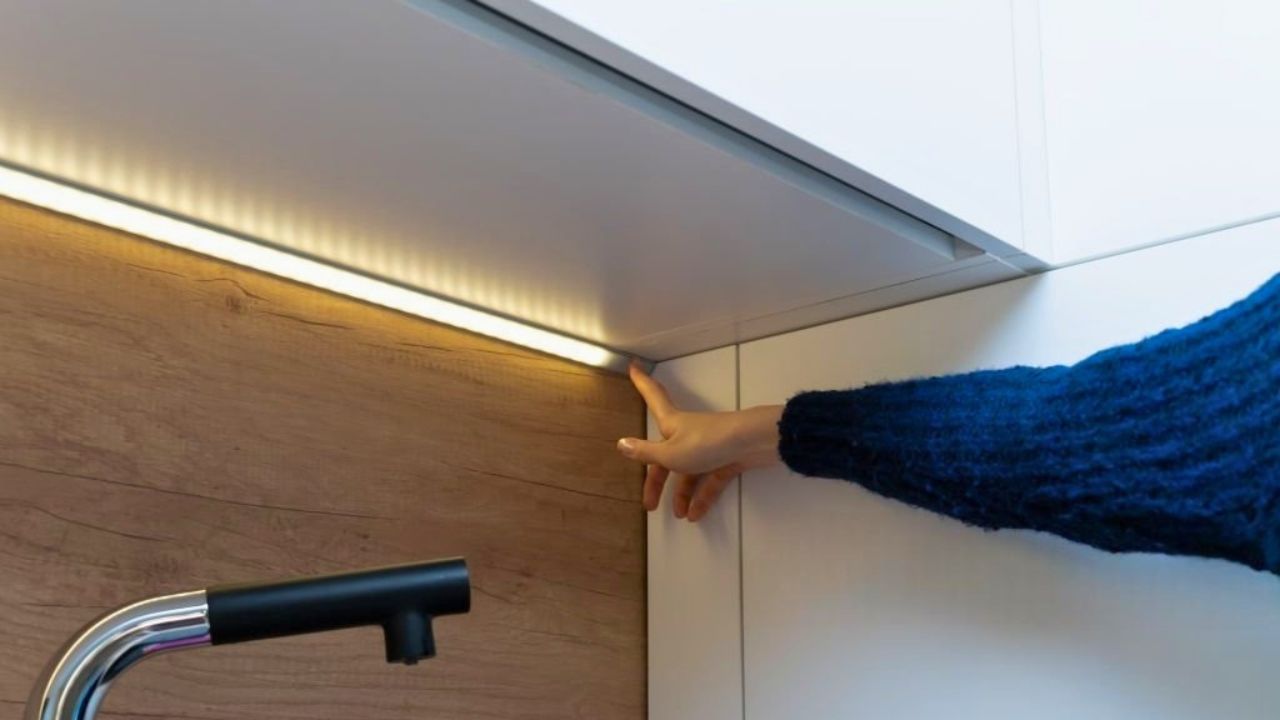
Overhead lights cast shadows right where you chop. Under cabinet lighting makes counters look like a finished workspace, and it’s one of the quickest ways to make older cabinets feel current. Nighttime snacks get easier too.
Plug-in LED strips are the simplest, especially if you can hide the cord behind the fridge or run it along the back of the cabinet. Look for a warm white tone so it doesn’t feel like a garage. If you want hardwired lights, that’s a job where a licensed electrician is worth the money, local code and safe connections matter.
4. Upgrade The Faucet And Shutoffs

A tired faucet makes even nice counters look worn out, and leaks under the sink ruin cabinets quietly. A new pull-down faucet is one of those upgrades buyers notice, but you do it for daily use. If your current handle sticks or the sprayer dribbles, stop fighting it.
Plan on replacing the shutoff valves if they’re crusty or won’t turn. That’s where a lot of “easy faucet swaps” go sideways. If you’re not comfortable shutting off the whole house and dealing with stubborn plumbing, call a plumber for an hour and still keep the total under control.
5. Paint And Level The Toe Kicks
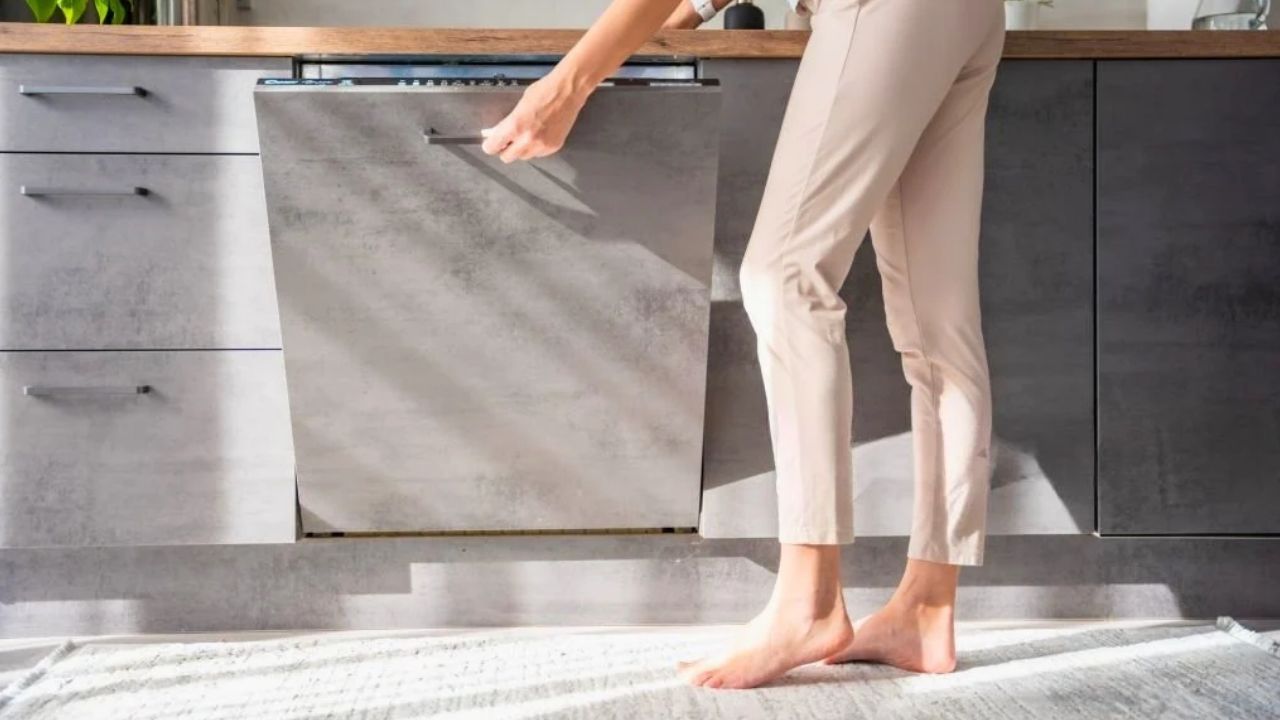
Toe kicks get scuffed, and once they go gray and chipped, the whole run of cabinets looks tired. This is one of the cheapest “custom” moves because it makes the base look crisp and straight. It also hides a lot of little sins.
Clean them hard first, degreaser and a scrub pad, then sand the rough spots. Use a trim enamel and a small foam roller for a smooth finish. If the toe kick is wavy or has gaps, add a thin scribe strip or a quarter-round trim and paint it to match.
6. Replace A Badly Placed Light Fixture
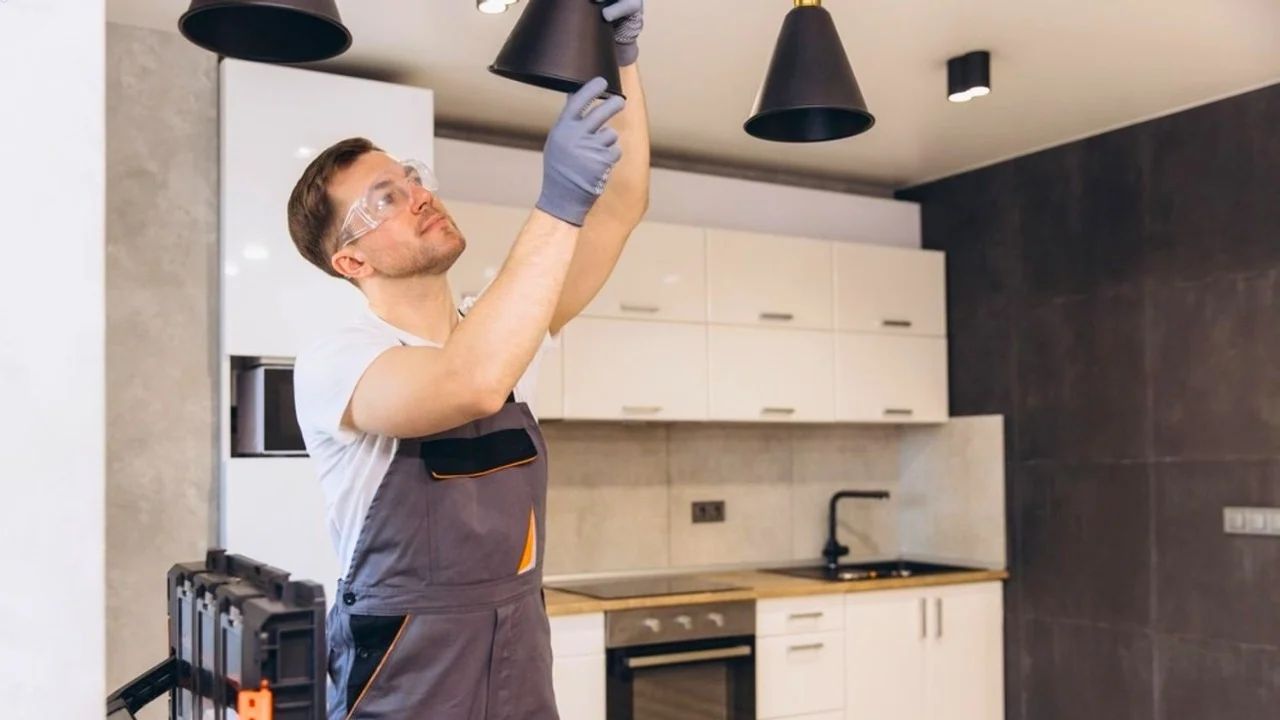
A dated boob light can drag down an entire kitchen, even if everything else is decent. Swap it for a simple flush mount or a small semi-flush that fits the room. You don’t need fancy, you need something that looks intentional.
If the existing box is sound and you’re staying in the same spot, this is usually a straightforward DIY job: power off at the breaker, verify with a tester, follow the fixture instructions, and use wire nuts rated for the wire size. If you find aluminum wiring, brittle insulation, or a box that’s loose, stop and call an electrician.
7. Dress The Windows With Simple Trim
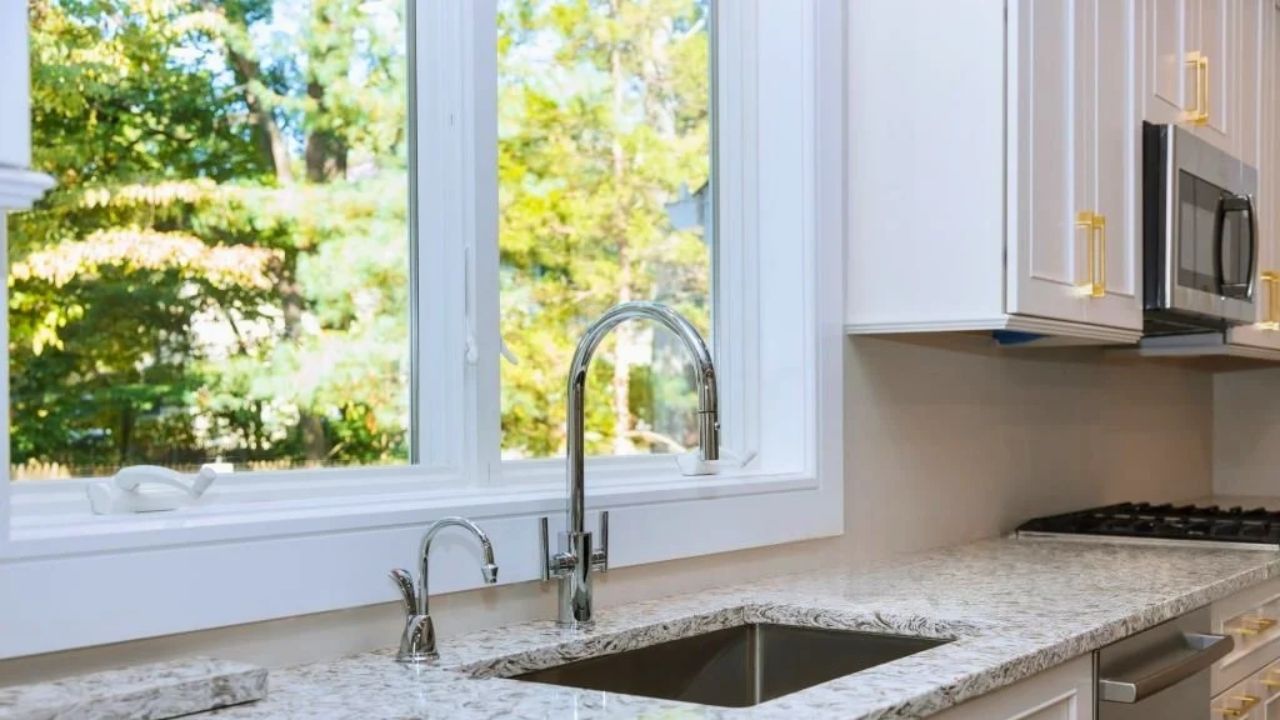
Plain drywall returns around a kitchen window look unfinished, especially over the sink. A simple casing and stool makes it look like the window was meant to be there, not punched out later. It’s a woodworking job that reads “custom” from across the room.
Buy pre-primed trim boards, measure twice, and cut clean miters with a miter saw or a hand miter box if you’re patient. Caulk the gaps, then paint in a trim enamel. If your window gets soaked a lot from splashes, spend a little more on PVC trim for the stool, cheap pine swells and gets ugly fast.
8. Update Outlet And Switch Plates
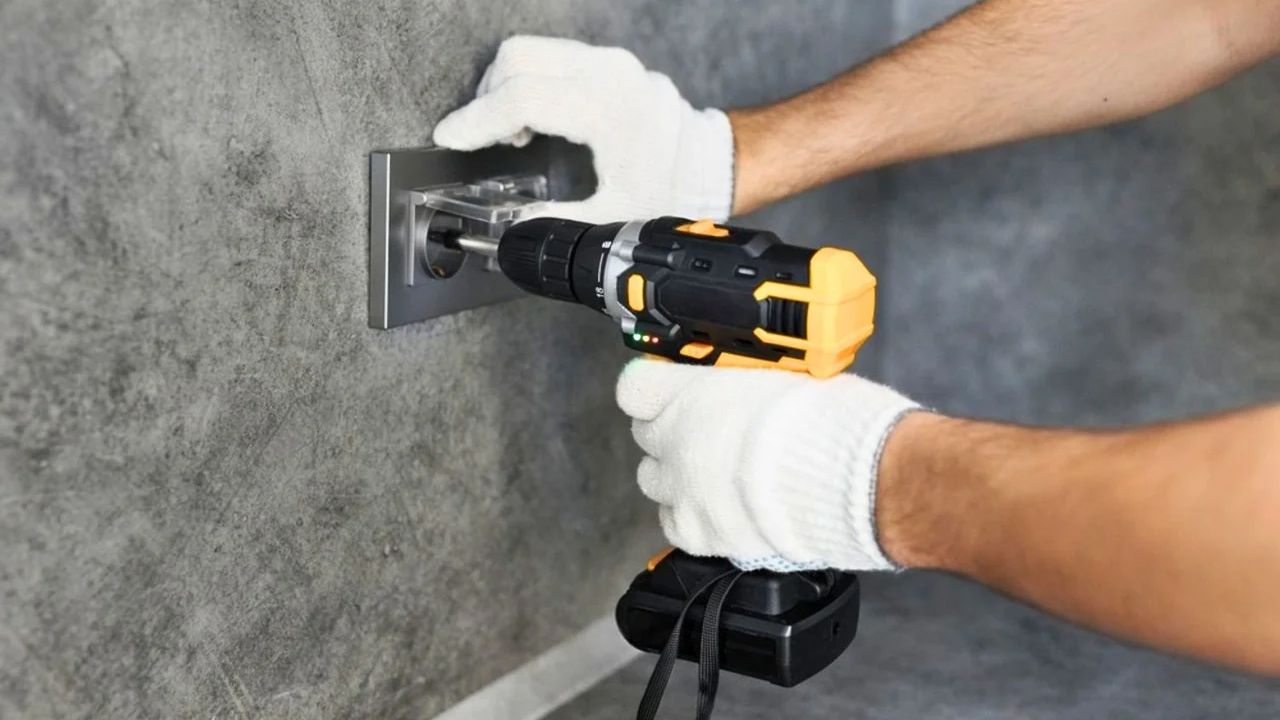
Yellowed plates and mismatched colors are small, but your eyes catch them. A fresh set of screwless plates makes the wall look clean and new. This is one of the shortest jobs with the fastest visual payoff.
Turn off power if you’re working near loose devices, and don’t assume the labels in the panel are correct. If the outlets are cracked, wobbly, or two-prong, replace the devices too, but follow code for grounding and GFCI protection, especially near sinks. Sometimes the cheap option is fine here, basic white plates look more “custom” than trendy shapes that date fast.
9. Add A Real Backsplash Behind The Range
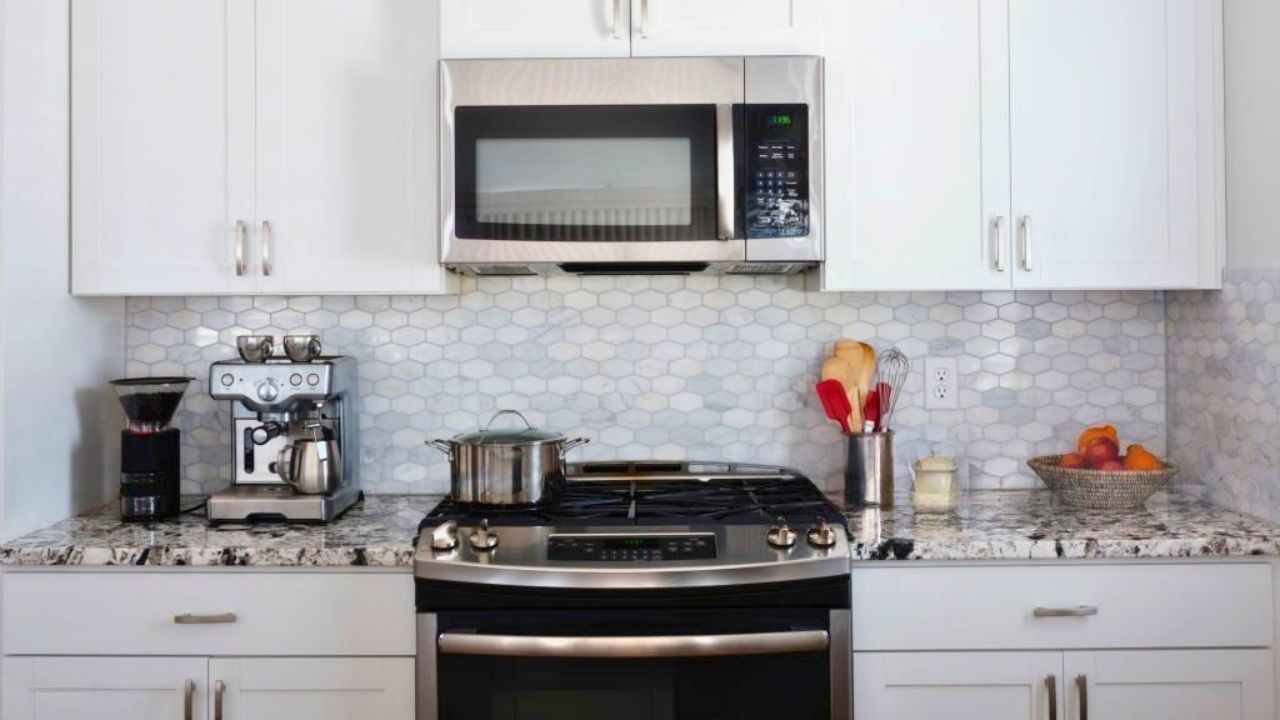
Grease and steam destroy paint right behind the stove, and it always looks patchy even after you scrub it. A small backsplash section, just the range wall or the sink wall, gives you that finished, built-out look without tiling the whole kitchen. It also saves drywall.
Peel-and-stick tile can work if the wall is smooth, clean, and you’re not putting it where heat hits directly. For the range area, use real tile or a stainless sheet and install it with the right adhesive and grout. Take time with the first level line, if the bottom row is crooked, the whole job looks DIY in the bad way.
10. Build A Slide Out Trash And Recycling Bay
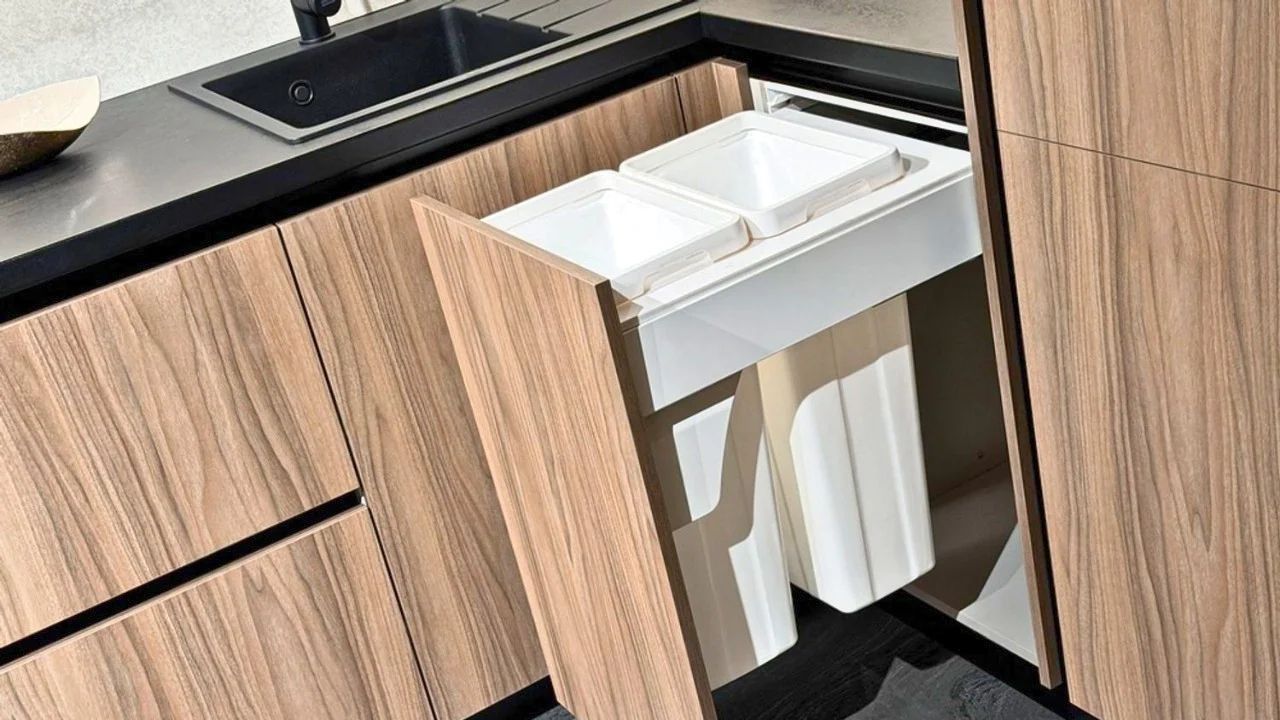
Trash out in the open makes a kitchen feel cluttered, even when it’s clean. A pull-out trash setup feels like a higher-end cabinet feature because it is. You also gain floor space and stop banging a can around with your foot.
Use a bottom-mount slide kit rated for the weight, and measure the cabinet opening carefully, including hinge clearance. A simple plywood platform with a face board is enough, you’re not building fine furniture. If your sink base has plumbing in the way, put the pull-out in the cabinet next door and keep the pipes alone.
Pick one upgrade that fixes something you touch every day, then stack a couple of the quick visual ones around it. The kitchen starts feeling calmer when the little annoyances are gone, and that’s what makes it read like a custom space.
Like Fix It Homestead’s content? Be sure to follow us.