The easiest way to make your kitchen feel custom
Photo credit: Pixabay/Pexels.com
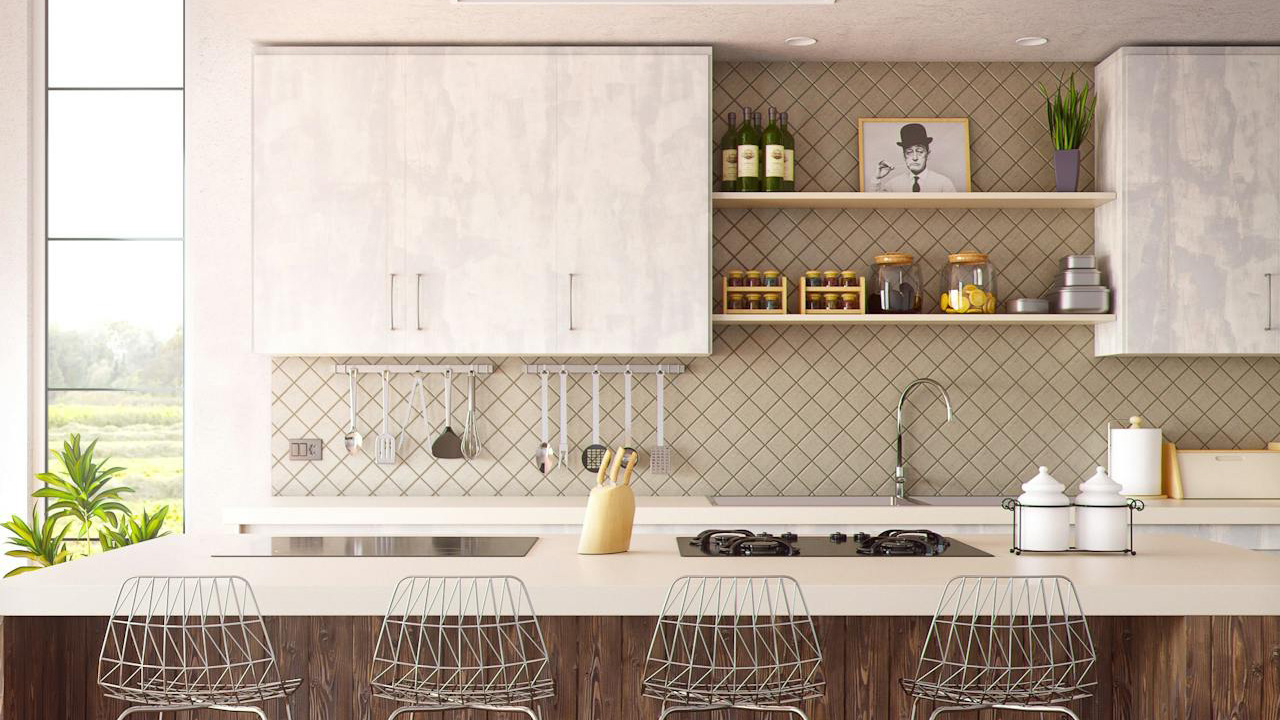
Custom kitchens aren’t just about fancy cabinets. They’re about fit: lighting in the right spots, trims that hide seams, hardware that matches the story, and zones that work like a cook actually lives there. You can borrow that feeling with weekend upgrades and a little staging.
You’ll spend more time cooking and less time wishing for a remodel.
Add a simple trim or filler to finish gaps
Tiny gaps around the fridge, end panels that stop short, and toe-kick seams all scream builder-basic. A length of matching filler, a painted scribe molding, or one clean end panel can visually “finish” runs and make the cabinets look built-in. Caulk, paint, and wipe. The eye reads continuous lines as quality.
If you rent, a removable side panel next to the fridge still fakes a built-in look.
Swap hardware for weight and consistency
Skinny, shiny pulls feel flimsy. Choose solid handles that fit adult hands—5–7 inch pulls on drawers, 3–4 inch on doors. Keep the metal consistent with other finishes in the room: black, brass, or stainless. Matching knobs and pulls do more than any decor. They’re the handshake of your cabinets.
Install with a jig so everything lines up. Crooked hardware kills the upgrade.
Light the tasks, not just the ceiling

Under-cabinet lights change cooking. You see the board, not your shadow. Plug-in LED strips with a hidden wire channel take an hour to install and feel like a renovation. Add one small pendant or sconce over the sink for face-level light. Your kitchen will look calmer at night and photographs better in daylight.
Warm temperature LEDs make food look good. Stay out of the blue-white zone.
Build a real landing zone around the range
Keep oil, salt, pepper, and a crock of tools on a tray within reach. Add a small cutting board for “grab and chop.” That tiny station makes the kitchen feel like it was designed for cooking, not just show. Relocate what doesn’t belong so this spot stays clear and ready.
A tray is the difference between styled and cluttered.
Upgrade one touchpoint
If you can only change one thing, change the faucet. A solid, high-arc pull-down in a finish that matches your hardware touches every sink moment. It reads expensive even when it isn’t. Pair it with a built-in soap pump or a matching countertop dispenser to ditch the branded bottle on the counter.
If your sink is shallow, an aerator upgrade reduces splash and feels fancy.
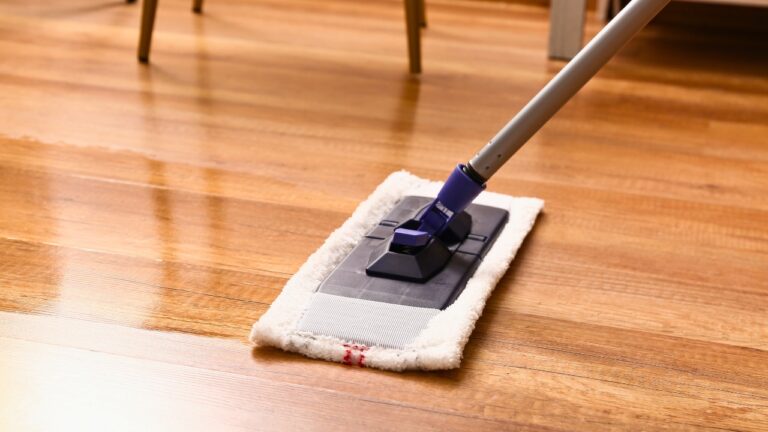
Use a long runner to visually unify the floor
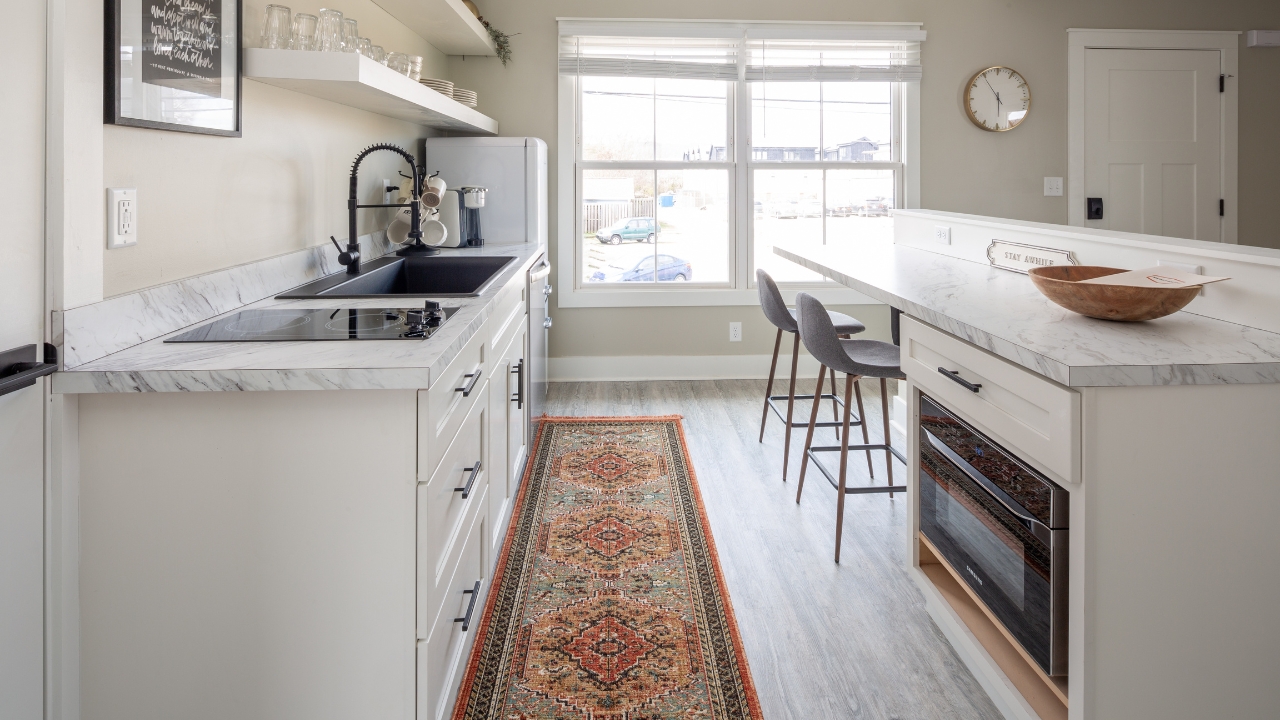
Kitchens often have chopped-up floor lines. A single runner from sink to range or through the main prep lane ties areas together and adds softness underfoot. Choose a low-pile, washable rug in a quiet pattern so crumbs don’t star in the show.
Measure for door clearance. Tripping isn’t custom.
Corral appliances and hide labels
Leave out what you use daily, but stage it: coffee maker + canister, toaster + cutting board. Move the rest behind doors. Decant dish soap, scrubbers, and tabs into simple containers so the eye isn’t fighting packages. Custom looks like calm, not empty.
If counter space is tight, consider a wall-mounted magnetic strip for knives. It’s functional and looks intentional.
Add a shelf or rail where you need reach
One narrow shelf above the backsplash for oils and small bowls or a rail with hooks for towels and ladles says “fitted” without touching cabinets. Keep it consistent with your hardware finish. Function that looks built-in is the custom magic.
Anchor into studs or use proper anchors. Kitchens get handled.
Finish with a color story that respects your materials
If your counters are busy, go quieter on the backsplash or vice versa. Pick one accent color (art, towels, a fruit bowl) and repeat it. A tight palette brings order and makes everything feel thought through. You stop craving a new kitchen because the one you have finally sits right.
Clean lines, good light, fitted pieces, and a calm story make a kitchen feel custom. Trim the gaps, swap the hardware, add task lighting, stage the range, and tighten the palette. You’ll get the look you wanted—and the function you actually needed.
Like Fix It Homestead’s content? Be sure to follow us.
- Man Says He Found Out the Fence He Paid For Wasn’t Actually on His Property
- Woman Says Her Neighbor Started Taking Mulch From Her Delivery Pile Before She Could Even Spread It
- I made Joanna Gaines’s Friendsgiving casserole and here is what I would keep
- What Caliber Works Best for Groundhogs, Armadillos, and Other Digging Pests?