10 Things Builders Put In That Homeowners Rip Out
Photo credit: ungvar/Shutterstock.com
New builds look clean on day one, but a lot of what gets installed is picked to hit a price point and pass inspection fast. After a season or two of living in it, you start noticing what squeaks, stains, wastes space, or just makes daily chores harder. That’s when the demo bar comes out.
1. Builder Grade Carpet In Main Areas
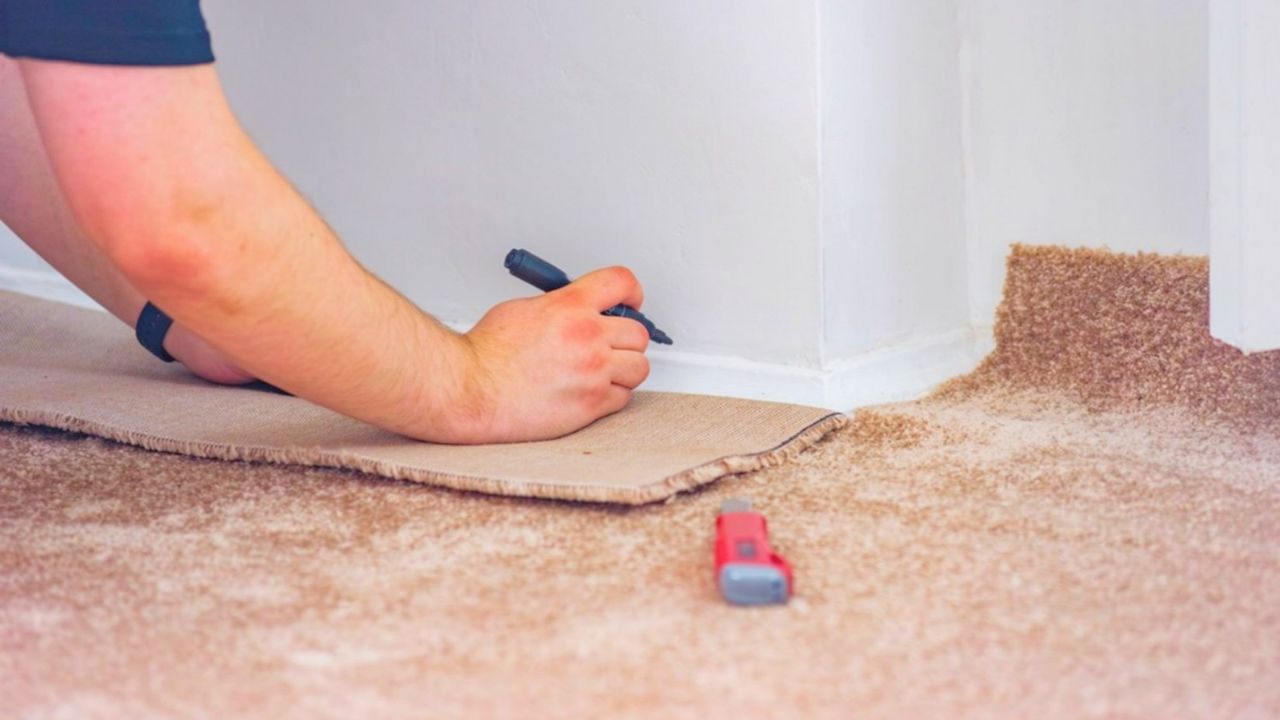
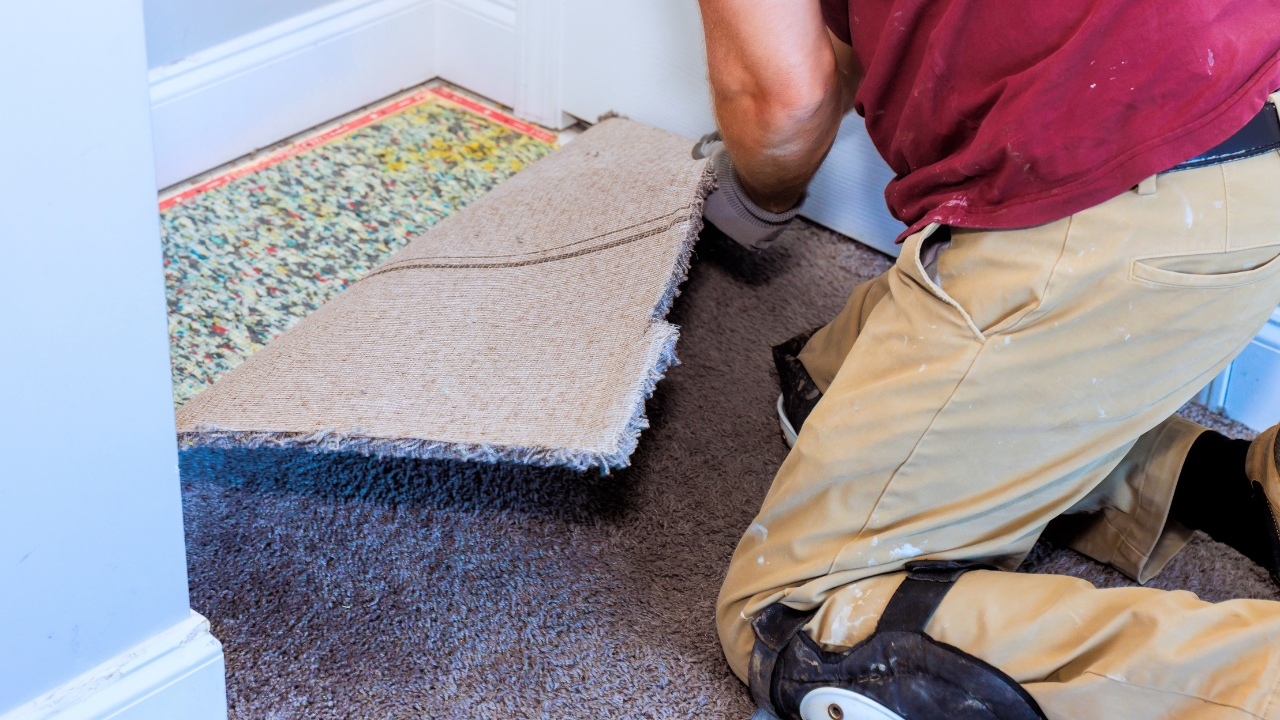
It starts looking tired before you’ve even finished unpacking. The pile mats down in traffic lanes, the seams show up, and every spill turns into a permanent “memory,” especially on stairs and hallways. If you’ve got kids, pets, or muddy boots, it gets ugly in a hurry.
Most folks rip it out for LVP, hardwood, or tile, then add washable rugs where you actually want softness. If you’re keeping carpet, spend money on a better pad and a denser face weight, not a fancy color. Bedrooms are the one honest exception where basic carpet can be fine, because it sees less grit and less sun.
2. Cheap Hollow Core Interior Doors
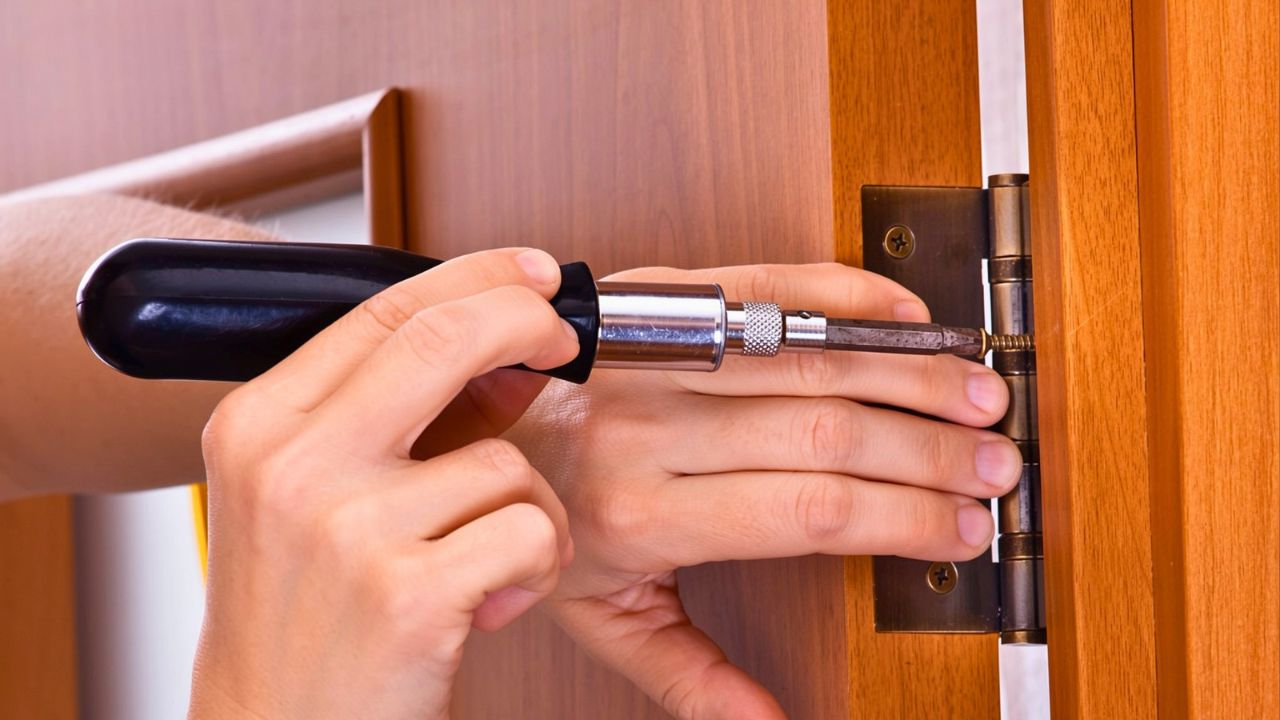
You hear them before you see them. They rattle in the frame, they don’t block sound, and a doorknob bump can leave a dent that never really goes away. The worst part is the feel, everything sounds like a cabinet door closing.
Swapping to solid core doors or at least heavier “molded solid” styles makes the whole house feel calmer. You can also tighten things up by adding longer screws in the hinges into the framing, and setting decent strike plates. If replacing all of them is too much, start with bedrooms, bathrooms, and the door to the garage.
3. Contractor Paint In Flat White
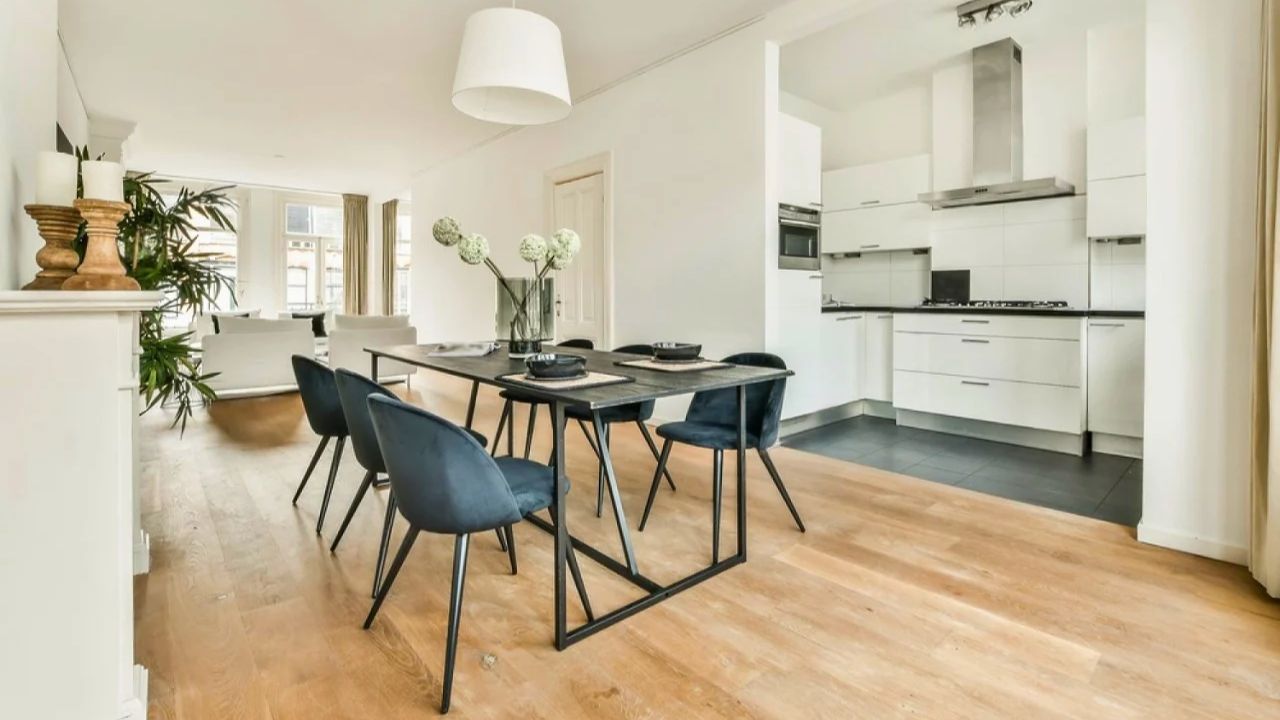
Flat paint hides drywall sins, which is why it shows up everywhere. It also scuffs if you look at it wrong, and it can’t be scrubbed without leaving shiny spots. You’ll notice it when you move furniture, drag a laundry basket down the hall, or have to wash handprints off around switches.
Repaint high touch areas with a washable matte or eggshell, and go satin in kitchens and baths where steam and grease live. Spend time on prep, caulk gaps, sand rough patches, and spot prime stains, or the “upgrade” still looks cheap. If you’re painting over deep colors, tinted primer saves a lot of coats.
4. Plastic Tub Surrounds And Tiny Tubs
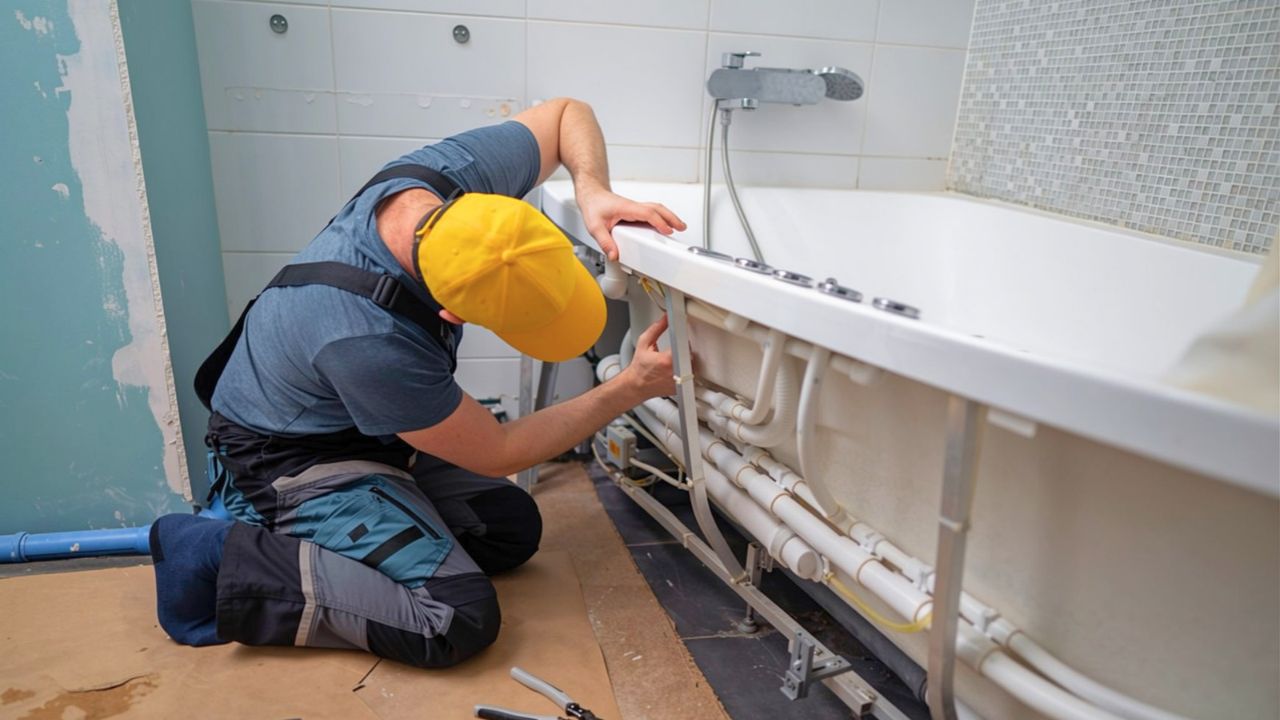
Those one piece surrounds are fast to install and easy to wipe down, but they can feel flimsy and loud. You’ll also see flex at corners, hairline gaps at the caulk, and shelves that never sit where you want them. The tub itself is often short and shallow, which makes a bath feel like sitting in a bucket.
Homeowners replace them with a tile surround, a better acrylic unit, or a deeper tub while the bathroom is already torn up. Waterproofing is where people mess up, so if you’re not confident, hire a tile pro and make sure they’re using a real waterproofing system, not just cement board and hope. If the surround is in good shape, re-caulking with a quality bathroom silicone and adding a curved shower rod can buy you years.
5. Wire Closet Shelving That Sags
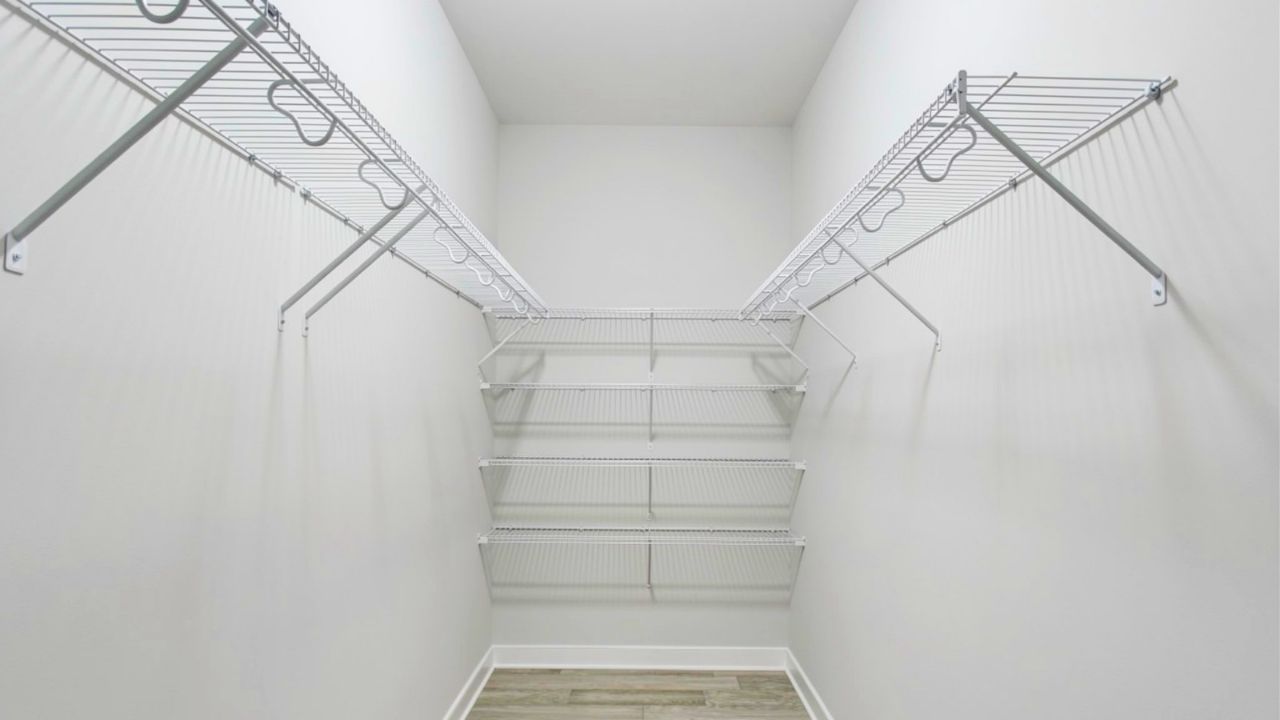
Wire shelves look tidy the day the house is staged, then the hangers slide, the brackets pull loose, and the shelf bows under towels. Small stuff falls through. Sweaters end up with weird dents. It’s a nuisance that makes closets feel half the size they are.
Rip it out and put in wood cleats with plywood or melamine shelves, or build a simple closet system with real uprights and standards. You don’t need fancy, you need level lines and anchors that actually bite into studs. A laser level, a stud finder, and a couple hours per closet gets it done.
6. Short Kitchen Cabinets To The Ceiling
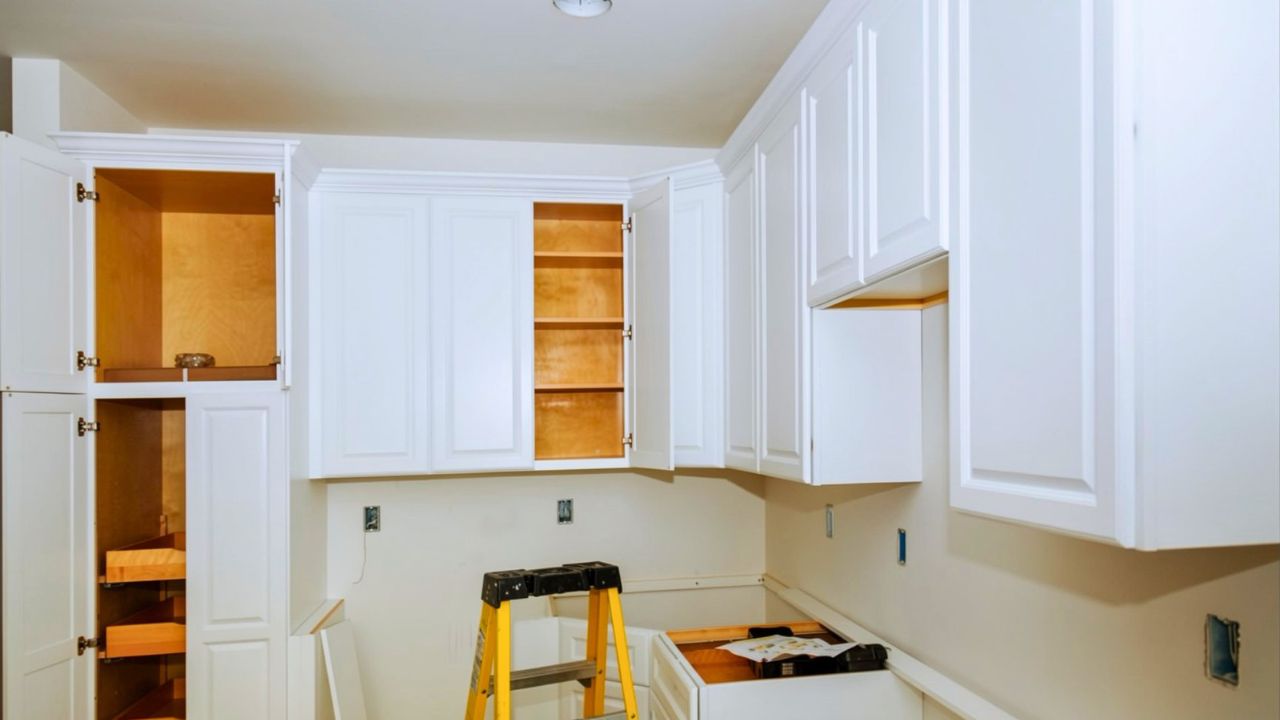
The empty strip above standard cabinets turns into a dust farm. Grease from cooking sticks up there, and once a year you’re standing on a step stool wiping a grimy ledge you never wanted. It also wastes storage in the room that always needs more storage.
Some people replace the uppers or add stacked cabinets, but you can also add a soffit, build a simple box, or install trim and a finished panel to close the gap. If you’re doing new doors later, plan ahead so the added height looks intentional. Just don’t block a range hood duct or an HVAC register to make the line look clean.
7. Basic Dome Lights And Boob Fixtures

They throw harsh light and make every ceiling look like an apartment from 1998. Worse, they’re often placed like an afterthought, so you get a bright spot in the middle and shadows where you actually work. In a kitchen, that means your body blocks the light right over the counter.
Swap to LED flush mounts with good diffusion, or do recessed lights where the ceiling can take it. Any new wiring or changes in a panel is a licensed electrician job, and sometimes it needs a permit, so check local rules. If you just want quick relief, better bulbs and under cabinet lights can improve things without opening drywall.
8. Loud Builder Grade Bathroom Fans
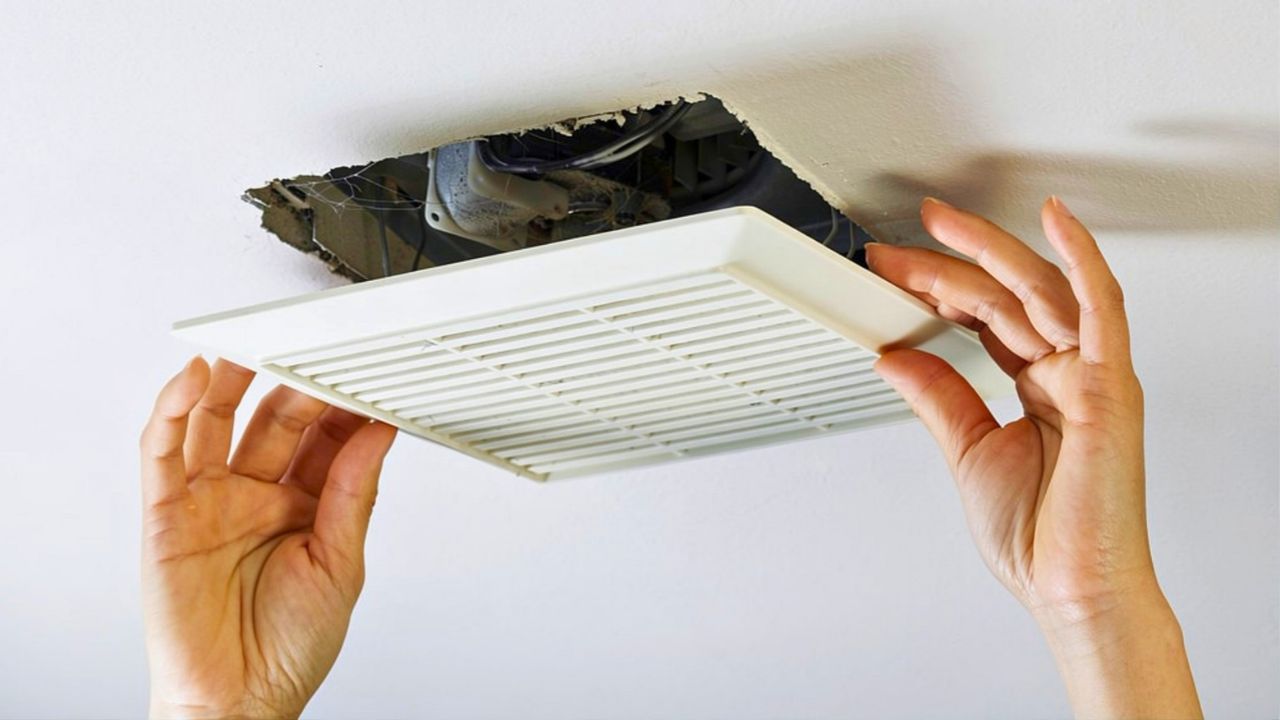
If your fan sounds like a small airplane, you won’t use it. Then mirrors stay fogged, paint peels, and you get that musty smell that doesn’t leave. In winter, you’ll see the problem first as condensation on the window trim and wet corners of the ceiling.
Upgrading to a quieter, higher quality fan is one of the few changes that pays you back in less mold risk and less annoyance. Measure the duct size, make sure it vents outside, not into an attic, and seal the duct joints. If the wiring is sketchy or the fan ties into a complicated switch setup, call an electrician.
9. Decorative Mulch Volcanoes Around Trees

Builders love a neat ring of mulch, piled high against the trunk. A year later, the bark stays wet, insects move in, and the tree looks stressed even though you watered it. You can also get rot at the base, and that’s a slow decline you can’t fix fast.
Pull the mulch back so the root flare is exposed, and keep mulch a few inches away from the trunk. Use a wider, flatter ring, two to three inches deep, and edge it so it stays put. If you’re redoing beds, call 811 before digging for edging or new shrubs.
10. Sprinkler Systems With Bad Head Placement

Some new systems are laid out to check a box, not to water evenly. Heads spray sidewalks, blast siding, or miss the far corner of the lawn, so you end up with dead patches and a wet foundation line. You’ll spot it in July when one strip goes brown and another stays soggy.
Before you rip it all out, do a simple catch cup test with tuna cans to see what’s actually happening, then adjust heads and swap nozzles to match the zone. A few bucks in parts can fix a lot. If the backflow device is leaking or you need to change piping near the main, that’s a job for a licensed irrigation contractor, and local rules can be strict.
Some of this stuff is cosmetic, some of it is comfort, and a few items protect the house long term. If you’re planning upgrades, start with the changes that stop moisture, reduce wear, and fix daily annoyances, then tackle the pretty stuff when the budget allows.
Like Fix It Homestead’s content? Be sure to follow us.