
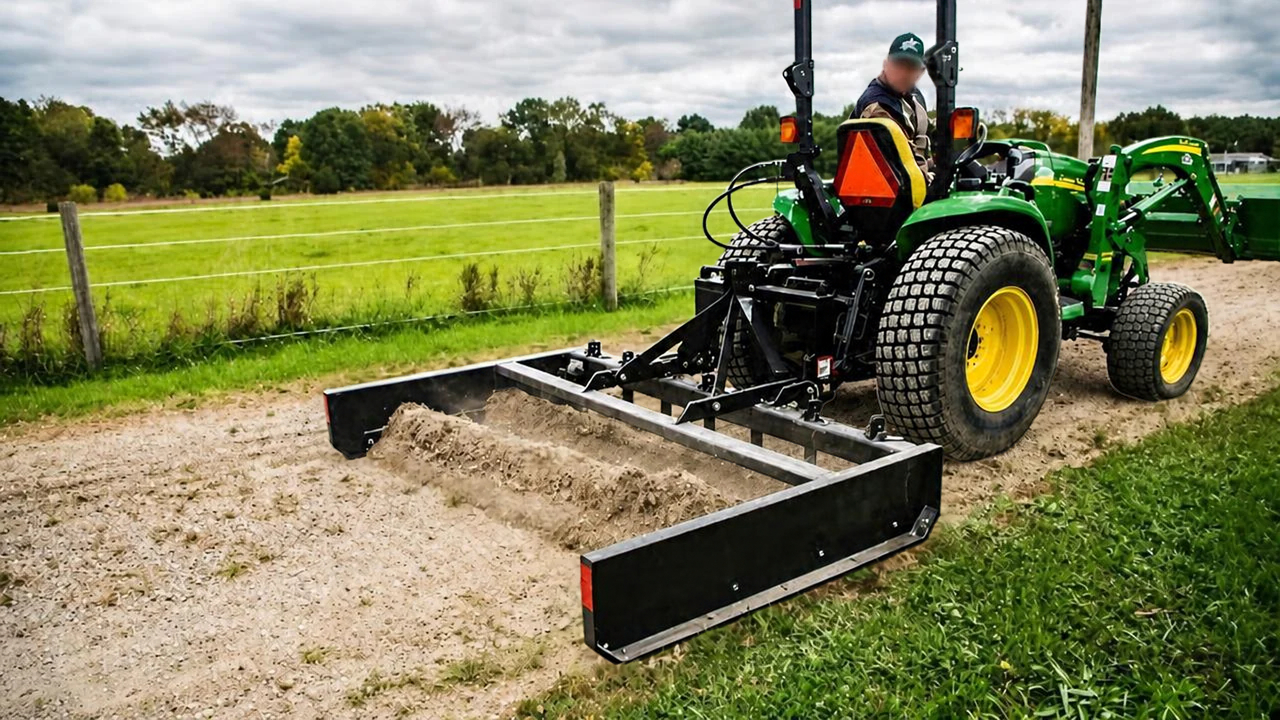
10 Ways to Stop a Gravel Driveway From Washing Out
Photo credit: ABI Attachments/Youtube
A gravel drive looks tough until the first hard rain cuts ruts, drags stone into the ditch, and leaves you spinning tires at the bottom of the hill. Most washouts come from water getting a clean run down the driveway instead of off of it. Fixing that is usually more about shaping and drainage than dumping more rock.
1. Crown The Drive So Water Sheds
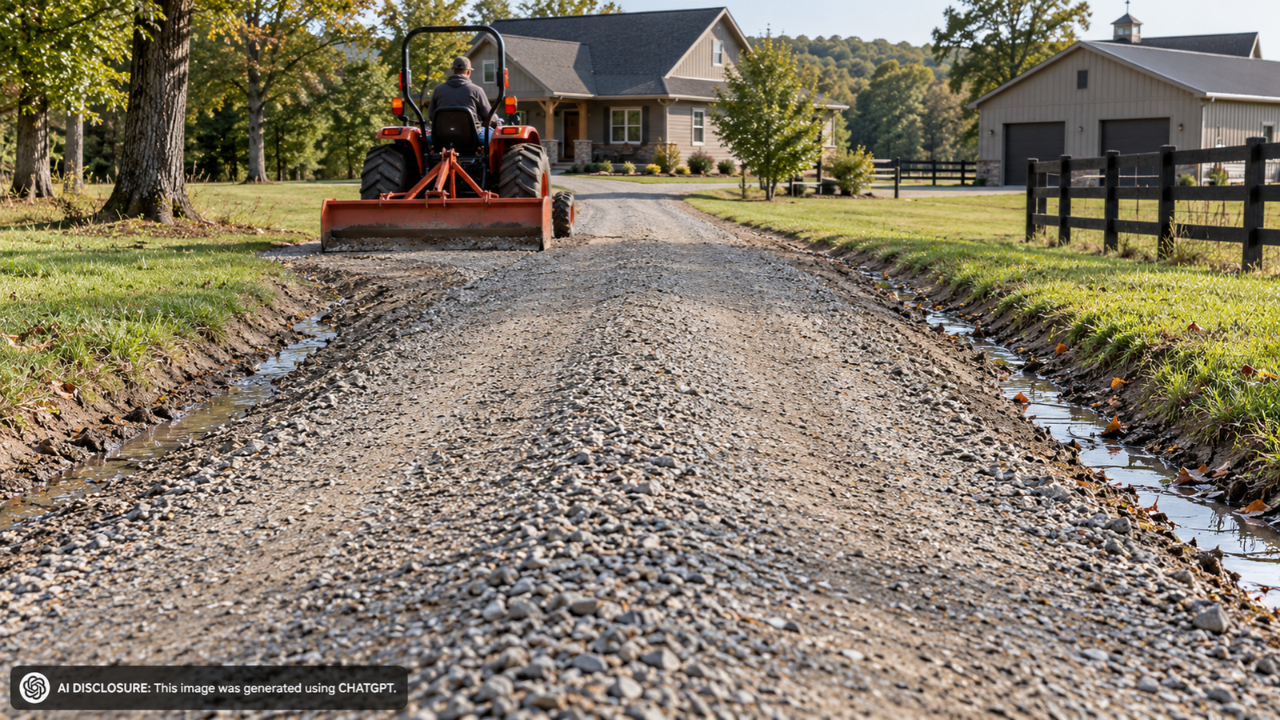
If your driveway is flat like a parking lot, water sits, then picks a low spot and starts digging. A proper crown sends water to both sides before it gains speed. You want the center a little higher than the edges for the full length, not just near the house.
This is a blade job, not a rake job. A box blade on a tractor makes it quick, but a skid steer or a hired grader can be money well spent if the drive is long. Once the crown is right, light touch-ups after storms beat major rebuilds every spring.
2. Cut Water Bars On Steep Runs
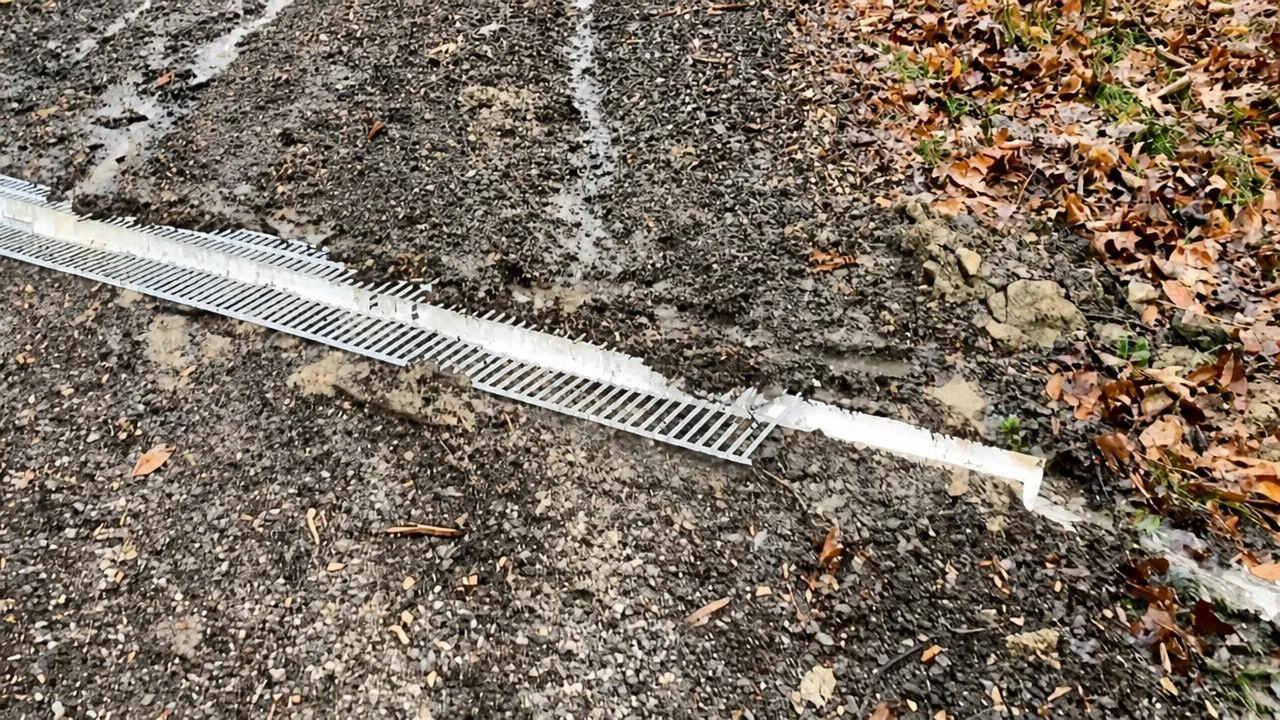
On a hill, gravity wins. Even a crowned surface can wash if the water has 200 feet to build speed. Water bars, also called rolling dips, force runoff to cross the drive and exit in a controlled spot.
You form a shallow diagonal hump and dip, not a sharp speed bump. Keep them gentle enough that a car does not scrape, but deep enough that water can’t ignore them. Space them closer on steeper grades, and aim the outlet toward a stable area, not straight into a soft shoulder.
3. Build A Firm Base With Fines
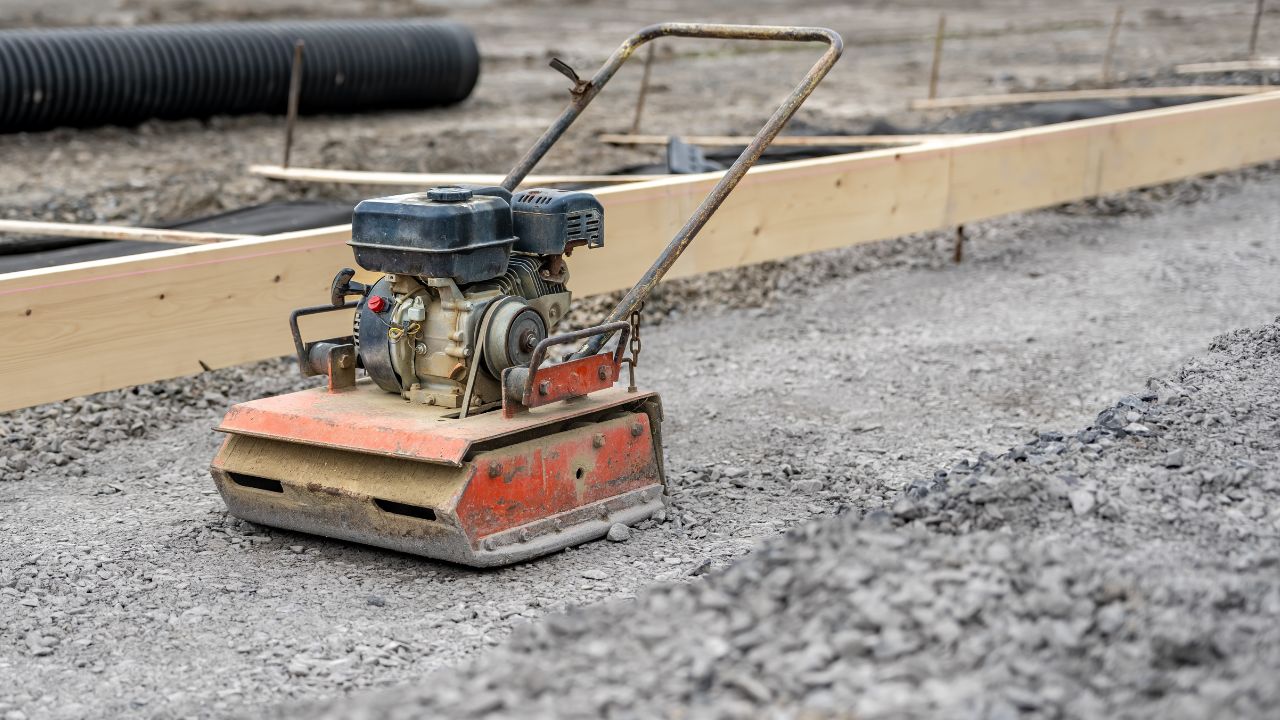
Dumping clean, round gravel on mud is an expensive way to watch rock disappear. Without a tight base, tires push stone aside and water pumps the fines out of the subgrade. The driveway turns into marbles on pudding.
Use a base material that compacts, like “crusher run” or 3/4-inch minus with fines, then cap it with a thinner layer of gravel if you want a cleaner look. Compact in lifts, especially in low spots. A rented plate compactor helps on short drives, but for long runs, repeated passes with a heavy vehicle over time also pack it in.
4. Clean And Shape The Side Ditches
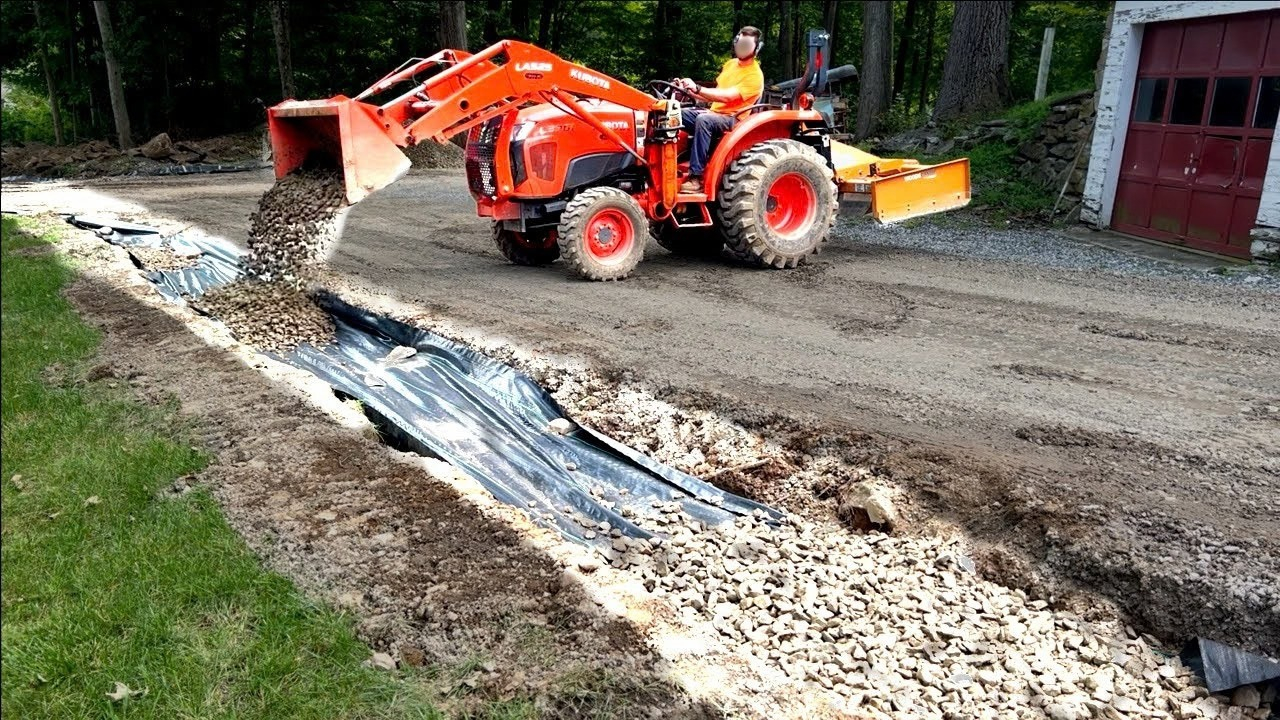
A driveway can’t drain if the ditches are full of leaves, silt, and grass clumps. Water backs up, overtops the edge, and then it starts cutting the travel lane. You’ll hear it during a storm, that steady hiss where the flow rides the edge like a gutter.
Pull the muck out, then shape the ditch so it has a steady fall to an outlet. A flat spot in a ditch is a little dam. If you’re digging new ditches or deepening them, call for utility locates first, and keep the spoil pile far enough back that it won’t slide right in on the next rain.
5. Add Culverts Where Water Already Crosses
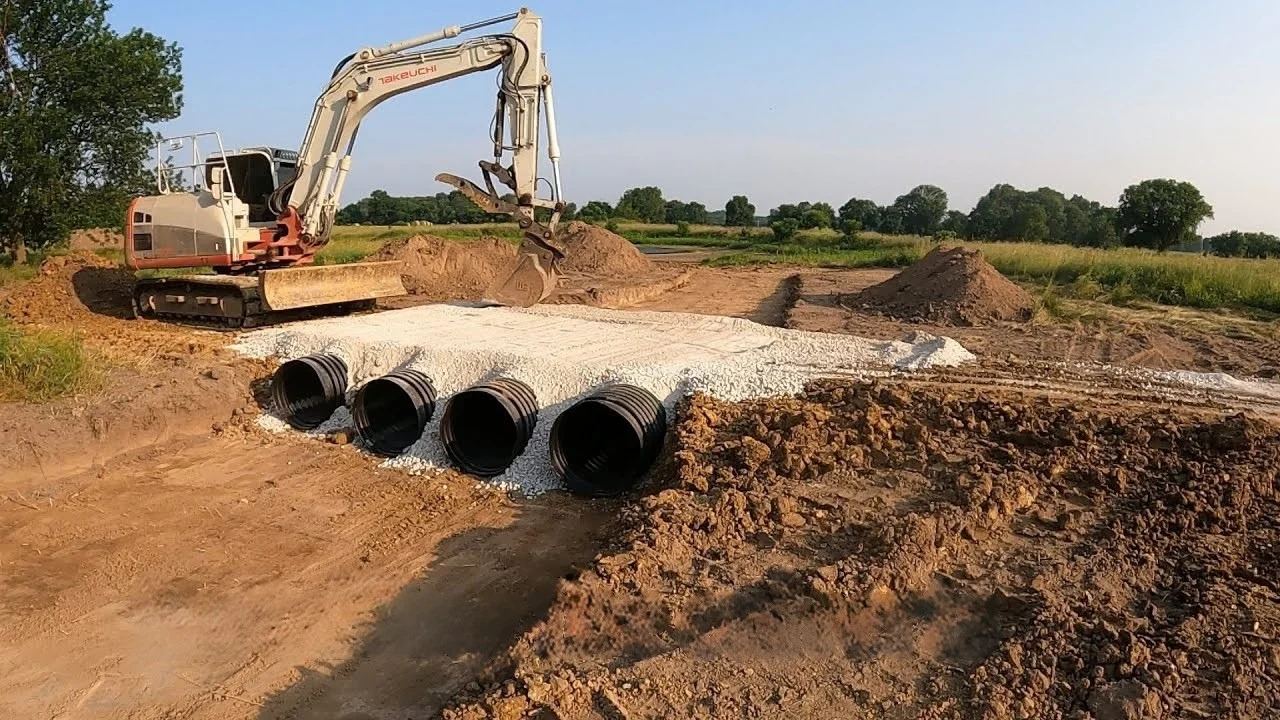
If water crosses the drive in the same place every storm, it’s telling you something. Letting it sheet across works until it doesn’t, and then you get a trench you can’t straddle. This is where a culvert earns its keep.
Size matters, and guessing wrong is how culverts plug and blow out. For a simple farm lane you can sometimes match what the ditch already carries, but if the runoff area is big or the slope is steep, get local advice from your county road department or a contractor who installs them often. Set the pipe on firm bedding, keep a little cover over it, and armor the inlet and outlet with rock so water can’t dig around the ends.
6. Install Geotextile On Soft Sections
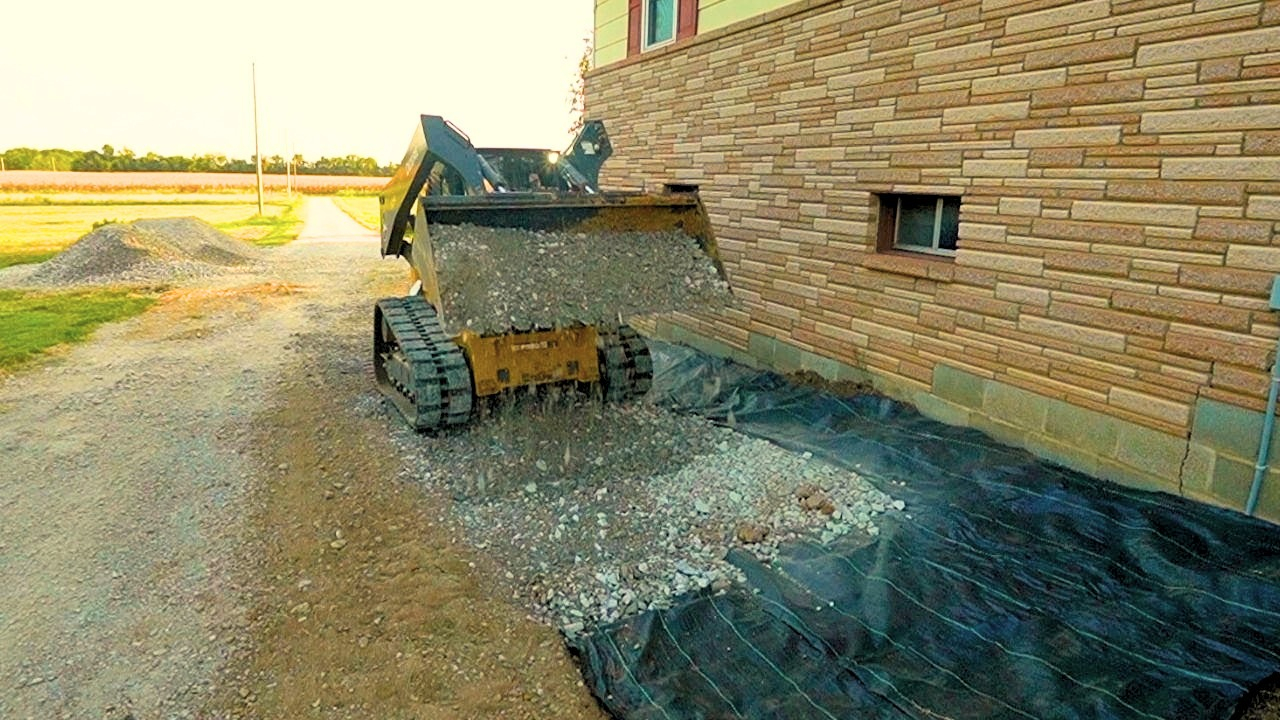
Some washouts start from below. If you’ve got a spot that stays wet all summer, the base never really firms up, and the gravel mixes into the soil. Each pass of the truck sinks it a bit more, and water follows that low track.
Geotextile fabric is not glamorous, but it separates stone from mud and spreads the load. Peel back the gravel, lay the fabric with overlap, then rebuild the base on top. Skip the cheap “weed barrier” rolls, they tear and do nothing for strength.
7. Stop Roof And Driveway Runoff From Meeting
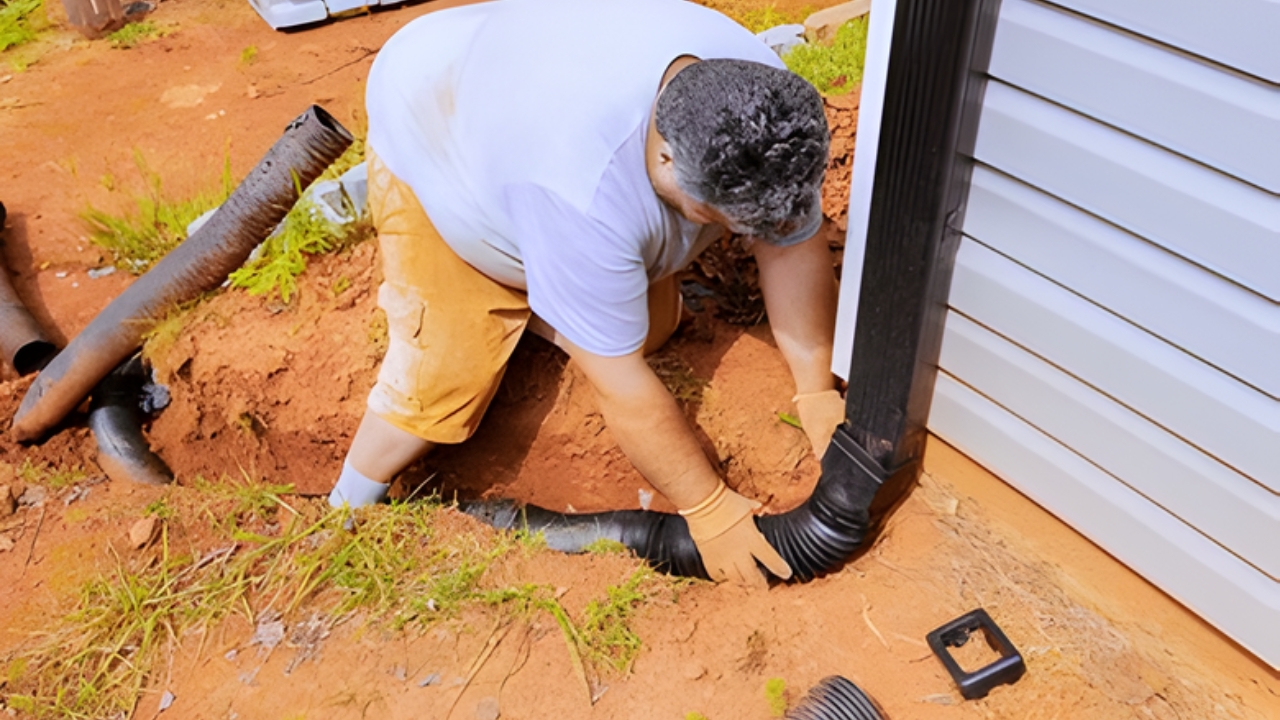
Gutters dumping onto the drive is a fast way to carve a trench right where you turn in or park. The damage often shows up in late winter and early spring, when meltwater runs for days and the ground is still half frozen. One downspout can move a surprising amount of stone.
Extend downspouts well away from the driveway or into a solid splash block and swale that sends water to a safe outlet. If you’re adding a buried drain line, keep it pitched, use smooth-wall pipe where possible, and daylight it somewhere that won’t become a muddy mess. If that outlet affects a neighbor or a road ditch, check local rules first.
8. Pick Angular Rock, Not River Gravel
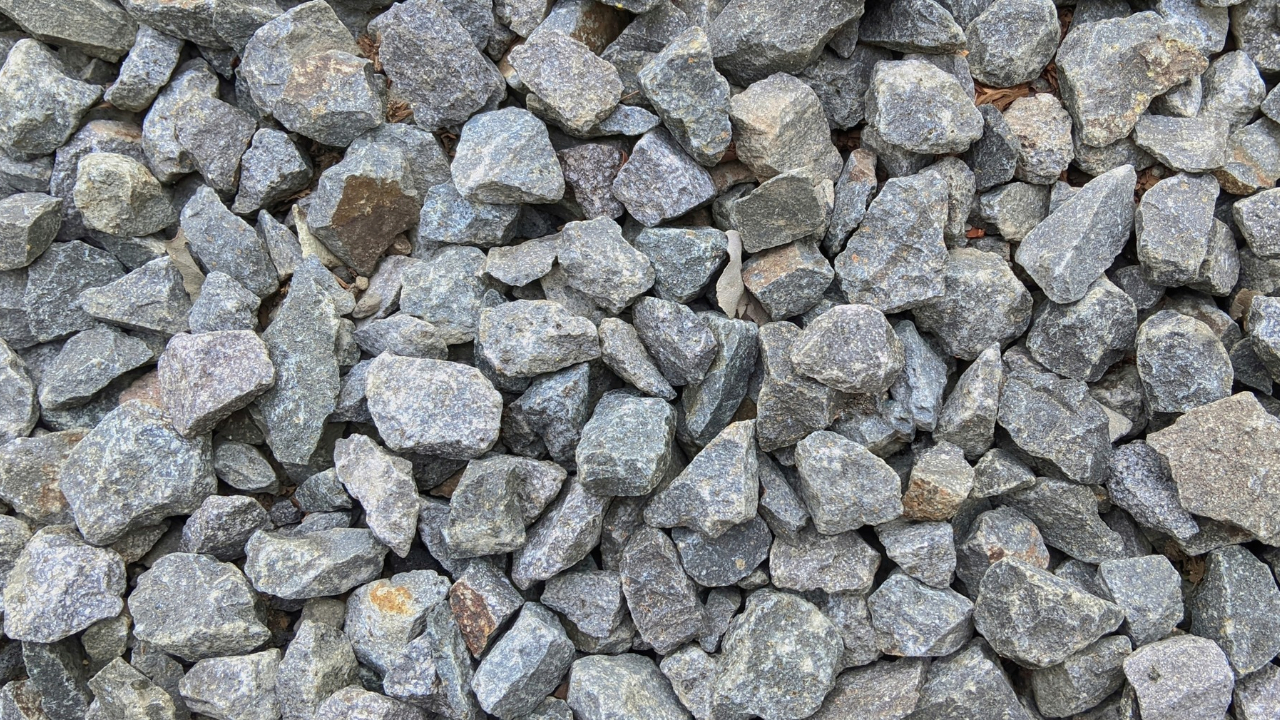
Round gravel looks nice and rolls like ball bearings. On a slope or a curve, it drifts to the edges, and water finds the loosened center. Then you’re back to ruts and washboard.
Angular stone locks together and stays put longer. A common mix is a compactable base with fines underneath and a top layer of 3/8-inch to 3/4-inch angular stone for traction. The exception is a very flat, low-speed lane where you just want a clean walking surface, a thin layer of small pea gravel can be fine if you’re willing to refresh it.
9. Repair Ruts Before The Next Rain
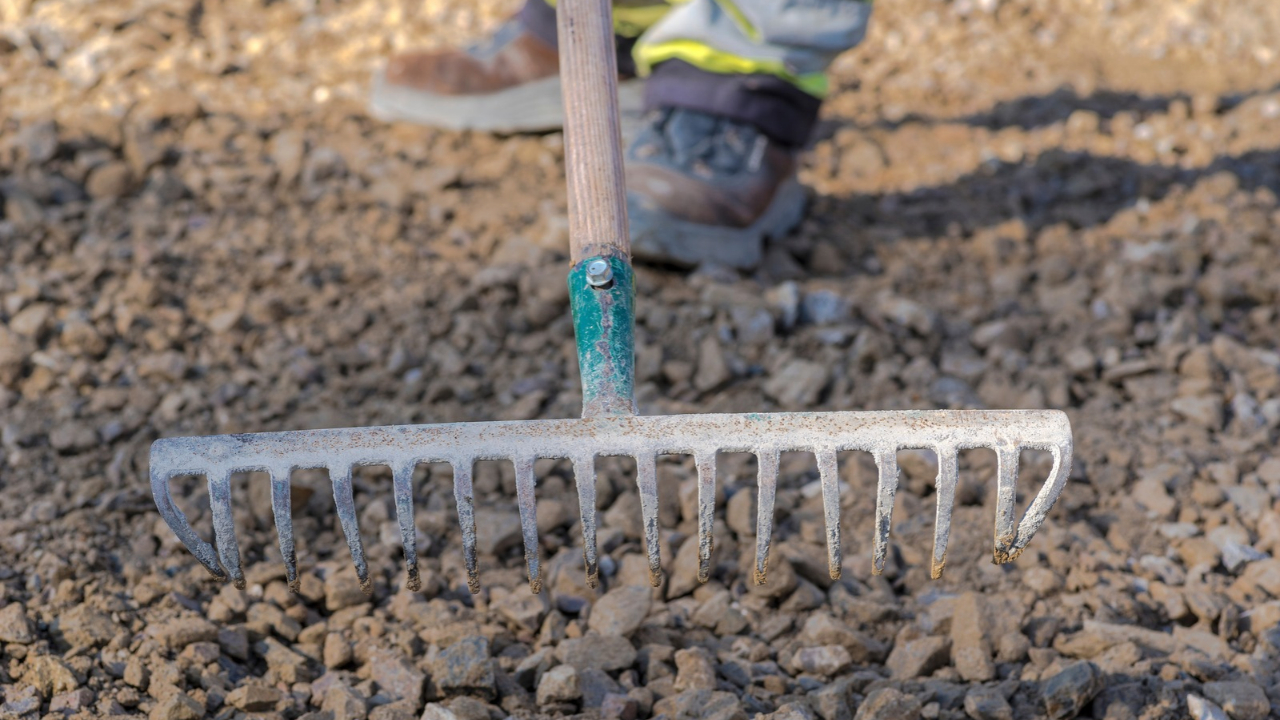
Waiting is how small ruts become channels. Once water has a groove, it will follow it every time, cutting deeper and dragging your good stone downhill. After a storm, the soft spots are obvious, and that’s the moment to fix them.
Pull gravel back from the edges into the ruts, add base material if the rut is deep, then re-crown the section. A landscape rake makes the surface look pretty, but a box blade or rear blade does the real work because it can cut and carry material. Plan on a couple hours now, instead of a weekend later.
10. Don’t Overgrade And Strip The Fines
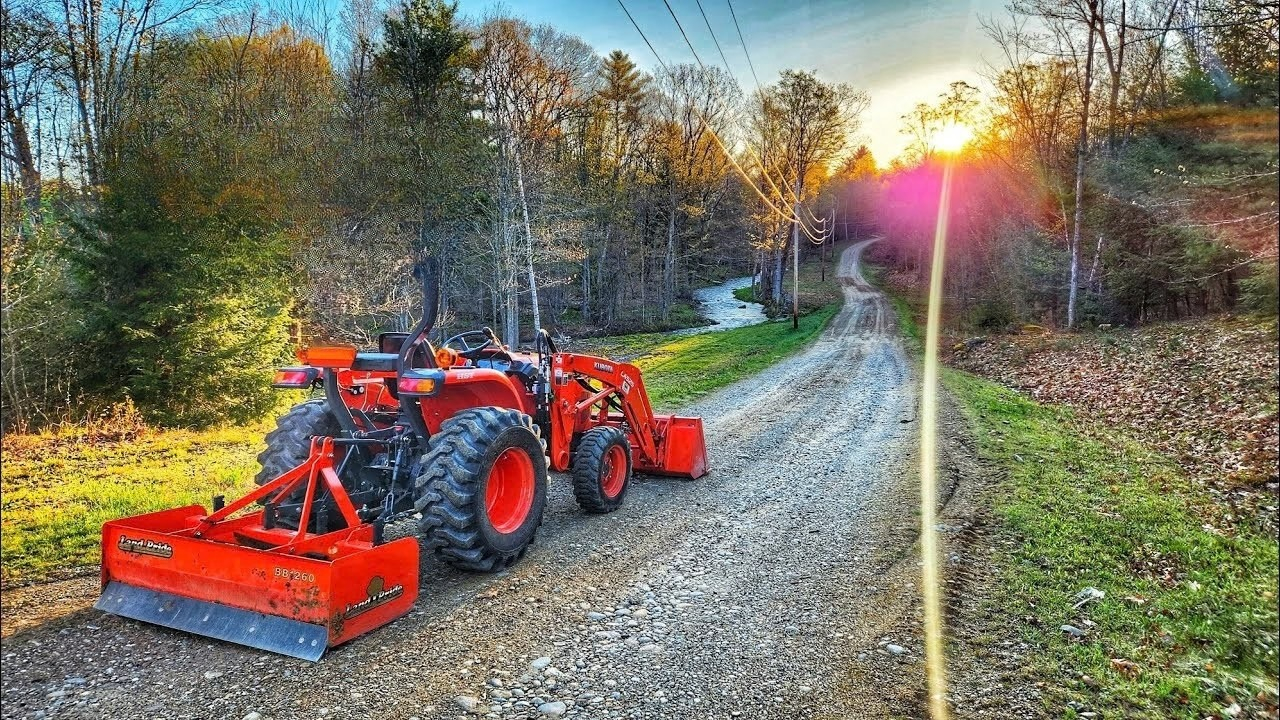
A common mistake is grading too often, too fast, with the blade tilted wrong. You peel off the fines that bind the surface, leaving loose stone that water and tires can move easily. The driveway looks smooth for a week, then it starts corrugating and washing again.
Set the blade to skim and reshape, not excavate. If you see windrows of fine material building along the sides, pull it back onto the drive, it belongs in the mix. When the surface has gotten too “clean,” add a compactable topping and pack it, otherwise you’re stuck in an endless cycle of fluffing and losing gravel.
After you get the shape and drainage right, your driveway becomes a lot less dramatic in a storm. Keep a shovel, a rake, and a couple bags of cold patch or larger rock handy for quick spot fixes, and watch where the water actually goes during the next big rain. Water always leaves clues.
Like Fix It Homestead’s content? Be sure to follow us.