What I did after the edging kept making the beds look uneven
Gardeners quickly learn that a crisp edge can make or break a planting bed. When edging keeps making beds look uneven, the issue usually lies less with the tool and more with what is happening under and around that line of soil, stone, or steel.
The solution is not a single trick but a sequence: diagnose the grade, reset the border, and then choose edging that can actually hold the shape. Treated as a small renovation instead of a quick touch-up, a wavy, lopsided bed can start to look intentional and stable again.
Finding out it was the ground, not the tool
The first step after uneven edges show up is to stop recutting the line and look at the yard itself. Low spots, buried construction debris, and shallow roots all push edging out of alignment over time.
Guides on how to evaluate the yard recommend walking the edge with a straight board and a level, then marking any dips or humps. Those checks often reveal that the lawn side has sunk or the bed interior has heaved, which makes even a carefully cut trench look crooked.
Once the grade issues are visible, the project shifts from cosmetic edging to small-scale regrading. Soil from high spots can be scraped into low pockets, then tamped and watered so it settles before any border is reset.
Pulling everything out to start clean
When the outline is fundamentally off, experienced gardeners do not hesitate to remove the border entirely. That applies to stone, brick, plastic, or steel.
One spring reset method advises owners to remove the edging and set them aside before any soil work begins. Once the rocks are off the ground, it becomes easier to see where the bed line should run and how much the soil has shifted since the border went in.
After the stones are lifted, the same guide suggests filling sunken areas with compacted topsoil and raking down any mounds so the border will sit on an even base. Only then does the edging go back, pressed into a shallow trench for a neat, defined finish that does not telegraph every bump underneath.
Plastic or metal edging behaves the same way. If it has heaved, popped joints, or visible gaps, the cleanest solution is to pull the entire run, correct the grade, and reinstall instead of trying to pin down each problem spot.
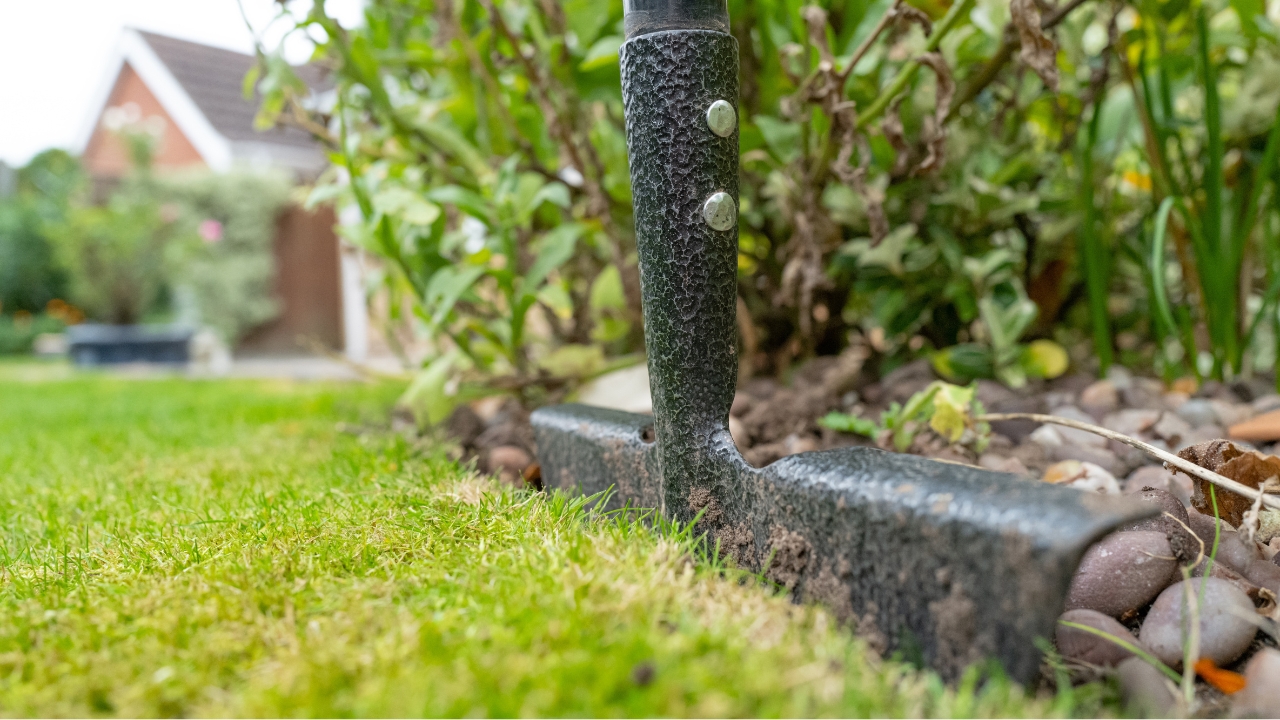
Switching from “decorative” to structural edging
Uneven beds often trace back to edging that looks good on day one but lacks the strength to hold a line once soil moves and roots expand. Thin plastic strips and loosely set river rock are frequent culprits.
Discussions among homeowners comparing options highlight that steel edging tends to create a neat transition between lawn and landscaping that needs very little maintenance. Products marketed as using steel garden emphasize that the material is strong and designed to keep its shape, which directly addresses the problem of wandering lines.
Concrete pavers and brick can also serve as structural edging if they sit on a compacted base and are locked together tightly. Where pieces were originally dropped straight on soil, gardeners who are tired of crooked borders often rebuild the strip on a narrow bed of sand or gravel to stop individual units from tilting.
Recutting the bed line like a pro
Once the underlying grade and edging material are under control, attention turns to the actual curve of the bed. Many homeowners discover that their original outline was jagged, which makes any small shift look worse.
Professional crews commonly rely on a half-moon edger or a sharp spade to cut a continuous trench. Short instructional clips show gardeners using that tool to create clean crisp lines with nothing more than body weight and a steady eye.
More detailed how-to guides on instructions for creating a garden bed recommend deciding on the shape first, then using a garden hose or marking paint to lay out the curve before cutting. That planning step helps avoid the wobbly, overcorrected edges that show up when a gardener simply follows the existing, uneven line.
For those who prefer a natural look, some designers still rely on the traditional “Victorian trench,” a shallow V cut that separates turf from bed without any visible hard material. Guidance on how to create natural edging stresses that the outer edge of the lawn should be trimmed to that crisp cut, which keeps the border readable even as plants soften the line.
Resetting rock borders that will not sit straight
Rock and stone borders are especially prone to looking crooked once frost, foot traffic, or mowers disturb them. They also magnify any inconsistency in height along the bed.
The same spring reset approach that advises owners to fill in sunken areas and replace rocks on a leveled base also recommends checking each stone for stability. Wobbly pieces can be bedded in a small amount of sand or gravel so they do not rock underfoot.
Some gardeners go further and swap irregular fieldstone for uniform edging stones that are easier to keep even. Where that is not possible, simply grouping larger rocks at corners and transitions can disguise slight variations in height along straight runs.
Learning from edging that failed early
Homeowners who discover their edging has popped up or shifted after a single season often share the same story: the material was installed shallow, with few stakes, and without any attention to frost or soil movement.
One widely shared troubleshooting thread describes plastic edging that was popping up and after one year. The suggested fix was to remove it entirely, then either reinstall with deeper trenches and more anchors or replace it with brick.
Short how-to clips on redefining bed edges show that even when using power tools, operators still focus on a consistent depth and angle. One video that demonstrates how to redefine bed edges emphasizes the direction of soil being thrown and the importance of cleaning the trench so the line reads clean.
Bringing in layout tools and reference lines
Gardeners who are tired of eyeballing curves often borrow techniques from carpenters and masons. Straight beds benefit from taut string lines, while curves can be plotted with hoses or flexible edging laid temporarily on the grass.
Some creators show how a simple project for a straight edge between lawn and flowers can be tackled with stakes, string, and a shovel. A short clip of an easy lawn project demonstrates how defining one true line, then cutting to it, immediately improves the visual order of a yard.
For more complex shapes, a few landscape specialists use rigid templates or metal edging as a temporary form. One tutorial from a channel called Dadville argues that even hard plastic can produce smooth curves if it is bent gradually and anchored at close intervals, which counters the assumption that only flexible materials can handle organic shapes.
Accepting that maintenance is part of the design
Even the best reset will not freeze a garden in place. Soil settles, roots expand, and mowers occasionally clip the edge.
To stay ahead of that movement, many homeowners schedule a small “spring reset” each year. A quick pass with a half-moon edger, a check for any stones that have shifted, and a few shovels of soil into low spots keep the line true without repeating a full rebuild.
Some gardeners rely on short, visual reminders to stay on top of this work. One popular short video shows a quick before and after of a flower bed where a few minutes of edging transform a tired border into a sharp frame for the plants.
Others keep a small kit of tools ready for these tune-ups. Hand edgers, a narrow spade, and a rubber mallet for tapping stones back into place are common choices, with some homeowners following product recommendations found through discovered shopping links and related listings.
Like Fix It Homestead’s content? Be sure to follow us.
Here’s more from us:
- I made Joanna Gaines’s Friendsgiving casserole and here is what I would keep
- Pump Shotguns That Jam the Moment You Actually Need Them
- The First 5 Things Guests Notice About Your Living Room at Christmas
- What Caliber Works Best for Groundhogs, Armadillos, and Other Digging Pests?
- Rifles worth keeping by the back door on any rural property
*This article was developed with AI-powered tools and has been carefully reviewed by our editors.