You’re buying the wrong smoke alarms for your house layout
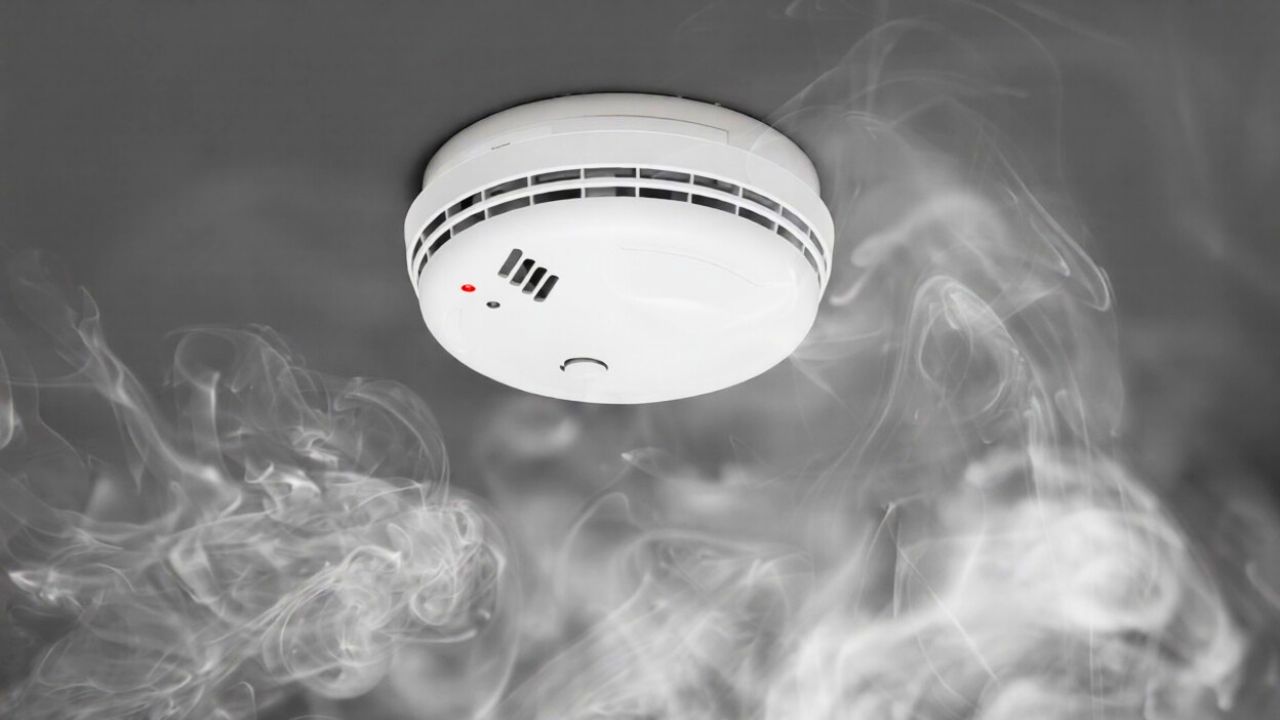
Photo credit: Nikkytok/istock.com
Your smoke alarms are probably legal, but that does not mean they are right for how your home is actually laid out. When you match the wrong technology or placement to your floor plan, you create blind spots, nuisance alarms and dangerous delays that a basic code checklist will never show you. If you want those plastic discs on your ceilings to do more than satisfy an inspector, you need to choose and place them for the way you and your family really move, cook and sleep.
That starts with understanding that not all smoke alarms work the same way, and that a compact condo, a long ranch and a three‑story townhouse each demand a different mix of sensors and locations. Once you treat your home like a small fire system instead of a single gadget purchase, you can design protection that actually fits your life rather than fighting it.
Why “one per floor” fails your real floor plan
Relying on a rule of thumb like one detector per floor ignores how smoke actually travels in your specific home. A long hallway, a closed bedroom door or a split‑level stair can slow smoke enough that a single alarm at the far end of a corridor will not sound until a fire has already grown. Guidance that walks you through the ideal number of alarms stresses that you should look at square footage, the number of bedrooms and any wings or additions that break up airflow, not just the number of stories.
Professional installers urge you to map out how far smoke would need to move before it reaches an alarm, then add devices until every sleeping area and major path to an exit is covered. One resource that explains how to determine the ideal of detectors highlights that you need more coverage when you have long hallways, separate bedroom clusters or a finished basement. If you live in a ranch with bedrooms at both ends, for example, you should treat each bedroom group as its own zone instead of trusting a single unit in the center of the house.
How smoke behaves in your house, not in a lab
Real fires do not respect floor‑plan symmetry, and your layout shapes how quickly smoke reaches each room. High ceilings, open staircases and vaulted living rooms can let hot gases rise away from detectors that sit too low, while tight soffits, dropped beams or partial walls can trap smoke pockets that never reach a hallway alarm. Technical diagrams of detector placement show how air currents form “dead air” near corners and how smoke can bypass a unit that is mounted too close to a wall or directly next to a vent.
You also need to think vertically, not just in terms of floor count. Guidance on assessing the size of your home explains that smoke rises to the highest point first, which means lofts, half‑flights of stairs and attic conversions often need their own alarms. If you have a split‑level where a short run of steps connects the living room to bedrooms, you should treat each level as a separate smoke layer and position units so no level is more than a short distance from a sensor.
Ionization vs photoelectric: the choice your layout forces
Most homeowners buy whatever smoke alarm is on sale without realizing that the sensor type interacts with the way their home is used. Technical explanations point out that there are two main types of residential smoke sensors, ionization and photoelectric, and they do not respond to the same fire patterns. Ionization sensors react faster to fast flaming fires with smaller smoke particles, while photoelectric sensors respond more quickly to smoldering fires that produce larger, visible smoke.
On a practical level, your layout and habits should drive which technology you put where. A detailed answer on a home improvement forum explains that there are two of alarms and that you should consider where they will be installed when you choose. If your bedrooms sit off a long hallway where a slow, smoldering mattress or electrical fire is a realistic risk, photoelectric units give you earlier warning. In contrast, if you have open spaces with lots of synthetic furnishings that can flash quickly, a mixed or dual‑sensor approach can help you catch both kinds of fires.
Why kitchens and steamy bathrooms need different thinking
Many nuisance alarms start in kitchens and bathrooms, and your layout can either amplify or reduce that problem. When a hallway detector sits just outside a kitchen door or directly across from a bathroom that fills with steam, you are more likely to disable it after a few too many burnt toast incidents. That temptation is especially strong in compact apartments where you cannot put much distance between cooking and sleeping areas.
Fire safety specialists warn that ionization units are more sensitive to small particles from cooking, which can increase false alarms near stoves. A detailed guide to sensor types explains that Ionization Smoke Alarms are tuned to Fast Flaming fires and that only relying on ionization near kitchens or steamy bathrooms can be a problem. Another analysis notes that photoelectric alarms are less sensitive to harmless cooking smoke and steam, so placing photoelectric units just outside kitchens and baths, and using heat alarms directly in those rooms when needed, can protect you without driving you to pull batteries.
Bedrooms, doors and the myth of the “central hallway” alarm
Closed doors save lives in a fire, but they also slow smoke enough that a single alarm in a hallway may sound too late for someone asleep behind a solid core door. Modern guidance on residential protection repeatedly stresses that you should have an alarm inside every sleeping room, as well as in the hallway outside, so that a fire in one bedroom does not depend on smoke leaking out under the door before anyone wakes up. This matters even more in homes where bedrooms are spread across multiple floors or where a finished attic or basement doubles as a sleeping space.
Code‑focused resources explain that you should install detectors in each sleeping room, in the hallway outside and on every level, which means treating a converted den or bonus room as a bedroom if someone regularly sleeps there. One guide that cites the According to the standard and the California Building Code highlights the requirement for at least one smoke detector in every bedroom and in the hallway outside of a bedroom. If your layout includes a nursery at the far end of a wing, you should not rely on an alarm near the primary suite; you need a dedicated unit inside that room and another in the shared hall.
Open‑plan living rooms and high ceilings
Open‑plan spaces with vaulted ceilings look airy, but they can quietly undermine your smoke protection if you treat them like standard eight‑foot rooms. Smoke will rise to the highest point first, which means an alarm mounted too low on a sloped ceiling or on a high wall far from the peak may not see smoke until the upper volume is already filled. If your living room flows into a dining area and kitchen without walls, a single detector in the middle of the ceiling may sit in a dead zone created by ceiling fans, recessed coves or HVAC registers.
Placement diagrams that show where to put detectors for maximum coverage explain that you should keep units away from corners and within specific distances of peaks so they are in the path of rising smoke. One visual guide to a Smoke Detector Placement illustrates how mounting too close to a ceiling apex or on sloped surfaces without following spacing guidance can create blind spots. In a tall great room, you may need a detector at the highest point and another closer to where people actually sit and sleep, especially if a sofa converts to a guest bed.
Heat, garages and that tricky utility room
Garages, boiler rooms and some loft spaces are harsh environments for standard smoke alarms, and your layout may put those areas closer to living spaces than you think. Mounting a conventional smoke alarm in a dusty garage or a laundry room that sees frequent humidity spikes increases the odds of false alarms or sensor contamination that shortens the device’s life. At the same time, ignoring those spaces because they seem “separate” from the home can leave you exposed to fires that start in a vehicle, a dryer or stored materials.
Specialist advice explains that you should use heat alarms, not smoke alarms, in garages and in rooms where fumes, dust and damp are common, while still relying on smoke detectors in bedrooms, living rooms and hallways. One guide that answers “Should I buy smoke alarms or heat alarms” for different room types notes that most rooms including and living spaces, smoke alarms are appropriate, but heat alarms are recommended in kitchens, garages and areas where dust and damp are common. If your utility room sits off a main hallway or below a bedroom, you should treat it as part of your overall fire strategy by pairing a heat detector in the room with a smoke alarm just outside the door.
Smart shopping: matching products to your actual rooms
Once you understand how your layout, ceiling heights and room uses interact, you can shop for alarms that match those needs instead of grabbing whatever is on the end cap. Modern product databases aggregate specifications from many brands, which lets you filter by sensor type, interconnect capability and battery life so you can build a system that mixes ionization, photoelectric, heat and multi‑sensor units where each makes sense. That kind of tailored buying is especially useful if you have a mix of older and newer spaces, such as an addition with higher ceilings or a basement renovation.
Some buying guides encourage you to use online tools that draw on aggregated Product information from different manufacturers so you can compare how each alarm handles photoelectric, ionization or multi‑sensor detection. When you read labels, look for clear references to “Ionization Smoke Alarms” or “photoelectric” sensors and then place them according to the fire risks in each room. A detailed comparison notes that photoelectric alarms are generally more expensive but less sensitive to nuisance triggers, while ionization alarms are cheaper but more likely to react to cooking aerosols, so your budget and tolerance for false alarms should factor into how many of each you buy.
Putting it all together: a room‑by‑room plan
Once you have a handle on sensor types, nuisance triggers and the quirks of your floor plan, you can sketch a room‑by‑room plan that makes your alarms work with your home instead of against it. Start with bedrooms and exit paths, then add coverage for living spaces, stairs and service rooms, always asking how smoke would realistically move from a fire in each area. Treat each floor, wing or level change as its own problem to solve, rather than assuming a single central alarm will protect every corner.
Expert placement advice suggests that you combine photoelectric sensors near sleeping areas with ionization or multi‑sensor units in larger living spaces, and that you use heat alarms in garages or directly in kitchens where cooking fumes are constant. One detailed guide explains that guidance from the Fire Administration and the USFA supports installing photoelectric detectors in or near kitchens because that choice not only improves detection of smoldering fires but also reduces nuisance alarms, and it offers a Pro Tip: Installing in those spots. Another comparison notes that photoelectric smoke alarms are more expensive than ionization models, however they are also less sensitive to harmless steam and better suited to areas near kitchens or steamy bathrooms, which means you should reserve them for the rooms where their strengths matter most and use more affordable units elsewhere.
Testing, maintenance and when to call in help
Like Fix It Homestead’s content? Be sure to follow us.
Here’s more from us:
- I made Joanna Gaines’s Friendsgiving casserole and here is what I would keep
- Pump Shotguns That Jam the Moment You Actually Need Them
- The First 5 Things Guests Notice About Your Living Room at Christmas
- What Caliber Works Best for Groundhogs, Armadillos, and Other Digging Pests?
- Rifles worth keeping by the back door on any rural property
*This article was developed with AI-powered tools and has been carefully reviewed by our editors.