10 Mistakes Everyone Makes When Starting Sourdough (and How to Fix Them)
Starting sourdough sounds simple—just flour, water, and time, right? But once you’re elbow-deep in sticky dough and wondering why your loaf came out like a brick, reality hits. There’s a learning curve here, and most folks hit the same bumps in the road early on.
These mistakes are common, but they’re all fixable. Whether your starter’s acting weird or your dough isn’t rising like it should, chances are you’re not alone. Here’s what usually goes wrong when people first get into sourdough—and what you can do to fix it.
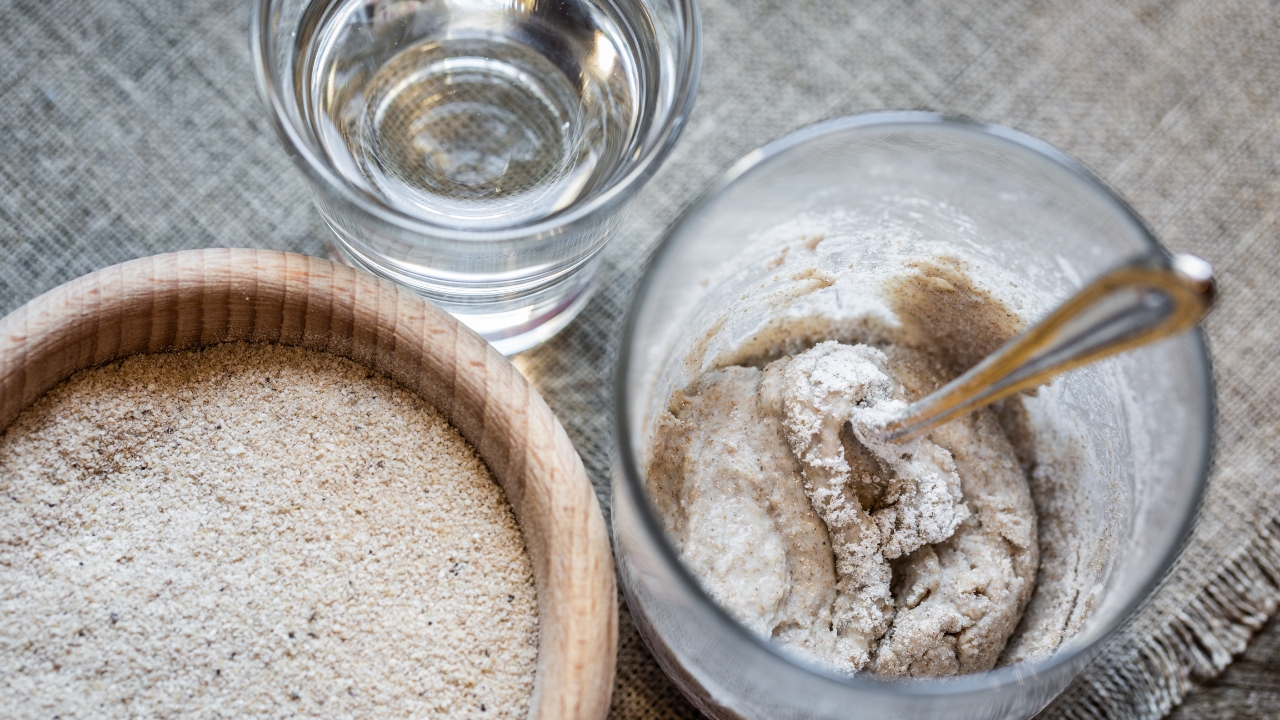
Using Cold Water in Your Starter

Using cold water straight from the tap might not seem like a big deal, but it slows everything down. Your starter needs a warm, steady environment to grow good bacteria and yeast. Cold water can stall that growth, making your starter sluggish and unpredictable.
If your kitchen runs cold, using lukewarm water helps give your starter the boost it needs. Just feel it with your hand—it should be warm but not hot. Consistency matters more than perfection here, and warmer water keeps things moving in the right direction.
Feeding on an Inconsistent Schedule
Skipping feedings or feeding your starter at random times throws everything off. A starter is like any living thing—it needs a rhythm to stay healthy. Feed it too late, and you might see hooch on top. Feed it too early, and you’re wasting flour.
Try to pick a time that works for you every day. Set a reminder if you need to. Once you lock in a routine, your starter will become more active and reliable. It doesn’t need babysitting, but it does need some structure.
Switching Flours Too Soon
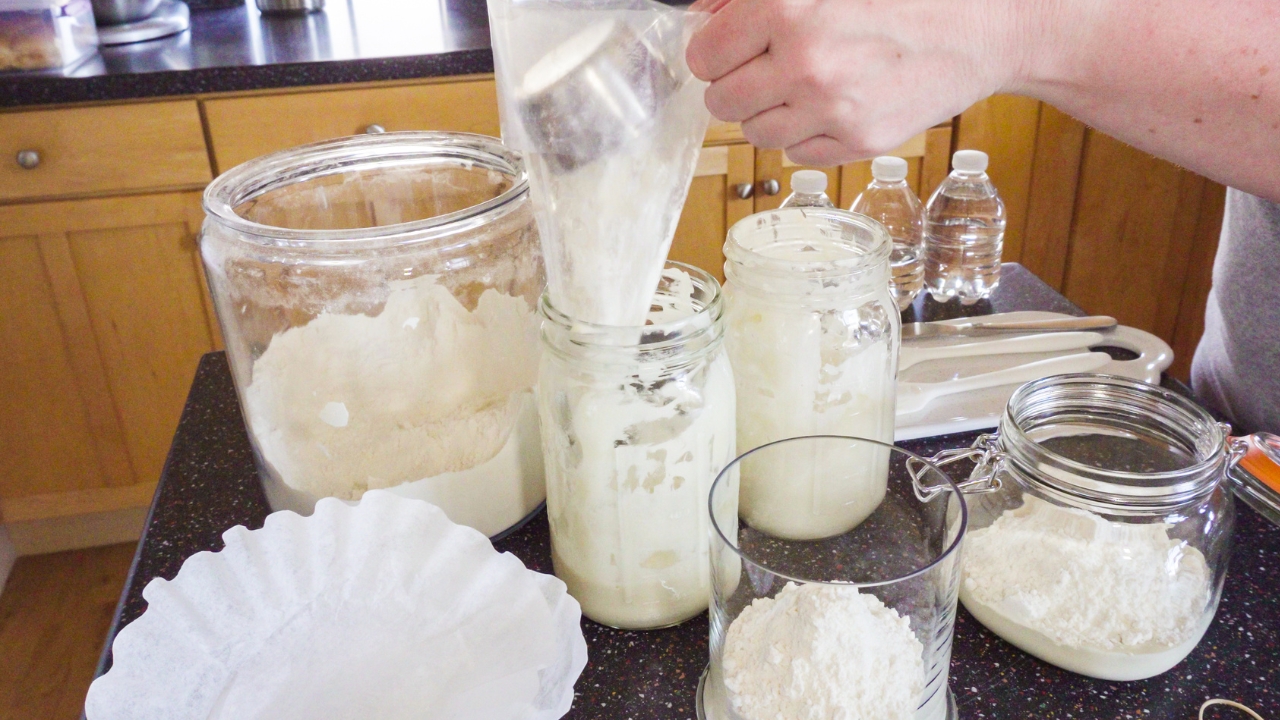
It’s tempting to experiment with different flours early on, but switching things up too fast can confuse your starter. Whole wheat, rye, and all-purpose all feed differently, and your wild yeast needs time to get used to what you’re feeding it.
Stick with one type of flour for at least a week or two. Once your starter is strong and rising predictably, then you can play around. A solid base gives you way better results than jumping around from bag to bag.
Not Weighing Ingredients
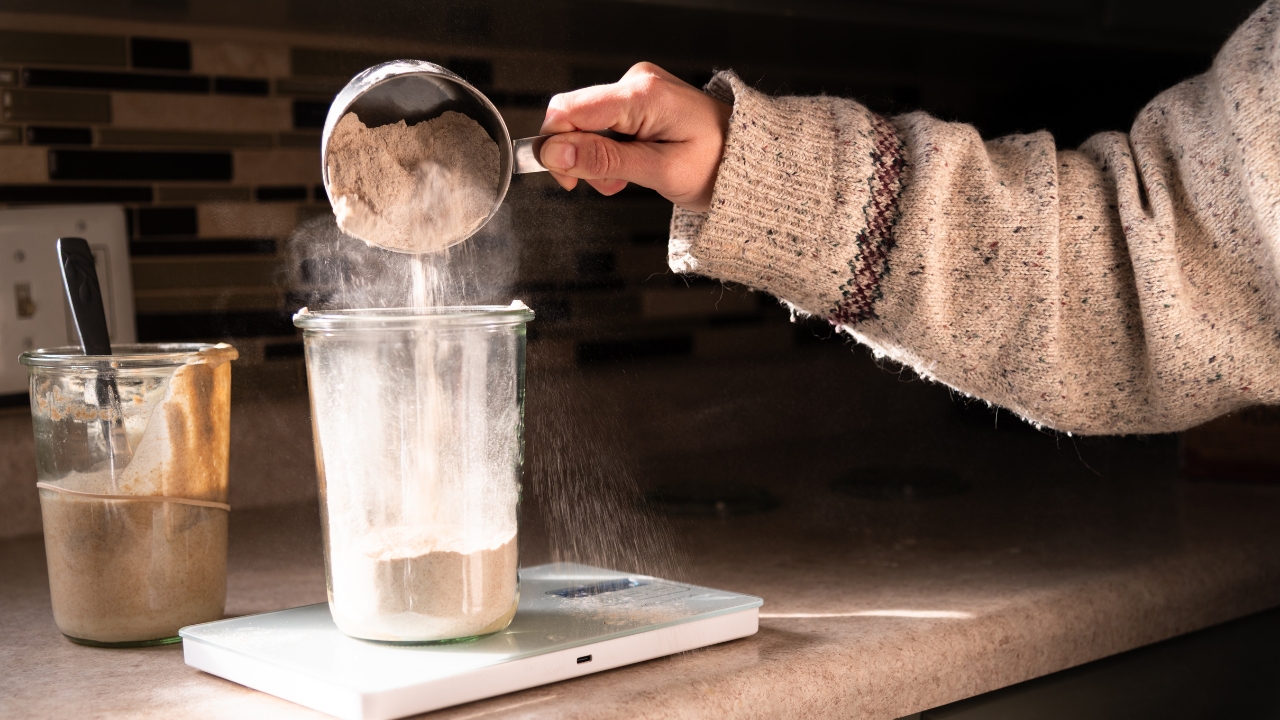
Measuring by cups is a gamble—especially with flour. A cup can vary a lot depending on how packed it is. If you’re not using a digital scale, you’re setting yourself up for inconsistent dough.
Sourdough is a precision game. Grab a cheap kitchen scale and weigh everything in grams. You’ll get a feel for hydration levels, and your dough will behave way more predictably. It’s one of the easiest ways to fix half the issues new bakers run into.
Panicking Over the Smell

Starters don’t always smell good at first—and that’s normal. New ones can give off funky, sour, or even downright weird smells. Doesn’t mean it’s ruined. It’s just part of the wild yeast figuring itself out.
Give it time. As long as it doesn’t smell rotten or moldy, you’re probably fine. Keep feeding it and keep it warm. Most of those strange smells clear up after the first week or so. Don’t toss it too soon—it’s likely just getting started.
Skipping the Bulk Fermentation Window
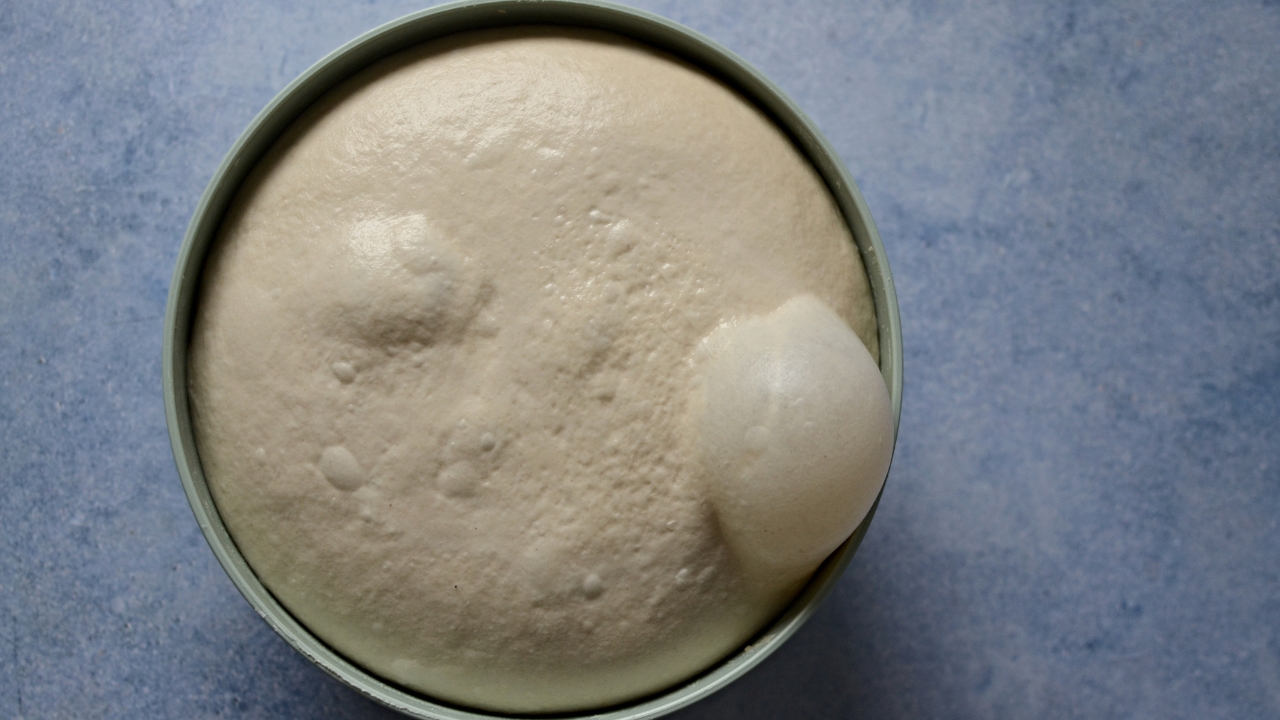
Bulk fermentation is where a lot of the magic happens, but too many folks rush past it. If you shape too early, your dough won’t have the structure or flavor it needs. This step builds strength and allows natural fermentation to do its work.
Watch your dough, not the clock. You’re looking for it to rise noticeably—about 50 to 75% in volume—and become airy and puffy. A good stretch and fold or two during this time doesn’t hurt either. Patience here pays off big.
Underproofing or Overproofing the Dough
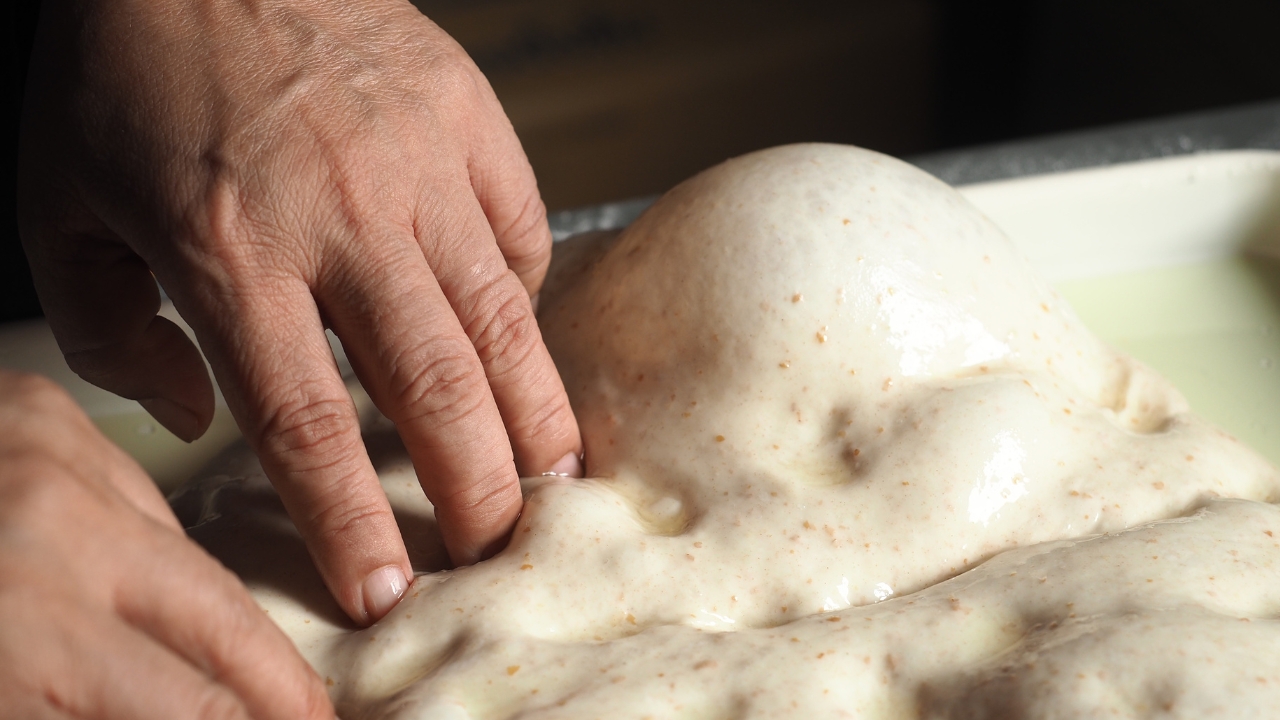
It’s easy to mess this up when you’re new. Underproofed dough won’t rise properly in the oven. Overproofed dough collapses and turns into a flat, sticky mess. Finding that sweet spot takes practice, but there are signs to look for.
Poke the dough gently. If it springs back slowly and leaves a slight dent, it’s ready. If it snaps back quick, it needs more time. If it doesn’t come back at all, you probably went too far. Timing matters, but learning the feel is key.
Baking at the Wrong Temperature
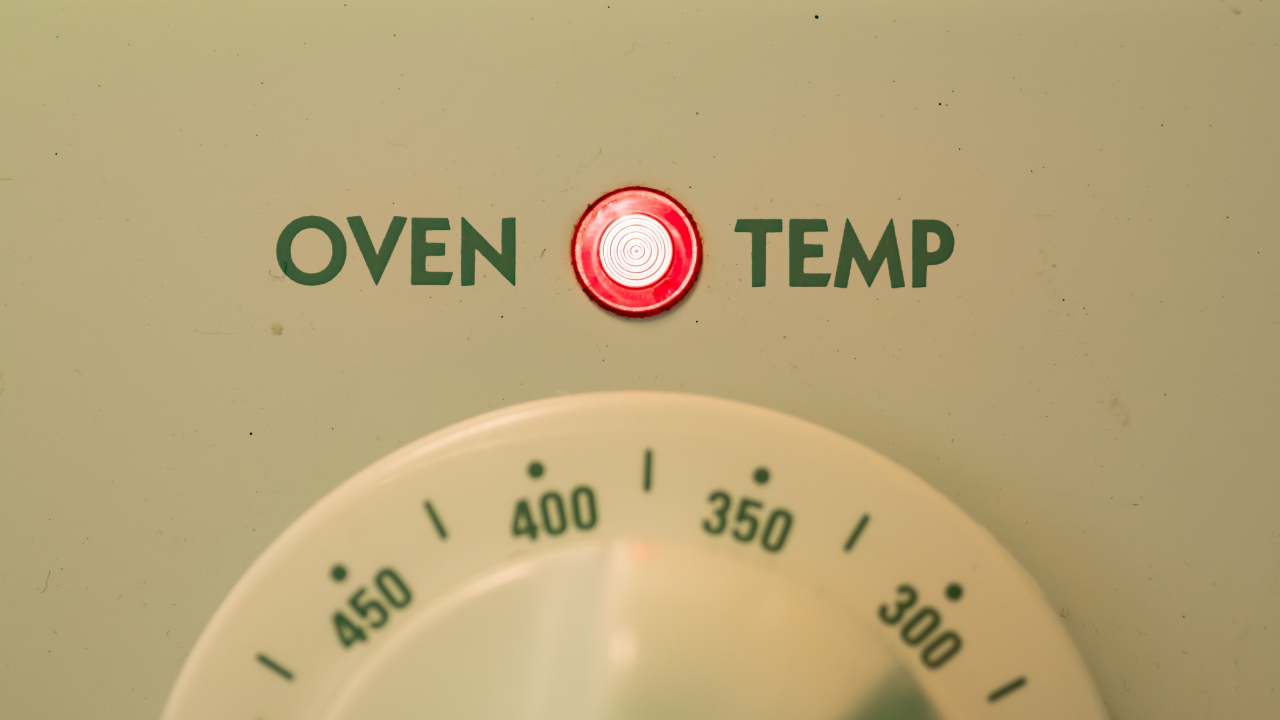
If your oven’s too cool, your bread won’t spring. Too hot, and you risk burning the outside before the inside’s done. You need a hot oven and a way to trap steam during the first part of the bake to get a nice rise.
Preheat longer than you think. Use a Dutch oven or cover your loaf for the first 20 minutes. That steam helps keep the crust soft so the bread can expand. After that, uncover it to finish off the crust. It makes a big difference.
Not Scoring the Dough Properly
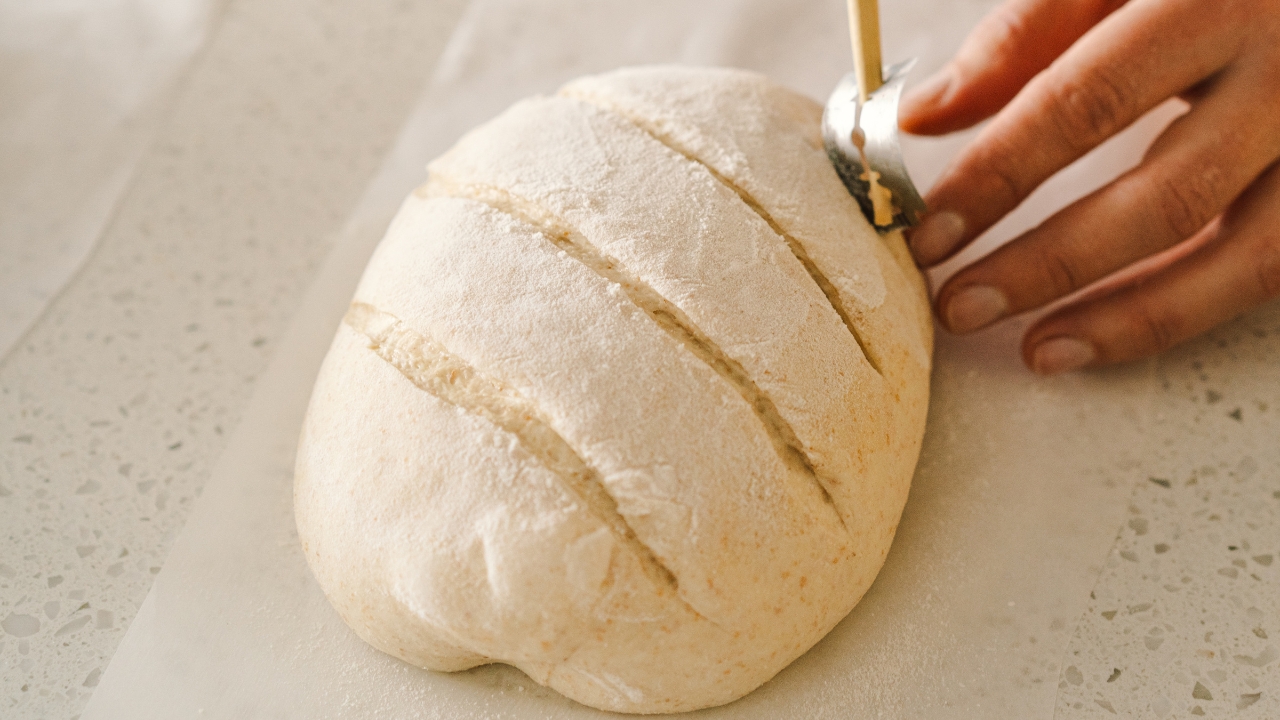
Scoring isn’t just for looks—it controls how your bread expands in the oven. Skip it or do it too lightly, and your loaf might blow out in weird spots or get stuck under a thick crust.
Use a sharp razor or lame, and make confident cuts. You’re giving the dough a place to expand. Don’t overthink it. One clean slash across the top is better than a dozen hesitant ones. With time, you’ll figure out what works best for your dough.
Giving Up Too Early
Sourdough’s not something you master in a weekend. The first few loaves might be flat, gummy, or weirdly shaped—and that’s all part of learning. A lot of folks give up right before they figure it out.
Stick with it. Keep feeding your starter. Bake regularly. Pay attention to what works and what doesn’t. The more you mess with it, the better your instincts get. Sourdough rewards consistency and patience—two things most folks aren’t used to when starting out.
*This article was developed with AI-powered tools and has been carefully reviewed by our editors.