10 Things That Quietly Ruin a Water Heater Early
Photo credit: Minerva Studio/Shutterstock.com
A water heater usually dies by inches, not all at once. A little noise, a little rust, and a little “I’ll get to it later” turns into a tank that won’t keep up on a cold morning. If you want it to last, you’ve got to stop the quiet damage that adds up year after year.
1. Skipping the Anode Rod Check
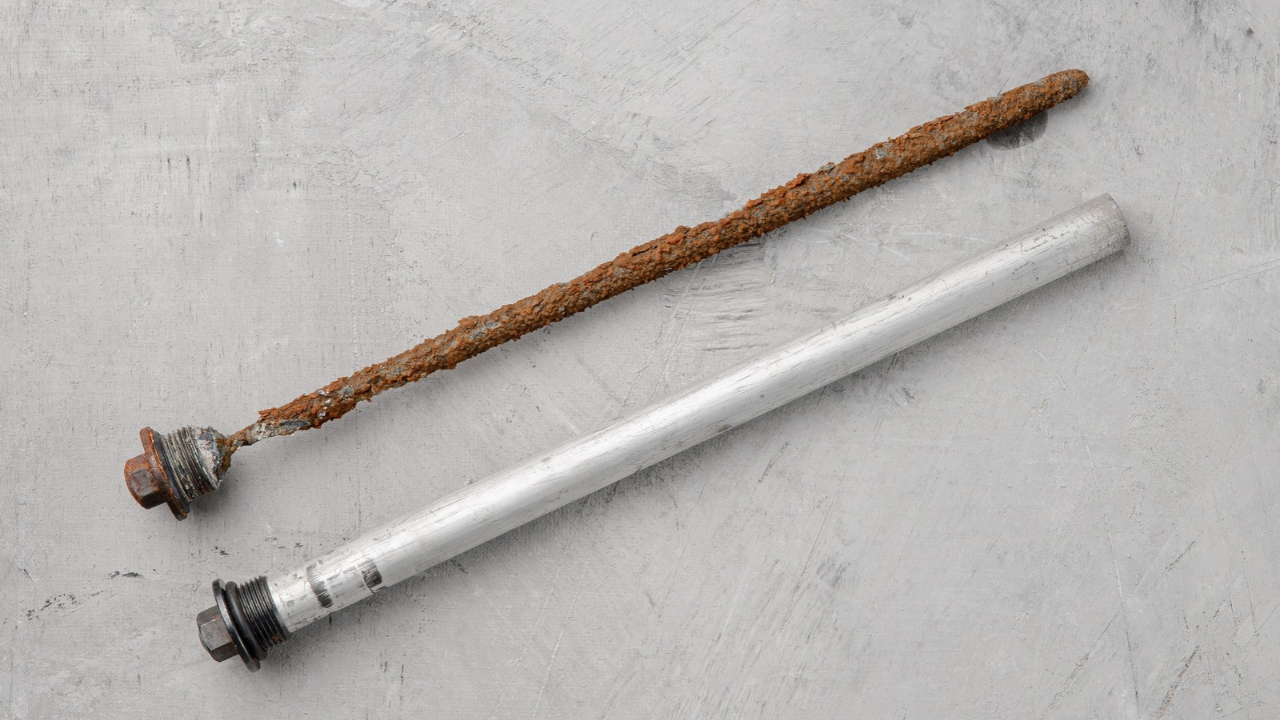
Inside the tank is a sacrificial metal rod that takes the corrosion hit so the steel tank doesn’t. When that rod is gone, the tank starts getting eaten instead, and you won’t notice until you see rusty water or dampness around the base. By then, it’s usually too late.
Plan on checking it every couple of years, sooner if you’ve got well water or hard water. You’ll need a socket, usually 1-1/16 inch, and a breaker bar because they can be tight. If you’re not comfortable shutting off power or gas and relieving pressure, pay a plumber for this one, it’s cheaper than a new heater.
2. Letting Sediment Build Into Concrete
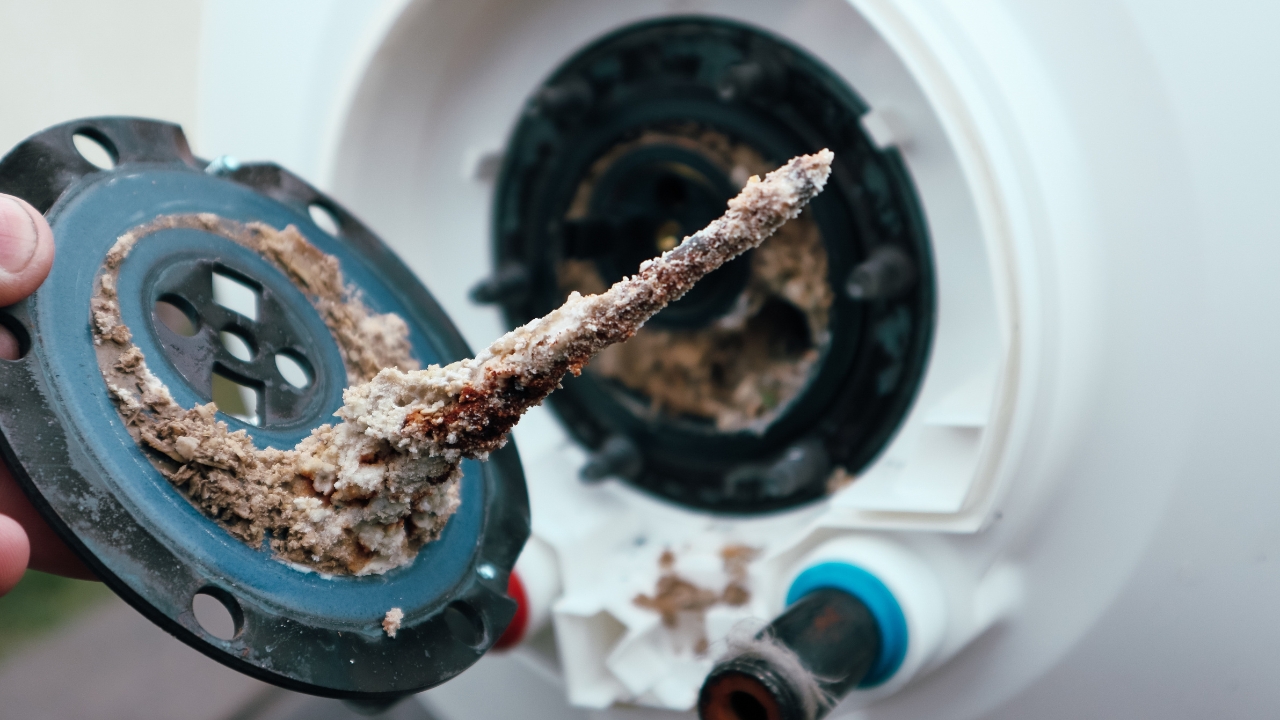
That popping or rumbling you hear during a heat cycle is often sediment cooking on the bottom like gravel in a frying pan. The burner or element has to work harder to heat water through that layer, and the tank runs hotter in the wrong places. Efficiency drops, recovery slows, and parts wear faster.
Flushing helps, but waiting five years and then “doing a flush” sometimes makes things worse because you stir up a brick of scale and clog the drain or a valve. If the drain runs clear after a few gallons, great. If it comes out gritty and never clears, a plumber with a pump setup can sometimes save it.
3. Running Water Pressure Too High
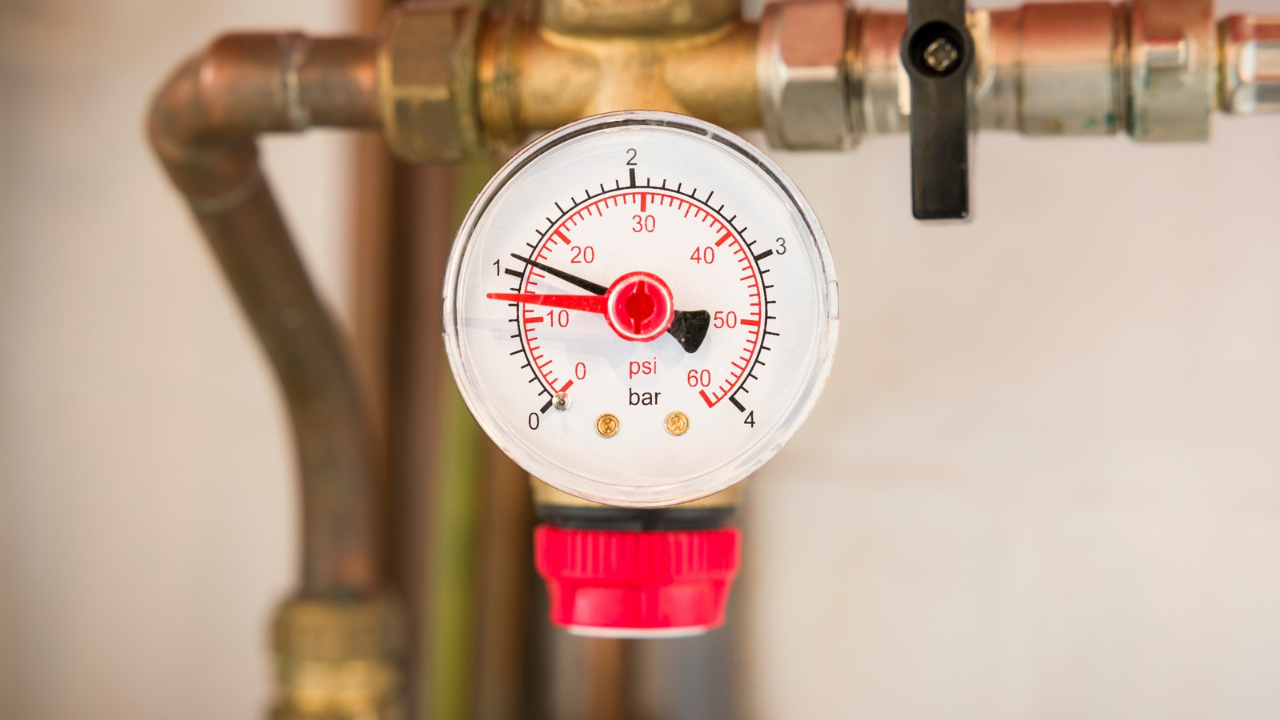
High pressure hammers the tank, fittings, and valves every time a faucet shuts off. It also pushes the temperature and pressure relief valve closer to its limit, so you get random drips, mineral crust, and a valve that won’t seal right anymore. The heater takes the blame, but the real problem is the whole house pressure.
Stick a cheap pressure gauge on a hose bib and check it, especially if you’re on city water. If you’re seeing numbers up around 80 psi or higher, get a pressure reducing valve adjusted or replaced. If you don’t know how to set it, call a pro, because the wrong move can mess with your plumbing and code compliance.
4. Ignoring a Failing Expansion Tank
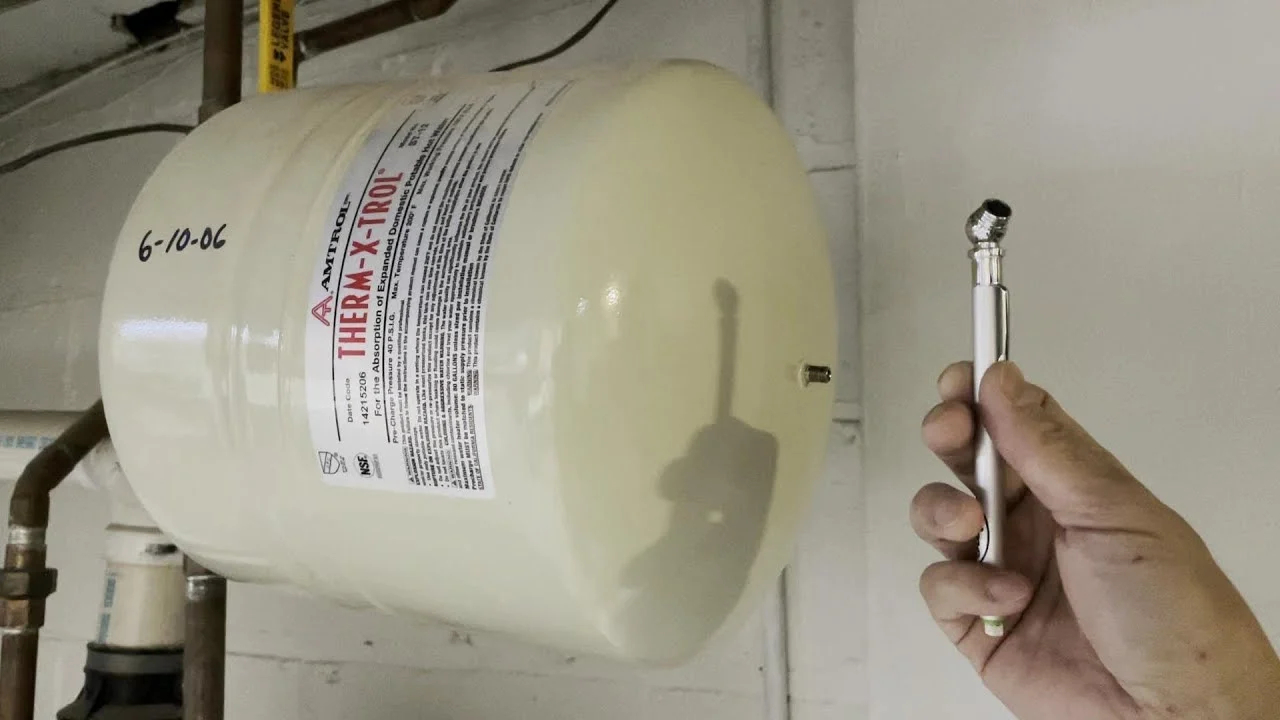
If you have a closed system, common with a pressure reducing valve or backflow device, heated water has nowhere to expand. Pressure spikes can beat up the tank lining and make the relief valve spit. The quiet clue is a relief valve that drips only after long heat cycles.
An expansion tank is supposed to have air charge on one side and water on the other. When it goes waterlogged, it’s just a dead weight. Tap it, the top should sound hollow, and the bottom dull. Replacing one is usually straightforward, but if the shutoff valve is old or you see corrosion on the piping, that’s plumber territory.
5. Setting the Temperature Too High
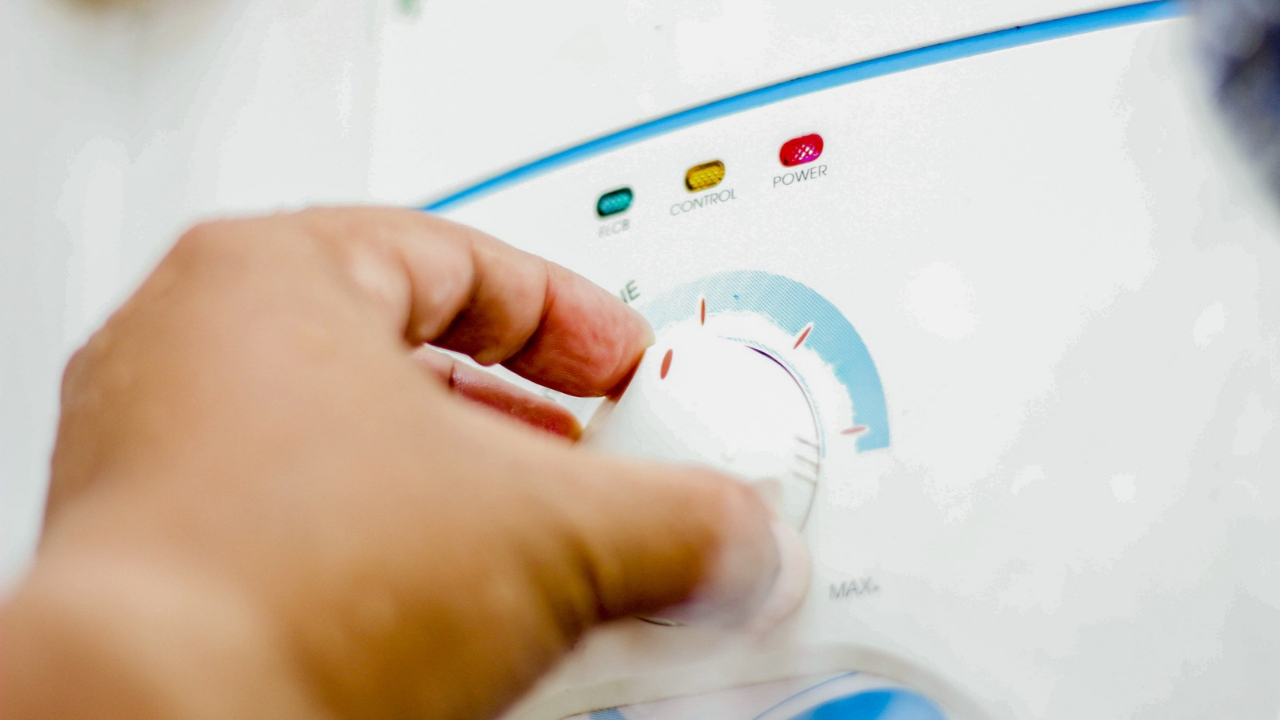
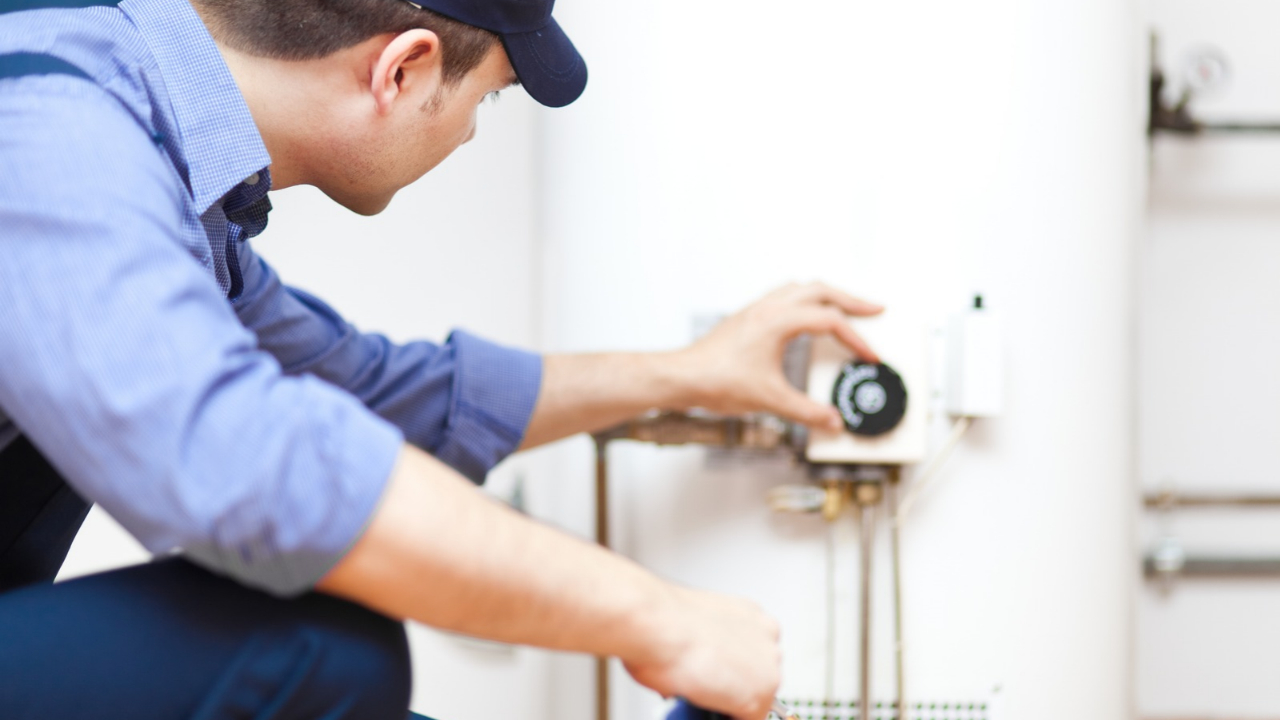
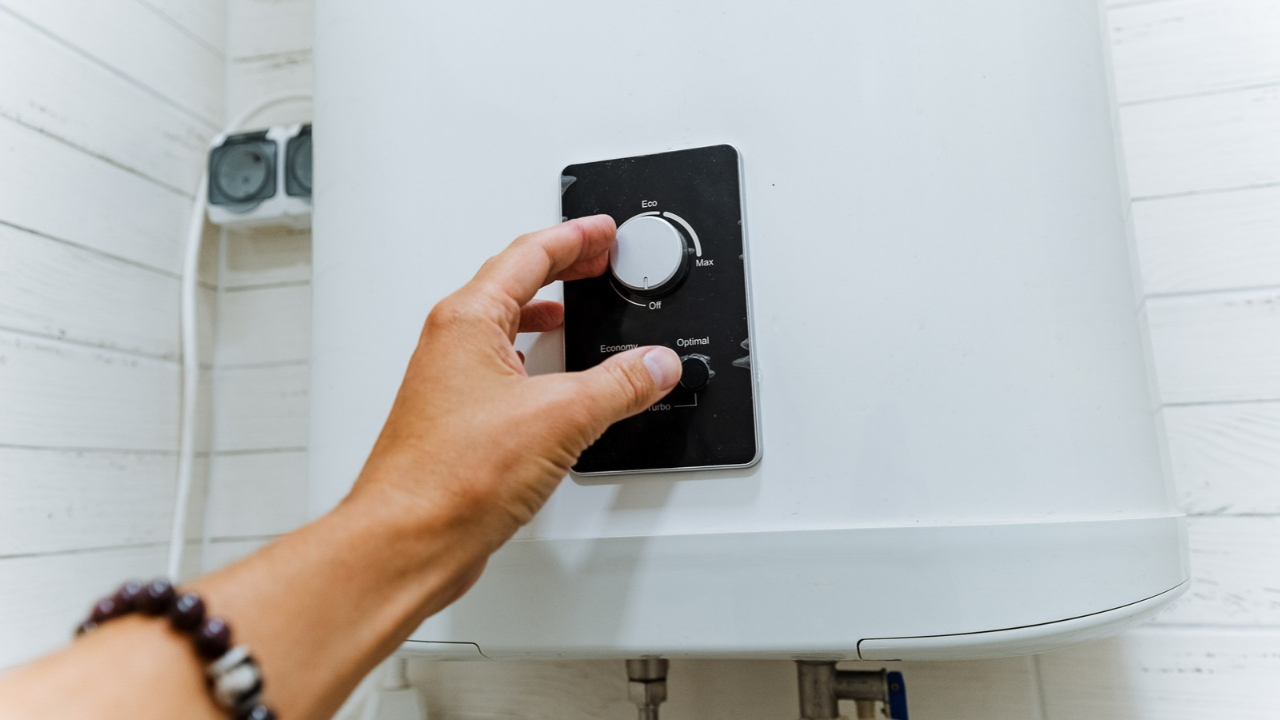
A lot of people crank the dial up to “extra hot” to get longer showers. That extra heat speeds up scale, stresses the tank lining, and works the heater harder all day long. You also raise the risk of scalding at sinks and tubs.
A sane starting point is around 120 degrees Fahrenheit, then adjust from there. If you need hotter water for a dishwasher, the better fix is often a dishwasher with an internal heater, or a mixing valve at the heater that blends cold and hot. A mixing valve is a good job for a plumber if you’re not used to sweating pipe or working with gas appliances.
6. Testing the Relief Valve the Wrong Way
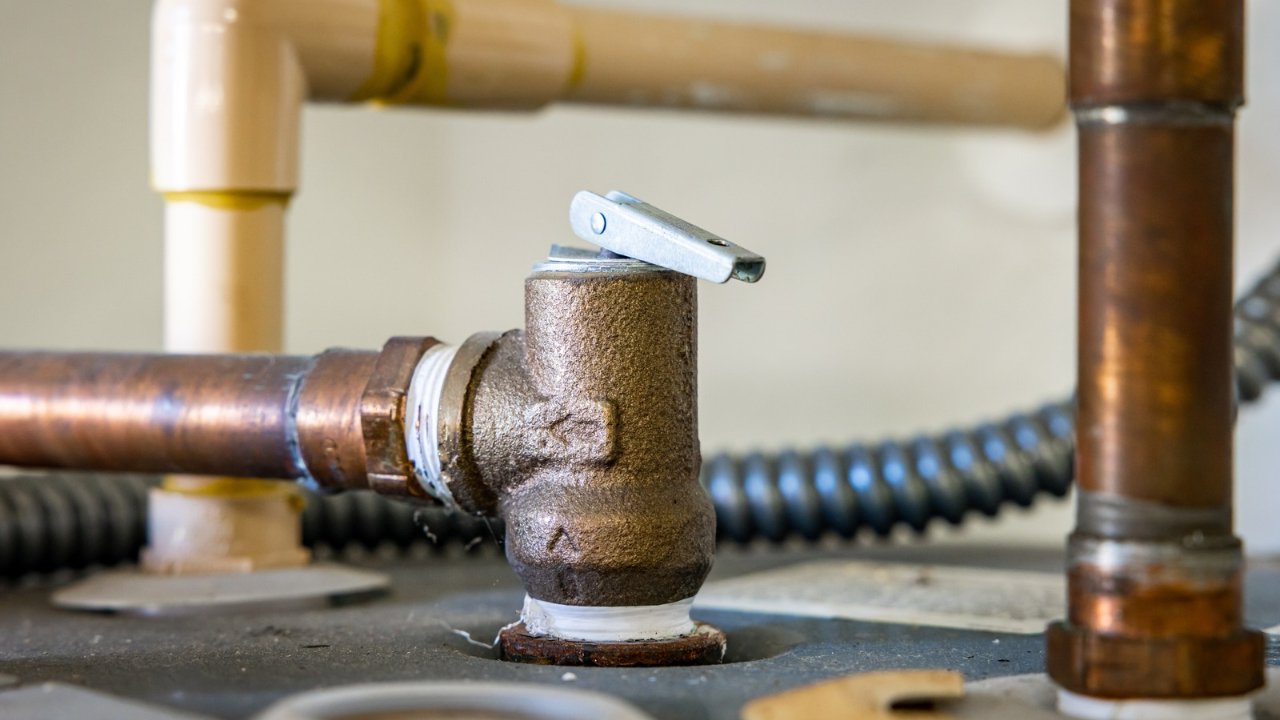
The little lever on the temperature and pressure relief valve is there for safety, but yanking it open on an old valve can start a drip that never stops. Sediment gets in the seat, the spring doesn’t reseal clean, and now you’ve got a slow leak you didn’t have yesterday.
There’s the honest exception, testing is still a good idea on newer units, and some local codes and manuals recommend it. If your heater is older and the valve looks crusty, the smarter route is to plan a valve replacement instead of “testing” it. Either way, the discharge pipe needs to be in place and pointed to a safe spot, because that water can come out near boiling.
7. Letting Leaks Drip on the Top Cover
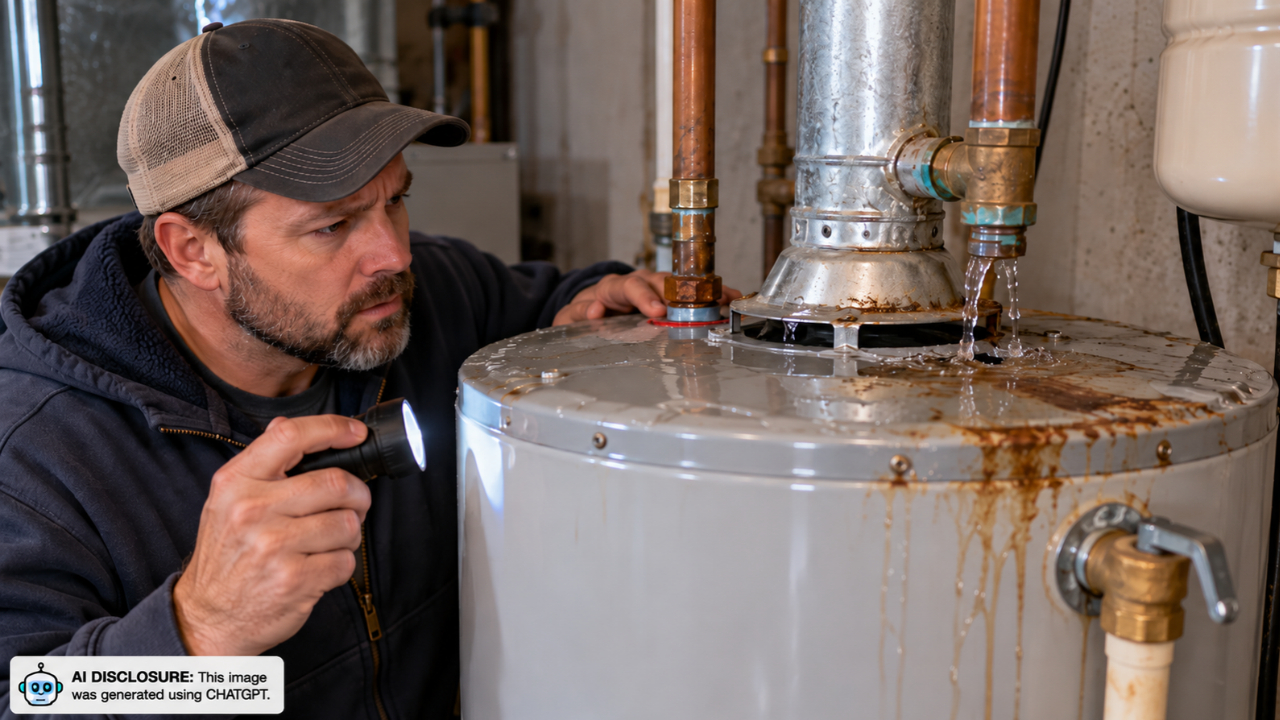
A tiny drip from a pipe joint, shutoff valve, or flex connector often lands right on the heater’s top panel. On electric models, that’s where wiring and connections live. On gas models, it can rot the draft hood area and start rust trails that hide bigger problems.
Look for green crust on copper, rust freckles on the jacket, or water stains that track down the side. Fixing a slow leak can be as simple as tightening a fitting, but don’t go reefing on it with the wrong wrench and twist a pipe. If you see moisture near electrical parts, shut power off at the breaker and call a pro.
8. Using Softened Water Without Watching Corrosion
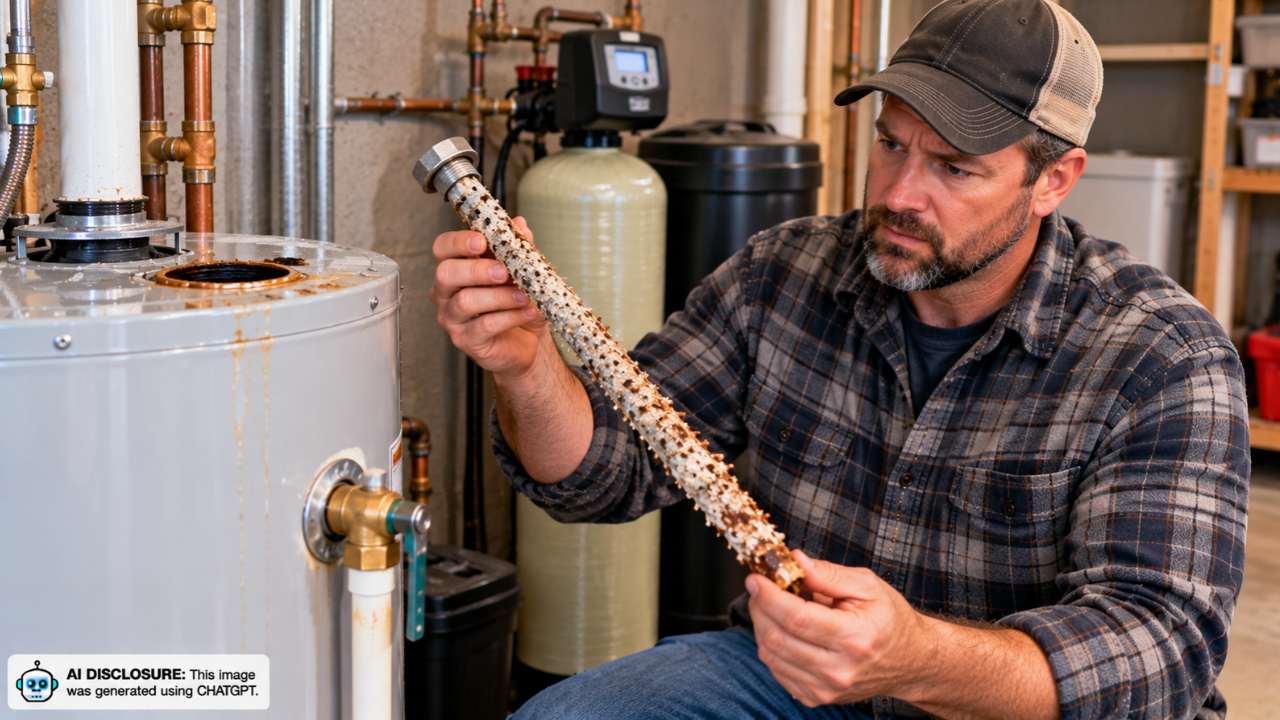
Water softeners make cleaning easier, but softened water can chew through anode rods faster in some homes. You don’t get much warning. The tank looks fine until it isn’t, and then you’re shopping for a replacement on a weekend.
If you run a softener, treat anode checks like regular maintenance, not a once-in-a-decade thing. Some plumbers recommend a different anode material depending on your water, and that’s one place paying for experience can make sense. You’re not fixing a problem, you’re buying time.
9. Installing Dielectric Fittings Wrong
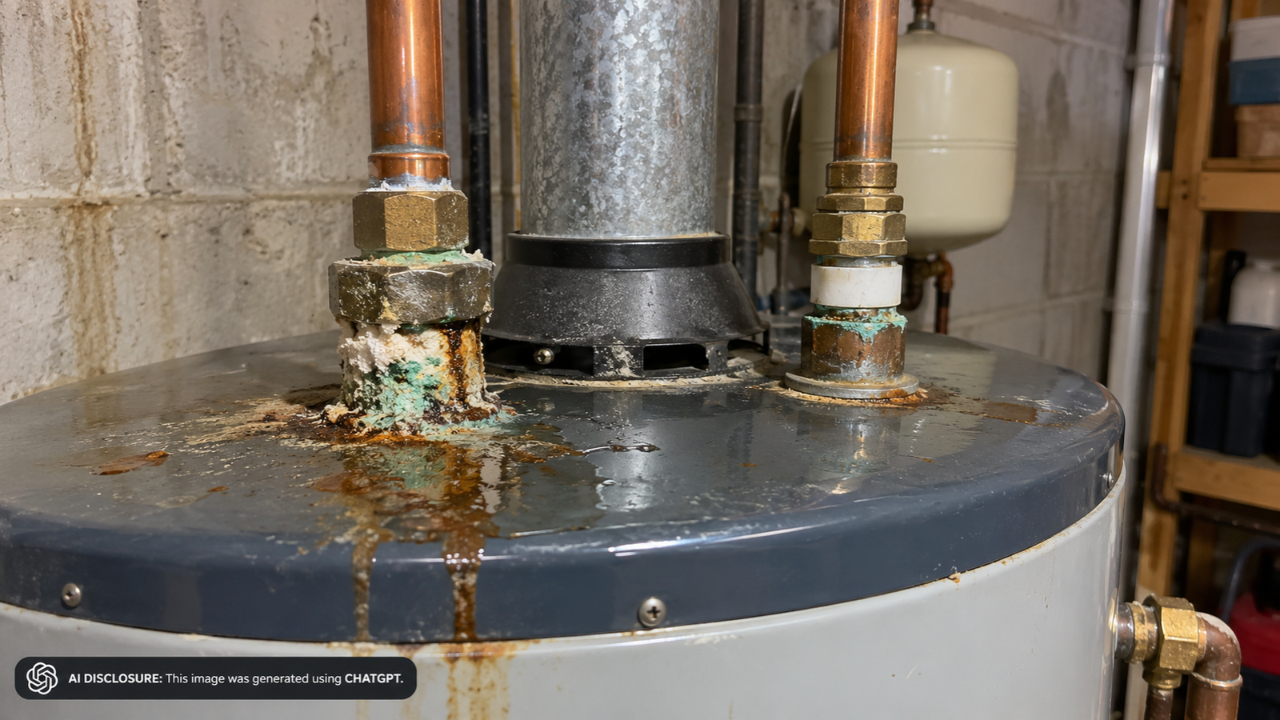
Mixing copper pipe with steel tank nipples without the right transition can set up galvanic corrosion. The joint starts looking crusty, then the nipple pits, then you get a leak that looks like it’s coming from inside the heater. A lot of “bad tank” calls are really bad connections.
Dielectric unions and nipples have a purpose, but sloppy installs cause their own headaches. If you’re replacing a heater, match what your local code wants and don’t stack random adapters until it “fits.” If you don’t have a good feel for pipe threads, dope versus tape, and how tight is tight, hire it out and be done.
10. Leaving It Unheated in a Cold Snap
A heater in a cabin, shop, or seasonal house takes a beating when it sits cold for months. Freezing temps can crack a tank, split fittings, or damage the drain valve. Even without a hard freeze, long idle periods let sediment settle and harden.
If the building won’t be heated, drain the system properly, including low points in the plumbing, or keep the space above freezing. Heat tape and a space heater can help in a pinch, but they’re not a set-it-and-forget-it plan. Frozen water is fast damage and slow discovery.
If your heater is already making odd noises, leaving rusty streaks, or running out of hot water faster than it used to, don’t wait for the full failure. A half hour with a flashlight and a pressure gauge can tell you a lot, and a small repair today beats a tank swap when you’ve got company coming.
Like Fix It Homestead’s content? Be sure to follow us.