10 Things to Check on an ATV Before Cold Weather Hits
Photo credit: Dean Clarke/Shutterstock.com
The first cold snap is when a machine that “ran fine last weekend” suddenly won’t start, won’t charge, or won’t stop like it should. Batteries slow down, rubber stiffens, and old fuel shows its age. If your ATV does winter chores, or just needs to be ready when the snow hits, a short check now beats wrestling it in a frozen driveway later.
1. Battery Health And Cable Connections
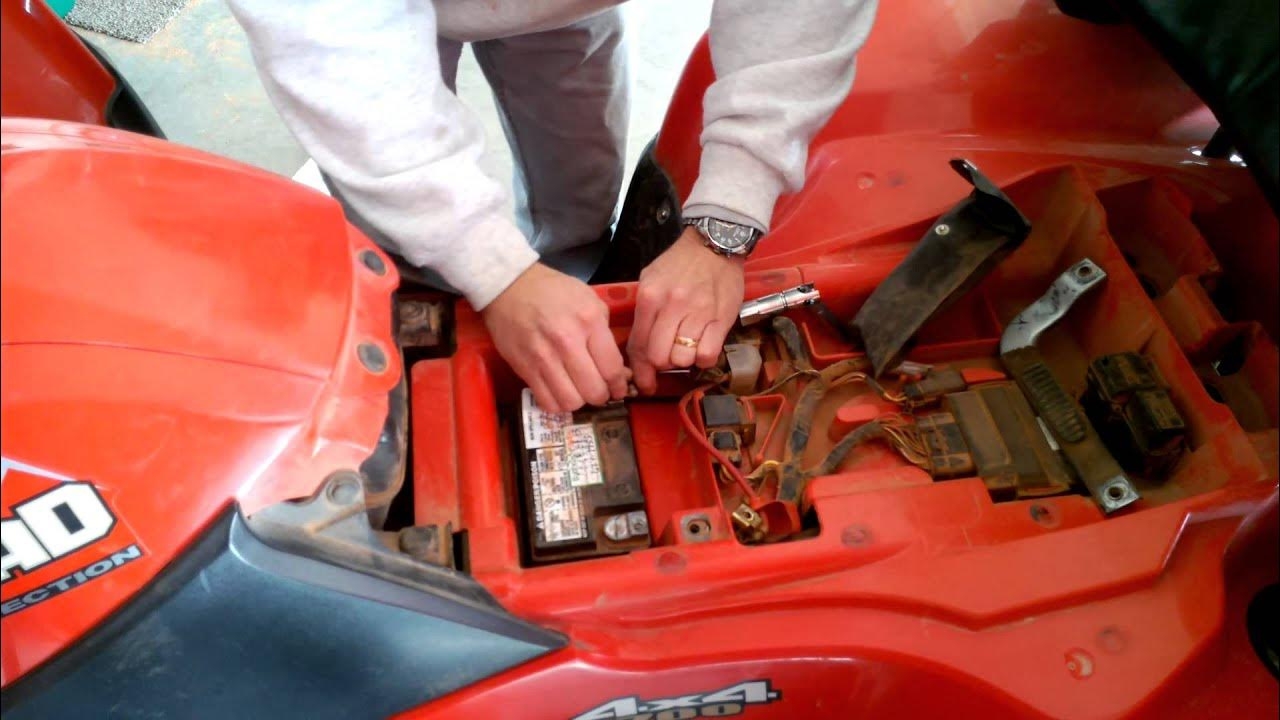
Cold weather exposes a weak battery fast. The starter clicks, the lights dim, and you burn through your patience before you burn through a gallon of gas. Start by cleaning corrosion off the terminals with a battery brush, then tighten the connections so you can’t twist the cable by hand.
If you have a multimeter, check voltage after the ATV has been sitting. A healthy, fully charged 12V battery should be around 12.6 volts, and it shouldn’t collapse hard when you hit the starter. If it’s borderline, charge it now and think about replacing it before you’re stuck. A smart trickle charger is worth owning if the ATV sits for weeks at a time.
2. Tire Pressure And Sidewall Cracks
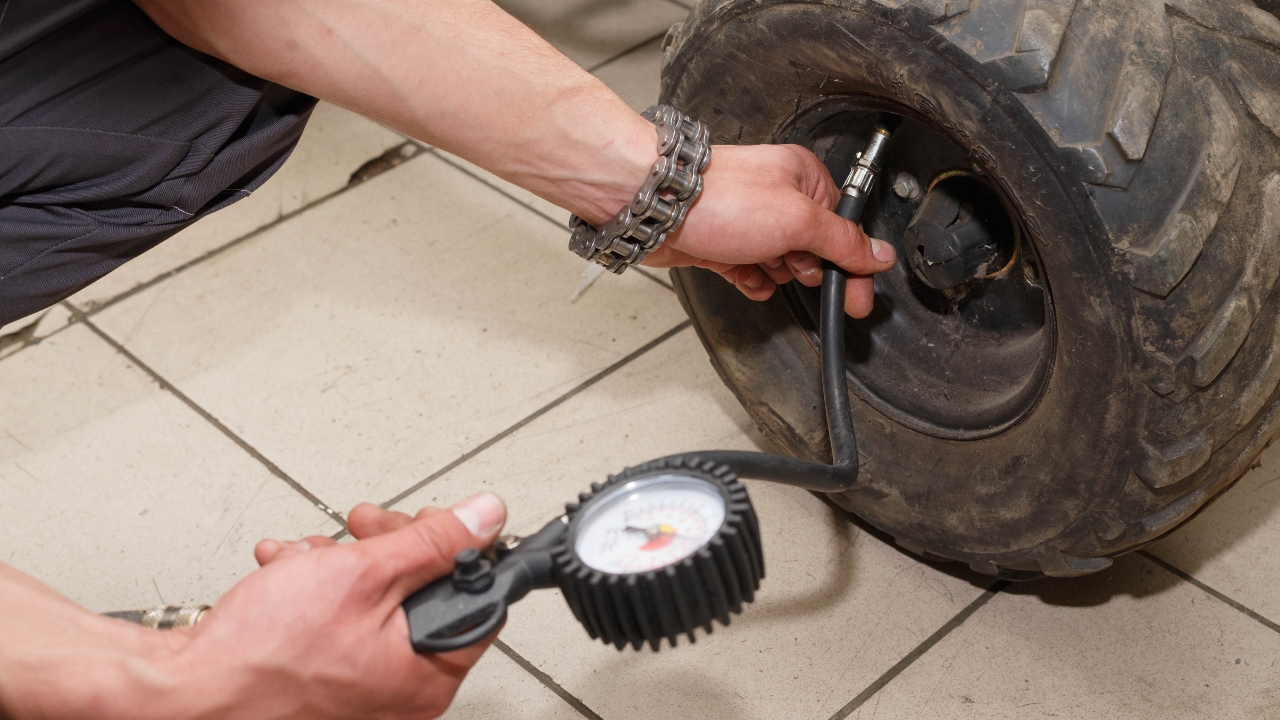
Air pressure drops when temps drop, so tires that were “close enough” in September can be squishy in November. Low pressure makes the steering heavy, chews the tire edges, and can pop a bead when you hit a rut with a load in the rack. Set pressure to what your manual calls for, not what looks right.
While you’re down there, look for weather checking on the sidewalls and around the bead. Tiny cracks turn into slow leaks when the rubber gets stiff. If you find a nail or a thorn stuck in the tread, pull it now and repair it the right way with a plug kit meant for ATVs, or patch it from the inside if you have the tools.
3. Engine Oil Weight And Change Timing
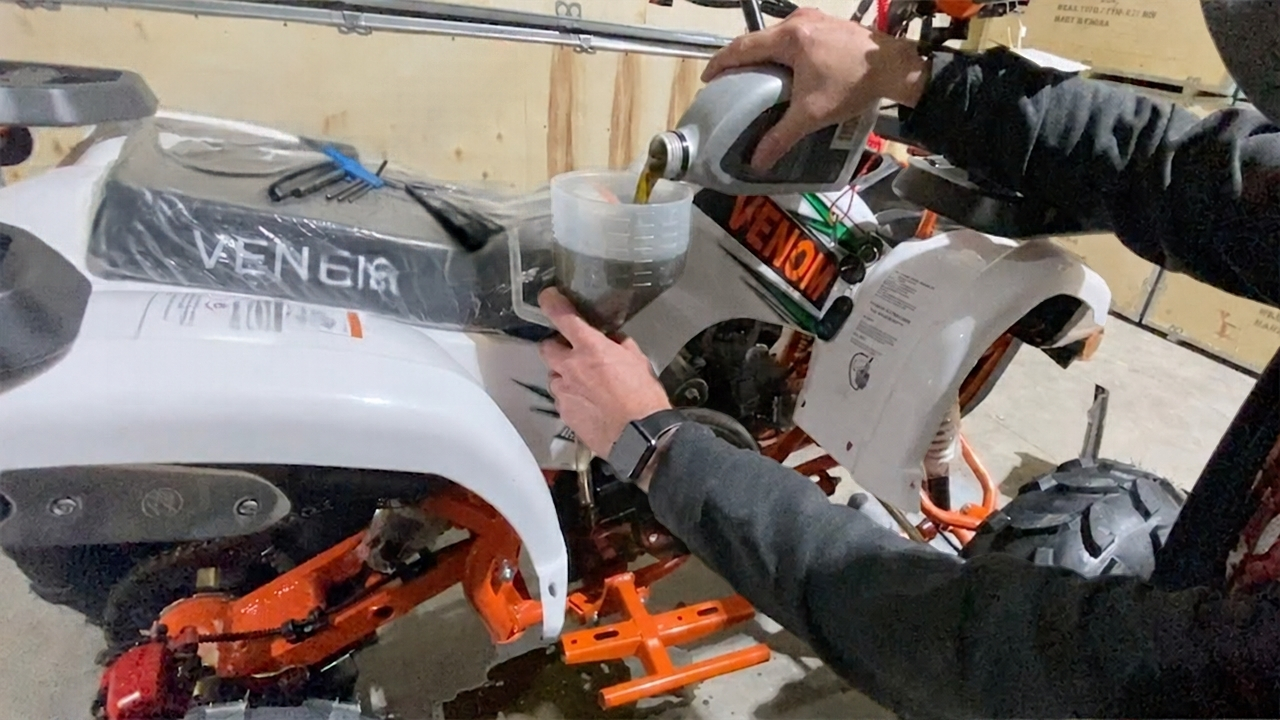
Thick old oil and freezing mornings don’t get along. The engine cranks slower, top end parts wait longer for oil, and you hear more clatter than you should at start up. If you’re near your service interval, change it before cold settles in.
Use the oil grade your manual lists for low temps. This is where the cheap option can be fine, plain conventional oil that meets the spec works if you change it on schedule. Synthetic can help with cold starts, but it’s not magic if you’re running the wrong viscosity or letting it go too long. Replace the filter, too, because a clogged filter can bypass when oil is cold and thick.
4. Coolant Strength And Radiator Fins
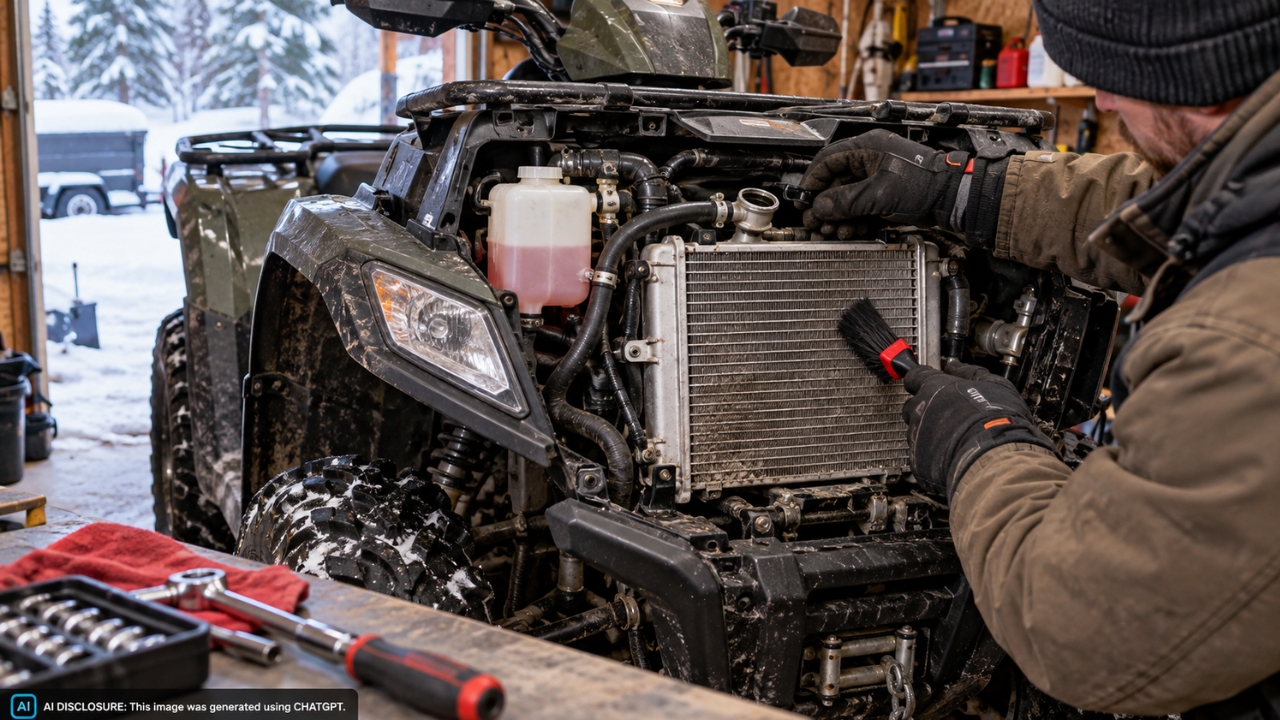
If your ATV is liquid cooled, weak coolant can freeze and crack expensive parts. That’s not a “fix it later” problem. Check the overflow bottle level and pop the cap only when the engine is cold.
A cheap coolant tester tells you the freeze protection range. If it’s questionable, drain and refill with the right coolant type for your machine. While you’re there, clean mud and hay dust out of the radiator fins with low pressure water and a soft brush, not a pressure washer that folds fins over. Overheating still happens in winter, especially when plowing or pulling.
5. Brakes, Pads, And Lever Feel
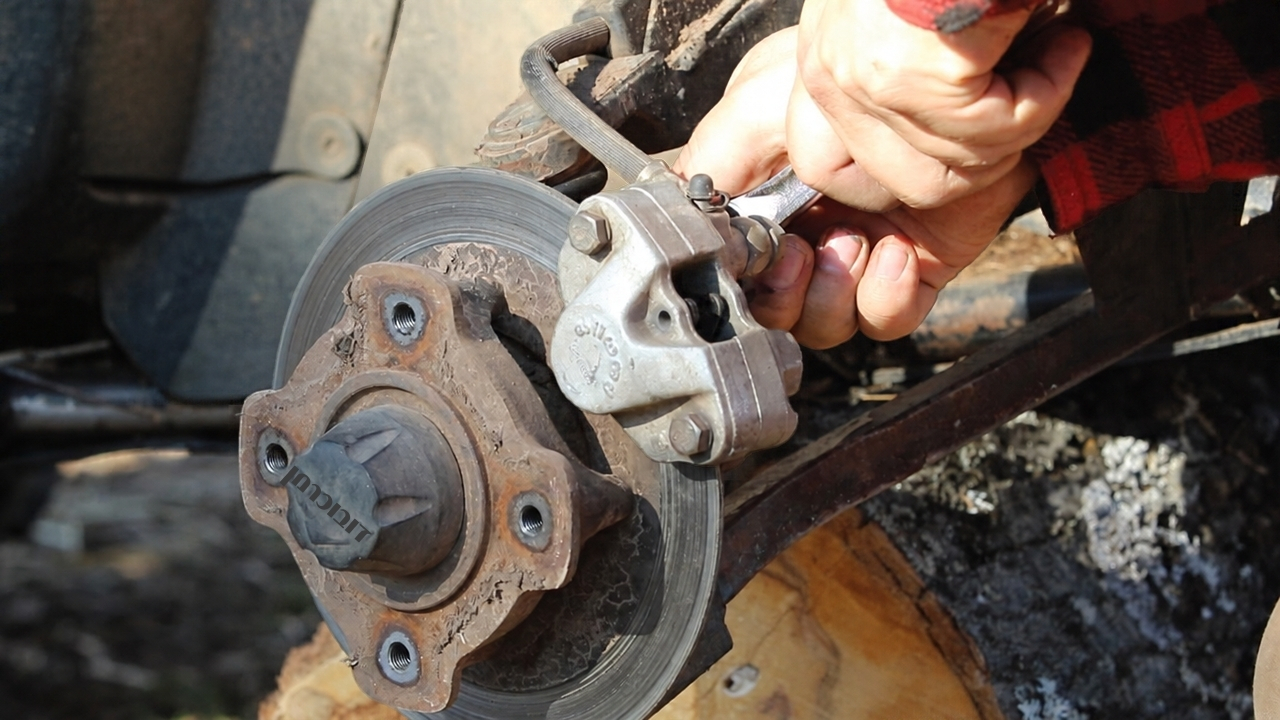
Cold makes weak brakes feel even worse. A spongy lever, a pedal that sinks, or brakes that grab unevenly show up fast on slick ground. Check pad thickness through the caliper, and look for leaking fluid around the master cylinder and lines.
If the fluid is dark like coffee, plan on a flush. Brake bleeding is doable with the right wrench and a clear hose, but if the lever won’t firm up or you see a damaged line, pay a shop. Brakes are one of the few ATV jobs where “good enough” can put you in a ditch.
6. Air Filter And Intake Boot Seals
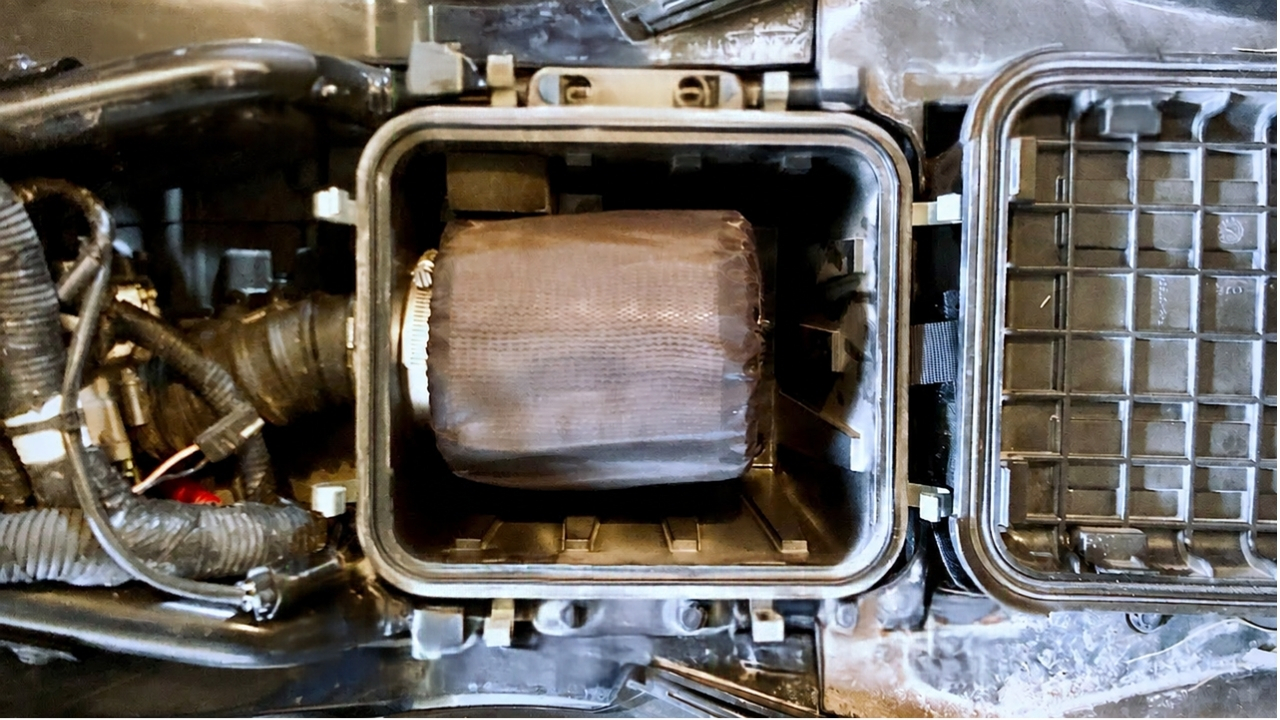
People focus on fuel in winter and ignore air. A dirty air filter makes cold starts harder and can ice up quicker if it’s loaded with oil and dust. Pull the cover, inspect the element, and check that the filter is seated evenly all the way around.
Look closely at the rubber intake boot from the airbox to the engine. Cracks and loose clamps let in unfiltered air, which is pure engine wear. If you run a foam filter, use the right filter oil and don’t drown it. Too much oil can make it run rich and stumble when it’s cold.
7. Fuel Quality, Water, And Stabilizer
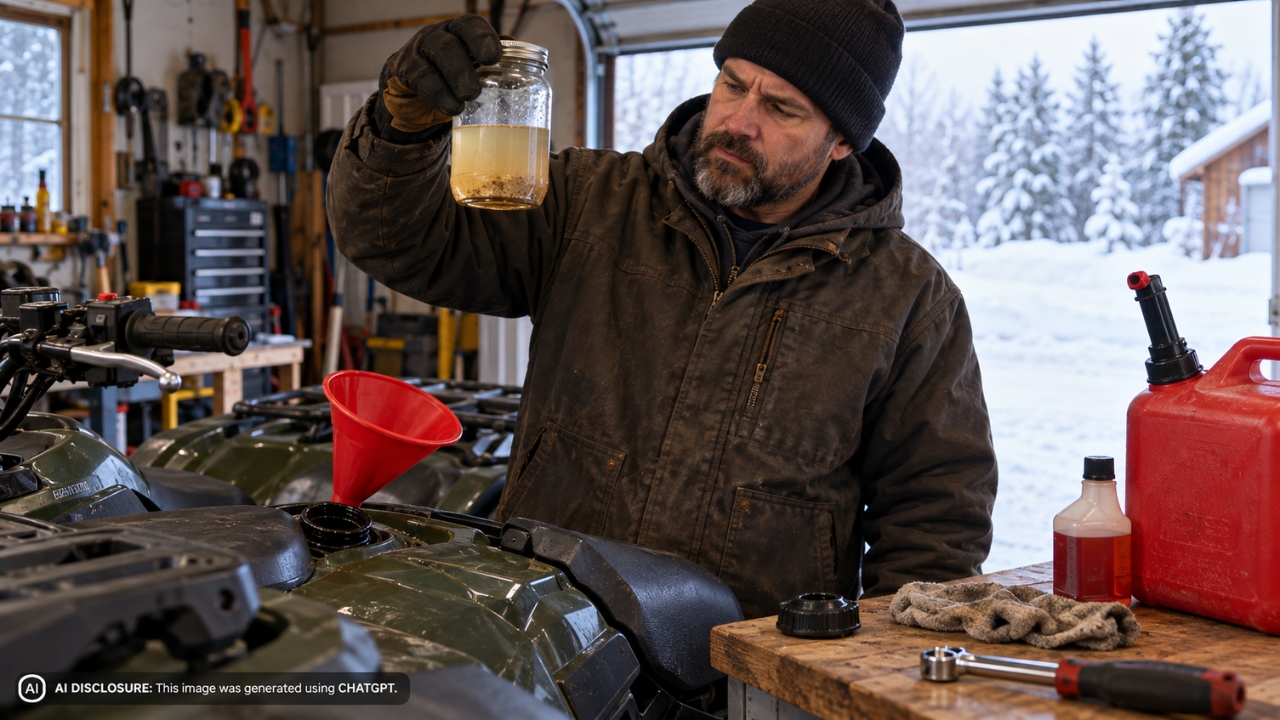
Old gas causes hard starting and rough idle, and water in the tank shows up after the first freeze. If the ATV has been sitting, smell the fuel and look for cloudy junk or a sour odor. Drain and replace questionable fuel now, because you don’t want to be diagnosing a “mystery” problem in gloves.
If you’ll store it, add a fuel stabilizer and run the engine long enough to get treated fuel through the system. On carbureted machines, shutting the fuel off and letting the carb run dry can help, but some setups don’t fully drain and still gum up. For long storage, draining the carb bowl is better if you can reach it without stripping screws.
8. Drive Belt Or Chain Adjustment
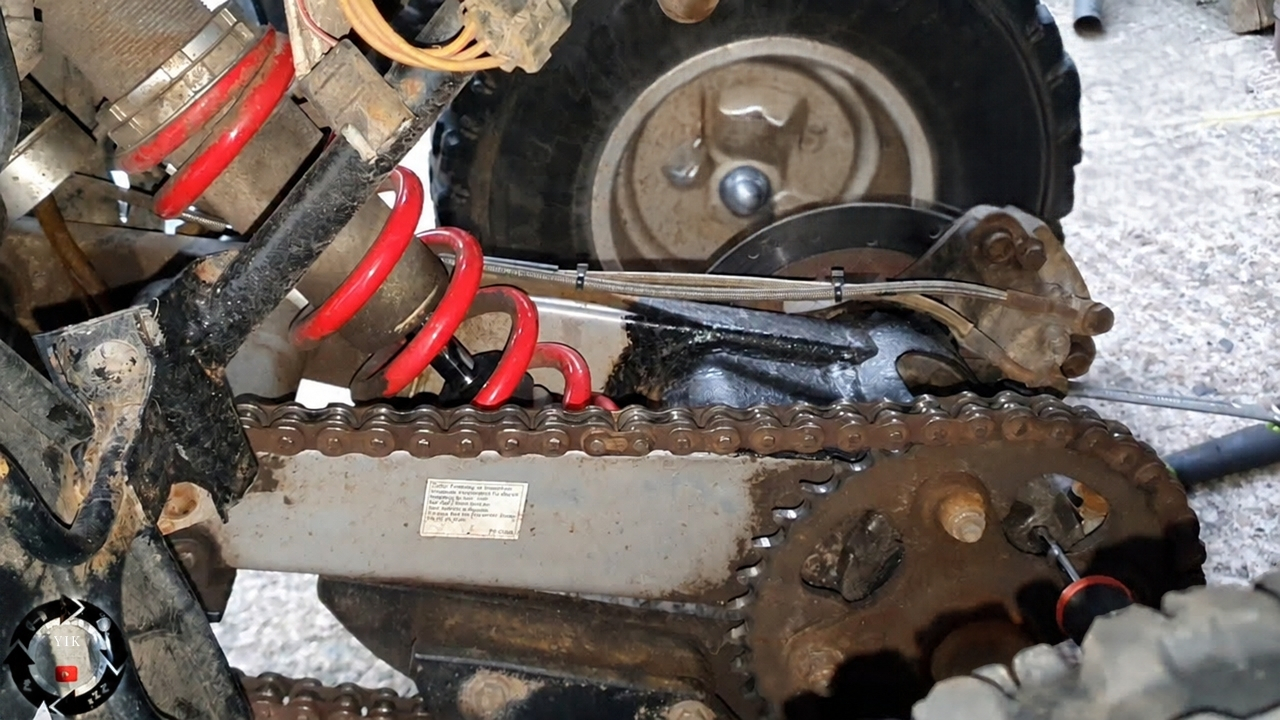
Cold mud and sloppy snow find weak spots in the driveline. For chain drive, check slack and sprocket wear, then lube with a chain lube that won’t wash off right away. A too tight chain eats bearings, a too loose chain whips and can derail at the worst time.
If you have a CVT belt, pay attention to how it’s been acting. Slipping, a burning rubber smell, or delayed engagement can mean a worn belt or dirty clutches. Opening the CVT cover and blowing out dust is usually straightforward, but if you see oil inside the case or the clutches look grooved, that repair can get technical fast.
9. Grease Points, Bushings, And Steering Play
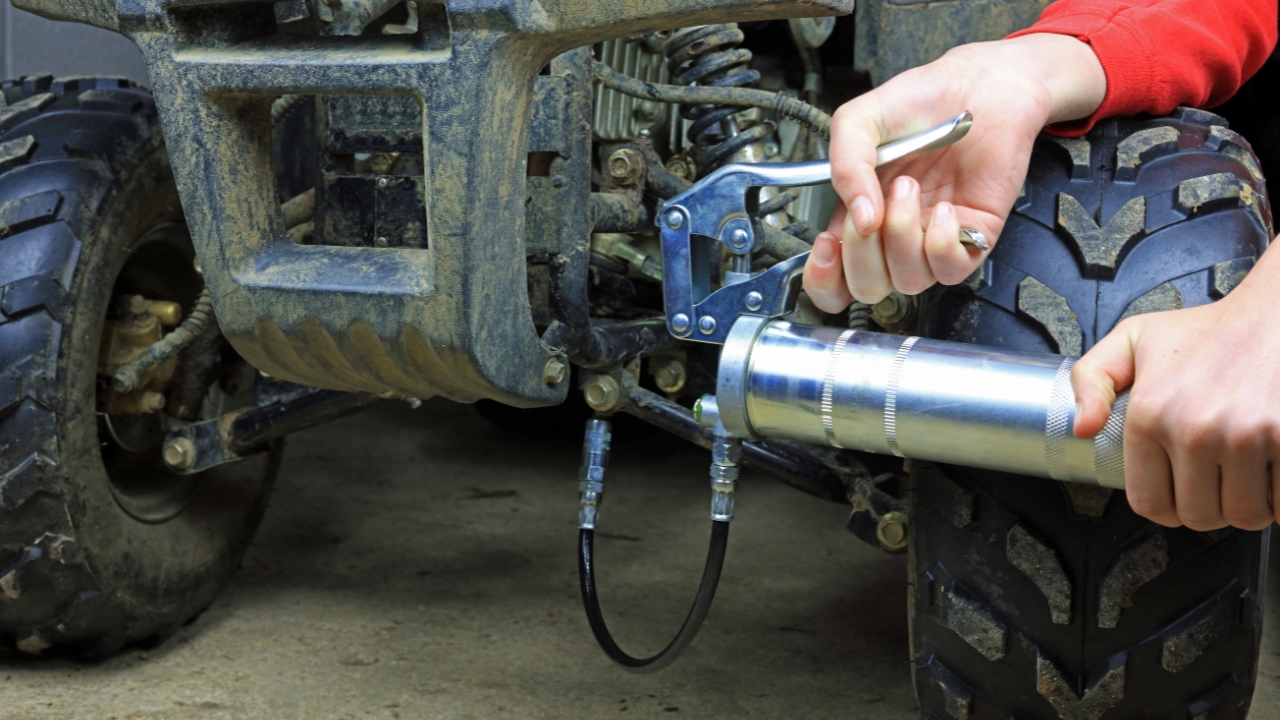
Winter riding is hard on joints. Water pushes past seals, then freezes, and the next ride turns that grit into a grinder. Hit every grease fitting you can find with a grease gun until you see fresh grease at the seal.
Now grab a front tire and wiggle it. Any clunk in the ball joints, tie rods, or wheel bearings gets worse in cold, not better. Some play is a “schedule it” issue, but a loose wheel bearing can turn into a seized hub or a wobble that beats up the whole front end.
10. Winch, Lights, And Electrical Plugs
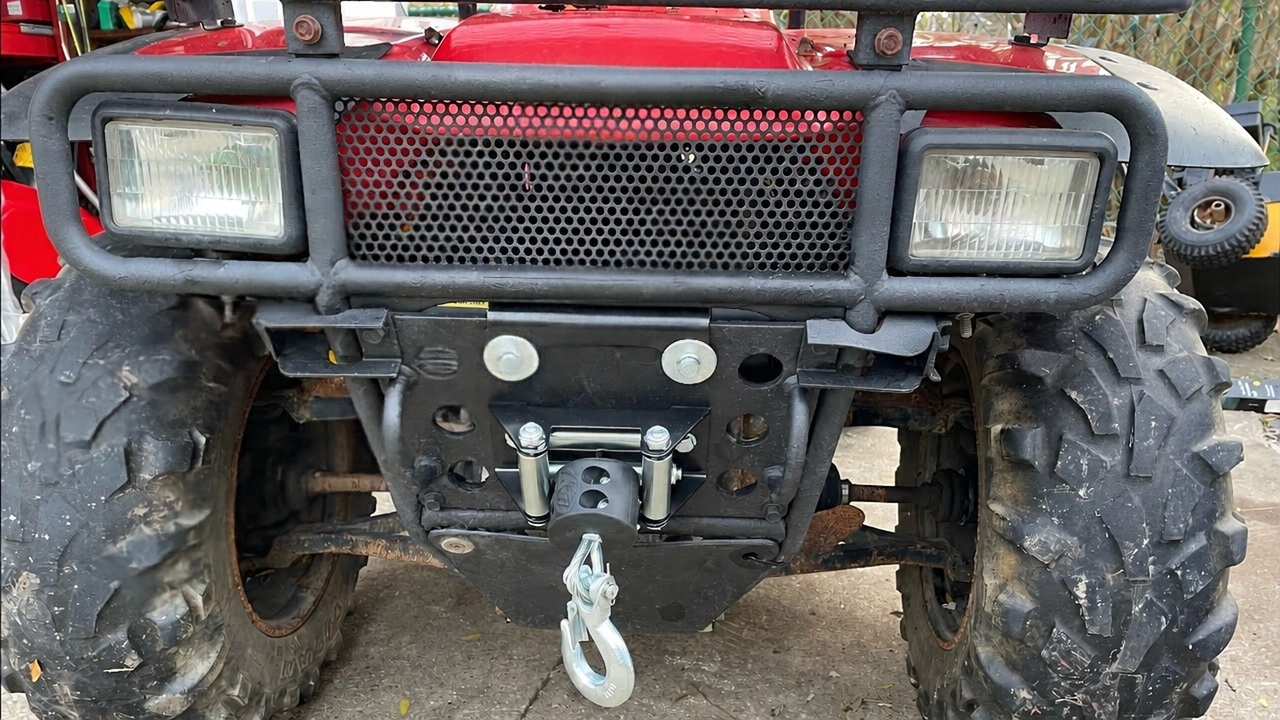
This is the stuff you only notice when it’s dark at 5 p.m. and the snow is coming sideways. Check that the winch spools in and out smoothly, and inspect the rope or cable for frays, kinks, and crushed spots. Replace a damaged line now, because it won’t get nicer under load.
Walk around and test every light, including brake lights. Then unplug and replug any easy electrical connectors you can reach, especially near the handlebars and under the front plastics, and look for green corrosion. A dab of dielectric grease on clean, dry connectors helps keep salt spray and slush from turning into electrical gremlins.
Once you’ve done these checks, take it for a short drive and listen with the helmet off. New squeaks, a dragging brake smell, or a belt squeal is your cue to fix something while the shop floor and your hands are still warm.
Like Fix It Homestead’s content? Be sure to follow us.