10 Things a Chicken Coop Needs for Winter
Photo credit: Alex Rusin/Pexels.com
Cold weather turns a chicken coop into a moisture trap, a draft box, or a rodent hotel, sometimes all three in the same week. Problems usually show up at dusk when the birds are already roosted and you’re holding a flashlight in your teeth. A little prep now saves cracked eggs, frozen water, and that sharp ammonia smell that hits the back of your throat.
1. Draft-Free Venting Up High
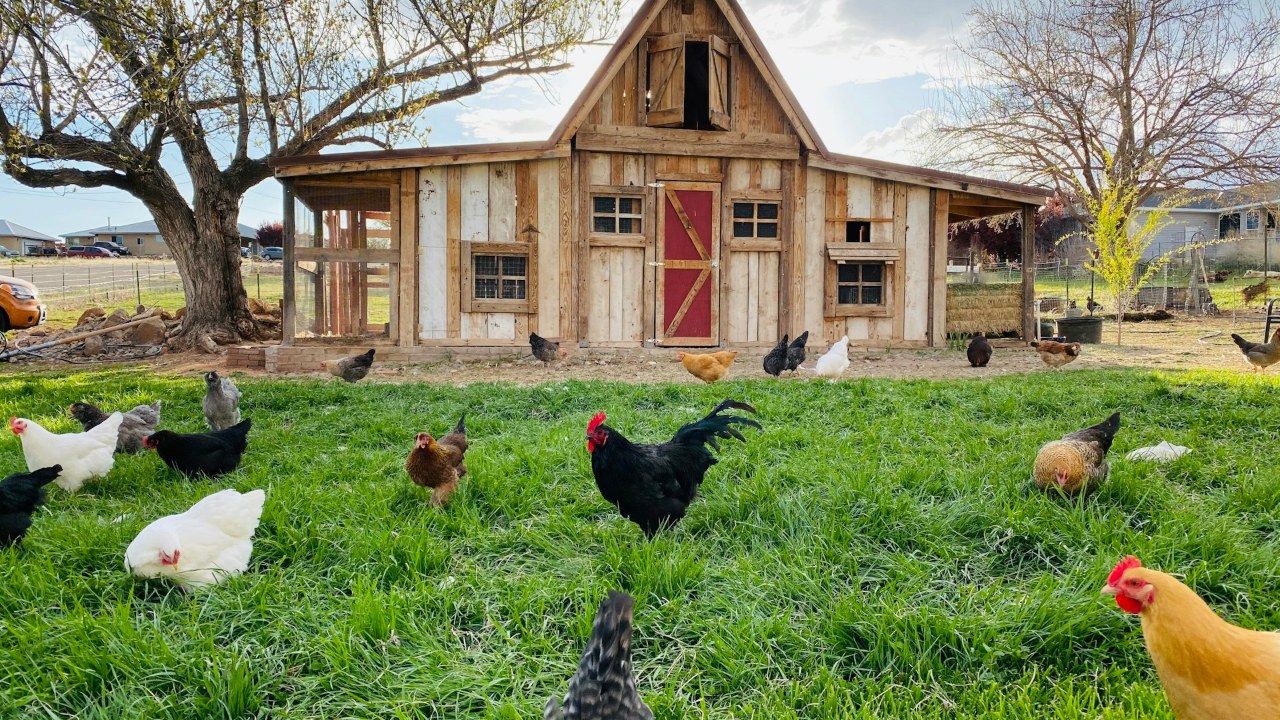
People seal every crack and call it “winterized,” then wonder why the coop reeks and the windows drip. Moist air from breath and droppings has to leave, or it condenses on cold surfaces and makes frost and wet litter. Wet plus cold is where comb issues and respiratory trouble start.
Give the coop vents up high, above roost level, so air swaps without blowing across sleeping birds. Hardware cloth over openings keeps predators and rodents out, and a simple hinged cover lets you throttle airflow on windy nights. If you only have one vent, add another on the opposite wall so air can move instead of dead-ending.
2. Dry Bedding With Deep Litter Option
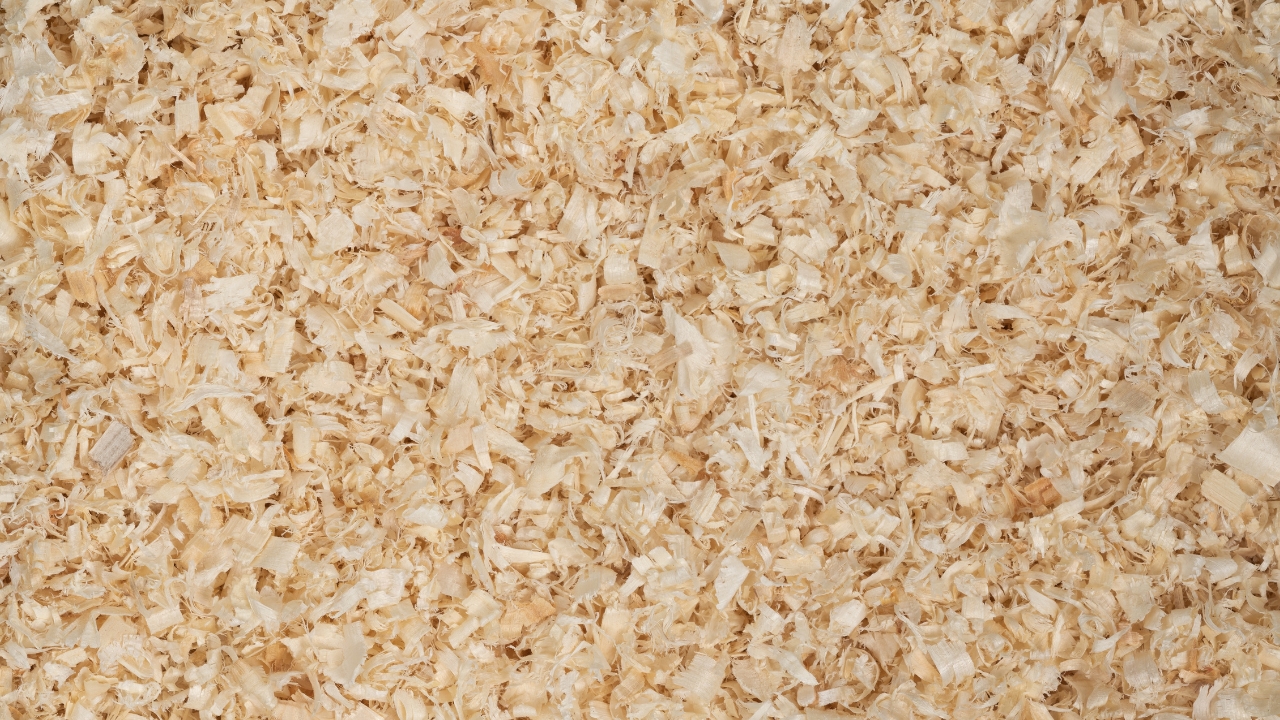
Winter bedding fails in a very specific way, it goes from “fine” to “soggy and sour” fast. Once droppings and spilled water soak the floor, ammonia climbs and feet stay damp. You’ll hear more sneezing, and you’ll notice feathers looking dingy around the vents and tails.
Start with a thick base of pine shavings or chopped straw and keep adding clean, dry material on top as it packs down. Deep litter can work well if you keep it dry and stirred, but it’s not magic. If you smell ammonia when you kneel down, you’re behind, pull wet spots and refresh, no debate.
3. Wind Block At Run Level
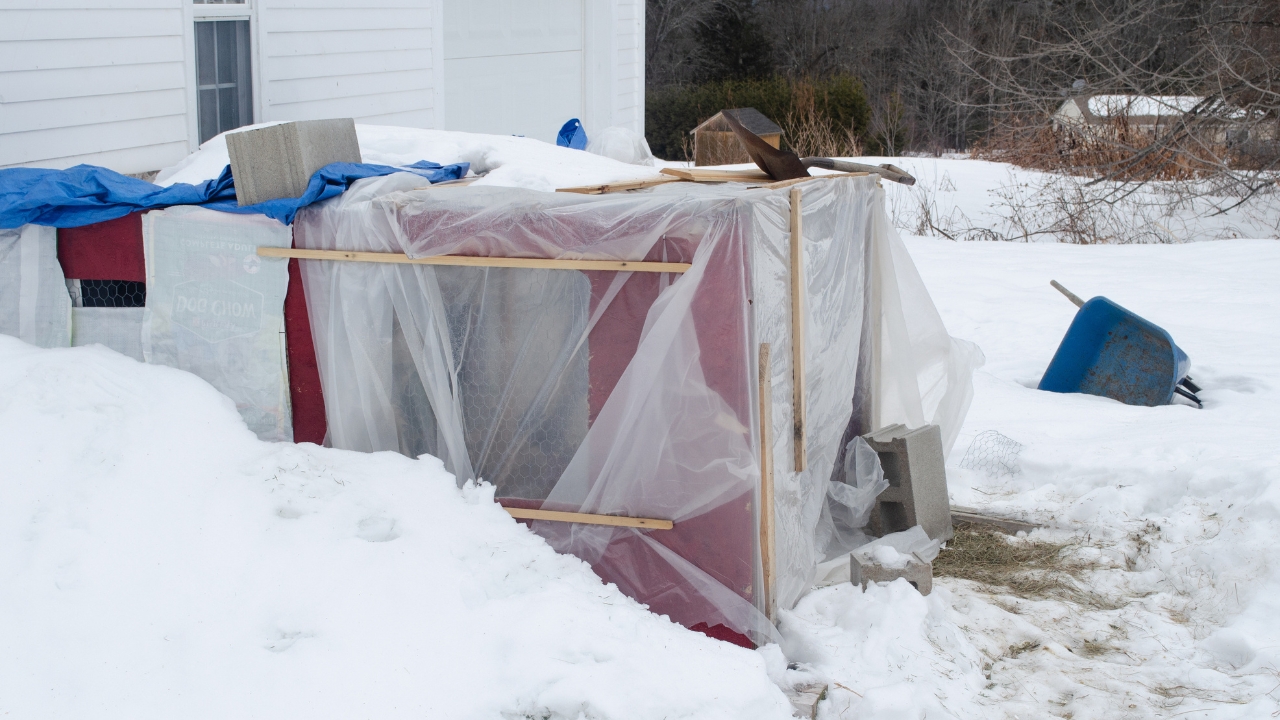
A run that feels “nice and open” in summer turns brutal once the north wind finds it. Chickens will huddle at the coop door and refuse to move, which means more poop in the coop and less exercise. Wind chill does more damage than straight cold.
Block wind on the sides that take the weather, especially at bird height. Clear plastic sheeting, tarps, or old metal roofing can work if you fasten it tight so it doesn’t flap all night. Leave some gaps up high for airflow, and don’t wrap the whole run like a gift box or you’ll trap damp air and make everything muddy.
4. A Waterer That Won’t Freeze
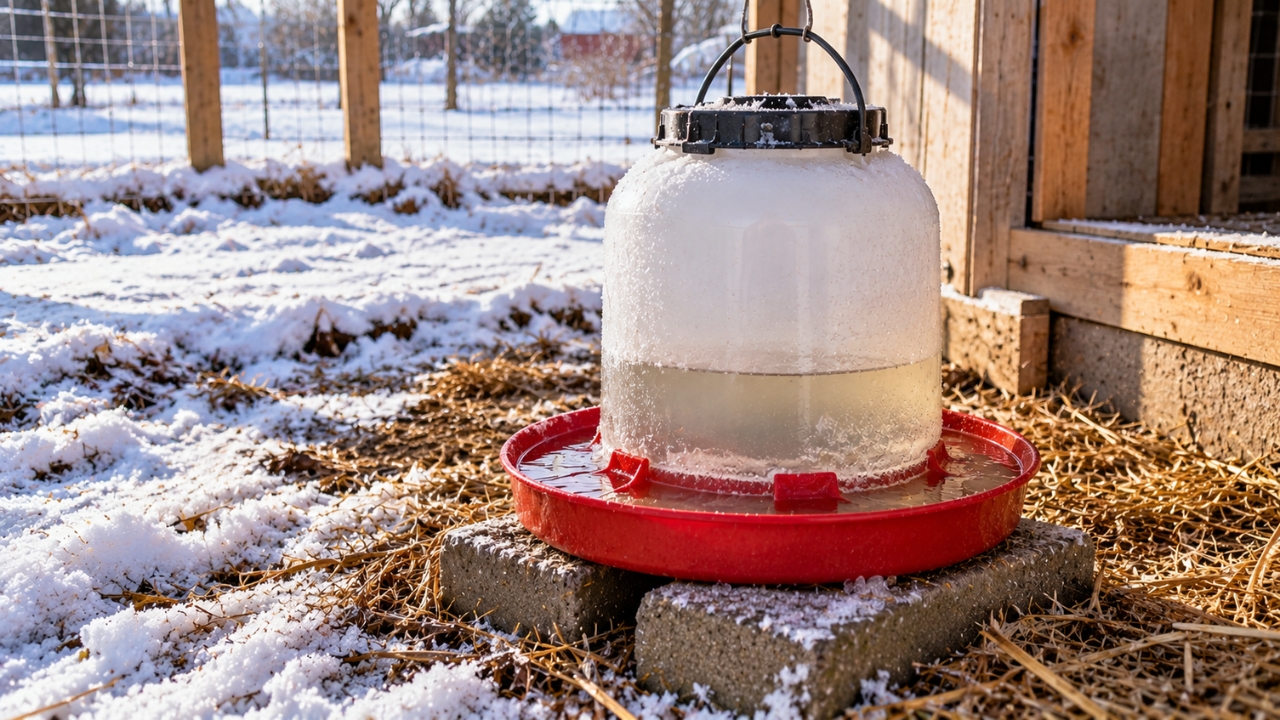
Do you want to break ice twice a day for three months? That gets old by the second week. Dehydrated birds eat less, lay less, and peck more. Frozen water also leads to sloppy “quick fixes” like open buckets that get fouled in a day.
A heated base under a metal waterer, a heated poultry waterer, or a heated dog bowl in a protected corner all beat the ice-chipping routine. Plug into a GFCI outlet and run a proper outdoor-rated cord where birds can’t peck it and you won’t trip over it in the dark. If your winters are mild and only freeze overnight, the cheap option is fine, swap in warm water morning and evening and keep a spare waterer ready.
5. Predator Proof Latches And Skirt
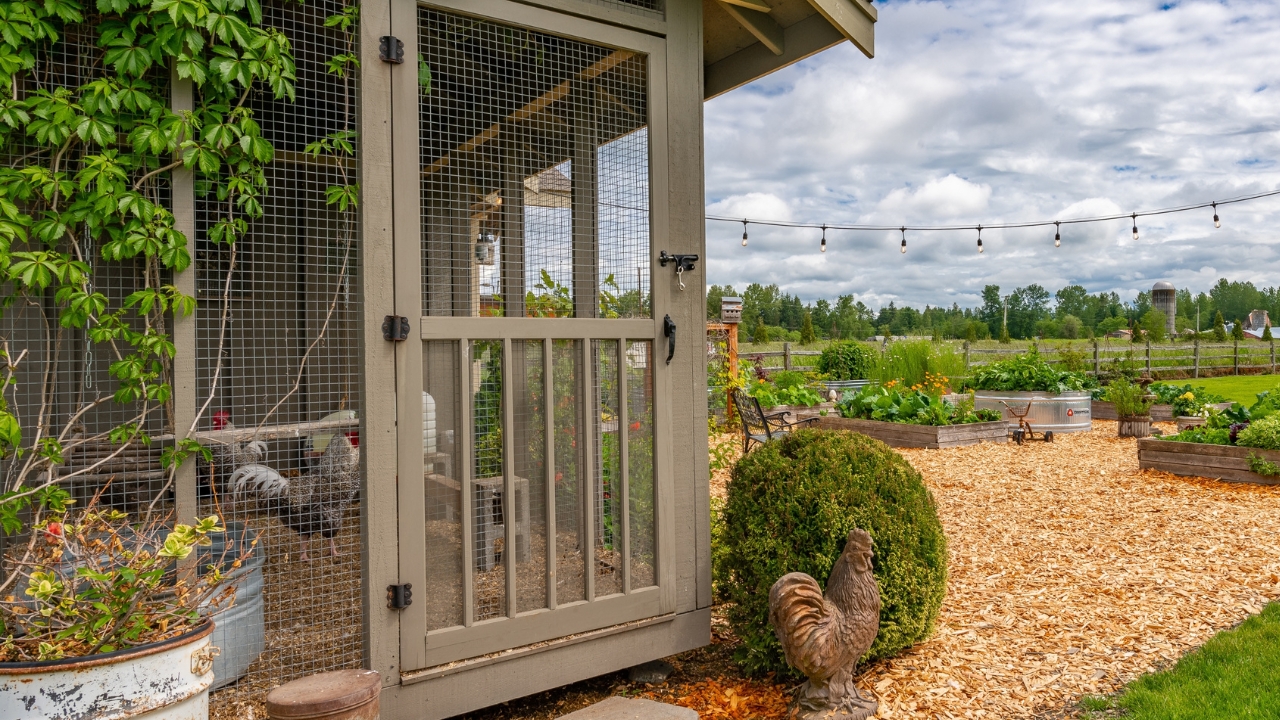
Snow and hunger change the predator schedule. Animals that usually hunt at the edges get bold, and a single weak latch turns into a torn door by morning. If you see muddy prints on the coop wall after a thaw, something is already testing you.
Use latches that need a hand to open, not a raccoon-friendly flip. Add a wire skirt or buried hardware cloth around the perimeter so digging hits wire, not wood. Chicken wire is fine for holding chickens, but it’s not security.
6. Roosts Wide Enough For Warm Feet
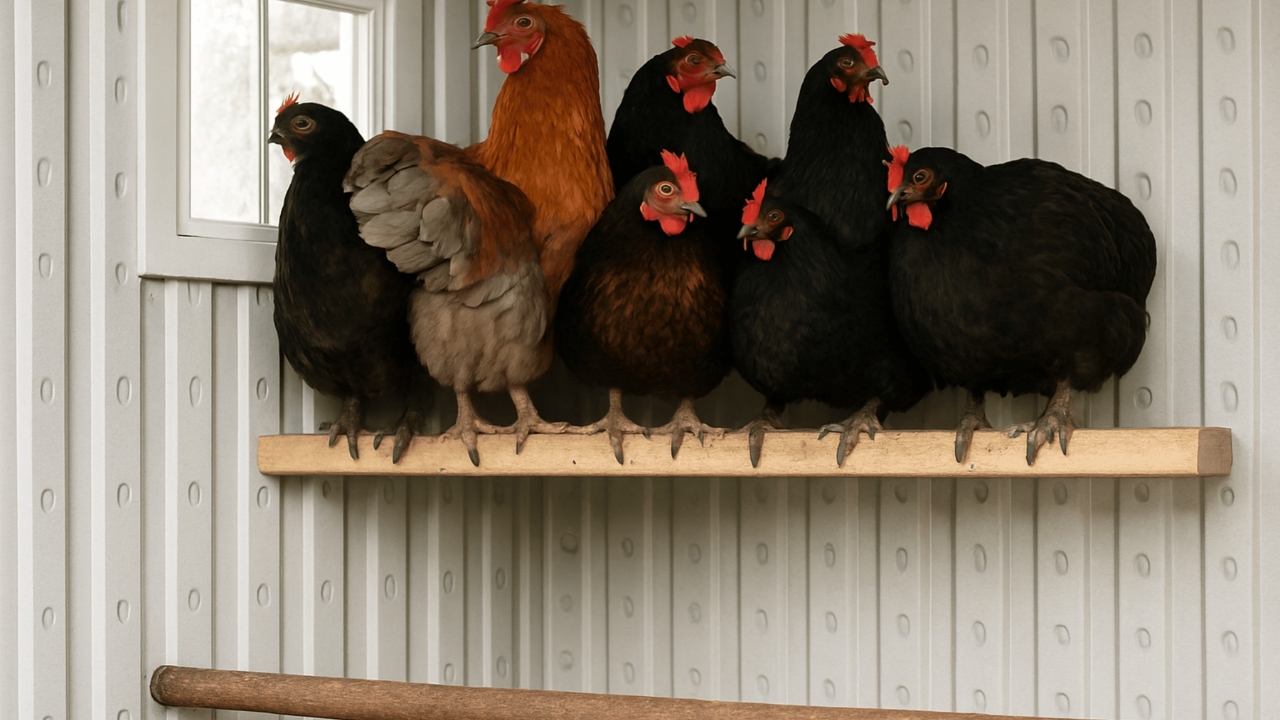
Narrow perches look tidy, then winter hits and toes hang off into cold air. That’s when you start seeing birds tucking one foot up, then the other, all night. They’re trying, but the roost is working against them.
A 2×4 set flat gives a broad perch so birds can sit with feet covered by feathers. Mount roosts higher than nest boxes, but not so high a heavy bird crashes down and strains a leg. If you change roost height, do it before the first hard freeze so they can get used to it without stress.
7. Nest Boxes That Stay Clean And Dry

Winter eggs get filthy because birds spend more time inside and track in wet litter. Once a nest box becomes the favorite nap spot, eggs crack and freeze, and cleanup turns into a daily chore. You’ll also get that sour smell from damp nesting material.
Keep nest boxes darker than the roost area and block drafts that blow straight through them. Refresh nesting material often in winter, and pull out anything wet the same day. If you have chronic sleeping-in-the-box behavior, close the boxes at night for a week and reopen after morning lay.
8. Tight Feed Storage That Beats Rodents
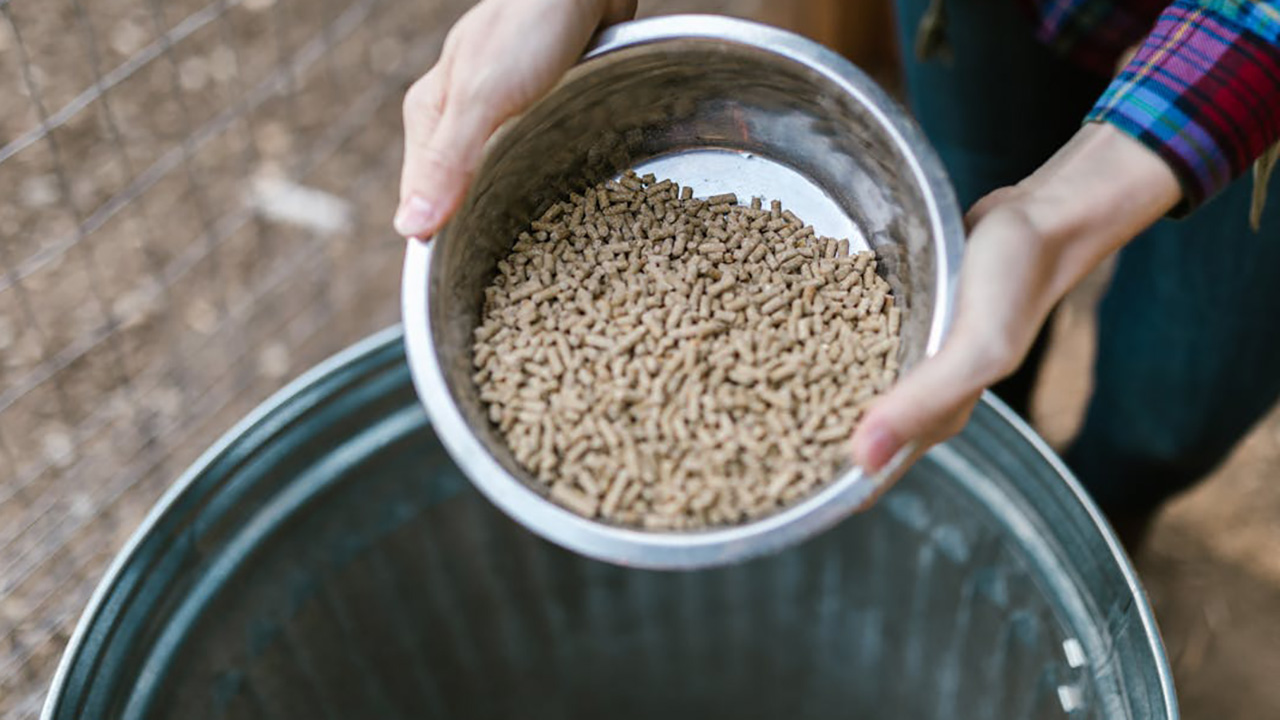
Nothing invites mice like winter feed kept in a cracked tote or open trash can. Rodents chew insulation, foul feed, and set up shop under the coop where it’s warm. You might not notice until you see burrows in the snow or feed dust trails along the wall.
Store feed in a metal can with a locking lid, and keep it off the floor on blocks or a small pallet. Sweep spills right away and don’t leave scratch grains in the run overnight. If you add a treadle feeder, set it up before winter so the flock learns it when the weather is calm.
9. A Simple, Safe Light Plan
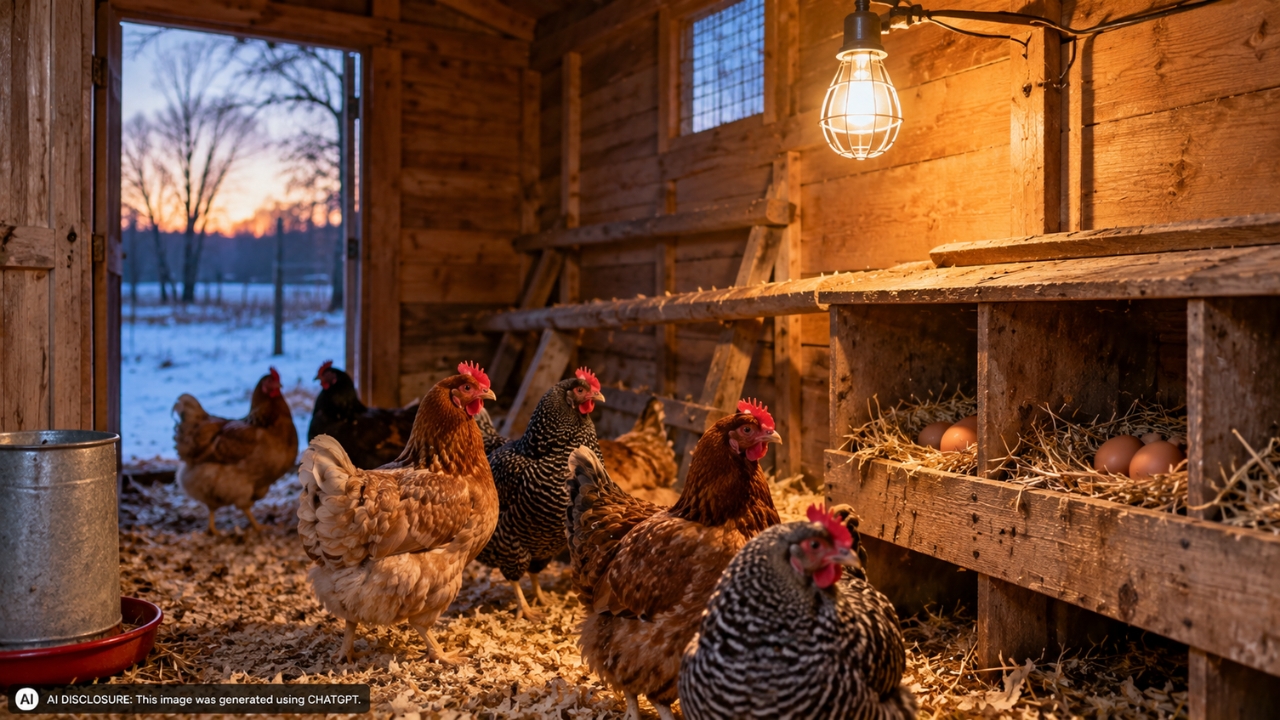
If you add light to push egg production, do it like you’re wiring a damp shed, because you are. Bare bulbs and cheap clip lights get dusty, then they get bumped. That’s how you end up with a broken bulb in bedding.
Use an enclosed LED fixture or a bulb in a guarded housing, mounted where birds can’t reach it. Put it on a timer so the day extends in the morning, not late at night, and keep wiring protected in conduit or guarded by boards. If you’re not comfortable with electrical work, hire a licensed electrician for any new outlets or circuits.
10. Midwinter Access For You, Not Just Chickens
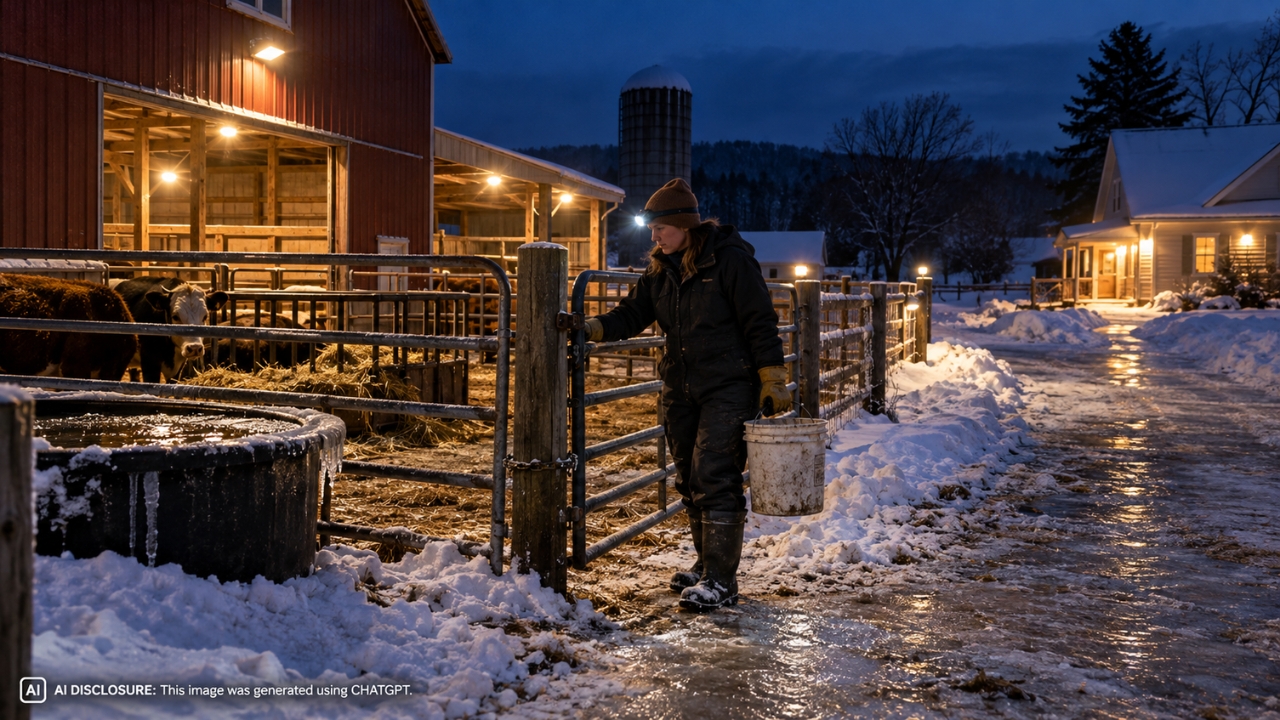
The coop can be perfect for birds and still be a pain for you, and winter punishes that mistake. A door that sticks after a freeze or a roof you can’t reach safely means you skip maintenance. Then small problems stack up.
Make sure you can open every door with gloves on, and that locks don’t freeze shut. Keep a shovel and a bucket of sand or chicken grit near the path so you’re not skating on ice at sunrise. If your coop sits low, add a simple stepping platform or pavers so you aren’t standing in slop while you carry water.
Do one walk-through on a windy, damp day before the real cold sets in. If you can smell ammonia, feel a draft at roost height, or spot condensation on walls, fix that first and the rest gets easier. Winter care is mostly small chores done on time, not big projects done once.
Like Fix It Homestead’s content? Be sure to follow us.