Best Chest Freezers for Storing a Whole Deer
Photo credit: Magician Artist/Shutterstock.com
You get the deer home, you’re tired, and the weather’s doing whatever it wants. Now you need cold storage that won’t leave you trimming off freezer-burned meat all winter or playing freezer Tetris at midnight. A chest freezer can handle it, but only if you buy the right size and set it up like you mean it.
1. Seven Cubic Feet Is Too Small
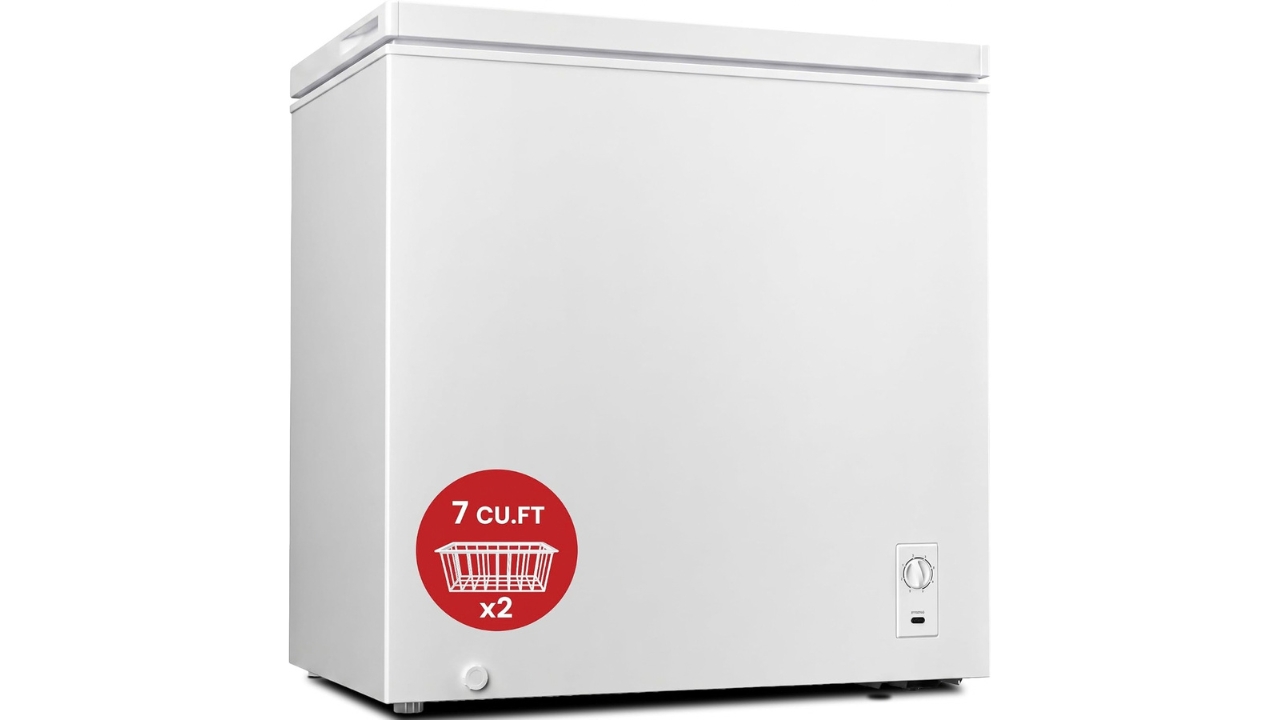
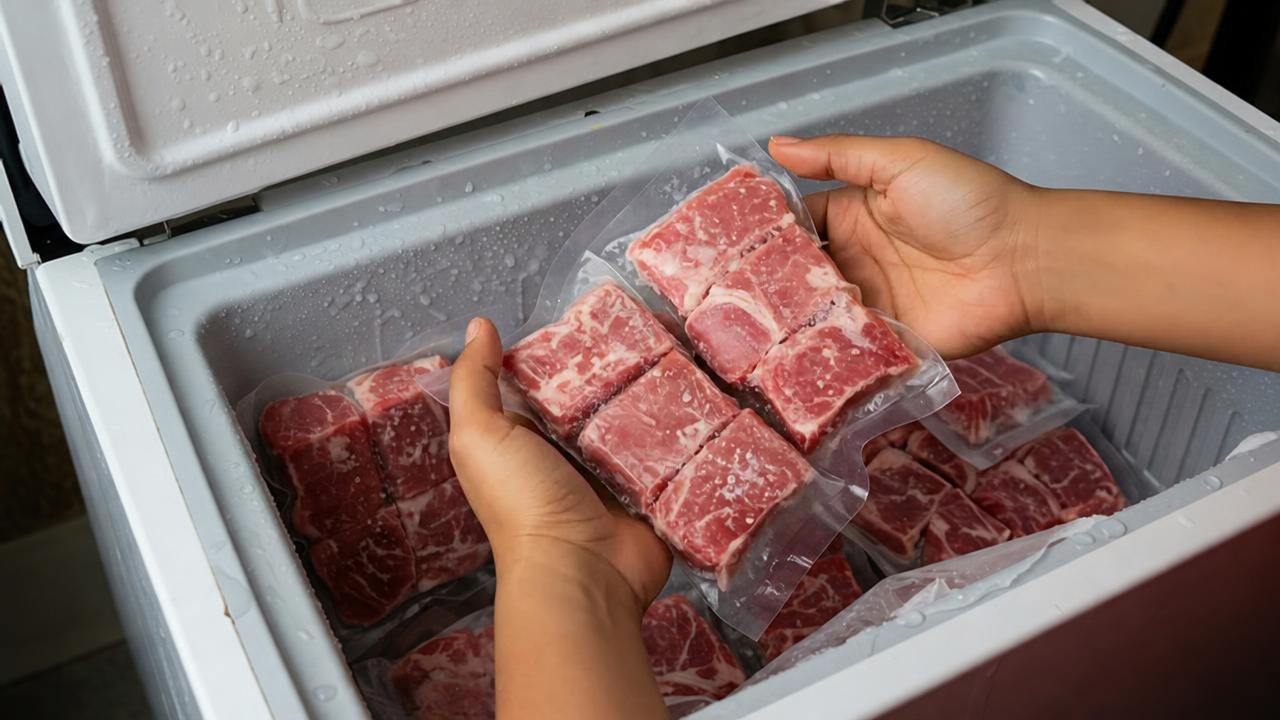
The biggest mistake is buying for “some meat” instead of a whole animal. A 7 cu ft chest freezer sounds roomy in the store, then you try to fit quarters, backstraps, trim, and a pile of burger and it turns into a jammed-up mess that won’t freeze evenly. You end up stacking warm packages too tight, and the center stays soft longer than it should.
For most deer, 9 to 14 cu ft is the comfortable zone if you’re freezing cut and wrapped packages. If you plan to freeze big quarters or lots of bone-in cuts, lean toward 14 to 16 cu ft so air can move around the load. Bigger than you need is fine if you have space, but only if you can keep it organized and mostly full.
2. Sixteen Cubic Feet Wastes Money
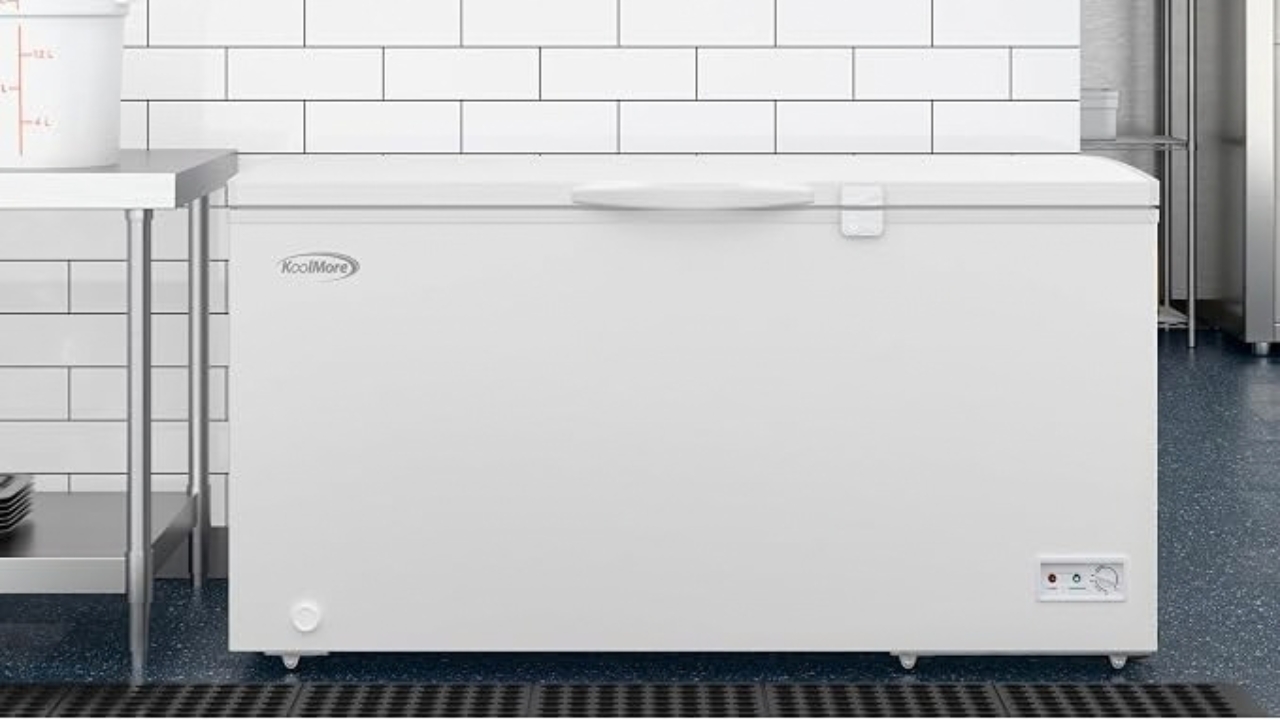
Going huge “just in case” can be a slow bleed on the electric bill, especially if you only fill it during hunting season. An oversized freezer that sits half-empty most of the year cycles more than it needs to, and it takes longer to recover after you rummage. The space also invites clutter, and mystery meat is how packages get lost until they’re trash.
If you truly only need one deer a year, a mid-size chest freezer often hits the sweet spot. Put the money you saved into better packaging, a spare thermometer, or a small generator plan for outages. The only honest reason to go big is if you also stockpile garden produce, buy bulk meat, or plan on two deer and a hog some years.
3. Frost-Free Uprights Dry Out Meat
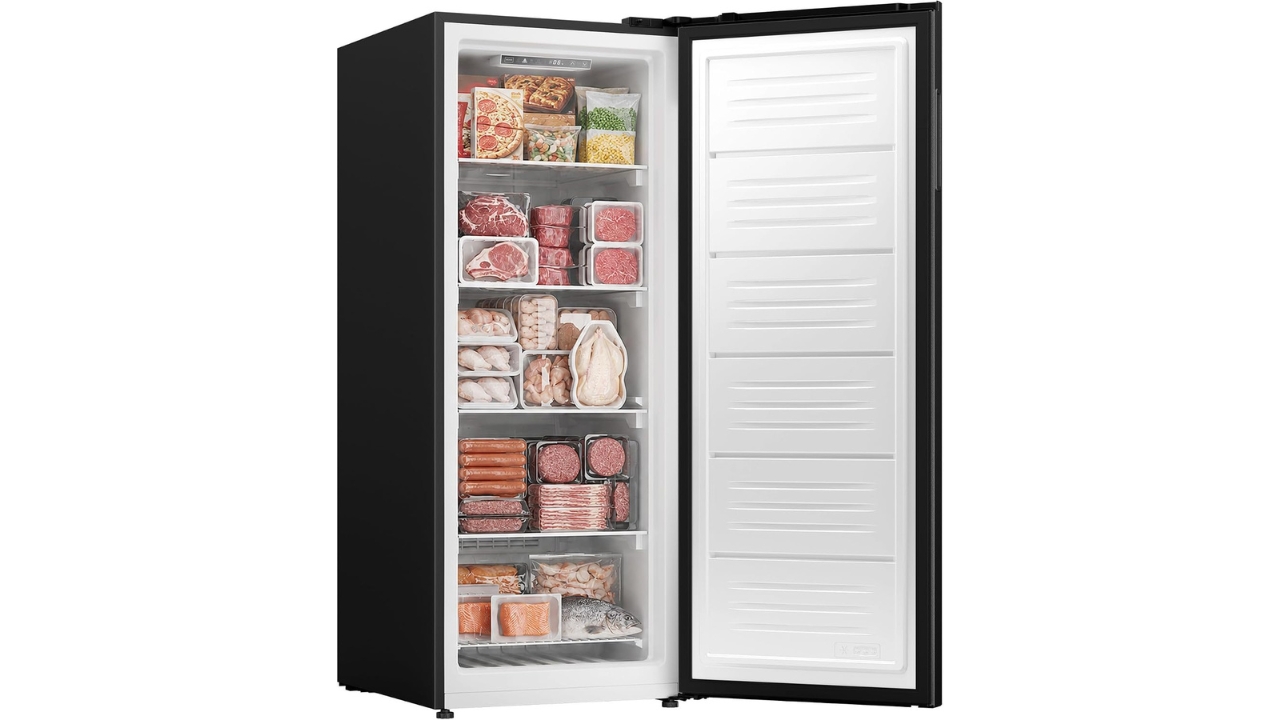
Upright freezers are tempting because you can see everything. The trouble is most uprights are frost-free, which means they run a defrost cycle that warms the coils and moves moisture out of the freezer space. Over time, that dries out your packages faster and turns a thin wrap job into freezer-burn city.
A manual-defrost chest freezer stays more stable, holds cold longer in a power outage, and treats meat better. If an upright is what fits your back and your floorplan, it can still work, but plan on heavy-duty packaging and rotating stock sooner. For long holds, chest wins.
4. Thin Metal Baskets Turn Into Chaos
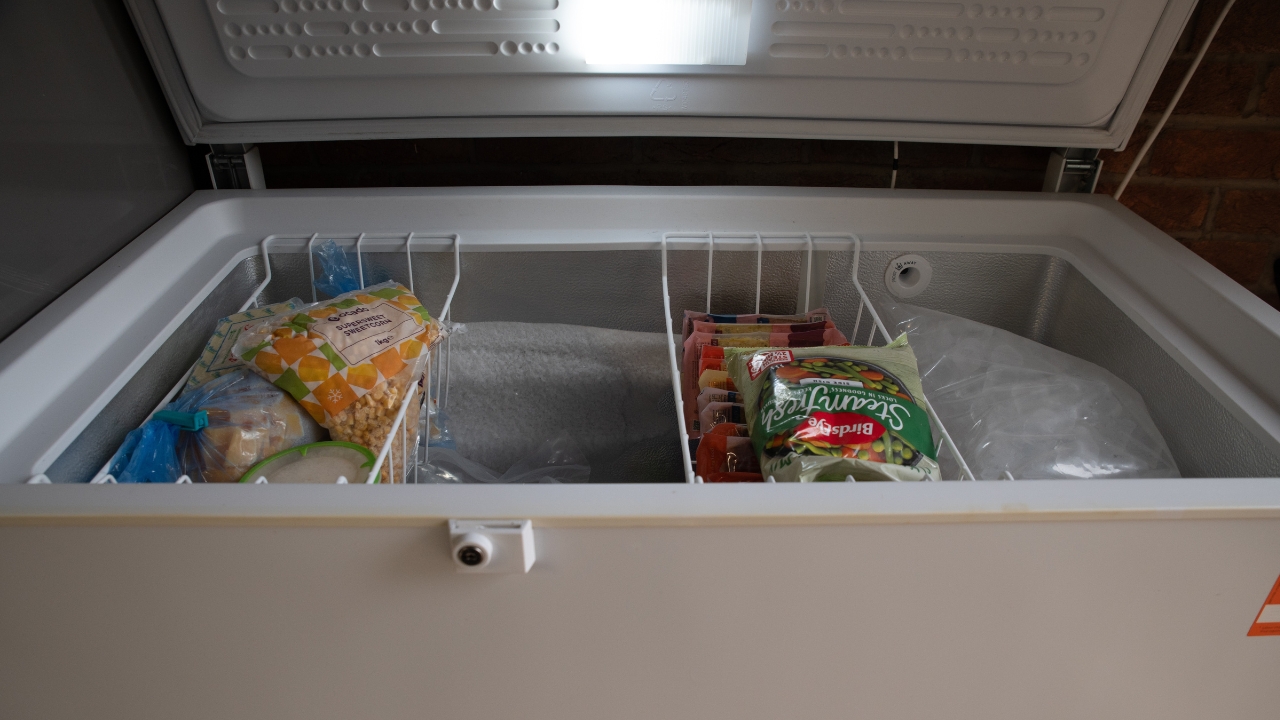
People act like baskets are optional until they’re digging to the bottom, arm numb, trying to find a single roast. Most chest freezers come with one or two light baskets that sag, pop off the rails, and end up buried. Then you’re stacking packages like bricks and breaking seals every time you move them.
Pick a freezer that includes at least two sturdy sliding baskets, or budget to add your own bins. Milk crates, dish tubs, and small tote boxes work if they fit under the lid without crushing. Label bins by cut type, and you’ll stop thawing your forearm every time you need burger.
5. Garage Placement Starves The Compressor
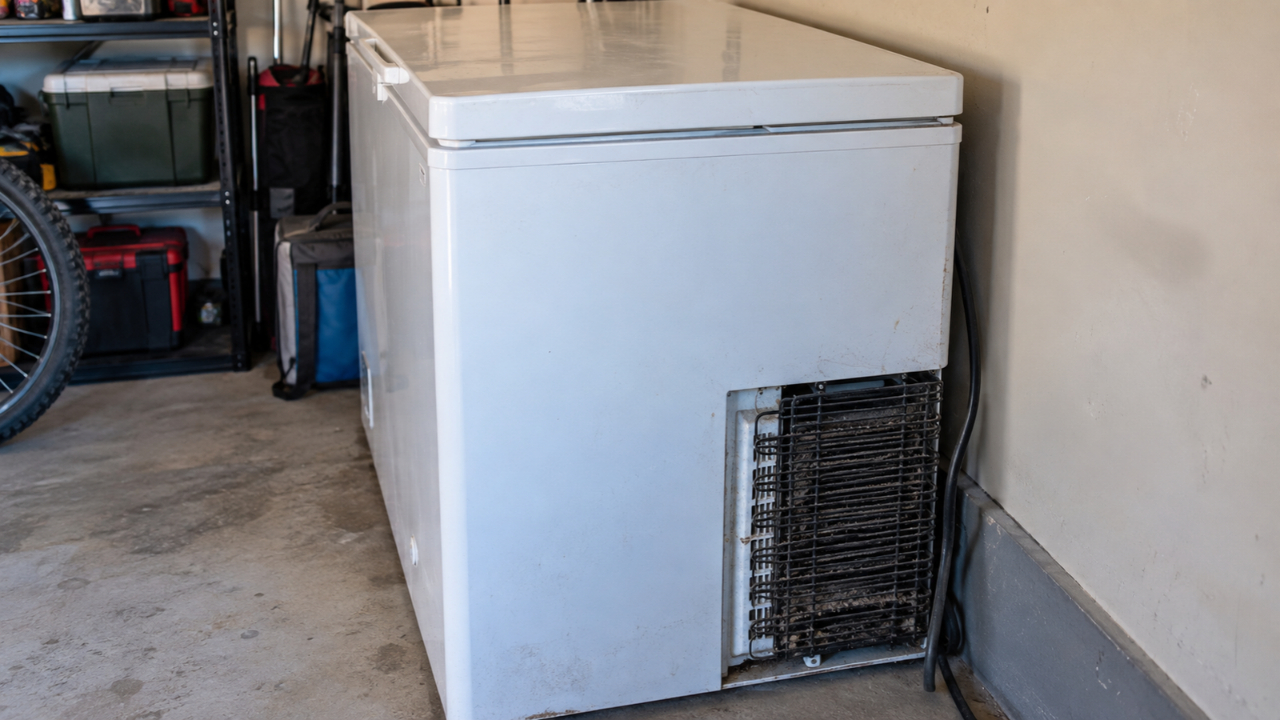
A chest freezer shoved tight against a wall runs hotter, longer, and louder. You’ll hear the compressor labor and feel extra heat on the sides if airflow is blocked. That wear shows up as a shortened life, right when you’re counting on it.
Give it breathing room, usually a few inches on the sides and more at the back if the coils are there. Vacuum the vents and coils a couple times a year, especially if you’ve got pets or a dusty shop. If the manual says a certain clearance, follow it. That little gap is cheaper than a service call.
6. Unheated Outbuildings Can Be A Problem
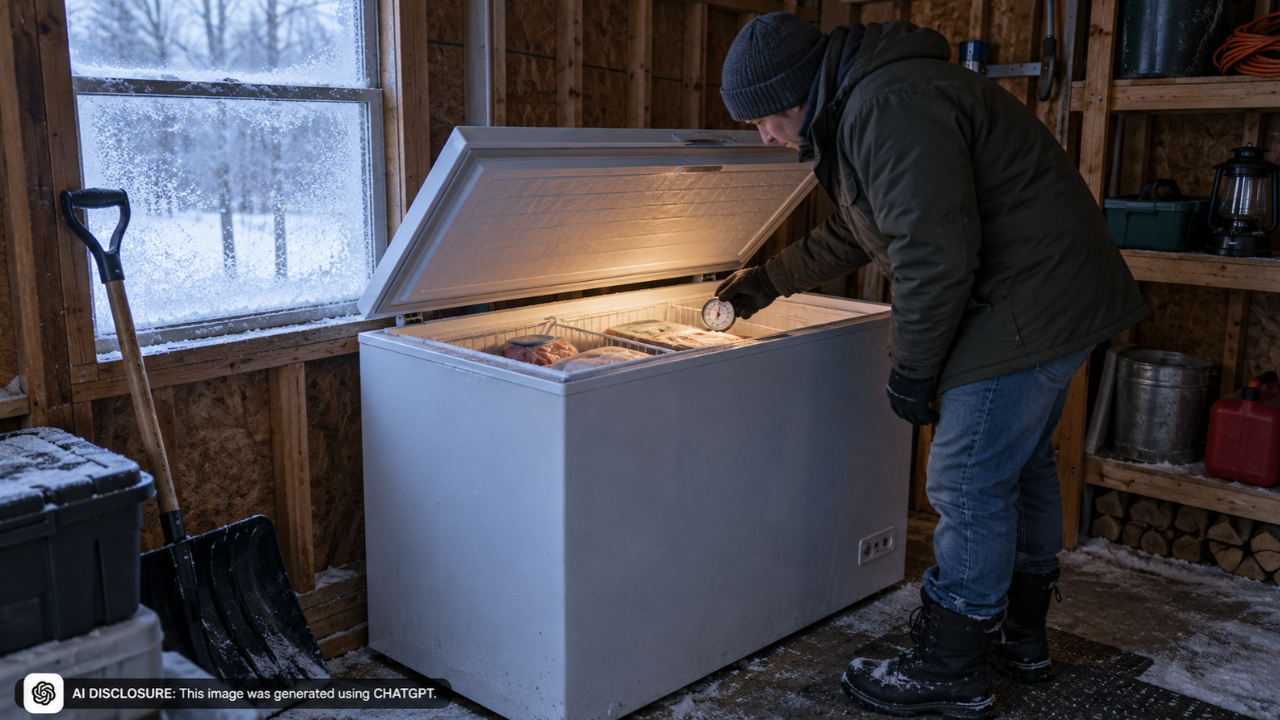
Cold sheds and porches seem perfect, but some freezers don’t like deep cold around them. When the room drops near freezing, certain thermostats quit calling for cooling, and your food can drift warmer than you think. It’s a nasty surprise because the freezer still sounds “fine,” it just doesn’t run much.
Look for a model rated for garage use, or at least one that’s known to behave in low ambient temps. If you keep it in an unheated place, put a thermometer inside and check it when the weather swings hard. If it can’t hold 0°F steadily, move it or pick a unit built for the job.
7. Too Few Amps On The Circuit
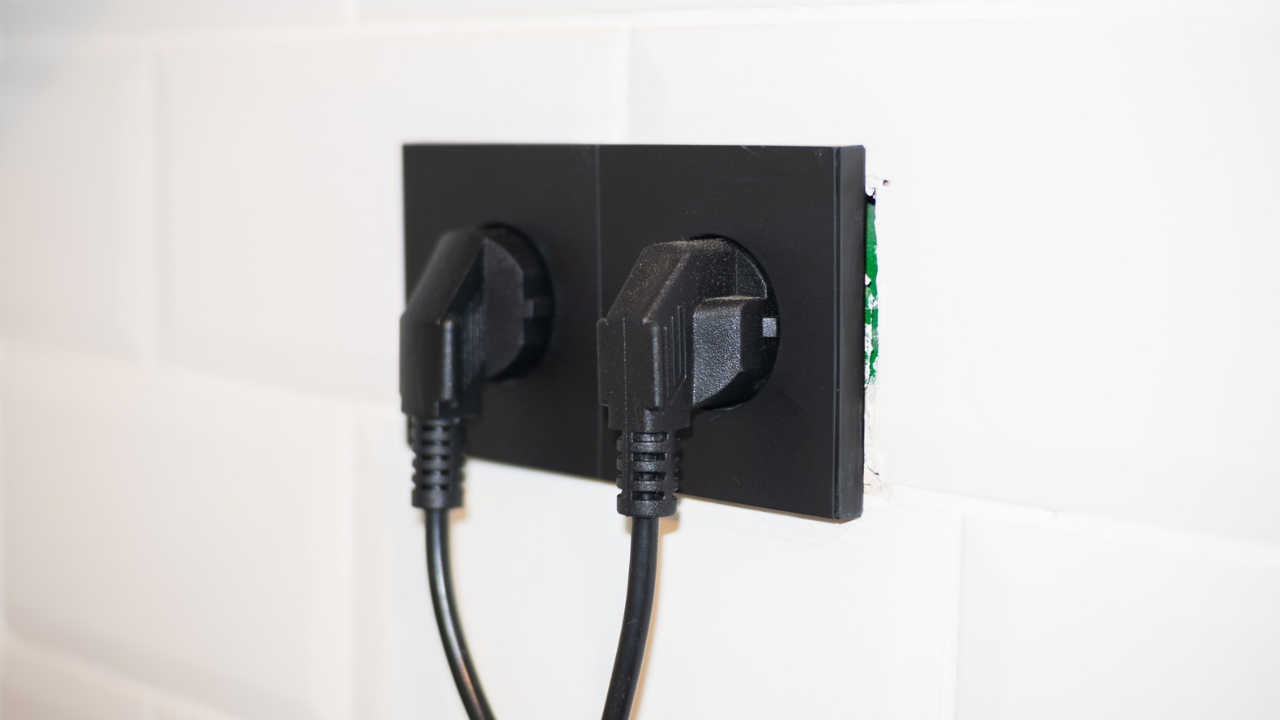
The freezer works great until it’s sharing an outlet with a beer fridge, a heater, or a battery charger. Then you get a tripped breaker sometime after midnight and wake up to a softening load. Chest freezers don’t pull huge power running, but startups and shared circuits cause trouble.
Put it on a dedicated circuit if you can. If you’re not sure what’s on that line, map the outlets, flip breakers, and label the panel. If adding a circuit is needed, hire a licensed electrician and follow local code, especially in garages and outbuildings where GFCI rules come into play.
8. GFCI Nuisance Trips Need A Plan
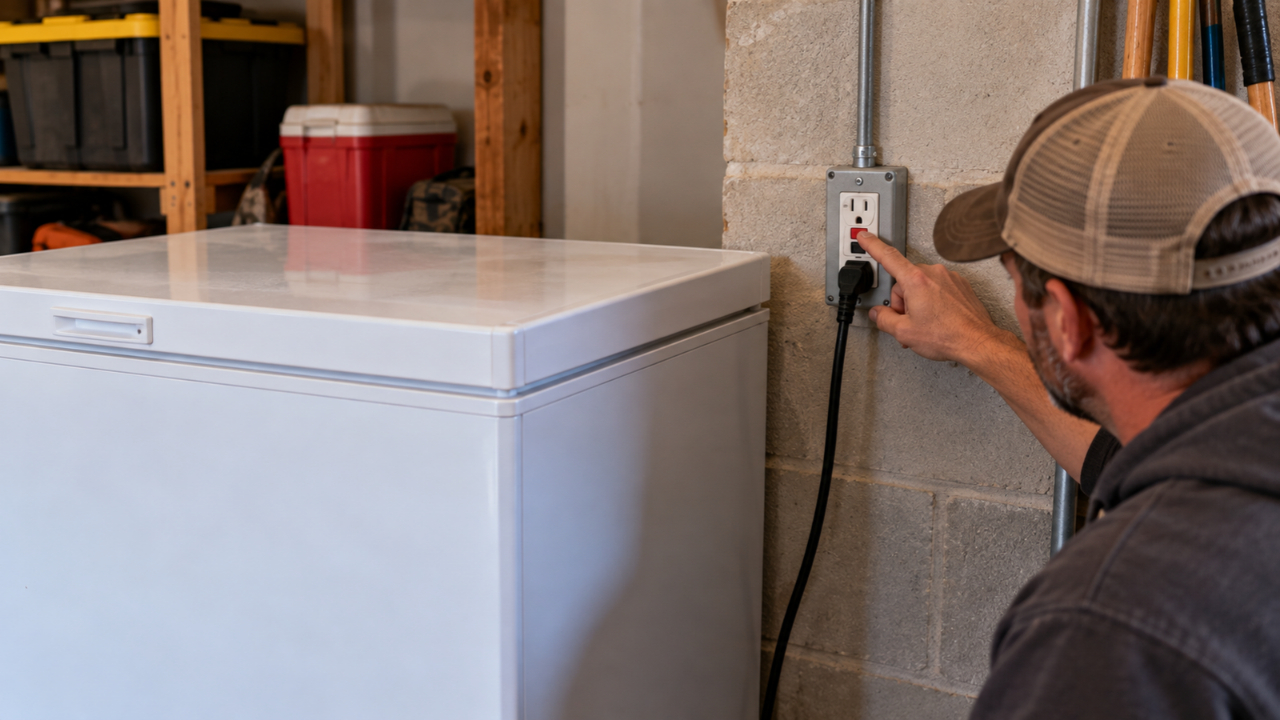
Garage outlets are often GFCI protected, and sometimes a freezer will trip them on startup. It doesn’t mean the freezer is “bad,” but you can’t ignore it either. A single nuisance trip can wipe out a season’s meat.
Start by using a good outlet, a solid plug connection, and no extension cord. If it keeps tripping, get an electrician to check the circuit, the receptacle, and the freezer current draw. Don’t bypass safety devices. A simple fix might be a new receptacle or a dedicated circuit wired correctly.
9. Skipping An Alarm Is A Rookie Move
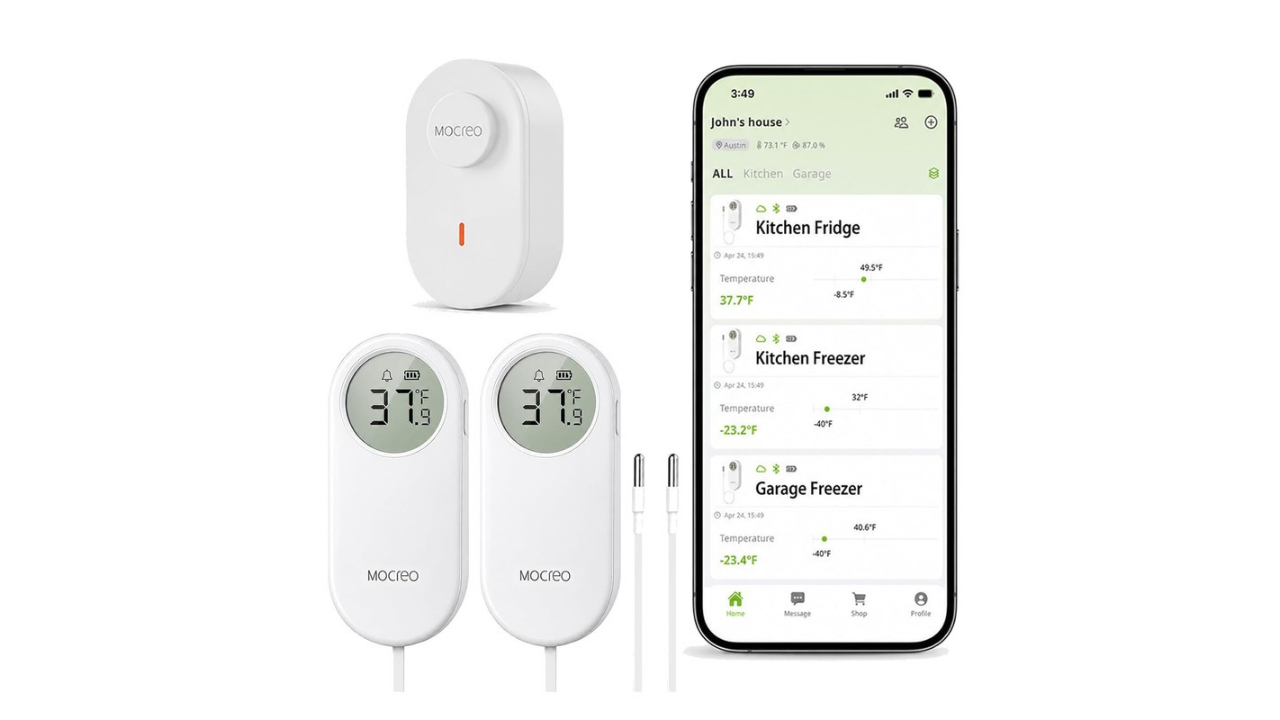
Freezers fail quietly. A lid left cracked, a breaker tripped, or a dying compressor can sit for hours before anybody notices. By the time you smell it, you’re done.
Use a freezer alarm that screams when temps rise, or a wireless thermometer with alerts to your phone. Keep the sensor in the middle of the load, not dangling near the lid. This is one of the few add-ons that pays for itself fast if it ever saves one deer.
10. Buying Used Without Checking The Seal
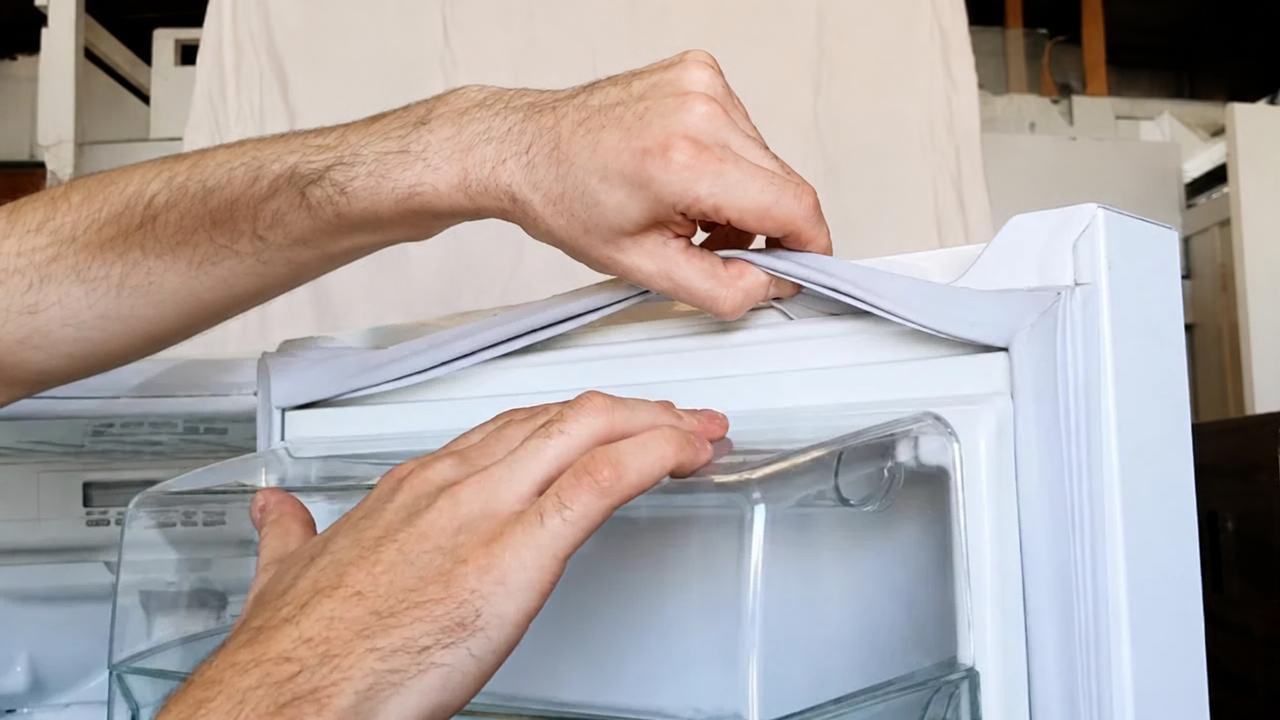
A used chest freezer can be a bargain, and sometimes the cheap option really is fine. The common failure is the lid gasket. If it’s torn, stiff, or bowed, you get frost buildup, long run times, and slow temperature recovery after loading meat.
Do a simple paper test: close the lid on a strip of paper and tug. You should feel strong drag all the way around. Also look for rust around the rim and heavy ice lines, both signs of air leaks. If the seal is bad and parts are hard to find, walk away.
11. No Drain Plug Means Messy Defrosting
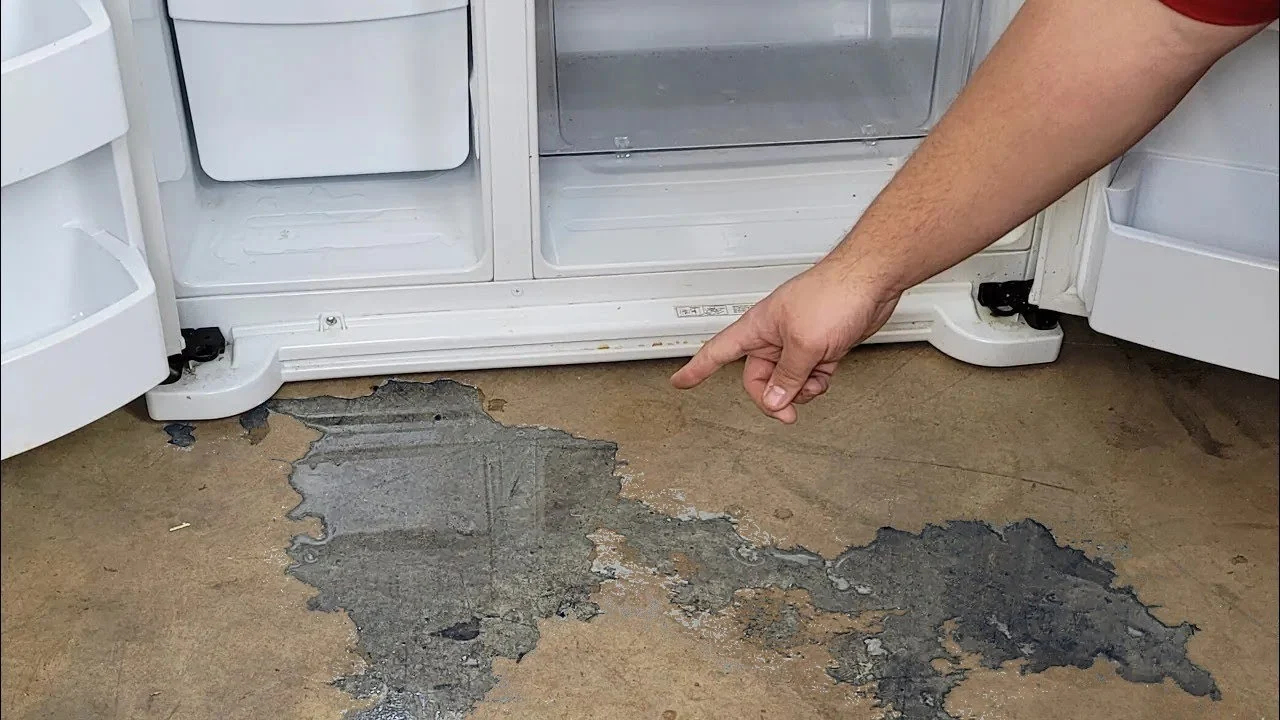
Manual-defrost is great for meat, but you still have to defrost. Without a usable drain, you’re chipping ice and soaking towels until the floor looks like a flooded basement. People put it off for years, and ice steals space and hurts efficiency.
Pick a unit with a bottom drain and a simple access cap. When it’s time, move food to coolers, unplug the freezer, and let it melt with the lid open. Skip knives and screwdrivers for chipping. They slip, and puncturing the liner can ruin the freezer for good.
12. Loading Warm Meat Overworks The Freezer
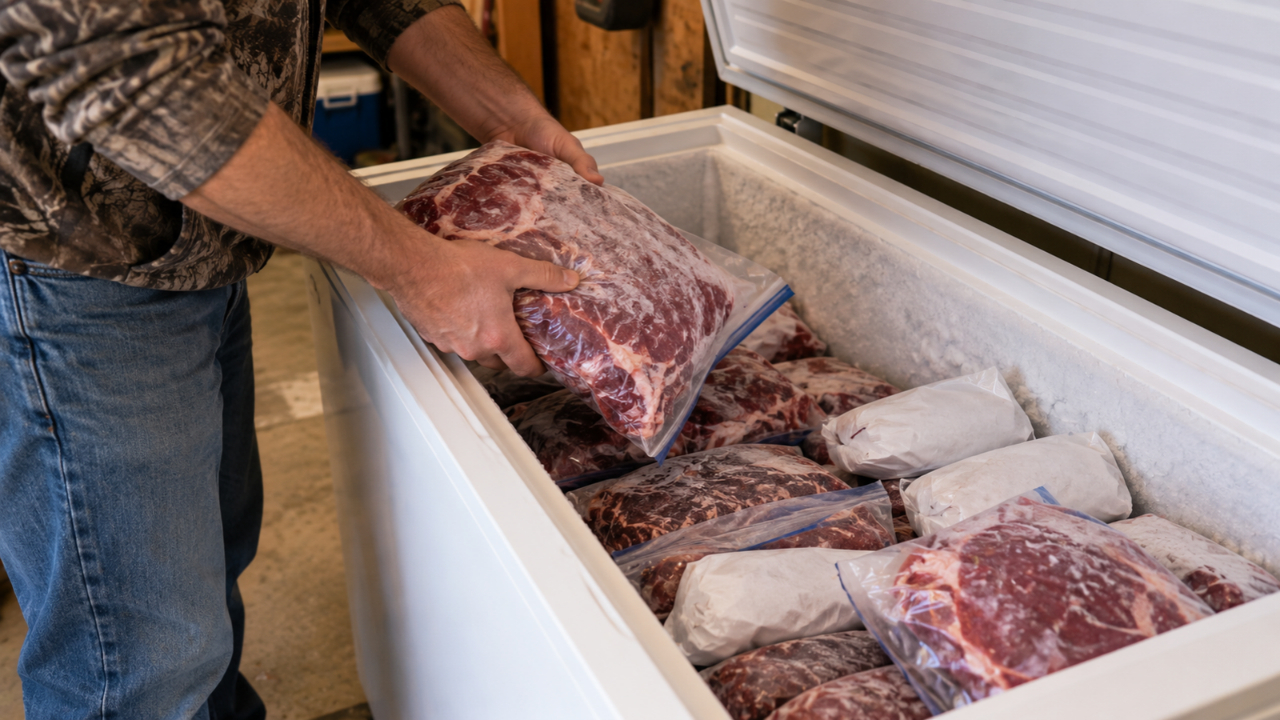
After a long day, it’s tempting to toss in big warm bags and shut the lid. The freezer will eventually catch up, but it can take a long time, and everything already inside warms too. That’s when you get frost inside packages and a gritty texture later.
Chill the meat first if you can, using a fridge, coolers with ice, or a clean, cold room. Freeze in smaller batches so the unit doesn’t get slammed all at once. A chest freezer works best when it’s bringing already-cold meat down the last stretch, not trying to pull heat out of a whole deer in one shot.
13. Short Freezers Don’t Fit Quarters
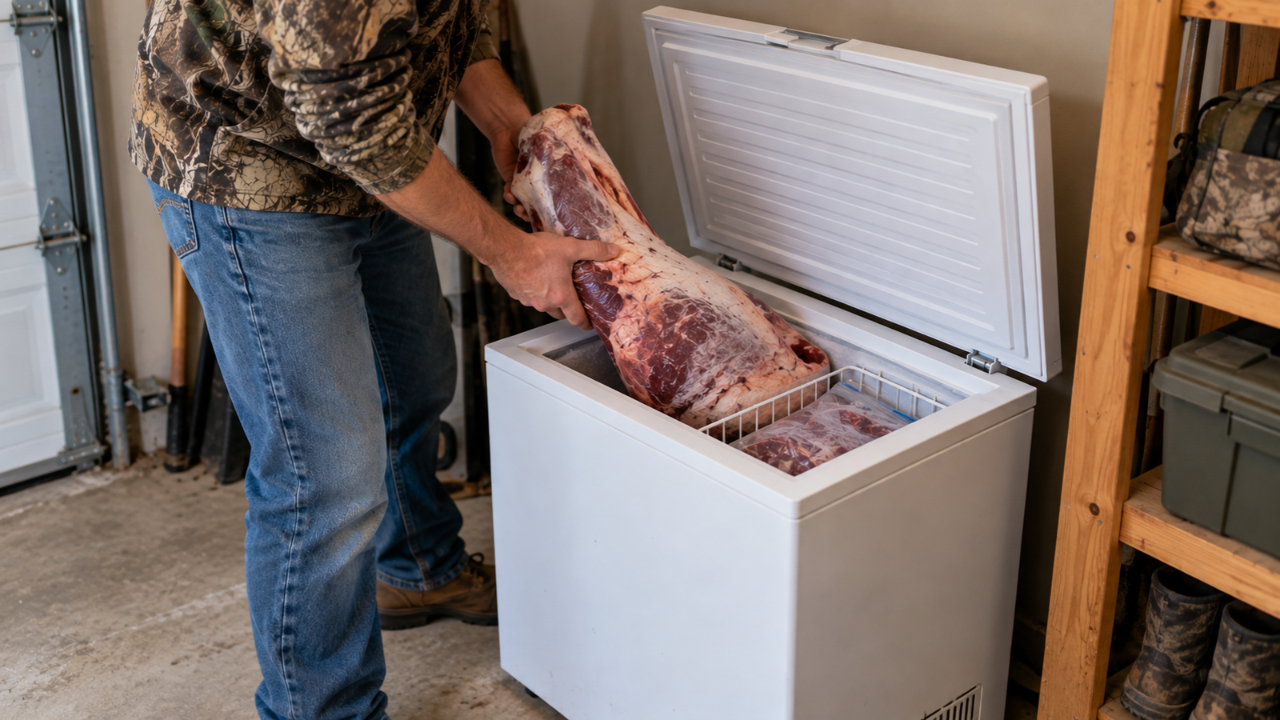
Some compact chest freezers are wide but shallow. They look big, but tall items won’t lay flat, and you end up bending quarters or stacking in a way that keeps the lid from closing right. Even a small lid gap will build frost and wreck the seal.
Check interior depth and the hump over the compressor. If you plan to freeze bone-in quarters, you want enough vertical room to lay them without forcing. Bring a tape measure, and think about the size of your largest cuts, not just the total cubic feet number on the tag.
14. Cheap Lids Slam And Break Hinges
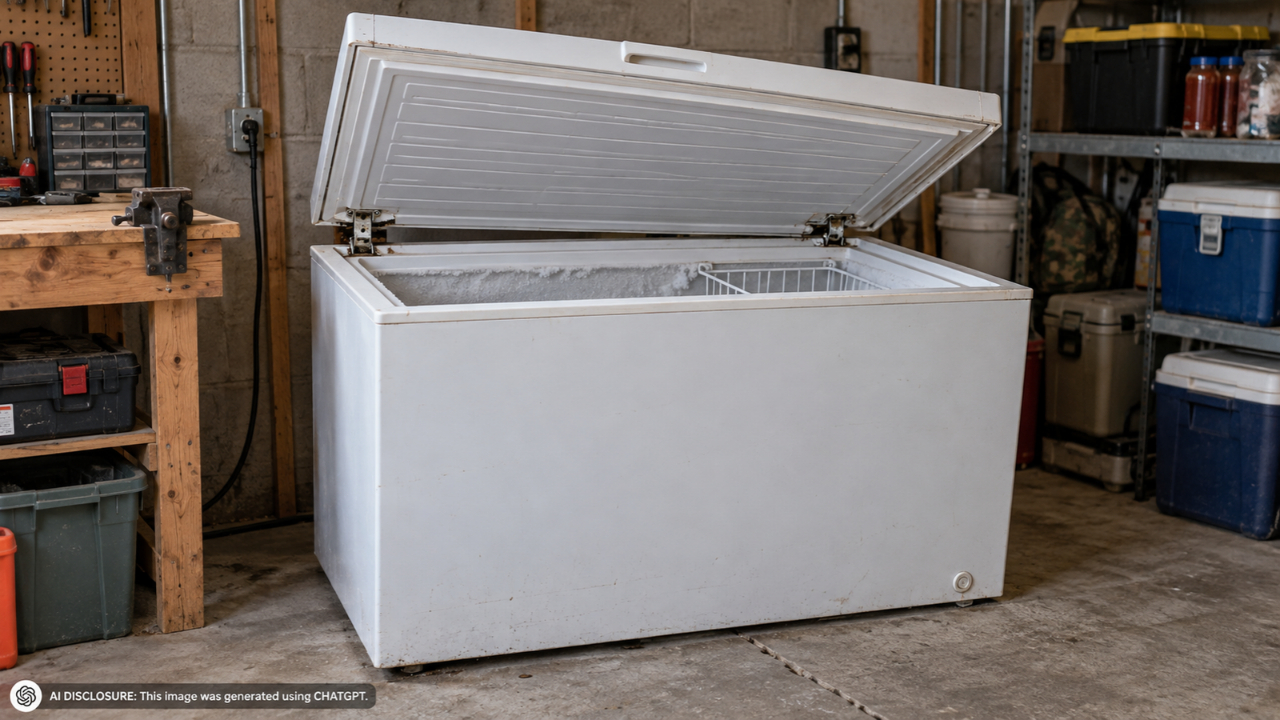
Some lids feel like a truck tailgate. They slam shut, pinch fingers, and tweak hinges over time, especially on uneven floors. When the lid sits a little crooked, the gasket stops sealing evenly.
A lid that stays up on its own is worth paying for if you’re in and out during processing. If the lid is heavy, add a simple habit: open it fully and don’t let it drop. Check that the freezer sits level side-to-side so the lid isn’t fighting the frame.
15. No Plan For Outages Ruins Everything
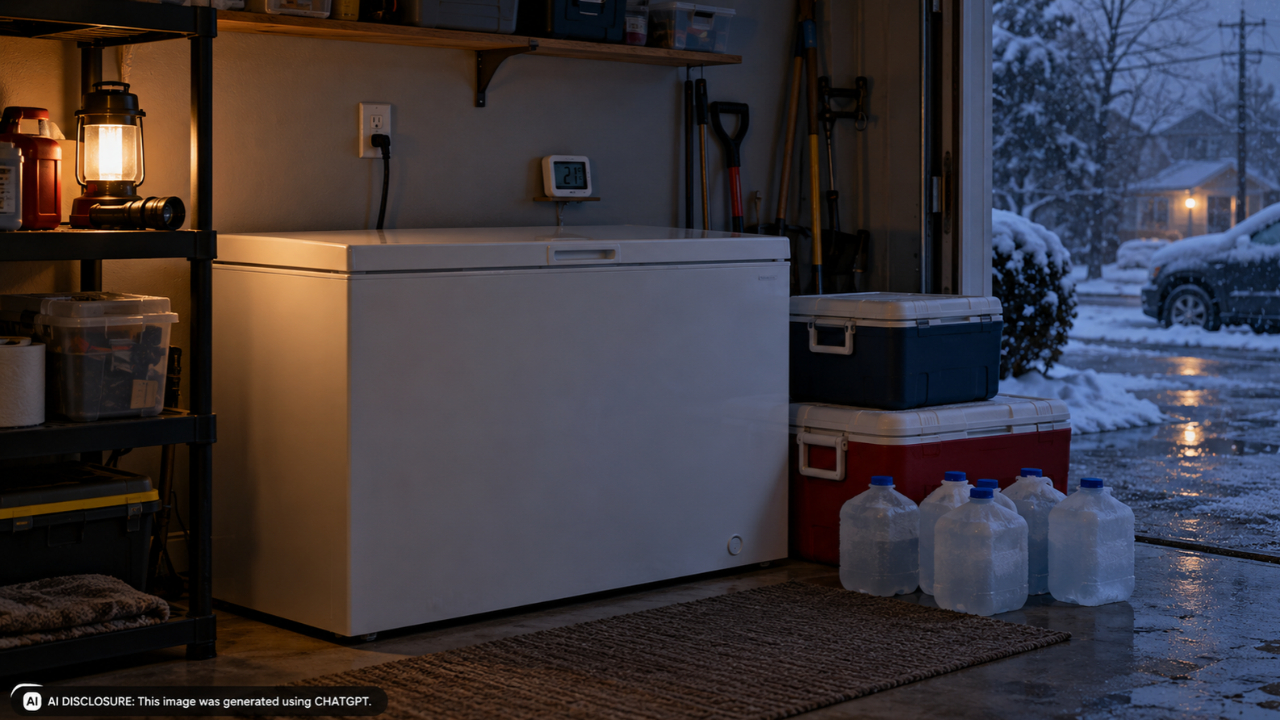
Power goes out in the exact weather that fills freezers, early winter storms and wet snow. A chest freezer holds cold well if you keep the lid shut, but that time isn’t endless. The stress is worse if you don’t know how cold it actually is inside.
Know where your coolers are, keep a few frozen jugs ready as extra thermal mass, and keep a thermometer you can read fast. If outages are common, a properly sized generator connection is worth pricing out. Have an electrician install any transfer equipment required by local code.
A good chest freezer for a deer is one you can load without crushing packages, power without drama, and check without guessing. Put it where it can breathe, give it a clean circuit, and get serious about organization. The meat will keep better, and you’ll spend less time digging and more time cooking.
Like Fix It Homestead’s content? Be sure to follow us.