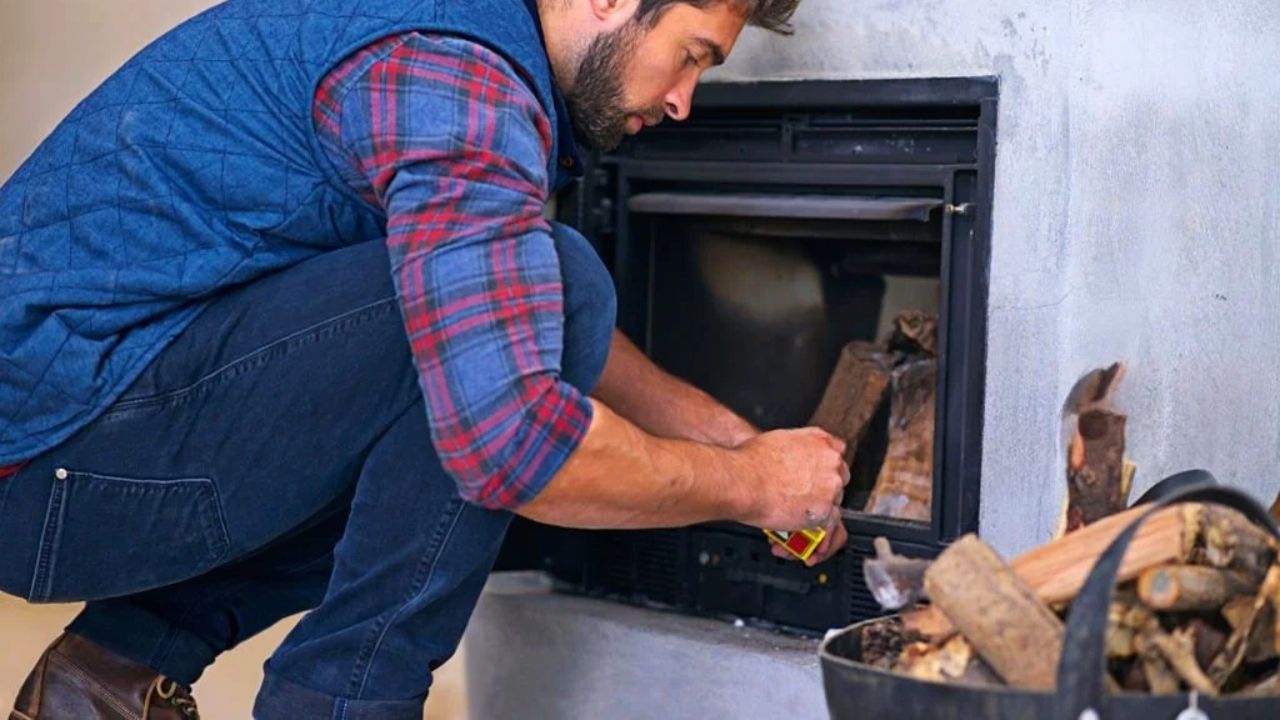
10 Mistakes People Make the First Time They Burn Wood
Photo credit: Yuri_Arcurs/Istock.com
Burning wood looks simple until smoke backs into the room, the fire dies for the third time, or the stove glass turns black in a day. Most first-timers aren’t doing one big thing wrong, they’re stacking a few small mistakes. Fix those, and wood heat gets cleaner, cheaper, and a lot less frustrating.
1. Burning Wood That Is Still Wet
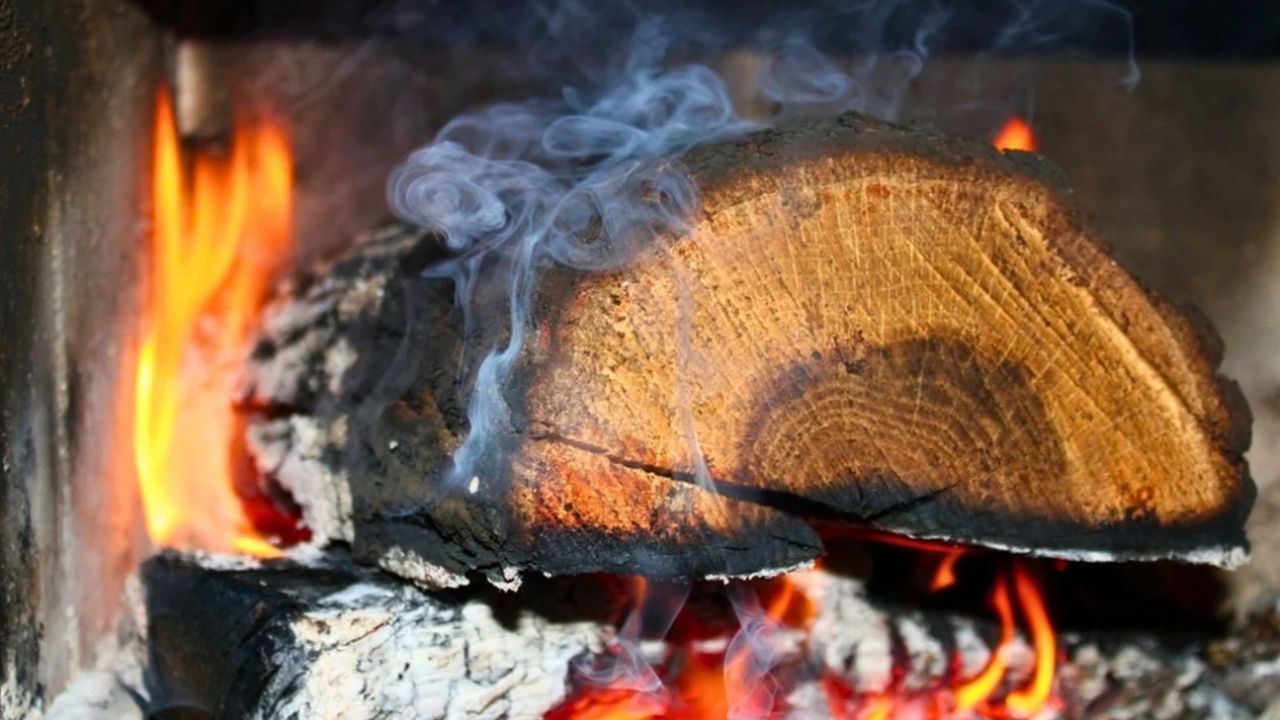
Green or “seasoned-ish” wood hisses, steams, and fights you the whole way. You’ll burn a lot of it for not much heat, then wonder why the flue smells sharp and the stove glass soots up fast. Wet wood also makes more creosote, which is the gunk that builds in chimneys and can lead to a chimney fire.
Split a piece and check the fresh face with a cheap moisture meter, not the outside. For most stoves and inserts, you want wood down around 20 percent moisture or less. If you don’t have that yet, buy a small load of kiln-dried or verified dry firewood to get through the shoulder season while your own stack finishes.
2. Trusting Bark And Ends For “Seasoned”
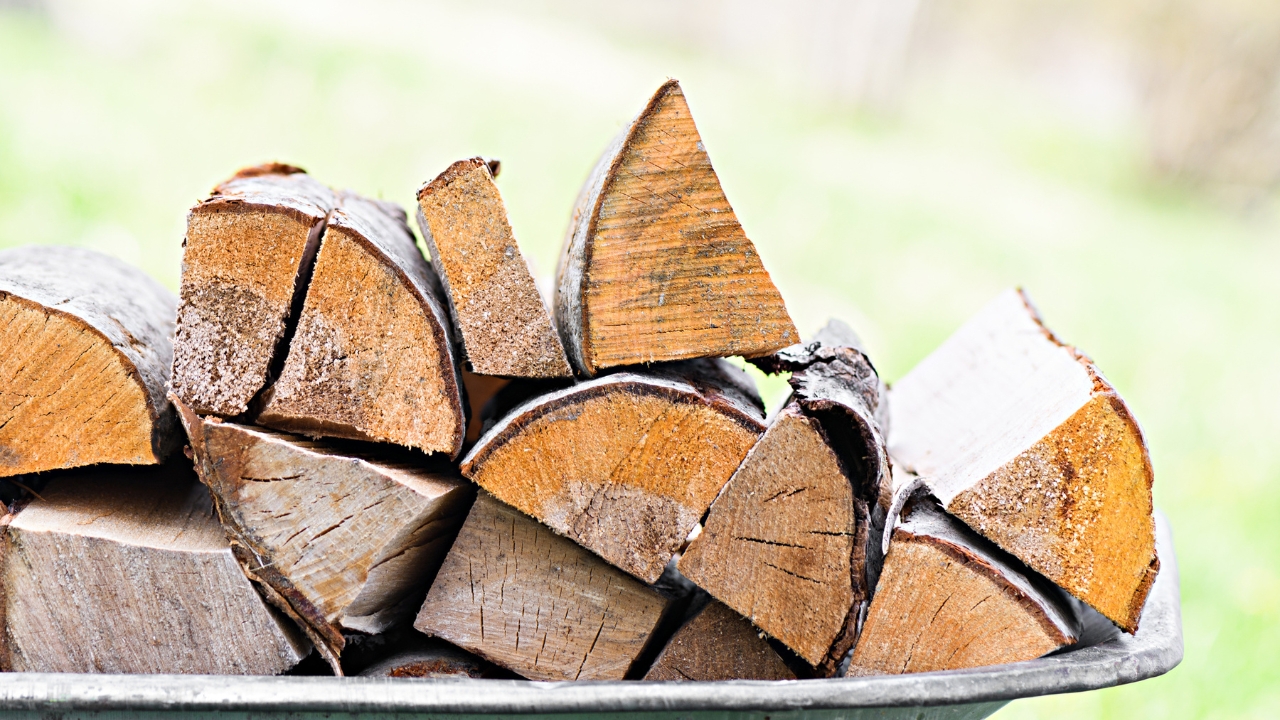
People tap two logs together, see loose bark, and call it good. Bark lies. Ends lie too, especially if the seller cut them months ago and the middle stayed wet.
Look for checking cracks that run in from the ends and feel the weight, dry wood is noticeably lighter. Better yet, split one and test the middle. If a seller won’t let you split and check a piece, that’s your answer.
3. Building The Fire With No Air Path
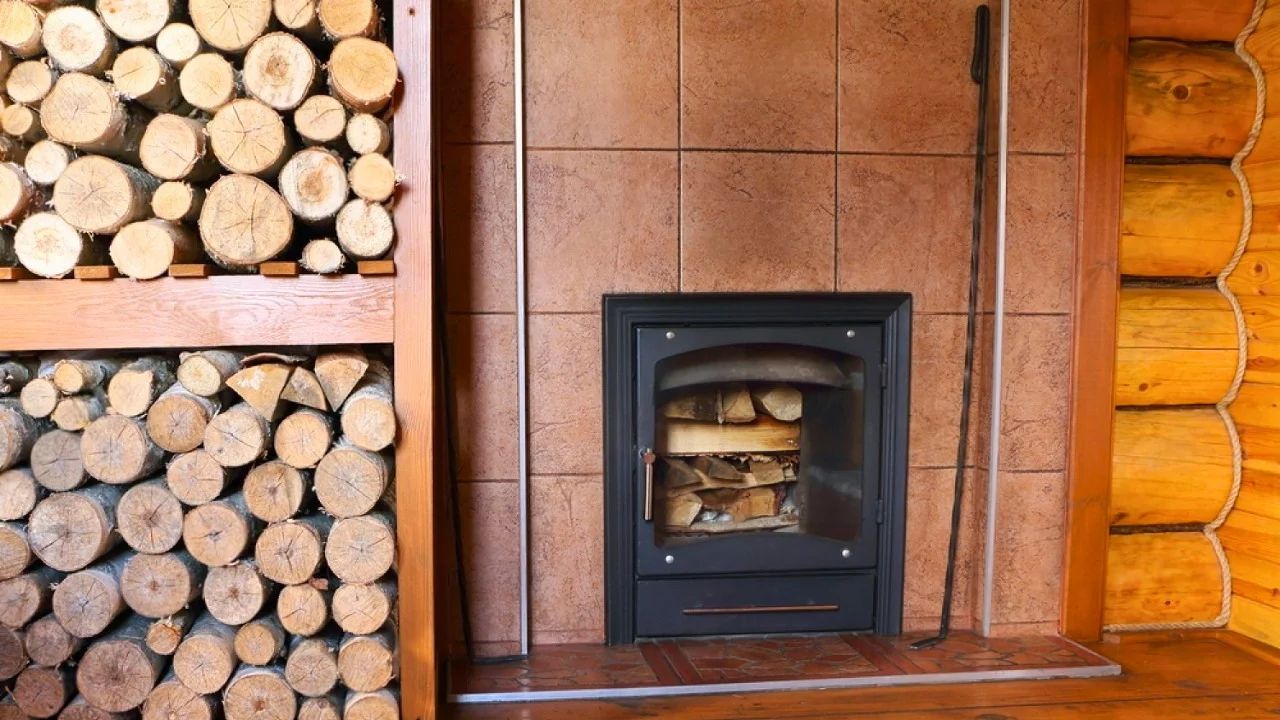
Packing the firebox tight looks efficient, but it kills airflow. Then you get lazy flames, lots of smoke, and a fire that goes out as soon as you close the door. In an open fireplace, it’s the same story, smoke spills because the fire can’t breathe.
Lay your kindling so air can move through it, and don’t bury your starter under big rounds. A top-down stack works well for a lot of stoves: larger splits on the bottom, smaller on top, kindling at the very top, then light it. If your stove has an air control, open it fully for startup until the fire is established and the flue is warmed.
4. Skipping A Real Chimney Inspection
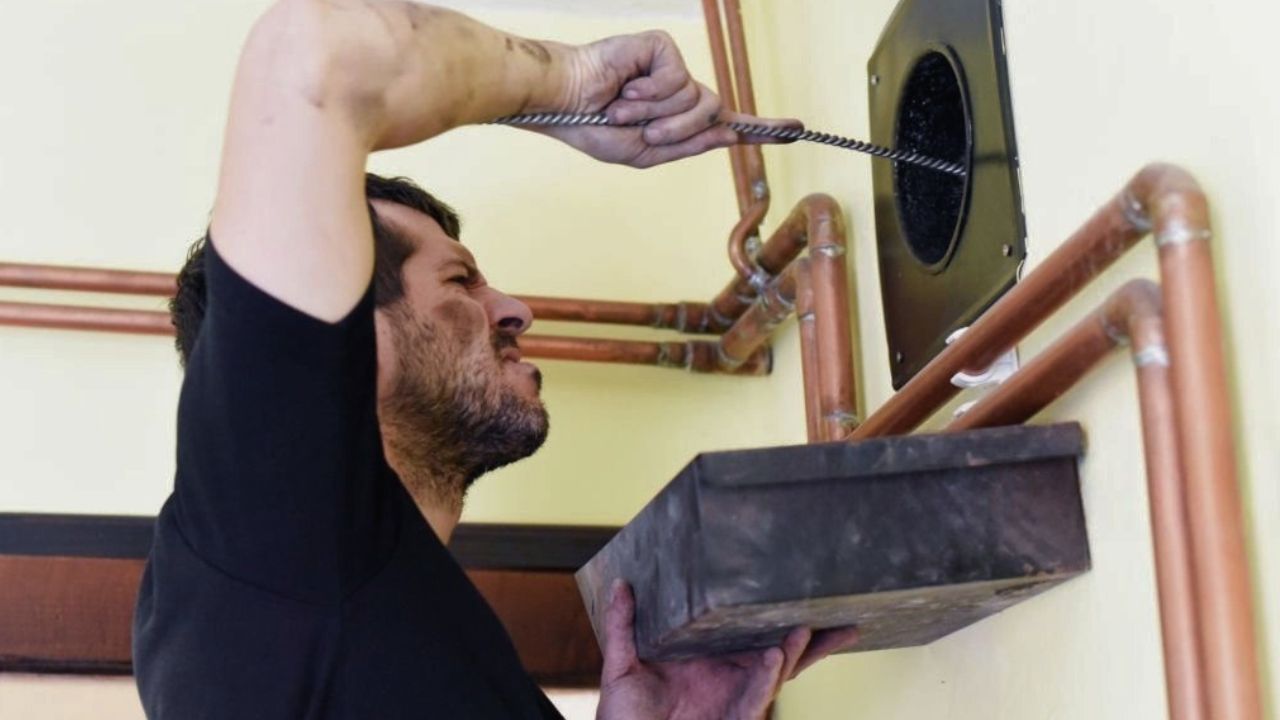
The first cold snap hits, you light up, and you assume the chimney is fine because it “worked last year.” That’s how you find out about a cracked flue tile, a bird nest, or a cap that got bent in a windstorm. Smoke smell in the house and poor draft are common clues, but sometimes you get no warning.
Have the chimney inspected and cleaned when you move into a place or start using an old appliance again. If it’s a masonry chimney, the liner matters, and missing or damaged liners are a big deal. If the setup needs a new liner or major repair, that’s a pro job and sometimes it triggers permit and code requirements.
5. Closing The Damper Or Air Too Soon
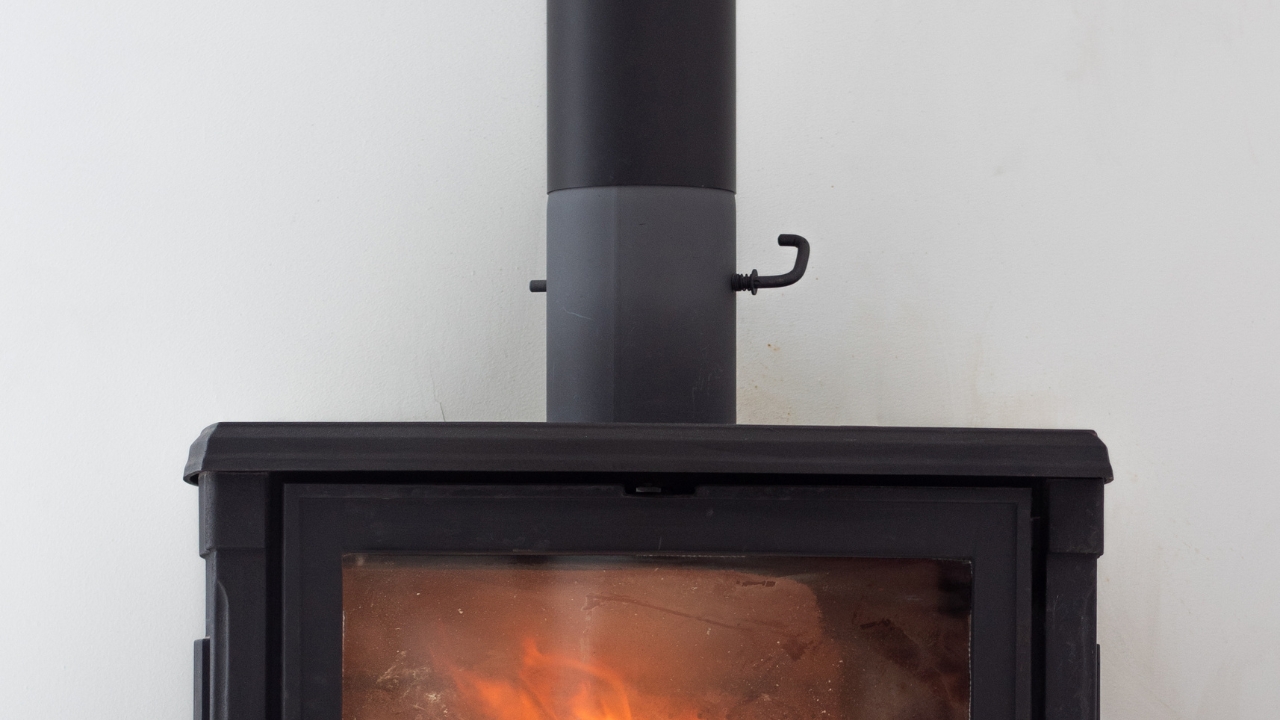
This one shows up when you’re trying to “make it last all night.” You get the fire going, then you choke it down right away. The flames disappear, the load smolders, and you wake up to a cold stove and a dirty flue.
Give the fire time to get the flue hot and the wood charred on the outside before you turn it down. On many stoves, you can step the air down in stages over 10 to 30 minutes instead of all at once. If you can smell strong wood smoke outside for a long time, that’s often a sign you’re running it too cool.
6. Using The Wrong Stuff To Start It
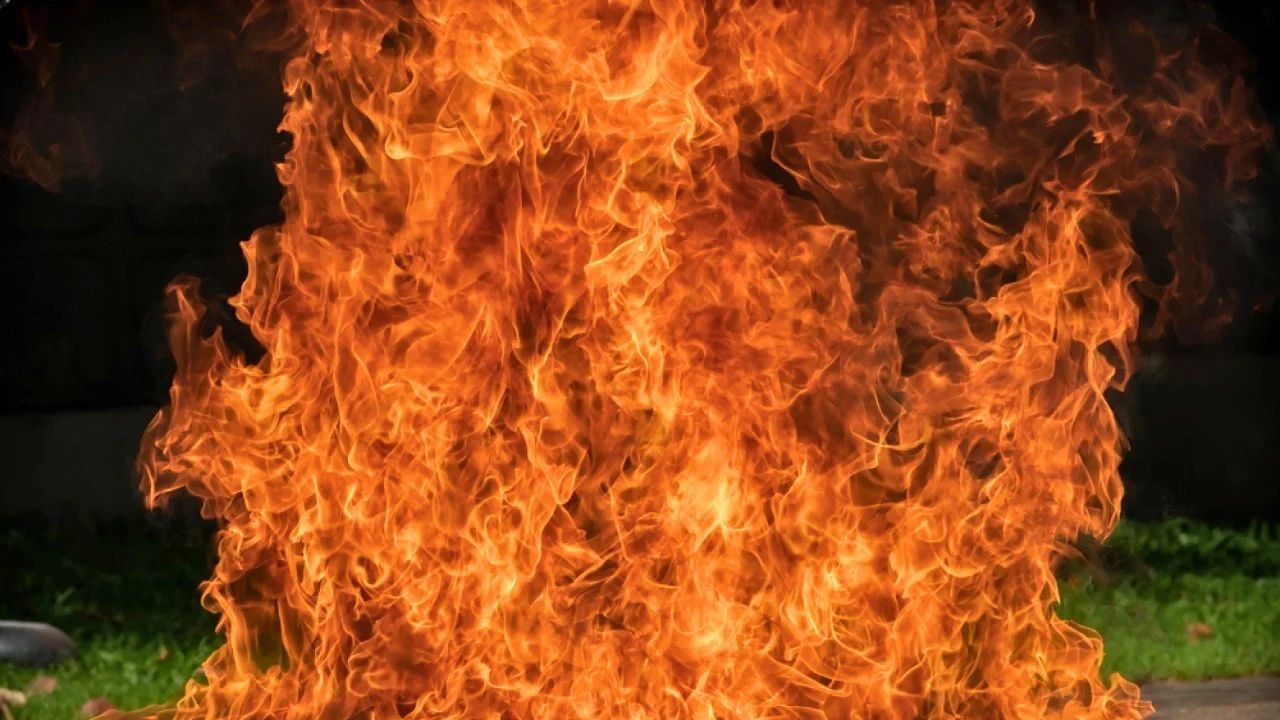
Gasoline, brake cleaner, and similar liquids don’t belong anywhere near a firebox. They flash fast, can blow fire out the door, and can hurt you or scorch the room before you even get the door shut. A lot of house fires start with “it was just a splash.”
Use dry kindling, waxed fire starters, or even a twist of newspaper with small splits. If you’re burning in a stove, you’ll get cleaner starts with less paper than you think. Keep your kindling dry in a tote or bin near the stove so you’re not trying to light damp sticks in January.
7. Ignoring Ash Management And Air Intakes
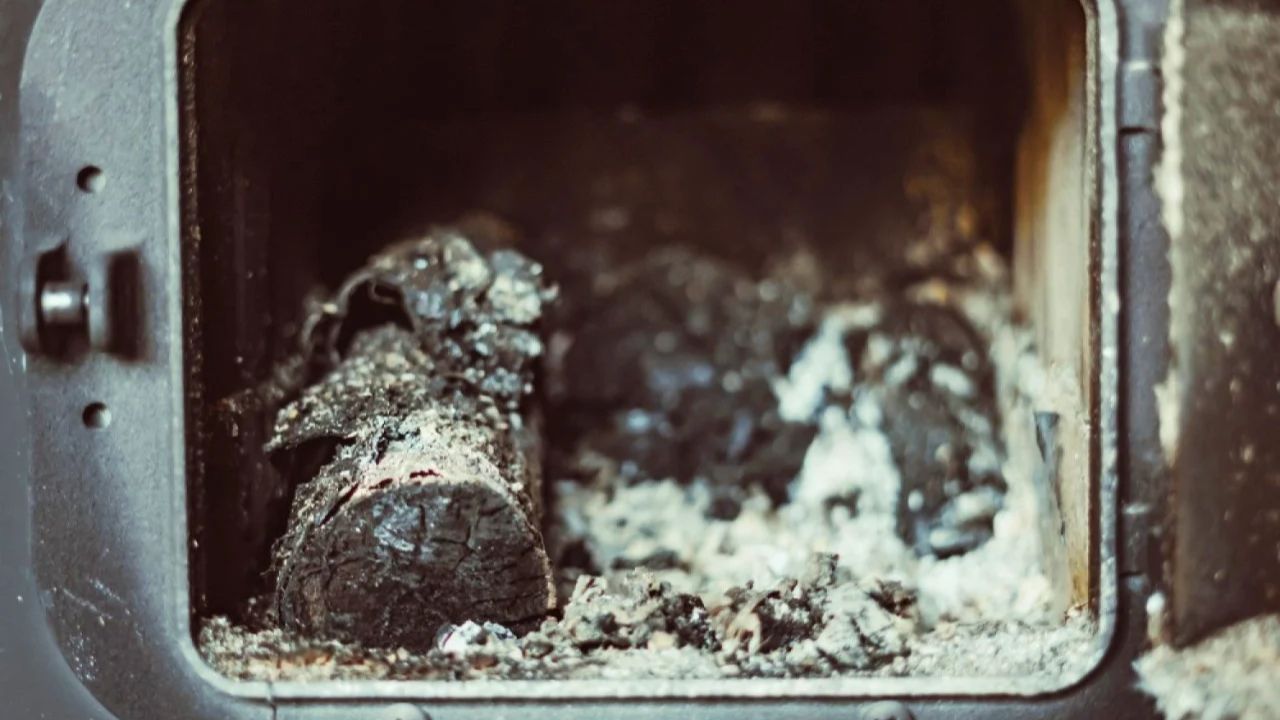
A little ash is normal, but a deep ash bed can smother airflow from below if your stove pulls air that way. In some stoves, ash piles up behind baffles or near the front intake and the fire gets harder to control. You’ll notice it as sluggish starts and a stove that won’t respond when you open the air.
Read your manual and learn where your stove needs to stay clear. Some units like a thin ash layer for insulation, so the cheap option is fine, you don’t need to vacuum it spotless. When you do remove ash, use a metal container with a lid and set it on noncombustible ground, not on a wood deck or in a garage corner.
8. Stacking Firewood Right Against The House
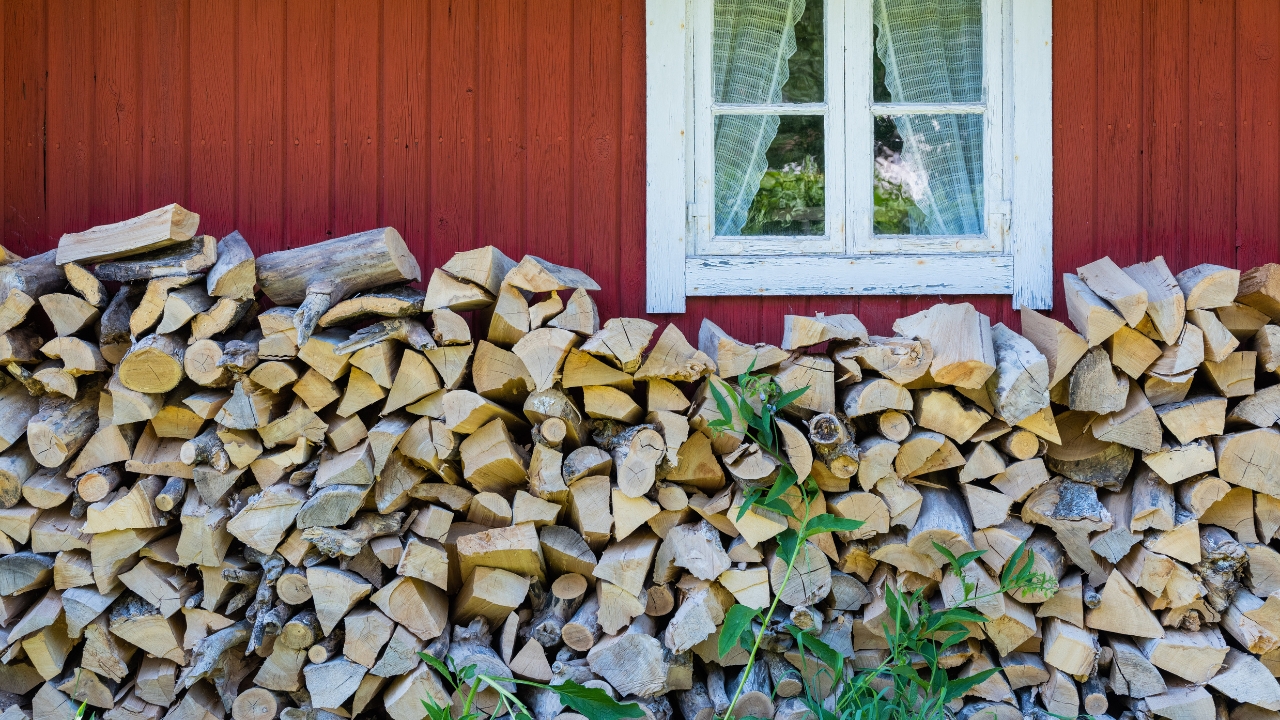
It feels tidy to keep the whole cord right by the back door. It’s also a good way to invite termites, carpenter ants, mice, and moisture problems. Wood piles trap humidity against siding, and they make it harder to spot foundation issues.
Keep your main stack away from the house and bring in a small porch rack or one-day bin for convenience. Stack on pallets or runners so the bottom row isn’t sitting in mud. Cover the top for rain and snow, but leave the sides open so wind can dry it.
9. Forgetting The Outside Air And Pressure Issue
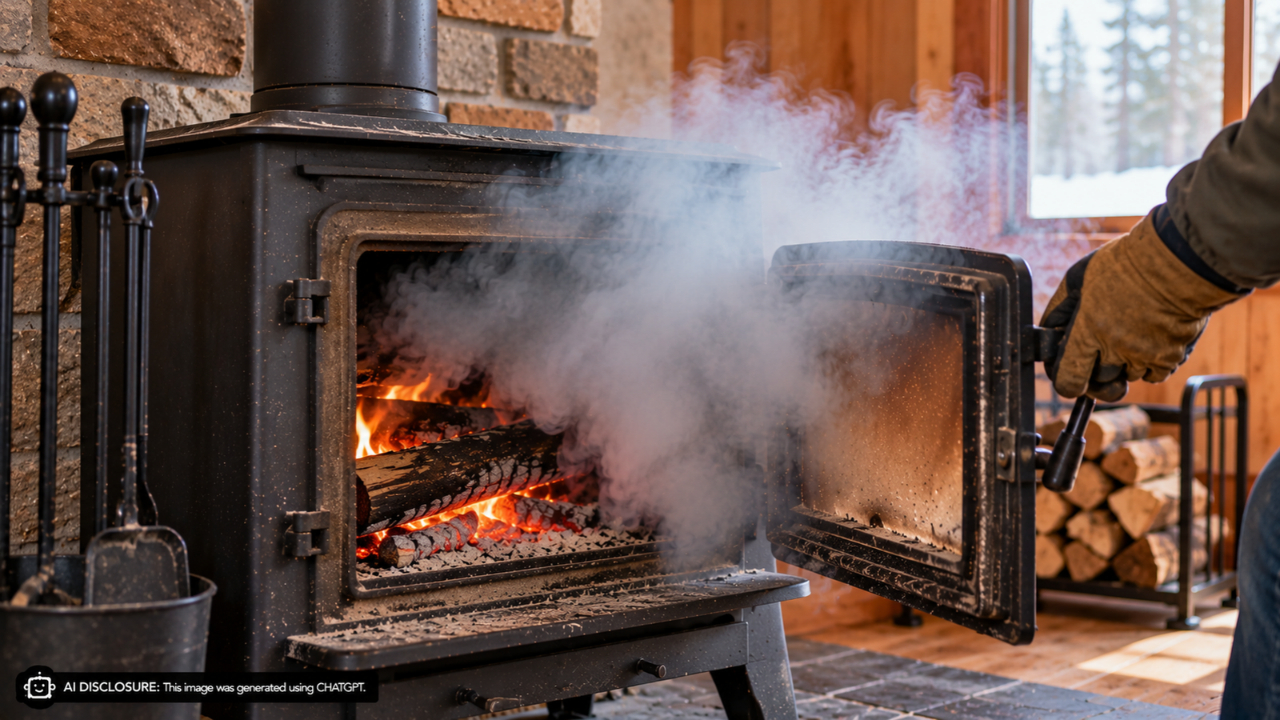
Ever light a fire and it backpuffs smoke, then behaves fine later? That’s often a house pressure problem, not your firebuilding skills. Kitchen range hoods, bathroom fans, clothes dryers, and tight new windows can pull air out faster than it can sneak back in, so the chimney becomes the makeup-air path.
Try cracking a nearby window during startup and see if draft improves. If it does, you may need an outside air kit, a different venting setup, or a pro to diagnose the pressure and chimney height. Don’t “solve” it by leaving the stove door open, that just dumps smoke and sparks into the room.
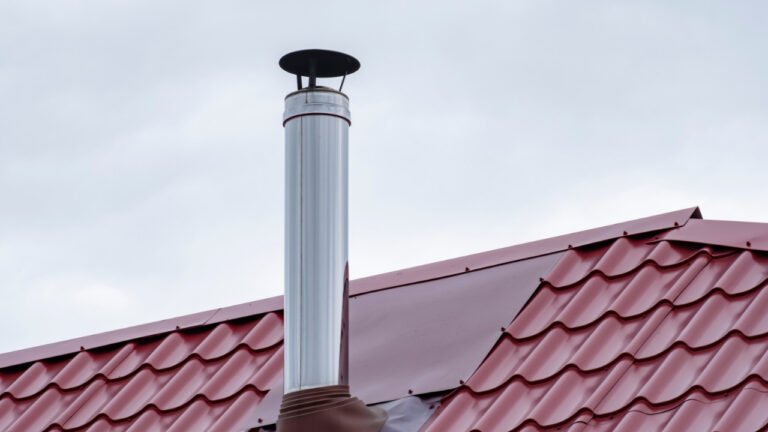
10. Treating The Stove Pipe Like Decor
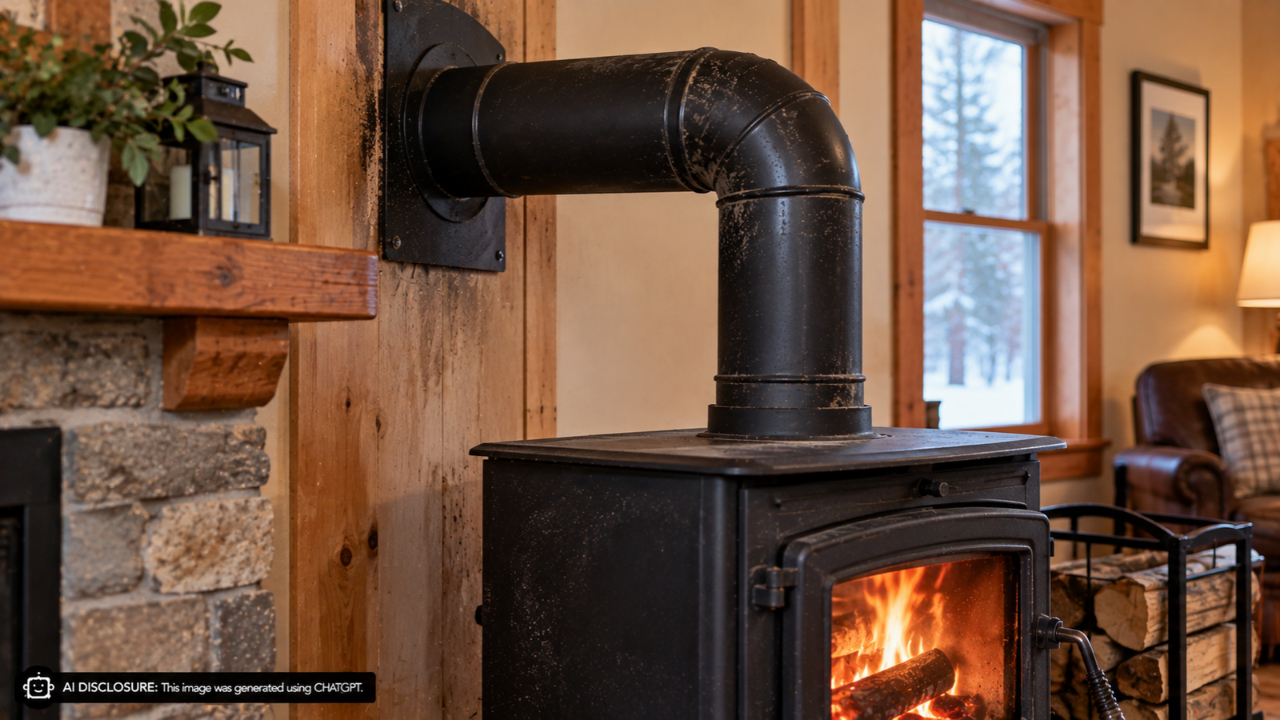
Single-wall stove pipe clearances get violated all the time because it “doesn’t look that close.” Then the wall gets hot, paint smells weird, and you’ve got a real fire risk hiding in plain sight. Another common mess is sloppy joints that leak smoke and stain the pipe seams.
Follow the clearance requirements for your exact pipe and stove, and don’t guess. If you need to change pipe runs, go through a wall, or add a new thimble, that’s where local codes and permits show up fast, and it’s worth paying a qualified installer. You only get one house.
Once you’ve got dry wood, a clean draft, and a routine for loading and ash, wood heat stops being a battle. Take notes the first few weeks, because what works in October often needs a tweak in January when the air is colder and the stack is pulling harder.
Like Fix It Homestead’s content? Be sure to follow us.