10 Things That Quietly Rot a Deck From Underneath
Photo credit: umaruchan4678/Shutterstock.com
A deck rarely fails from the top down. Most of the damage starts where you do not look, where water sits, air does not move, and fasteners quietly give up. By the time boards feel soft underfoot, the rot has often been working for years.
1. Dirt And Leaves Trapped Under Joists
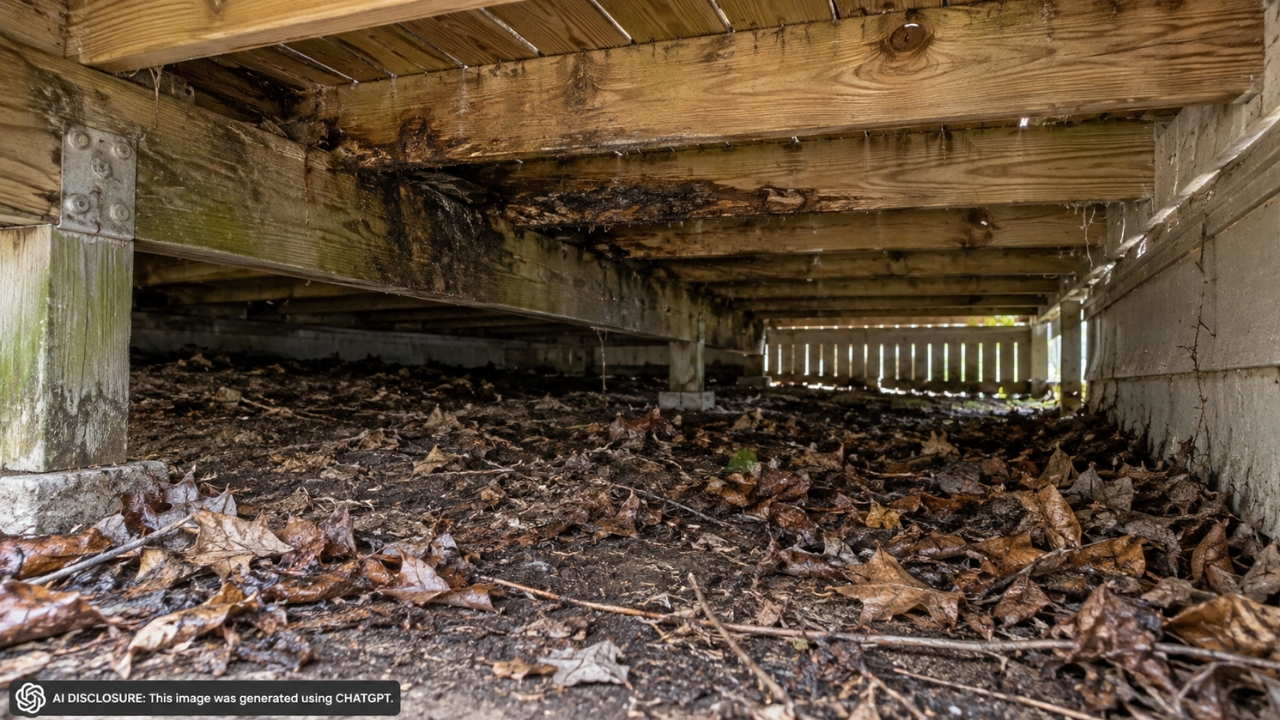
That nice “sealed up” look around the edges can turn into a compost bin under your deck. Leaves, pollen, and windblown dirt collect, stay damp, and press wet gunk against joists and beams all season. You do not see it until you crawl under and find black staining and punky wood at the low spots.
Twice a year, rake or blow out what you can, then use a leaf blower from the perimeter or a shop vac in the corners. If access is tight, pull one or two deck boards in an out of the way spot so you can clean and check the framing. Keeping the underside dry costs nothing and buys years.
2. Lattice Or Skirting That Blocks Airflow
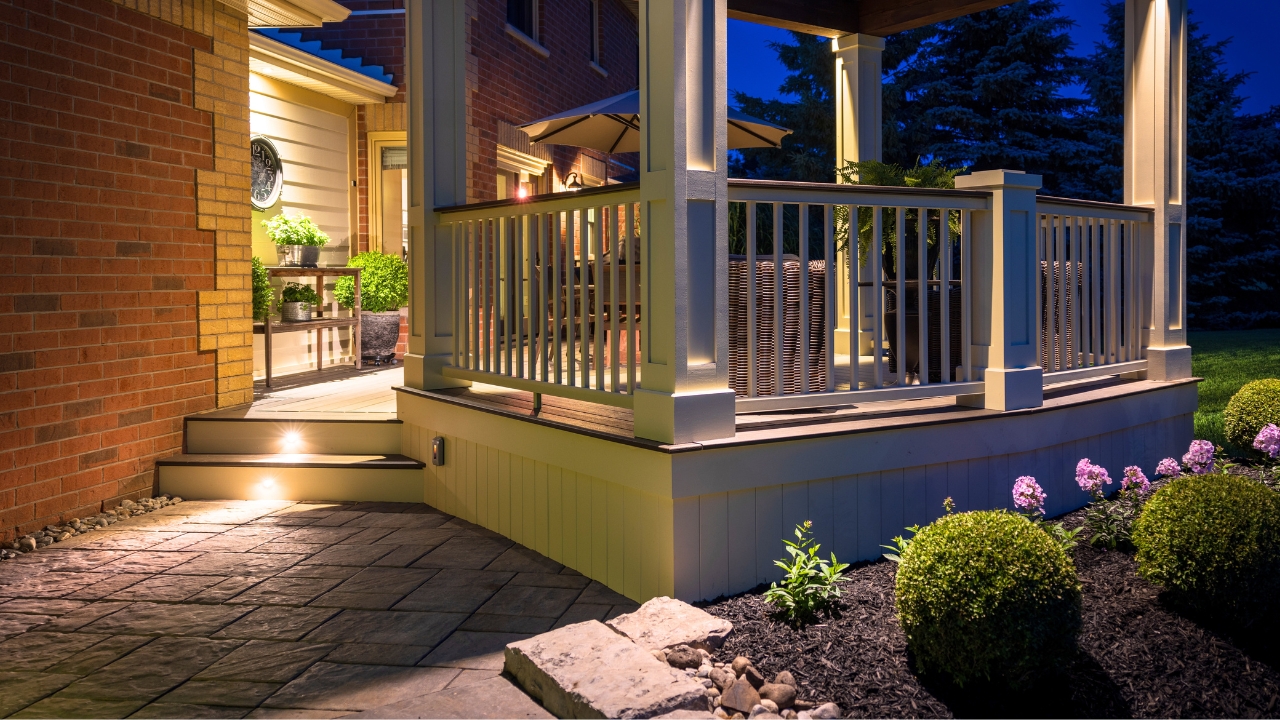
Skirting makes a deck look finished, and it keeps critters out, but it also slows drying. If the space under the deck stays cool and damp, fungus has a longer window to work. You will notice more mildew smell under there, and hardware may start to show orange rust sooner.
Use skirting with real ventilation, not solid panels tight to grade. Leave gaps, add vents, and keep plants from growing into it. If you want a cleaner look, the cheap option can be fine: basic lattice with plenty of openings often dries better than fancy tight panels.
3. Low Ground That Holds Water
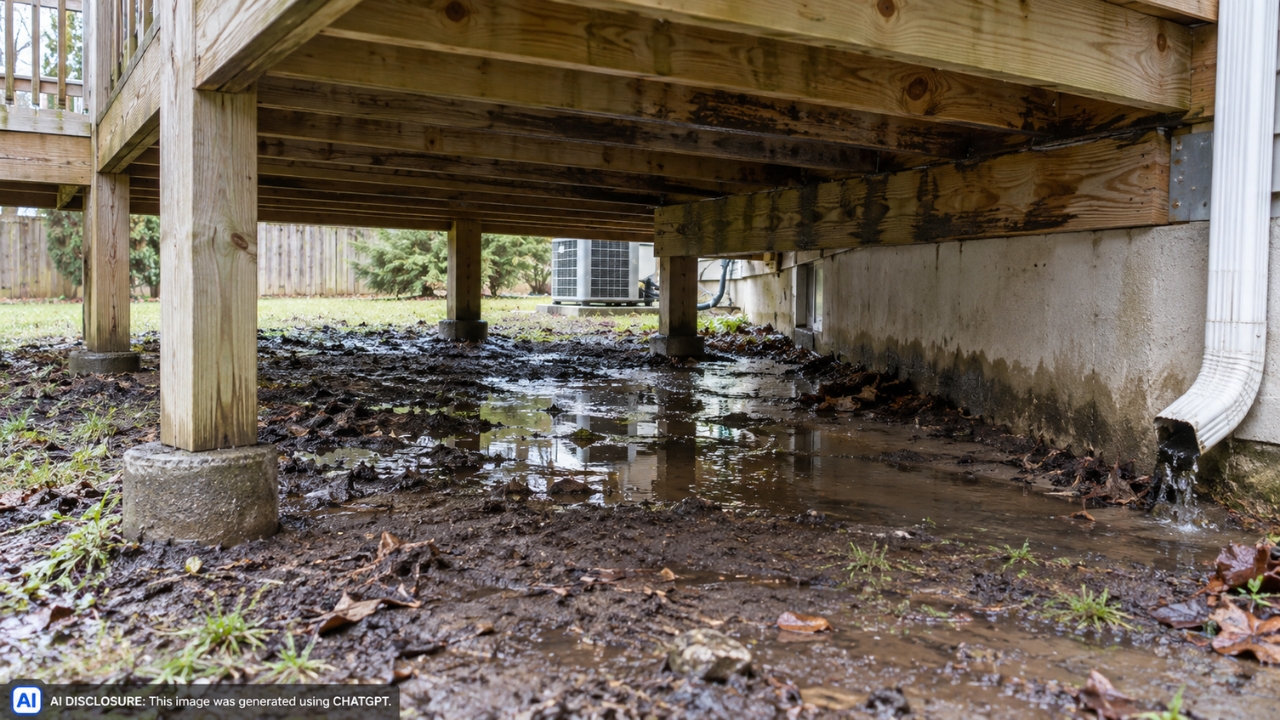
The worst rot often shows up on the lowest joists because water stays there. If the soil under the deck slopes toward the house or dips in the middle, rain and snowmelt linger and keep the framing damp for days. A few wet weeks in spring can do more harm than a hot summer.
Fix the grade so water runs out, not in. Add soil to eliminate bowls, then cover with gravel to reduce splash and mud, and keep it a few inches below the wood. If downspouts dump nearby, extend them so the discharge ends well away from the deck footprint.
4. Ledger Board Flashing Done Wrong
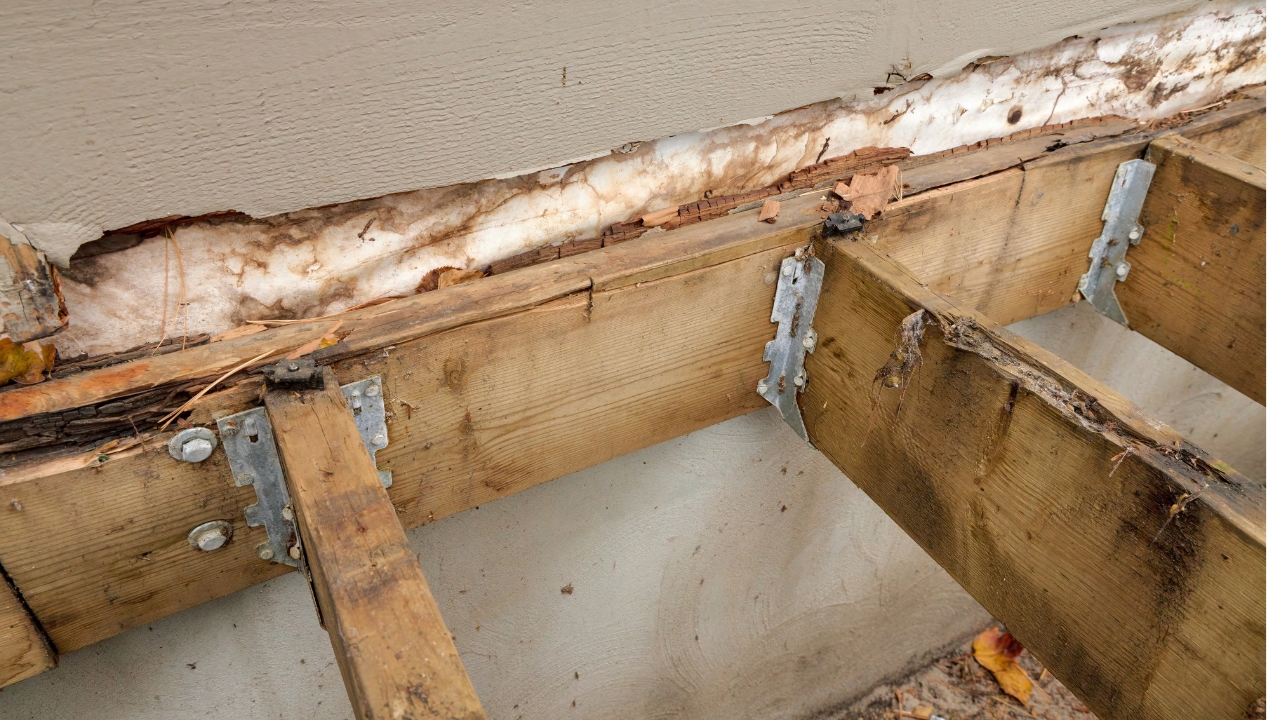
If the board that attaches the deck to the house leaks, it can rot both the deck and the house rim joist. The scary part is you might not see anything until the deck starts to sag away from the siding. Soft spots near the door and rusty streaks below the ledger are common tells.
Flashing has to direct water out and over the ledger, not behind it. If you are not confident reading the water path, hire this out. Ledger failures can hurt people, and local code often has specific requirements for flashing and fasteners.
5. Improper Ledger Bolts And Connectors
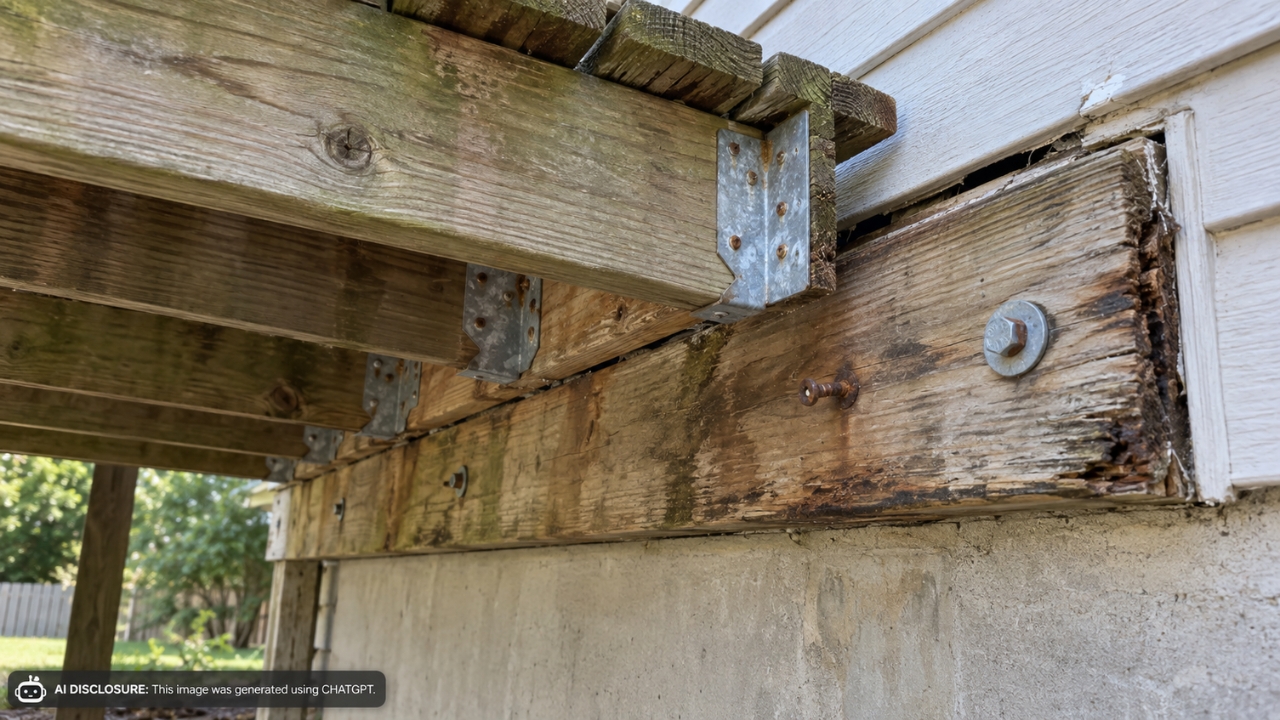
Nails and a prayer do not hold a deck for long, especially once wood starts to soften. When the ledger connection loosens, tiny movements open gaps, water gets in, and rot follows. You might hear squeaks at the house end, or see the deck pulling away a little each season.
Use the right ledger fasteners and connectors for your deck type and local code, and do not mix random hardware. If you have older lag screws, check for corrosion and tightness, and look for proper washers. When you are dealing with structural connections to the house, a permit and an inspection are usually money well spent.
6. Joist Tape Used In The Wrong Places
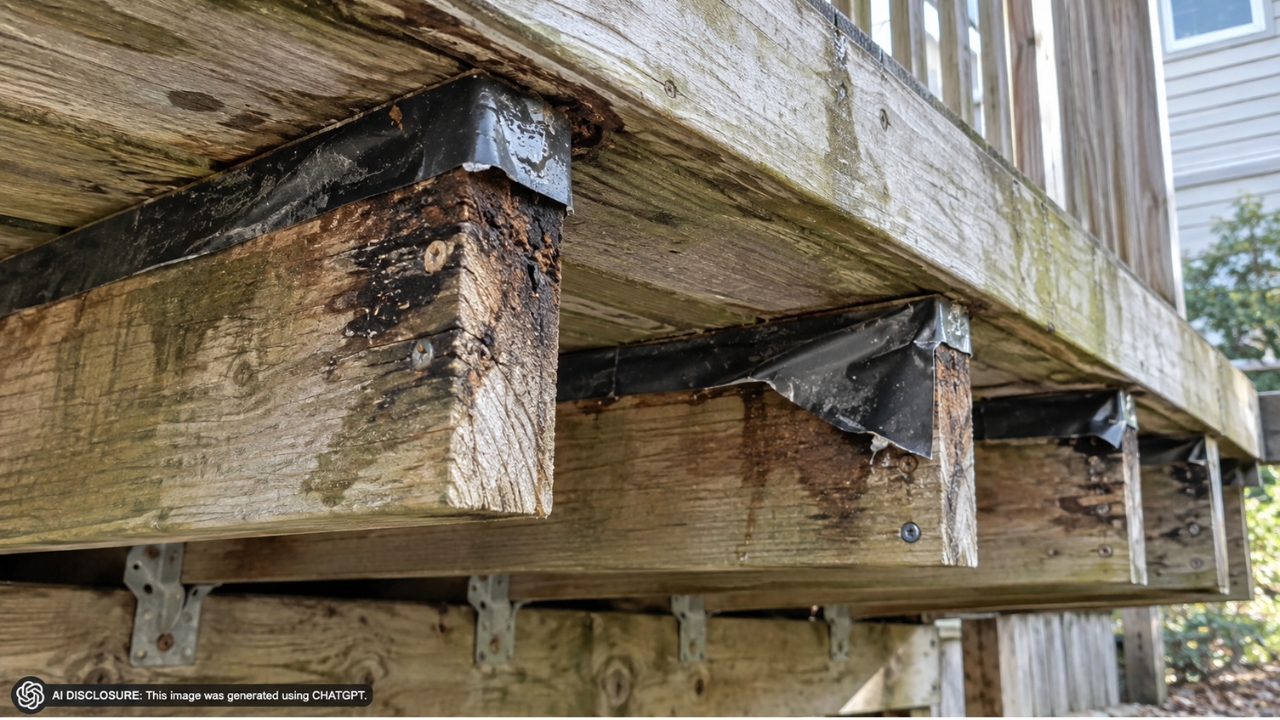
Joist tape can help, but it can also trap water if it is slapped on wet wood or wrapped so water cannot drain. Tape that bridges over fastener holes or covers the top of a joist but blocks the sides from drying can hold moisture right where rot starts.
If you use tape, apply it to clean, dry lumber, and press it down hard so it bonds without bubbles. Do not tape the bottom of joists, and do not seal the ends so tight that water has nowhere to go. Sometimes the better fix is simple: improve drainage and airflow, then skip the tape on a deck that already dries fast.
7. Hidden Rot Around Post Bases
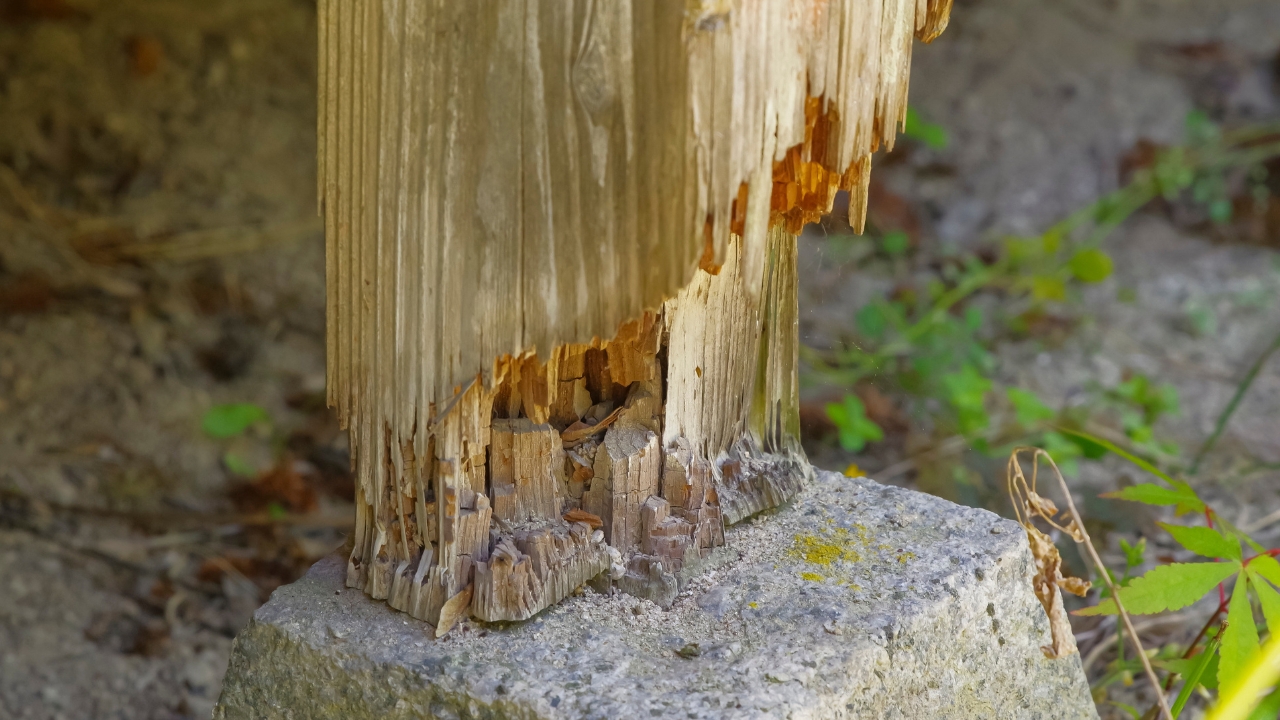
Posts often look fine from above while the bottom is turning to mulch. Soil piled around a post, mulch touching it, or a base that holds water can keep that area wet constantly. You might spot ant frass, mushrooms, or a post that feels slightly spongy if you jab it with a screwdriver.
Posts should sit on proper footings with rated metal bases that keep wood off concrete and let water drain. Keep soil and mulch pulled back so you can see the base and it can dry. If a post is load bearing and you find real decay, this is not a “next weekend” project, brace it properly or call a pro.
8. Deck Boards Tight With No Gaps
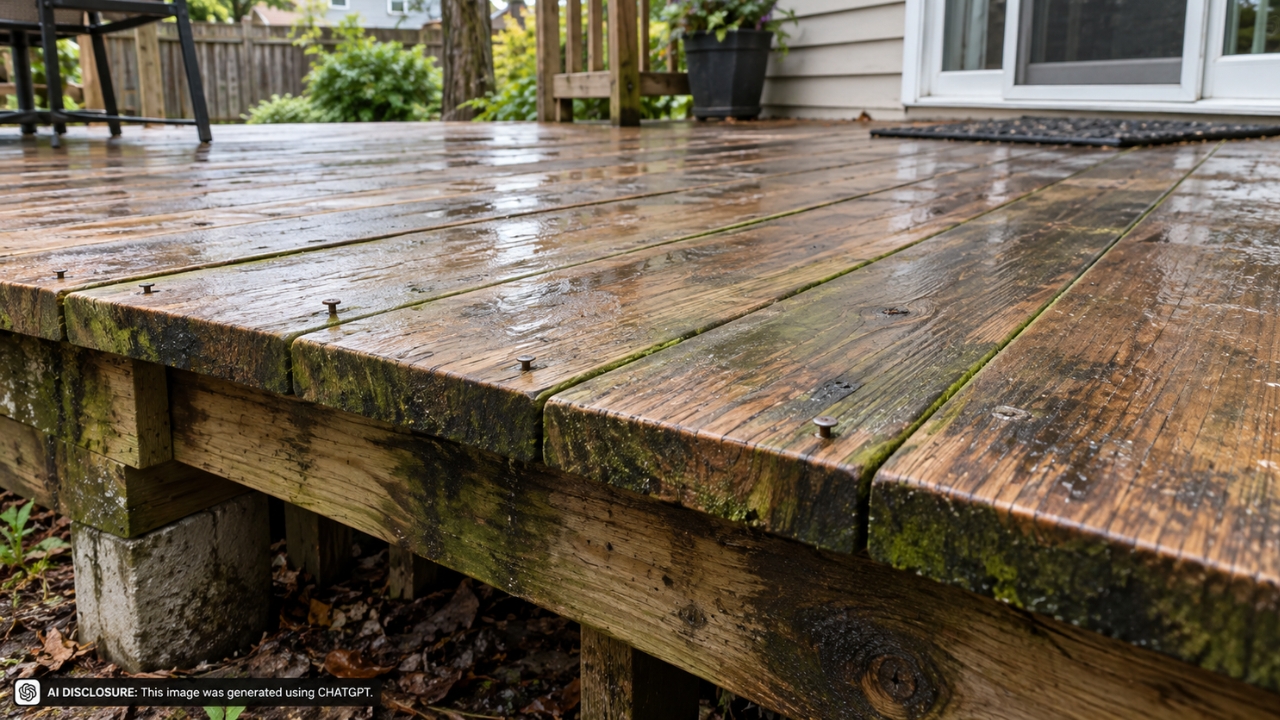
Boards jammed tight look clean on install day, then they swell, trap water, and keep the framing wet. The underside stays damp longer, and the top dries first, so you get cupping and fasteners that start to work loose. You will see staining along board edges and a green line that never quite goes away.
When replacing boards, space them for drainage based on the material and moisture content at install. Use the right fasteners so boards do not pinch together as they move. If your deck already has tight boards, keeping it swept and improving airflow underneath helps more than dumping more stain on top.
9. Sprinklers And Hose Water Hitting One Side
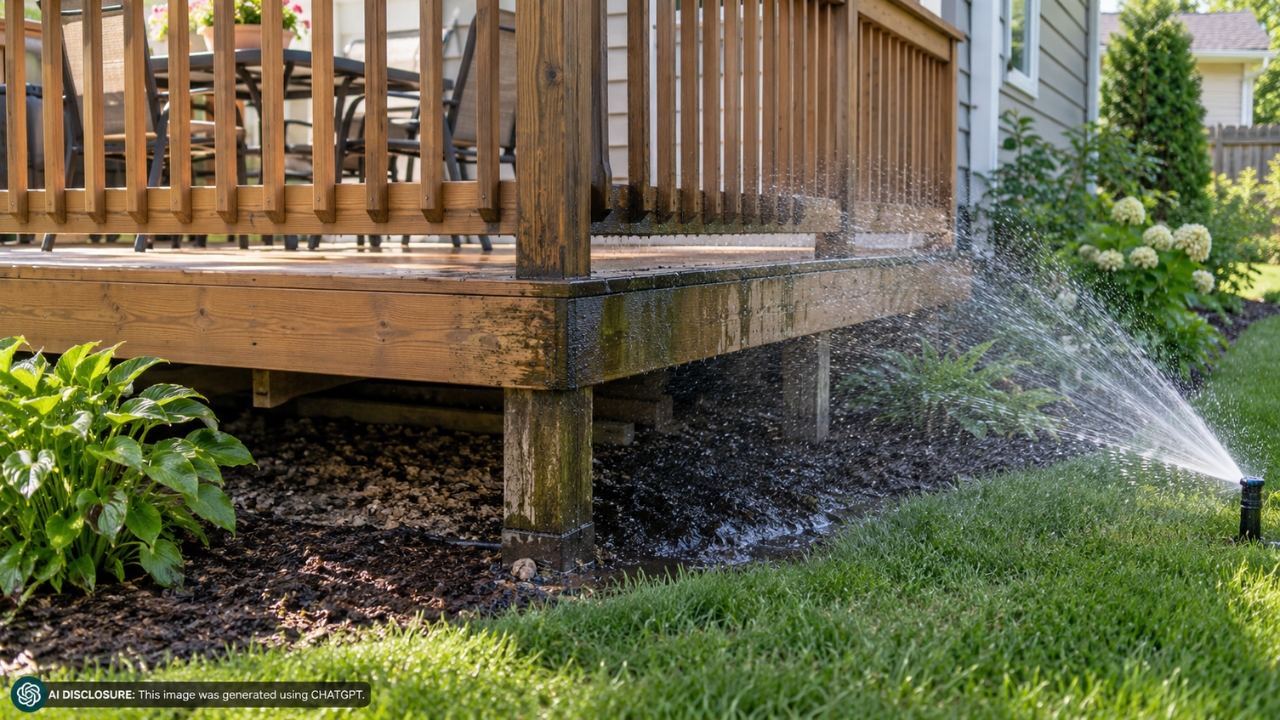
One wet corner can rot out while the rest of the deck looks great. Sprinklers that mist the rim joist, a soaker hose under flower beds, or a kid pool dumped in the same spot over and over will keep the underside wet. It is a slow, expensive kind of damage because you do not notice until framing is involved.
Adjust sprinkler heads, change the spray pattern, or add a simple deflector so water is not hitting the deck. If you wash the deck, do it early on a dry day so it can dry fast. Constant daily watering next to wood is asking for trouble.
10. Rusting Fasteners In Treated Lumber
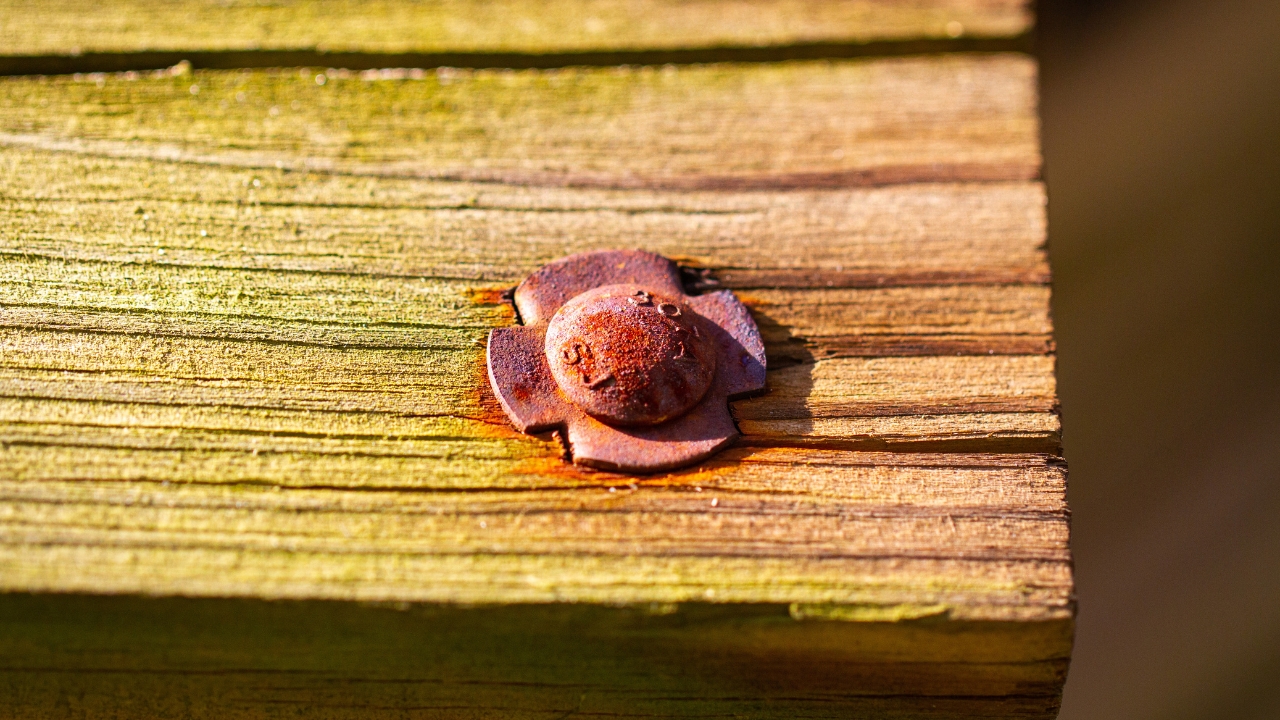
Rot is not the only thing that eats a deck from below. Wrong screws, hangers, or nails can corrode in modern pressure treated lumber, and when metal thins, connections loosen and wood starts moving. That movement opens cracks, then water gets in, then rot shows up around the hardware.
Look for orange streaks under joist hangers, flaking metal, or screw heads that snap when you try to back them out. Use connectors and fasteners rated for treated lumber, and do not mix metals. Swapping hardware is annoying, but it is cheaper than replacing a beam.
A quick crawl under the deck with a flashlight and an awl tells you more than any coat of stain. Pick one damp problem spot and fix the water path first, then deal with wood and hardware. A dry deck frame ages slow.
Like Fix It Homestead’s content? Be sure to follow us.